Tag Archive for: tethering

Outside fashion shoot for sunglasses with extreme styling and flash Part II : let’s talk gear

Because size matters, also outside

Today Part II from the workshop “Working on location in Emmeloord”
In this workshop, the challenge is to use not-so-interesting locations and create awesome shots.
In the previous blogpost we showed set 1 and talked a bit about the gear, today we dive a little bit deeper into the deep reflector. What gear do you need for an outside fashion shoot?

But first, let’s take a look at the setup.

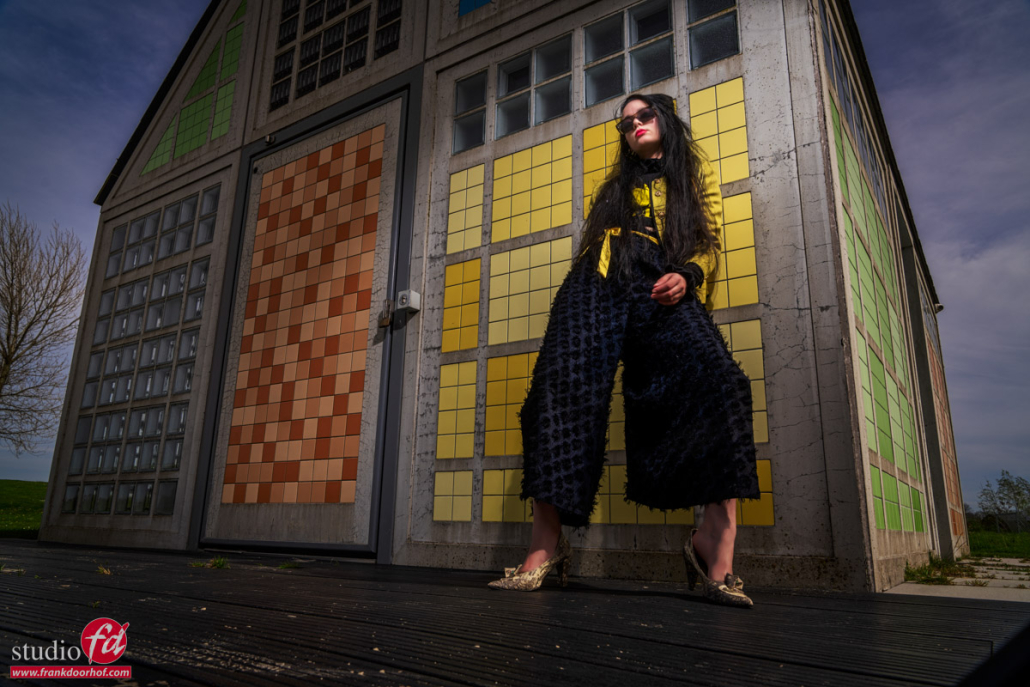
The third set we used during the workshop (set II will follow the next time) was a small house near the beach. This is an interesting location but in all honesty, I had the most trouble with this one to create something interesting. But by using the lines in the location and changing my angles of shooting, I think we got some interesting looks.

For the images, I used our Geekoto GT200 and a large reflector
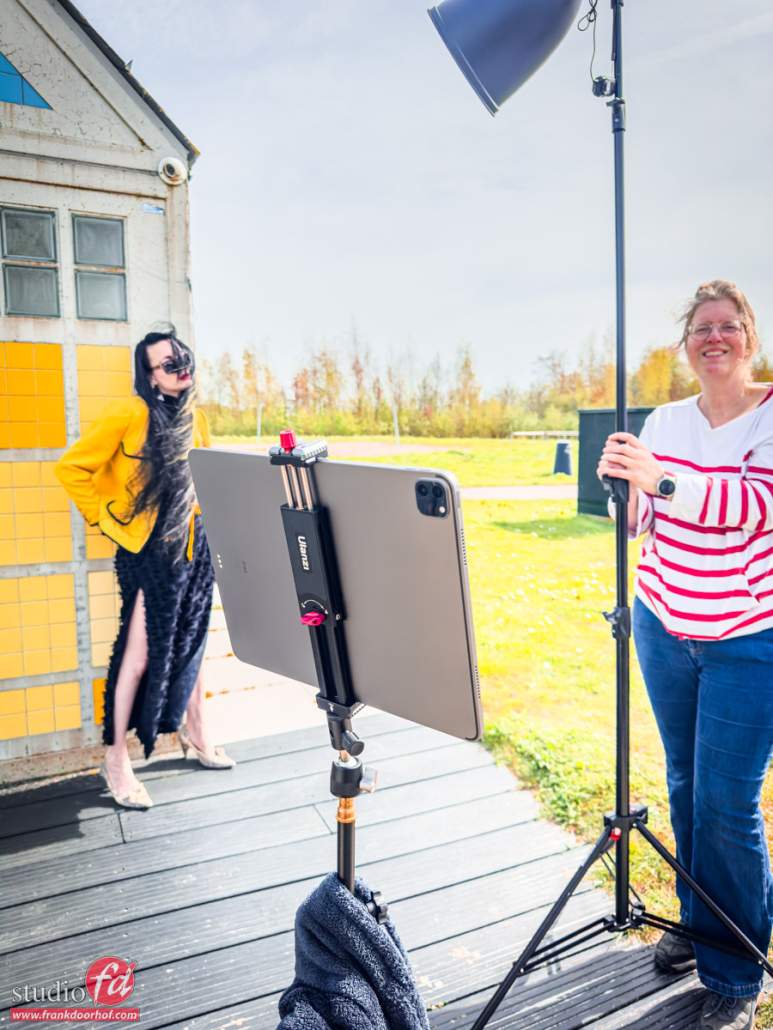
An outside fashion shoot, gear

Outside my favorite gear is of course Annewiek, but also my iPad in the Ulanzi iPad holder and a large reflector.

Outside Fashion Shoot Gear, the must-have reflector

As you can see this is a pretty large reflector.
And that’s exactly the reason I love using those on location.
The thing is that even with a 200W strobe you are still not “killing” the sun from let’s say 3 meters distance. And when you love those Day2Night shots or love to shoot HSS you will have to run almost constantly on full power. But even with fill-in flash…. ok you get the idea without any reflectors even a 200W hybrid strobe with HSS is not perfect for all day Day2Night photography

However, as soon as we add light shapers, the story becomes different.

When we add a striplight like the Rogue flashbenders or any other brand of course we will actually lose light output compared to the bare strobe.
But luckily we can also add light to the output.

You probably also know from studio use that reflectors can have a huge impact on the light output of your strobes. And the same goes for outside. We are using a Bowens converter to hold our Geekoto and connect the reflector. The reason the reflector is so deep is that it will focus the light more the deeper the reflector (on average, it also depends on the material of course). In usage, this can mean the difference between shooting a strobe on 1/3rd power instead of full power, and that is something you really notice.

As a bonus I love the look of these deeper reflectors, they are not as harsh as some smaller reflectors but they still give a tremendous deep shadow and high contrast. If you order one make sure you also order a grid if that’s available. I’m using a generic brand from AliExpress, if you are shooting with Hensel it’s called the 14″ reflector (which is even larger than this one) and for Elinchrom it’s called the MaxiLight or MaxiSpot. I highly recommend getting one for outside work. The reflector is really my favorite gear on an outside fashion shoot.


The iPad solution is another must-have for your shoot on location

As you can see in the image I’m using an iPad on location.
I’ve been using MacBooks for years but the disadvantage of a MacBookPro is that they are very fragile on location, they can easily fall, attract dust like crazy, and have loads of openings to collect dirt. Plus they are very expensive to replace or repair.

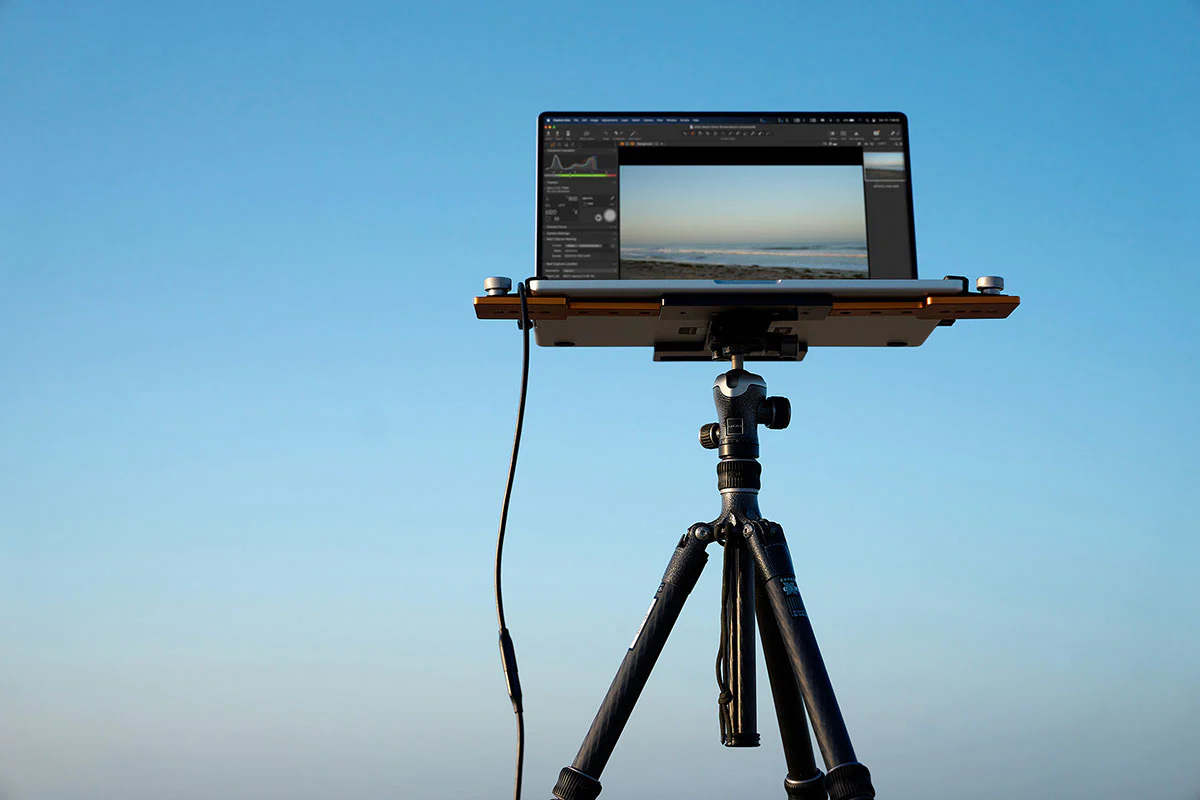
The iPad on the other hand can be securely fastened to just one stand with the awesome Ulanzi holder (we got so many questions about it that we added it to our webshop).
The nice thing about the iPad is that it will run all day on one charge and the light output is really nice for outside work, as long as there is no direct sunlight hitting the screen of course.

During this workshop I shot wireless to the iPad but in 99% of the cases I’m using an IQwire USBc-USBc 15meter tether cable to shoot to the iPad using CasCable. I’ve been using this combination for a while now and it never disappointed me. If something goes wrong the advantage of the iPad is that you just close an app and start it again and it all works fine again. But to be complete I’ve experienced a super smooth workflow so far with little to no problems. This is also the main reason you see me using the iPad more and more during shows. Especially with Adobe releasing great updates to their Lightroom and Photoshop apps which makes the iPad a real workstation nowadays.

Especially on location, you want gear you carry around easily and don’t have to be afraid that something falls during the hike to the next location.


The results

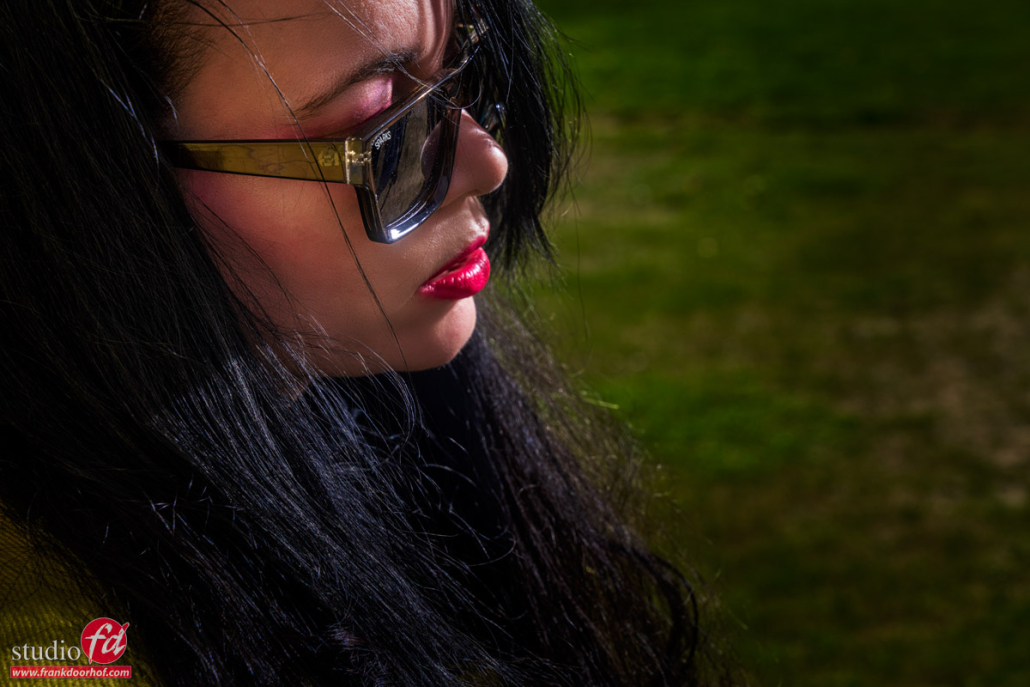
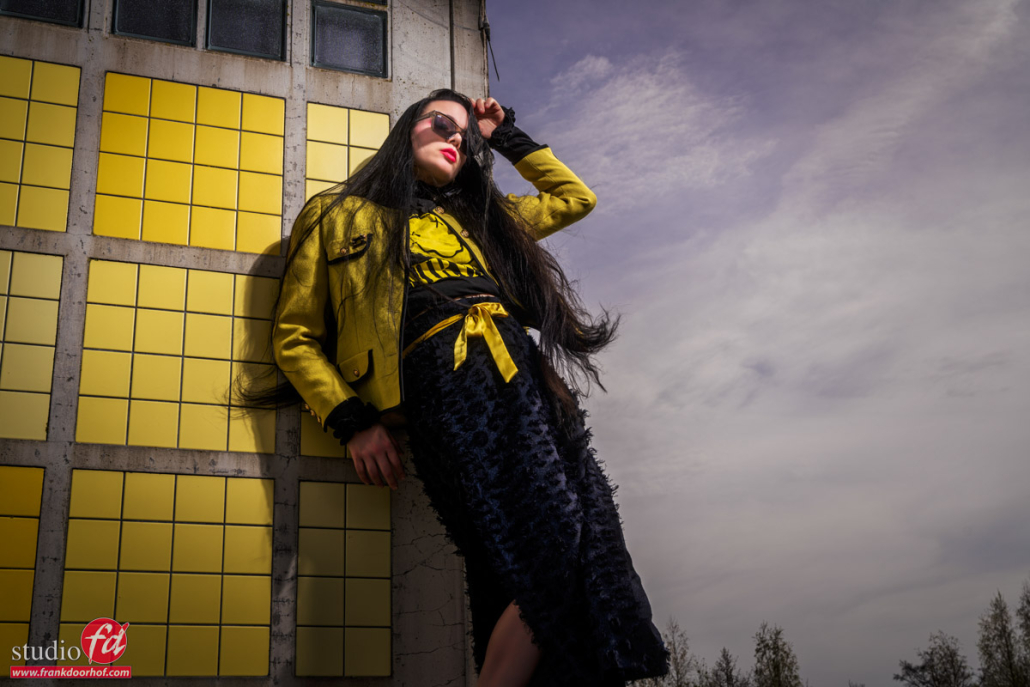
Ok let’s take a look at the results from the third set during this workshop (next time set 2)

Model/Styling: Nadine
Sunglasses: Sparks
www.fotografie-workshops.nl for the Dutch workshops
www.frankdoorhof.com/shop for my gear
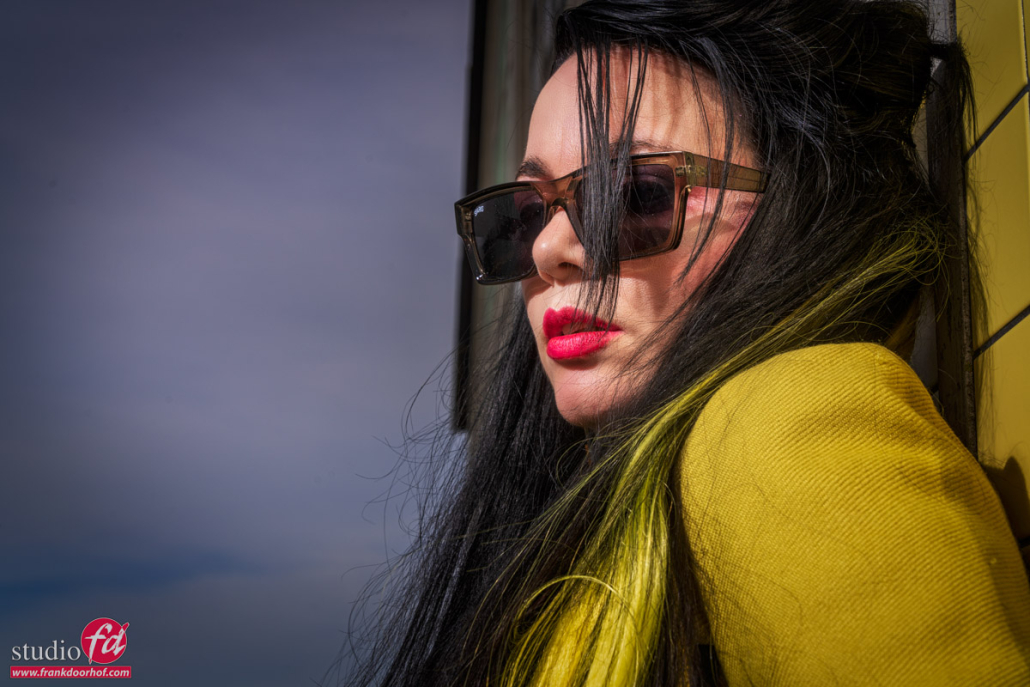
Outside Fashion Shoot Gear

Just a bit more light on the model’s face with the reflector
Outside Fashion Shoot Gear


New IQwire tethering solutions from cables to defense

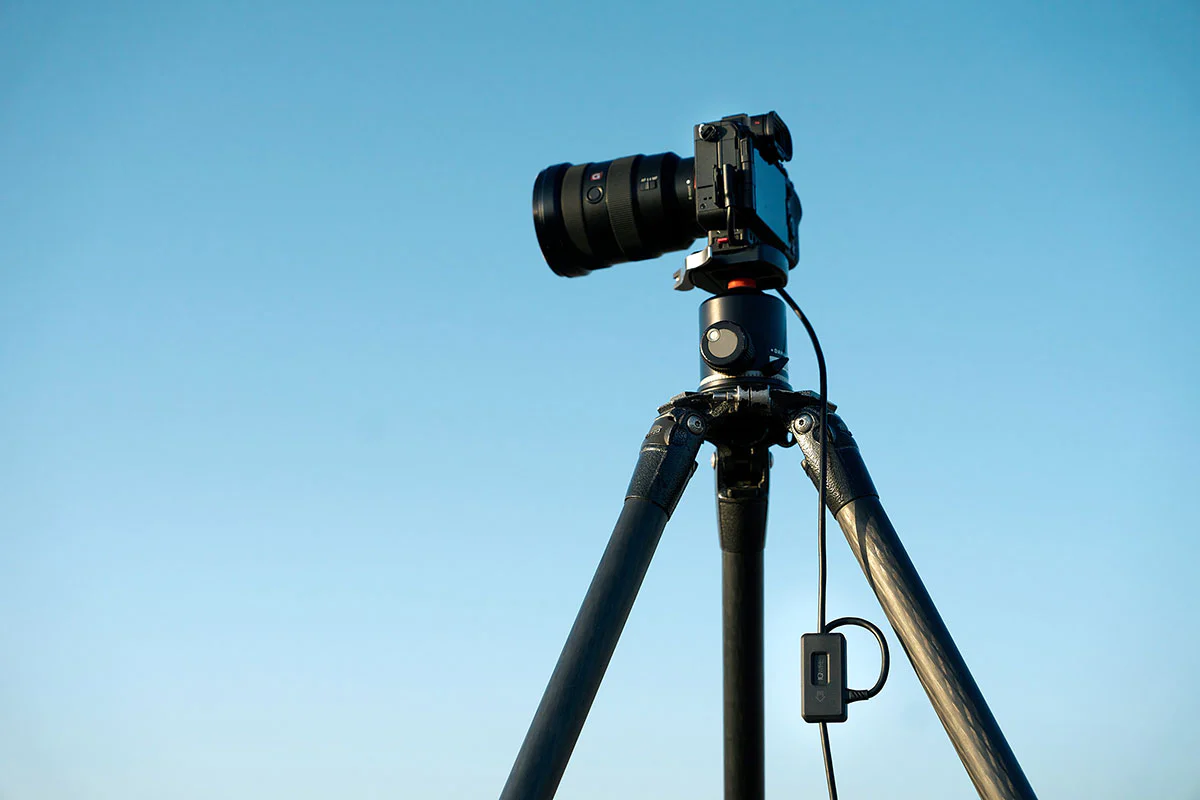
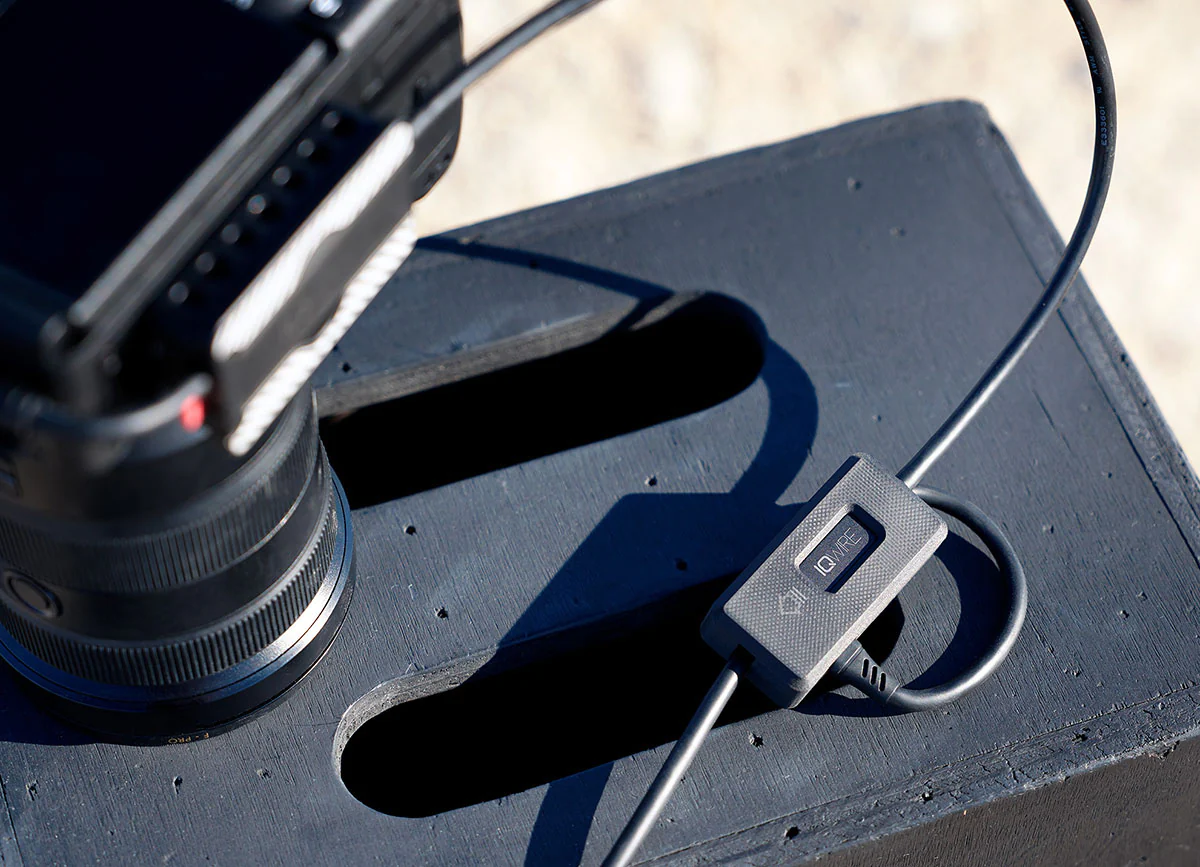
IQwire Carbon Black, the new Tether line-up.

New IQwire tethering solutions from cables to defense


Tethering is one of the biggest upgrades in your workflow you can do.

But what is tethering?

Let me first make clear that our company StudioFD is the European Distributor for IQwire tethering solutions, from cables to defensive systems.
This doesn’t mean my opinions or conclusions are colored. However, we only sell and promote products I use myself or 100% support.

When we talk about tethering we mean that you connect your camera to a PC/Mac or even tablet/phone. And when you take your images they immediately also appear on the desktop. This doesn’t only mean your client can check your images but it also is a great way to check focus, composition, and use for example overlays, presets, crops, etc. Plus it’s a safe way to backup images while shooting.

Now, one could think that you can use any cable to connect your camera to your device but that’s not 100% true. When cables start to wear and tear you can literally damage your camera or device and in extreme instances cause fire.

IQwire cables are built to last.

I’m still using my first cable and it’s been through some pretty rough shoots, to say the least.

Let’s take a look at the new products we are introducing today.

Length

According to some 4.7 mtrs is all you need, and if you want more you can always extend your cables.
It will depend on the situation. But for me personally, 4.7 mtrs never worked. My laptop is at 1.50mtrs high and I’m shooting mostly from 1.70mtrs height. Meaning that I can not move around a lot before my cable starts to float above the floor, thus creating a chance that people trip over the cable.

Extending is also not ideal. Connectors are always influencing the signal and over time connectors can become less effective and even cause unstable connections. Also on locations these extensions are very sensitive to water, dust, etc.

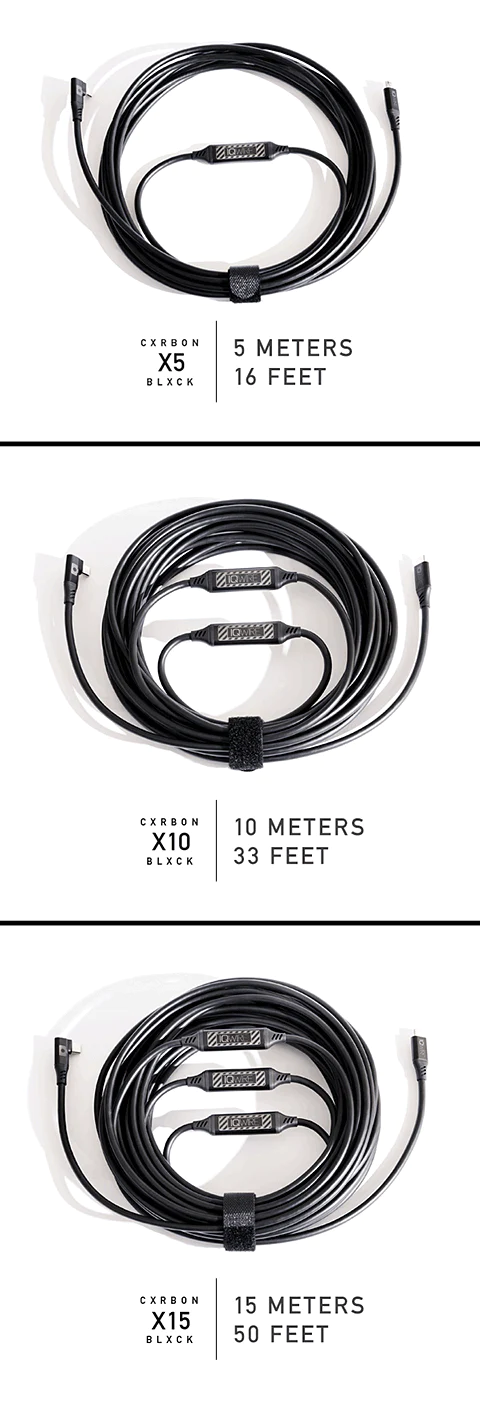
This is why IQwire (a brand designed by and for photographers) is supplying cables in 5 and 10-meter lengths in one piece. And with the introduction of our new Generation 2 Carbon Black cables, we are now also supplying a very nice 15 meters in length, also in one piece.


So why can we do it?

The way our cables are designed in combination with inline boosters and intelliconnect connectors warrants a very fast and stable data transfer aimed at modern high-resolution and high-speed cameras. But due to the length in one piece, they are also much less sensitive to damage from the outside. You can even put a knot in the cables.  (Although we don’t advise this, just like backing over one with a truck… yeah it happened and it still worked).

So let’s take a look at our new cable design.
I love black 😀

iqwire-carbon-black-the-new-tether-line-up

But we don’t stop there.

Defensive system

Of course, we are very careful with our gear. But accidents happen and even with our angled connectors it still happens people bump at the camera and destroy the port. So this had to be solved. But when you start we have to take care of the whole chain. And because we don’t want our defensive system to stop your workflow it was designed with exactly that in mind.

Speed and safety


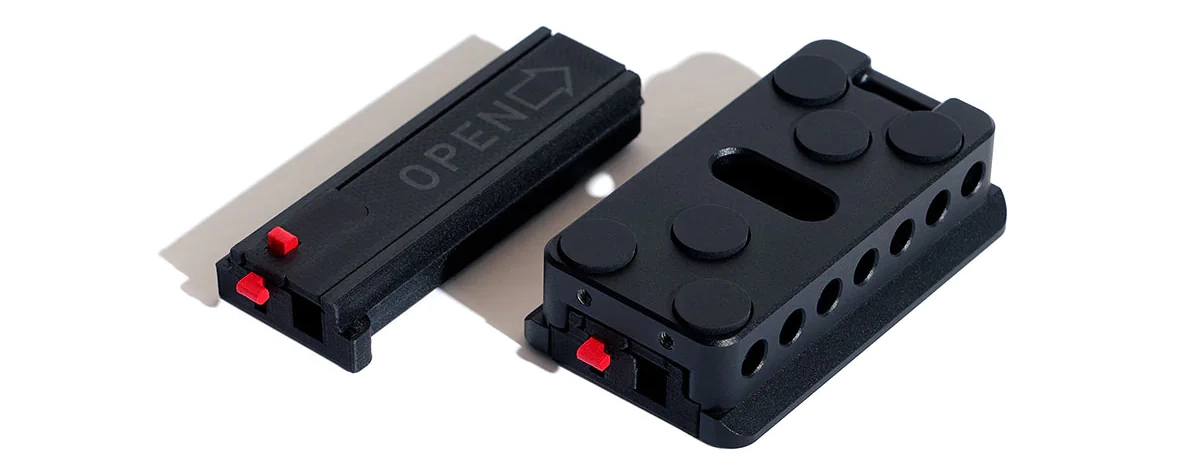
IQwire QRCL tether lock, Quick Release Cable Lock

The QRCL is the base of our tether cable management system.
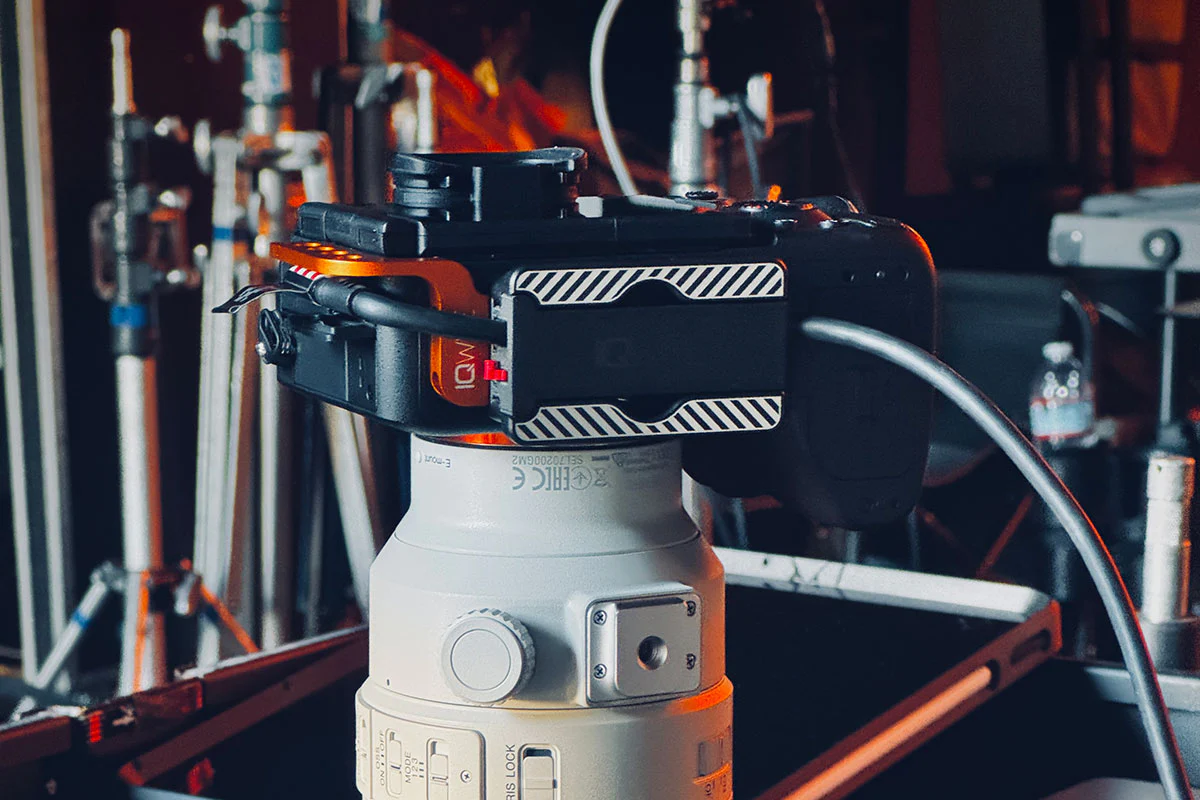
QRCL is a precision machined 6061 aircraft-grade aluminum Arca-Swiss compatible camera plate with an integrated tool-free easy-release carbon fiber composite tether lock.

Our patent-pending system lets you lock in or release your tether cable in a matter of seconds without the use of any tools. QRCL will keep you shooting so you don’t have any unexpected cable disconnects and help you keep from breaking the connector on your cable. Because you take out the cartridge with the cable you don’t have to reroute your cable every time you connect to your camera. Which means less strain on your cables in the long run. And of course, much faster connecting and disconnecting.

QRCL is built for IQwire cables and will fit any camera with a tripod screw attachment. QRCL comes complete with a 1/4-20 attachment screw and two carbon fiber composite tether lock cartridges.

 New IQwire tethering solutions from cables to defense

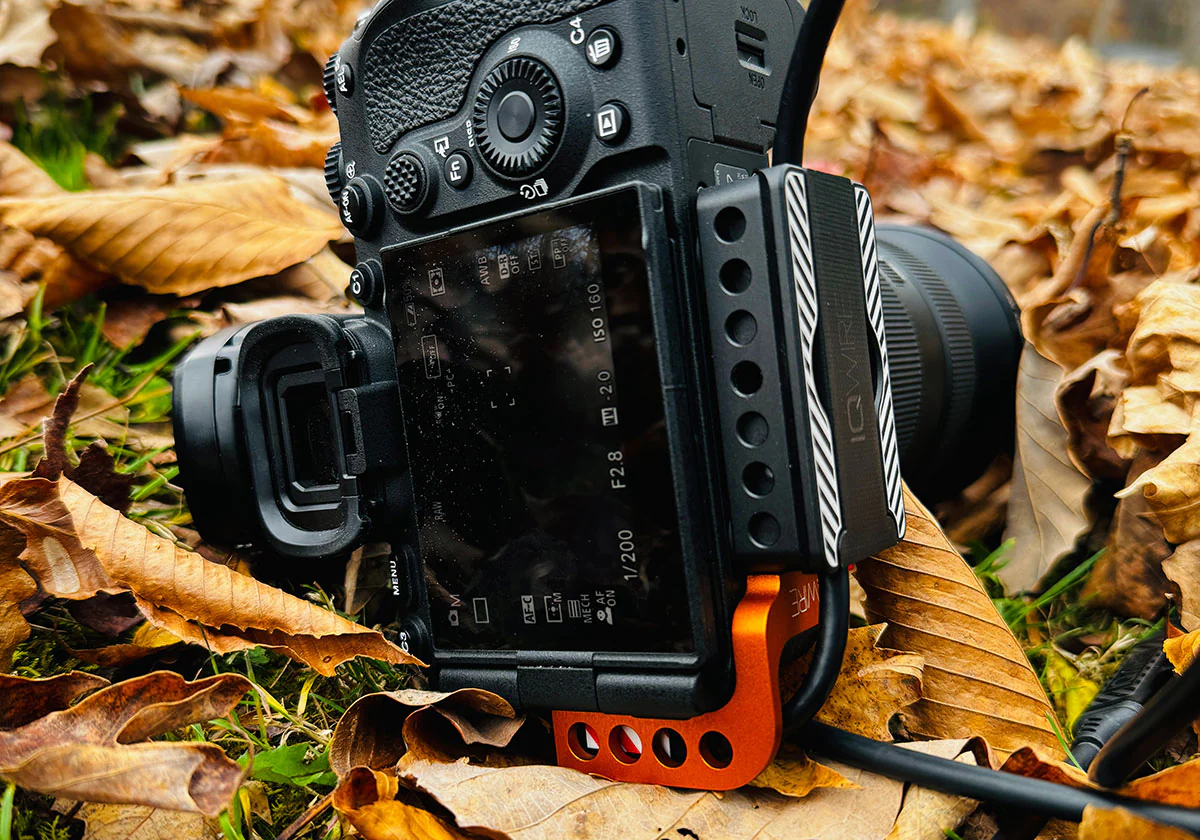
the IQwire Quick Release Cable Lock works with IQwire and other cables. And it’s easy to take off when you don’t need to tether anymore

Now that we have a proper connection to the camera we still have the cable sticking out of the port. So there is more …

New IQwire tethering solutions from cables to defense


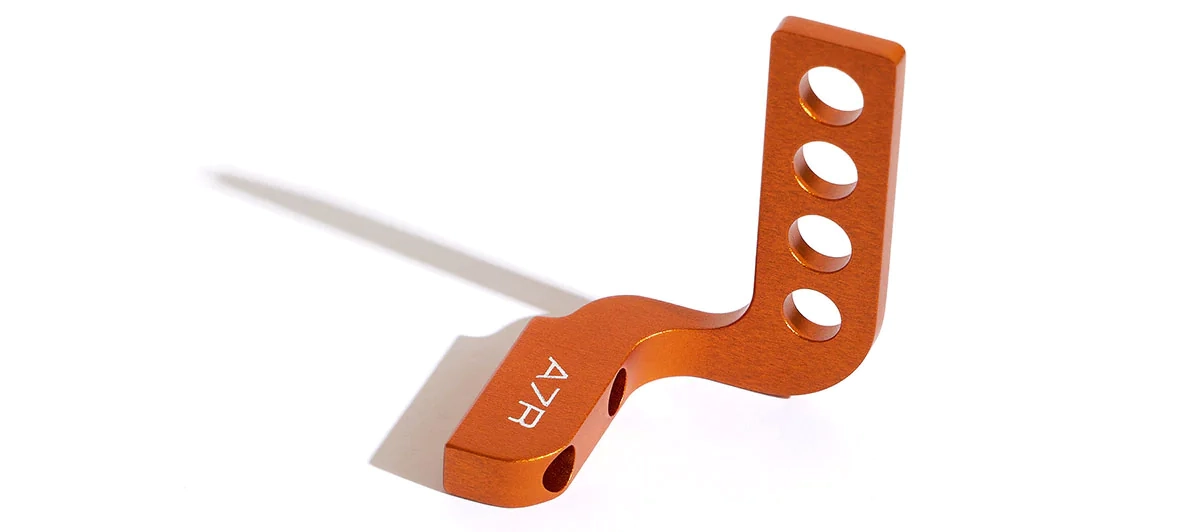
The IQwire UCMD, Unplanned Cable Modification Deterrent

The UCMD is exactly what the acronym stands for—a deterrent for unplanned cable modifications (accidental USB connector damage).
UCMD is a precision machined 6061 aircraft-grade aluminum USB connector protector that bolts directly onto the IQwire QRCL camera plate. The patent-pending system provides a shield for the USB connector. This means we are also protecting your port and cable from accidental bumps into the camera and when you accidentally place your camera on the connector.

UCMD is built for our IQwire cables and requires the IQwire QRCL for deployment.
UCMD comes complete with two attachment screws and a 2mm hex wrench and is camera specific so contact us if you are not sure.
The UCMD is not compatible with power grips except for the Fuji GFX 100 II.

Ok, so now we have the cable connected…to the camera and protected the port, but what if….
Someone sti, ll trips over your cable and pulls it…
In that case we are still not 100% safe, the camera OR laptop will end up on the floor. So we need to also solve this problem,

And that means we are now also introducing the final step in a,100% (well ok you guys are creative 99%) safe, stable and super fast tethering workflow.

Quick release = quick save

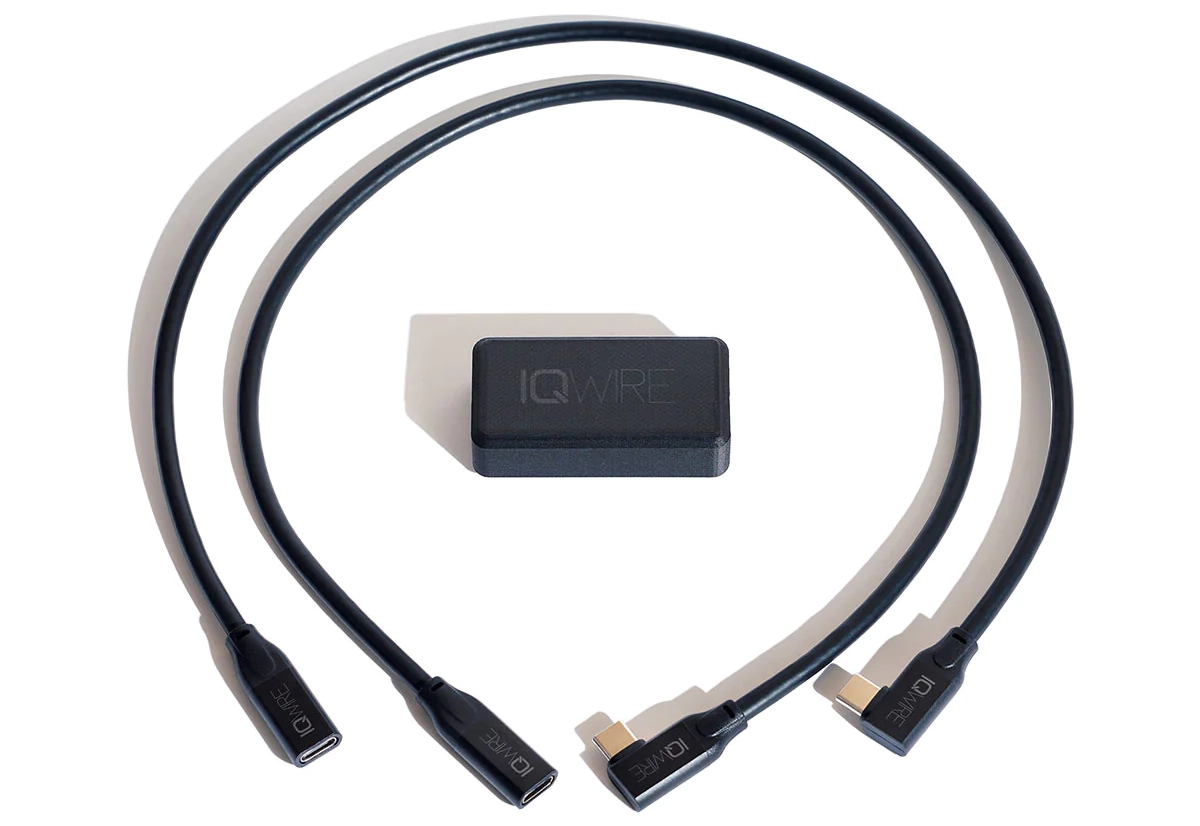
The IQwire ACDS, Advance Cable Defensive System

The IQwire ACDS gives you a defensive system for those accidental cable events where someone yanks the cable right out of your camera along with half the USB connector. ACDS attaches to the right-angle end of our IQwire cables and creates a quick-release release.

ACDS comes complete with the quick relight-angle fiber composite block, along with two 18″ right-angle stingers. The second stinger can be stored as a spare or used as a quick release on the computer end.

By combining the two stingers you now have a “breaking point” at the computer and camera side. This means your gear and cable will probably survive the event. By using the stingers and ACDS you are also protecting your main cable connector against extensive wear and tear extending its lifetime.

 New IQwire tethering solutions from cables to defense, this a one of the defense mechanismes. the Avanced Cable Defensive System, or ACDS  New IQwire tethering solutions from cables to defense. Use the stinger of the Advanced Cable Defensive System on the computer side

Conclusion

New IQwire tethering solutions from cables to defense

There is a huge difference between products designed by companies working in the photography business and products designed by photographers. So let’s see how these new products will impact my workflow.

IQwire cables are very fast but most of all stable. I’m teaching a lot of workshops in the studio or on location. And especially when shooting fast series I want the images to come in at the same speed without any stutters. So the attendees can follow what I do in real-time. With the IQwire cables, I can shoot at full speed with my Sony A7RV. The images appear almost instantly on the big screen. And when I lose connection it connects faster than any cable I used before. Especially when under pressure, trusting your connection is vital. The new Generation 2 cables are ready for the new generation high resolution and high-speed cameras.

When teaching at events I often have to run from stage to stage so taking a cable off my camera and putting it back on several times a day is no problem for the IQwire cables. But it becomes very frustrating fast. So with the new QRCL I can now just take the cartridge out and put the camera in the bag. And when I’m at the new location it’s a matter of just clicking the CA, and cartridge back in and I’m ready to shoot.

During events it’s sometimes very crowded and people do bump into you. Also, the UCMD will be mounted,d on my camera from now on during events. In the past I’ve damaged some ports and although I’m always careful, cameras do tip over or people bump into them. With the UCMD it’s another thing I don’t have to think about anymore.

Finally

And finally, for me maybe the biggest one, the ACDS
We’ve tried several solutions ourselves and although they work fine it’s far from the ACDS in elegance and protection. I’m routing the main cable into the ACDS at the camera side so the connector on my main cable is protected. Plus I can now connect one of the stingers to the camera via the QRCL and on the laptop side I’m using the second stinger to create a “breaking point” for the laptop.

We will probably end up with 2 ACDSs’ one with a 5-meter cable for the very small sets and a 15-meter cable for all the rest. The 15 meters is a real beauty for studios and larger sets. It gives you so much freedom 😀

See www.iqwire.nl for Dutch customers.
New IQwire tethering solutions from cables to defense or available in our webshop www.frankdoorhof.com/shop

Mixing strobes with available light for awesome model photography results with attitude and mood

Mixing strobes with available light

This blog post is about the workshop:  mixing strobes with available light. Why is it difficult? Or is that just the impression? An explanation and of course, some results with our wonderful model, friend, and stylist Nadine Stephan.

The problem of mixing strobes and available/ continuous lighting

For loads of photographers mixing available (or continuous) light and strobes can be a real challenge. Still in essence it’s incredibly simple.

We have to remember our famous triangle of ISO, Shutterspeed, and Aperture.
When combining flash with continuous lighting we always have to remember that the flash is a pulse and the continuous lightning is cumulative (meaning it adds up over time).


Our flash is also a lot more powerful than, for example, LED lights. This means we start with the strobe on the lowest possible setting. This is one of the reasons I always advise buying strobes that can be adjusted in a wide range and are not too powerful. We don’t need 1000W in a studio environment. But 200-400W is actually the sweet spot. Outside you can use the same strobes on HSS and literally kill the sunlight without any problem. In our studio for these setups, we use our Geekoto GT400 strobes and GT200/GT250.

ISO and aperture are important when mixing light sources

If we know the output of the strobe we have to of course also look at the lens we are using. It makes no sense to set the strobe to f1.4 when you’re shooting with a f2.8 lens. However, don’t adjust your strobes yet….. remember that we need as much light from the continuous light as possible. So if the strobe is not outputting enough,  just raise your ISO till you read f2.8 (if that’s your widest aperture).

Now that we know the ISO and the aperture we forget about those two.

Meaning you are not changing those anymore. Everything from here on is done with the shutter speed.
A faster shutter speed means the lights will be dimmer. Slower shutter speeds will make the lights appear brighter.
You can now exactly setup the shot exactly the way you want by experimenting with your shutter speed.


Some things to remember when mixing strobes with available (continuous) lights


Always start with an image without strobes and your intended continuous light to see what’s going on. In a perfect setup the image would be 100% black. Now add the continuous lighting first to see how it looks. And finally add the strobe (this is after we already metered everything and is more of a test to make sure there is no extra light, we don’t want in the shot).

When you can’t get your strobes low enough, you can always experiment with other modifiers. For example, a striplight with a grid will “eat” much more light than a beauty dish or open reflector. And if that’s still not working you can always think about adding Neutral Density  (ND) filters to your strobe (not the camera, because that won’t benefit you, due to the continuous light you have to mix).

Do always remember to turn off ALL the lights in your studio INCLUDING the model lights of course 😀
If you don’t, it won’t always be bad, but you have to realize that they will influence your image.


Some results from the workshop

During my workshops, we always try to do 3-5 sets. And during this workshop we managed 4 amazing setups. But because only 3 were done with mixing strobes and continuous lighting I’m just showing you these in this blogpost.

Model and Styling: Nadine

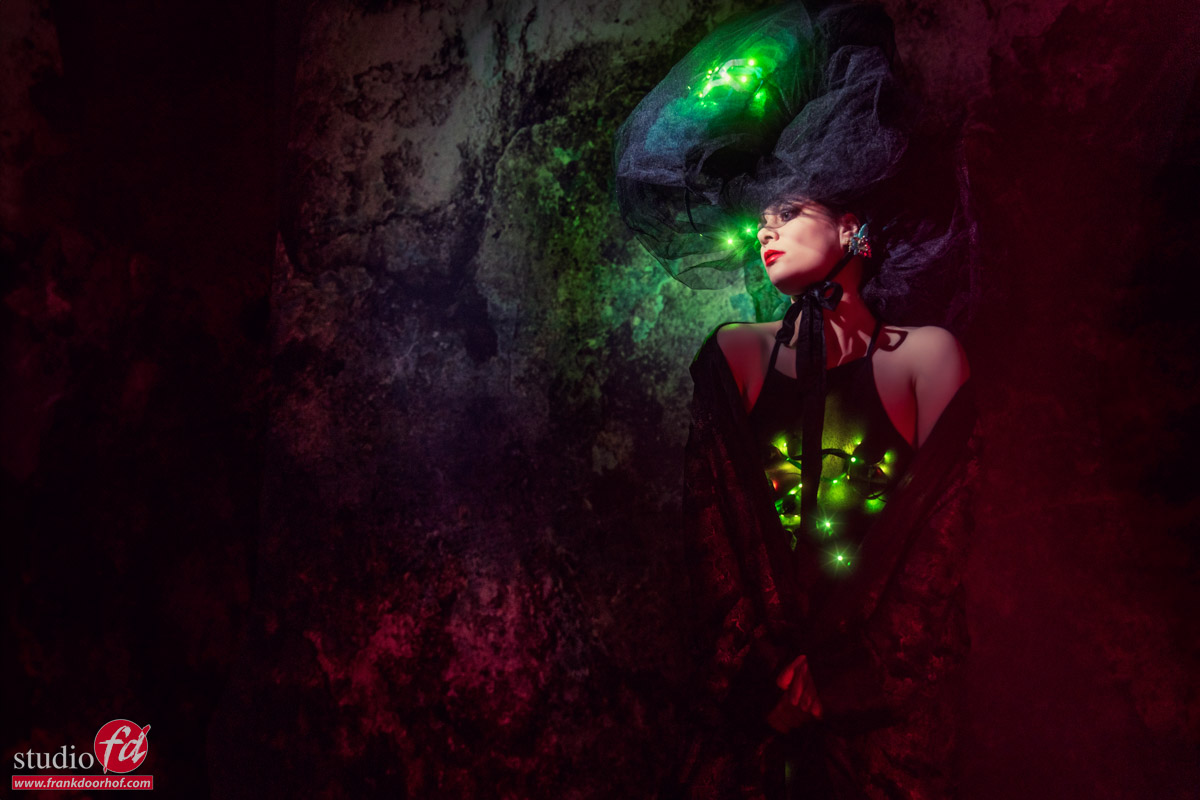
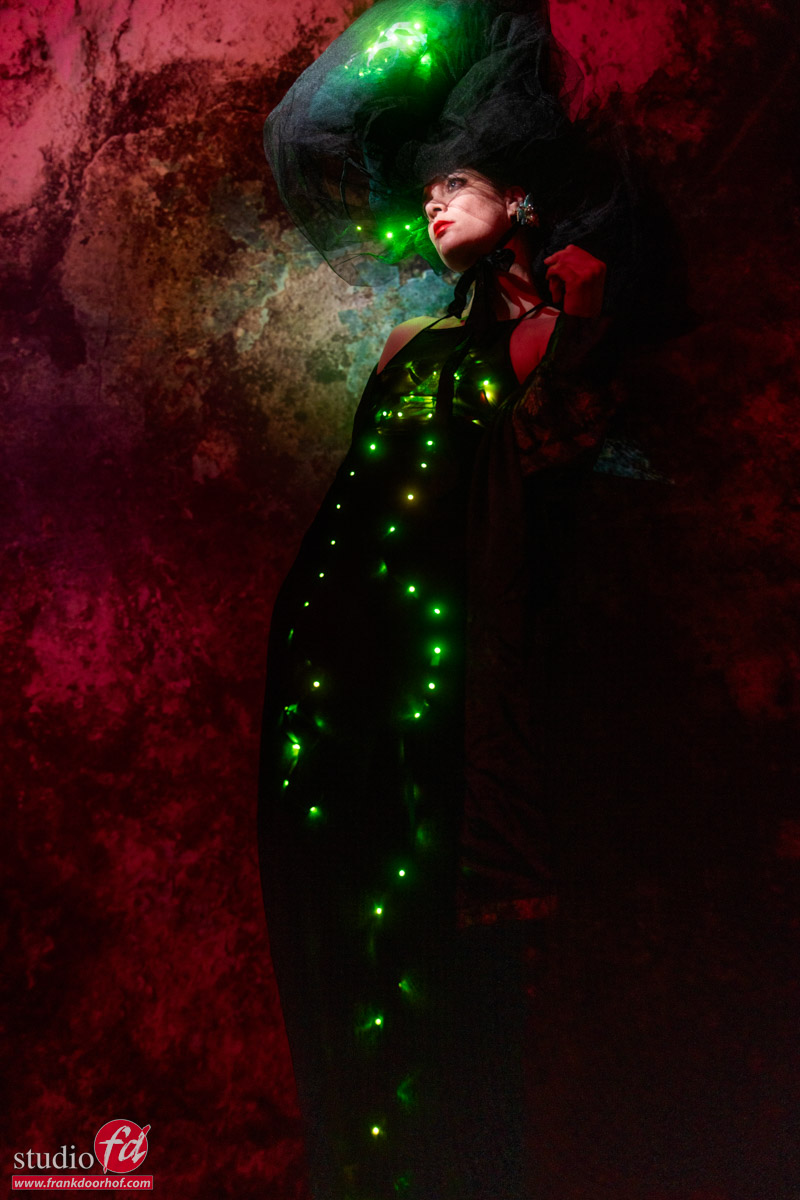
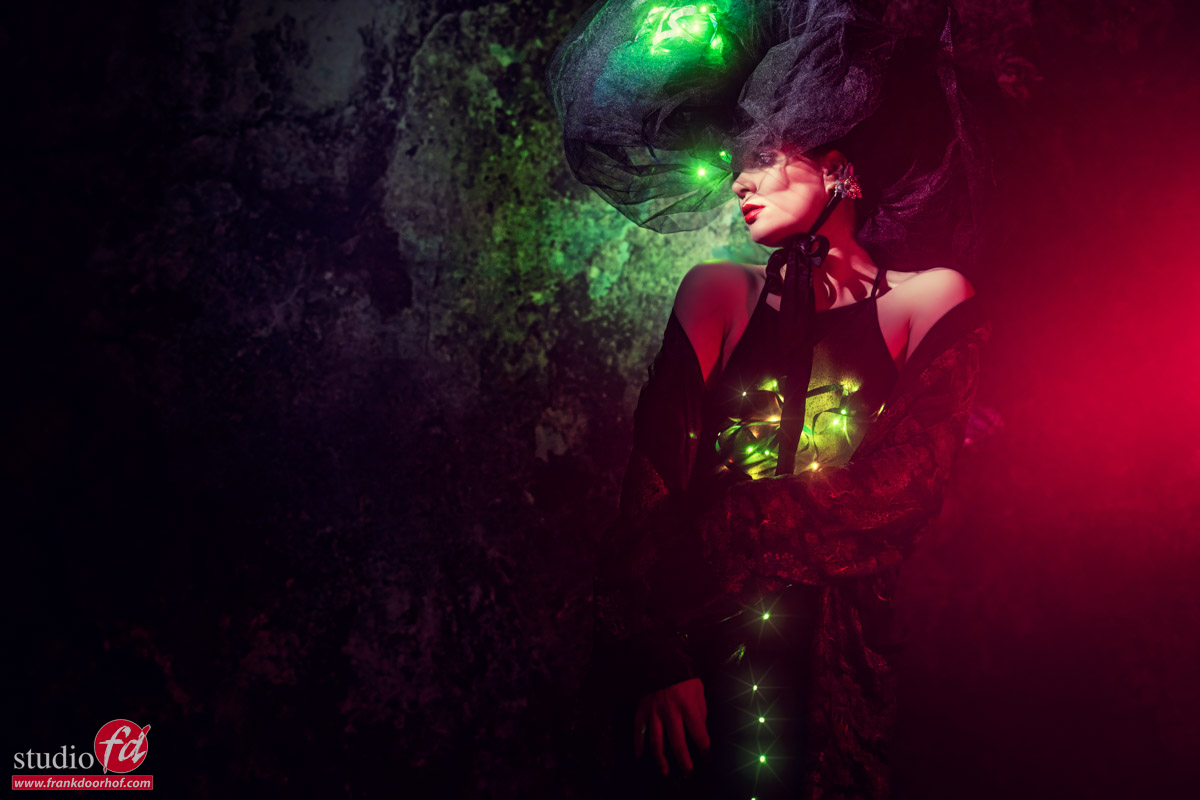
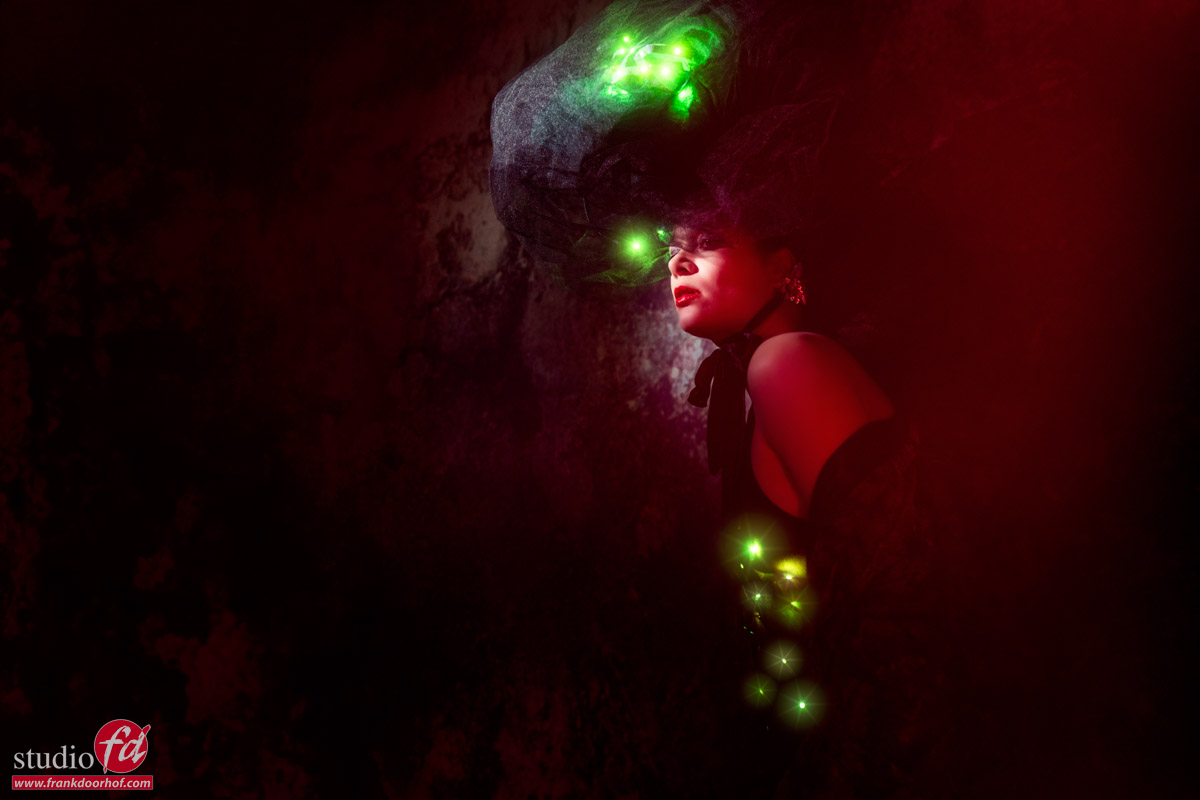
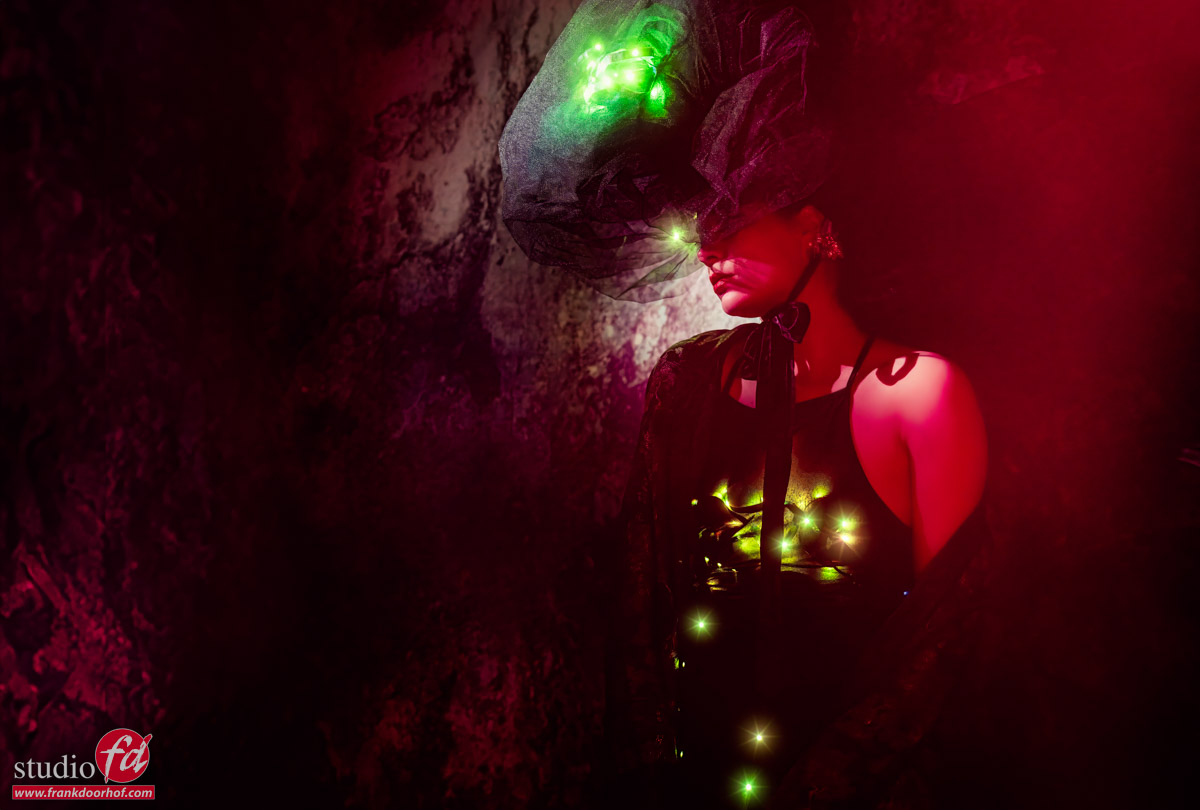
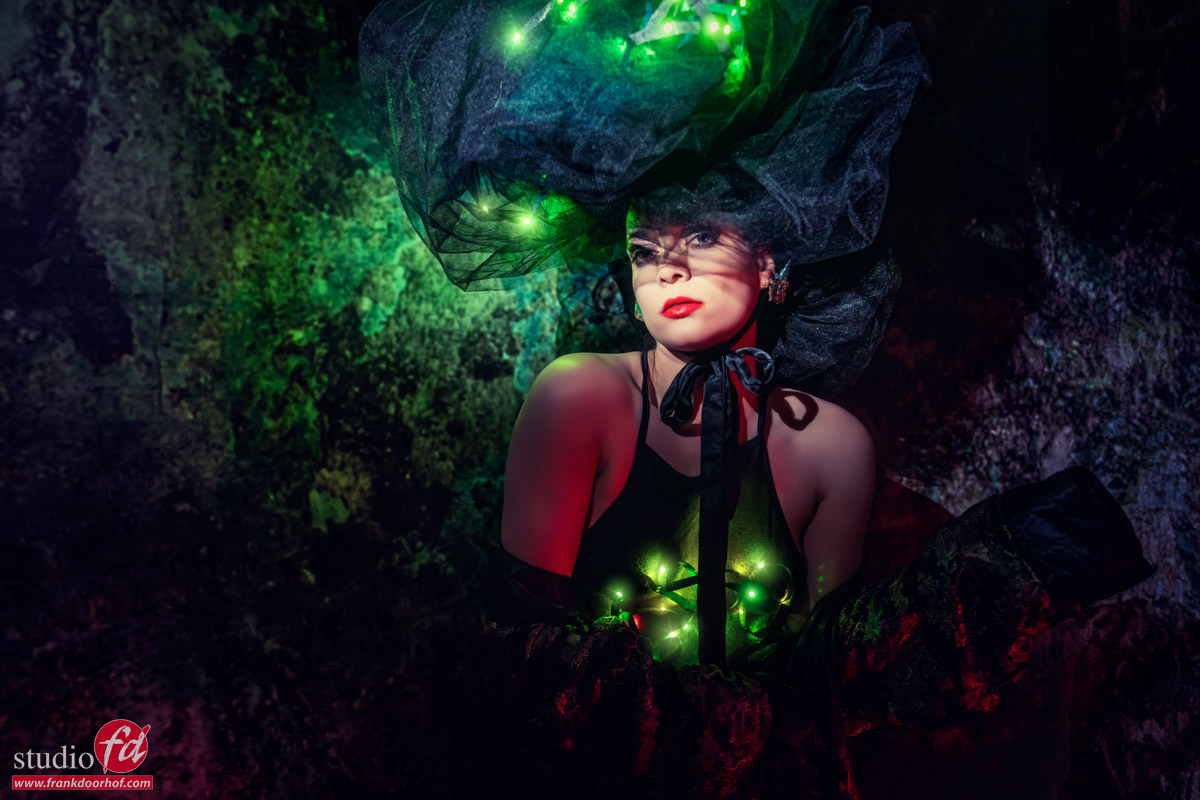
Set 1

Mixing strobes with availabe light

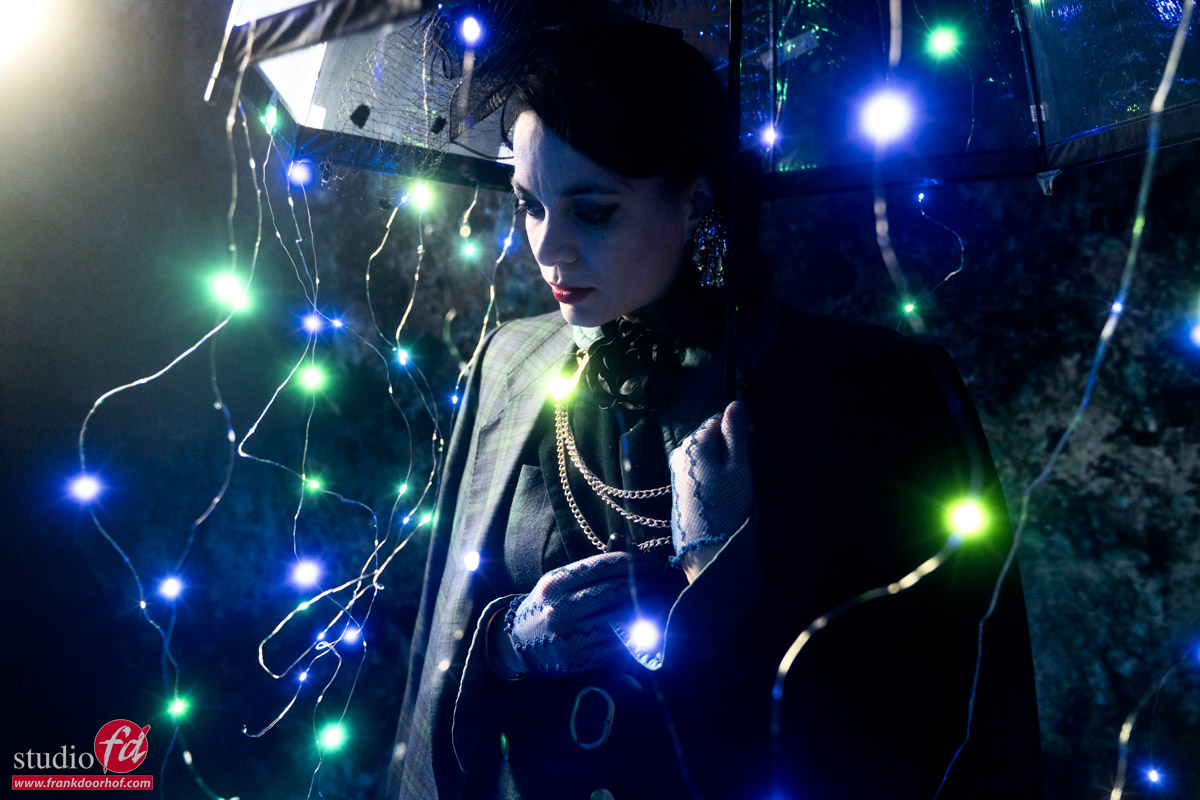
The model is lit by the strobe

Mixing strobes with availabe light

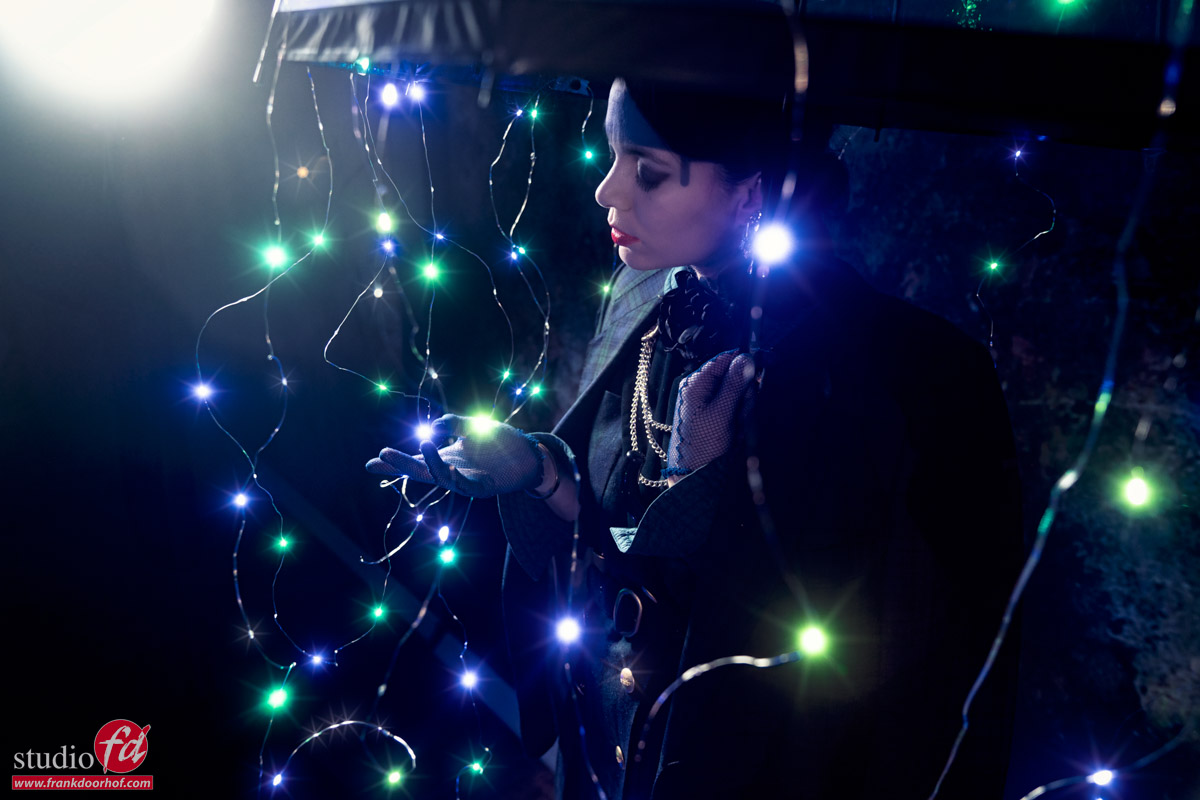
the lights blink in different colors

Mixing strobes with available light

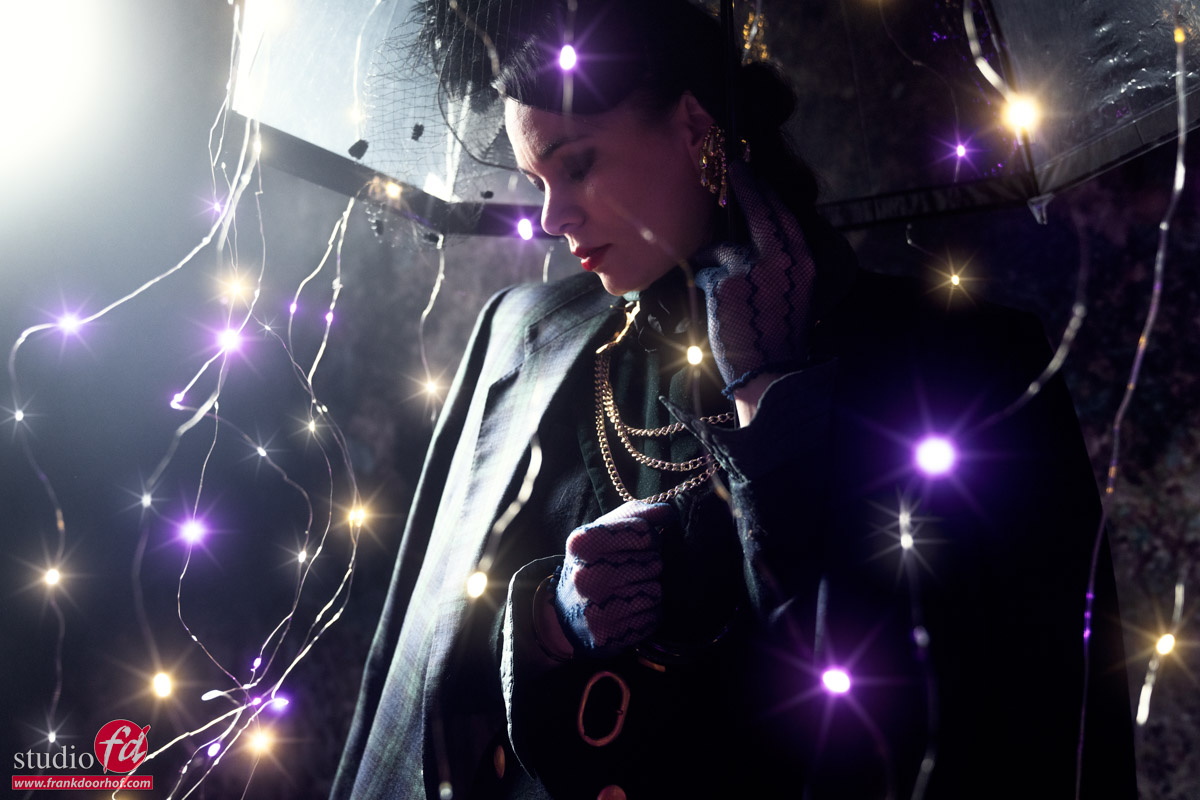
different angle

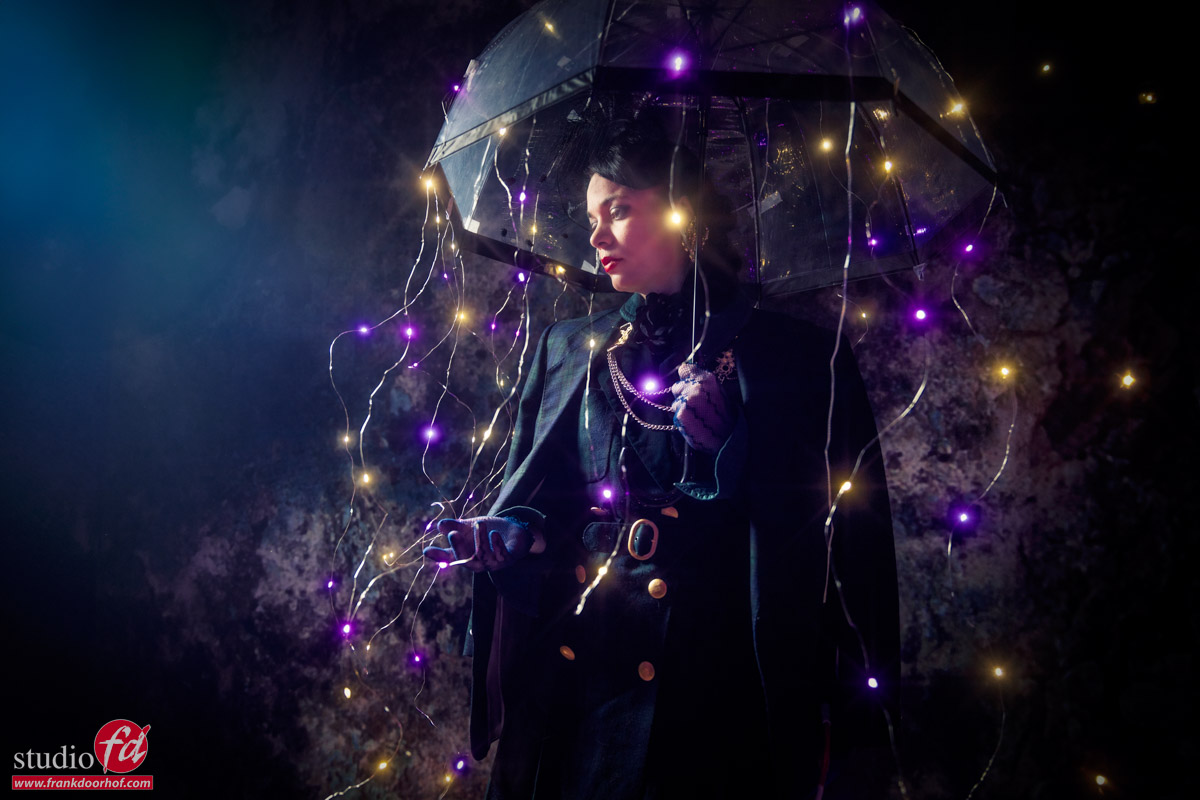
For the first set, we used some Christmas lights on an umbrella.
I’m using a small beauty dish with a grid as my main light source. I included it in some images for some added effect.

Set 2

In this set we had to push the ISO a bit further because there were fewer lights and the whole set was pretty dark.
Here I’m using our Rogue snoot on a Geekoto GT200 and our magnetic dome from Rogue with a red gel on a Geekoto GT250 for some added effect.
The red gel is placed away from the model and by moving the camera position slightly forward and backward I have total control over the amount of red entering the set. This can give some great “art” looking effects without using Photoshop. In fact, all the images in this blogpost are largely straight out of the camera.

Mixing strobes with availabe light

We even used a red color gel from the side

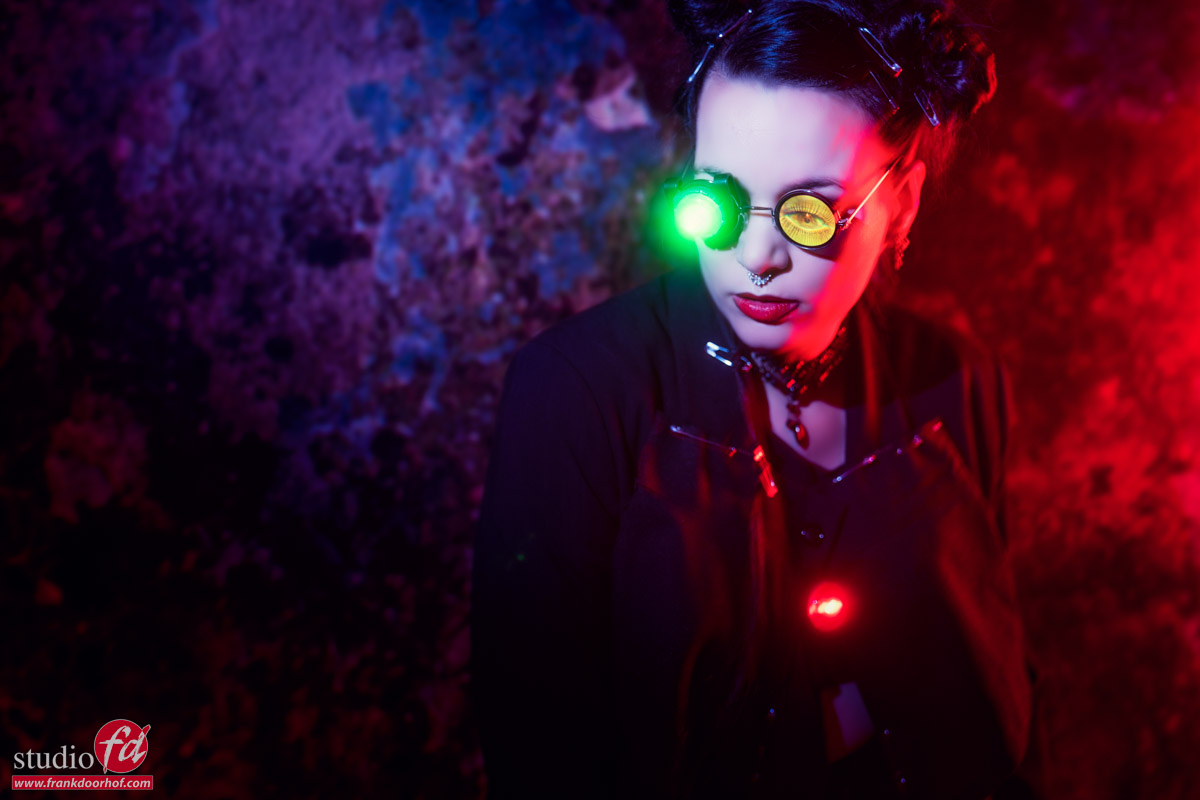
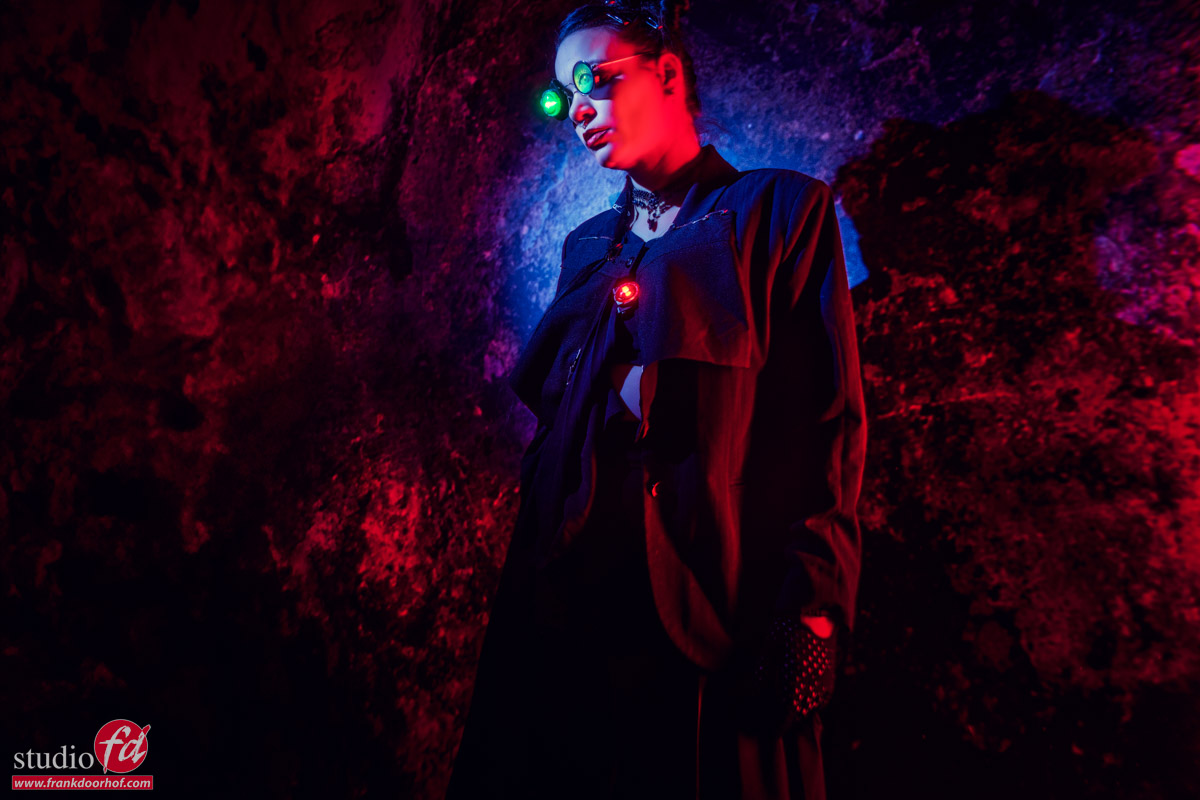
Set 3

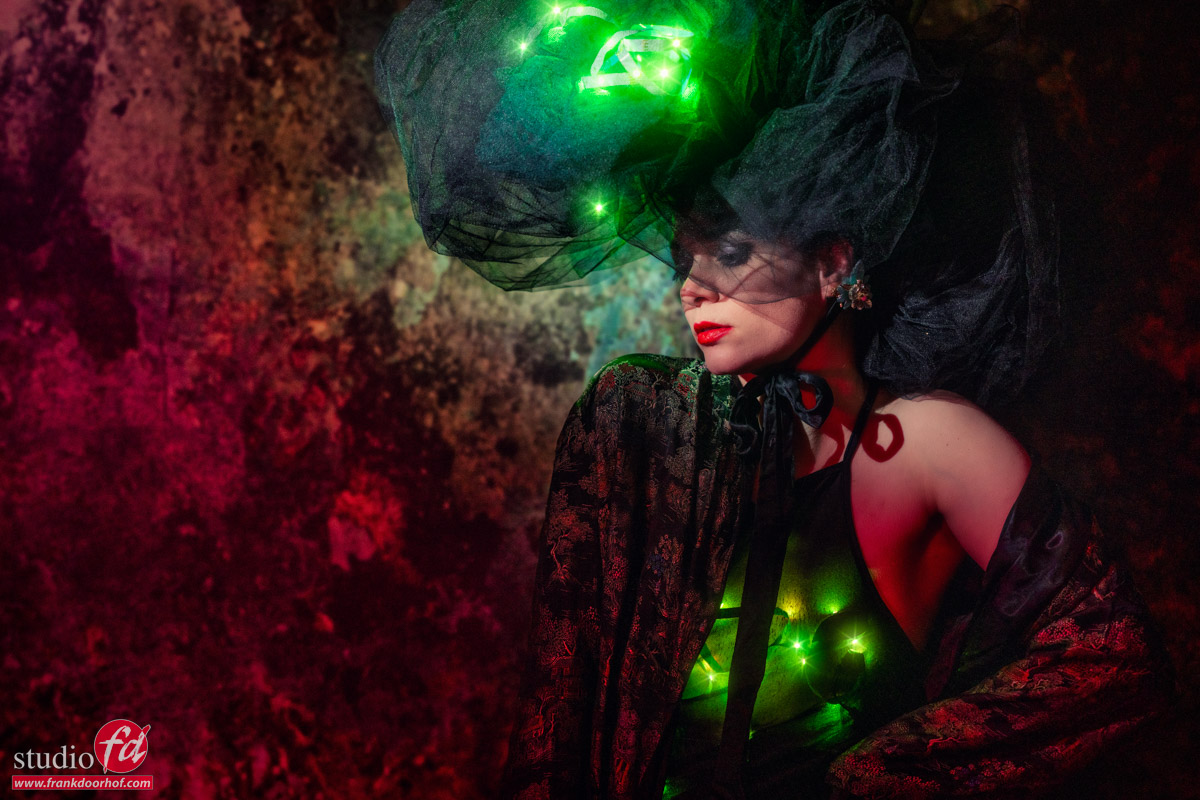
For this set I’m using the same Rogue Snoot but on a slightly wider setting.
This snoot can be used in 4 different ways (and if you add the diffusion option 8 :D)
And our intern is holding a Nanlite Pavo tube on red, from the right.

Mixing strobes with available light

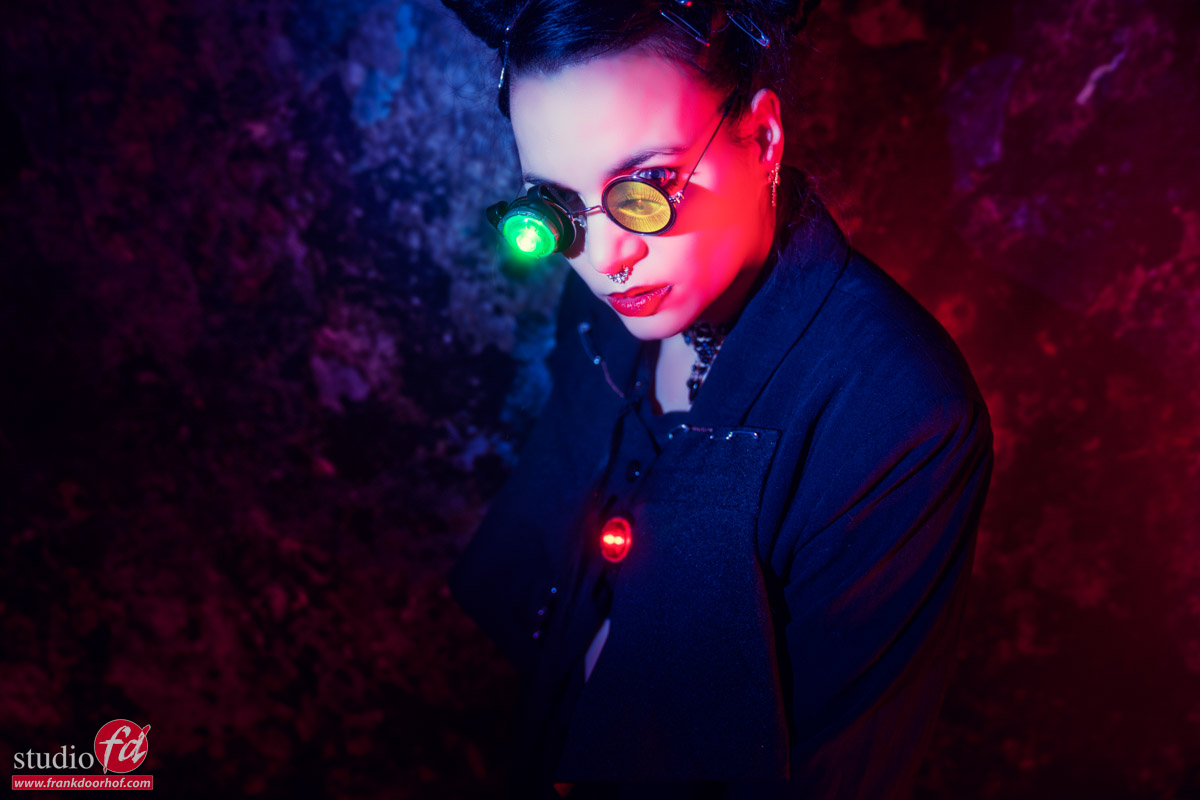
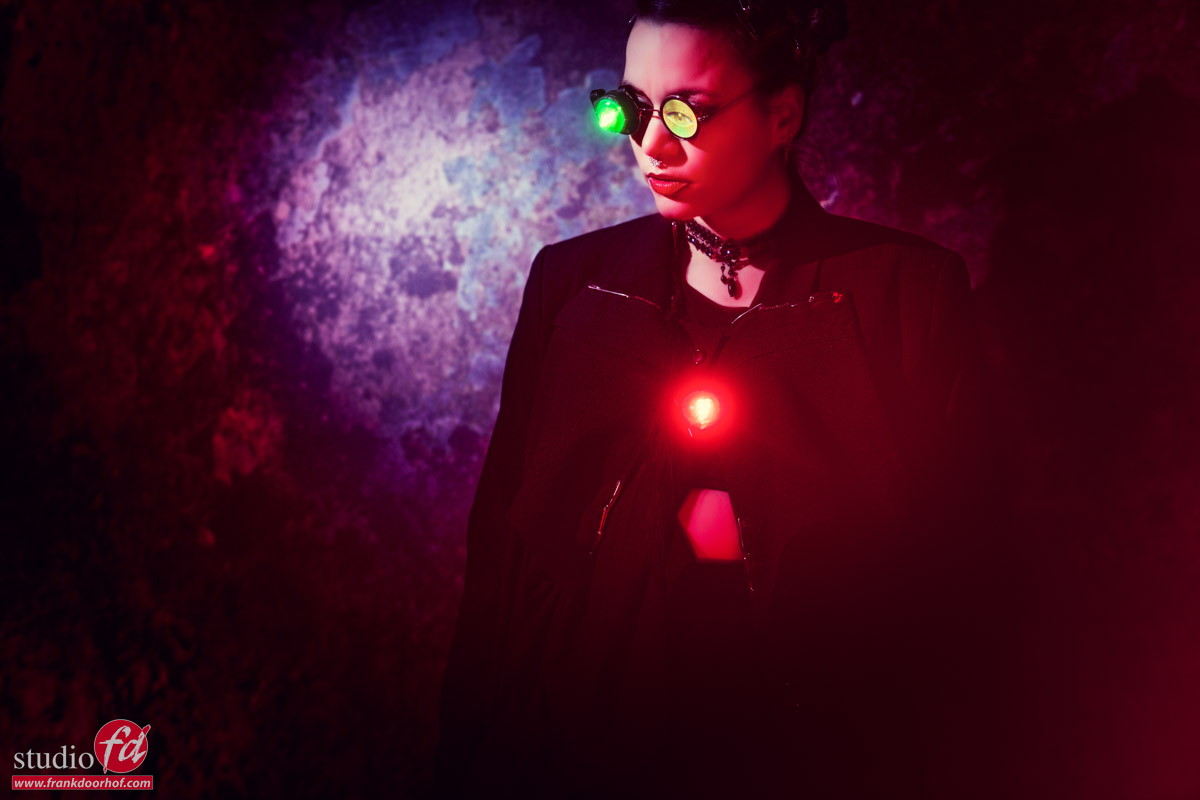
Using a red and green led light (used for running in the dark). A blue color gel on the snoot. And a big red LED tune from the right.


Mixing strobes with available light is not difficult

I hope this blog post helps you a bit when you have to mix light sources yourself. It’s not hard at all but you do have to realize that you are working with higher ISOs. On modern cameras that’s not a real problem. But in some cases, you will need some noise reduction.

Also, take into account that with slower shutter speeds the model has to be completely still. The flash will freeze the face but if she/he moves it will register as a weird shadow line, and the rest of the image will be soft. As you can see in some images you can use this creatively but you have to be aware that it can happen (to use it).

For more info on our products please visit
Geekoto.nl for our hybrid strobes and soft boxes that collapse very small
ClickBackdrops.nl for our awesome backgrounds and floors
IQwire.nl for our 5 and 10mtr tether cables
Rogueflash.nl for our Rogue products

Behind the scenes during the PhotoDays 2023 with all the setups and results and my own music

In todays episode of Behind the Closed DOORs we take you with us during the PhotoDays 2023 in Brussels Belgium,
During the trade show we ran our own booth with Geekoto, Rogue, IQwire, ClickBackDrops and of course our workshops.

I ran demos almost back to back so you get to see a lot of the “action” and because Nadine and Felisa were there to help me with the shoots the results are pretty cool I think 😀

And a fun fact…
ALL the music you hear in the video was written, played and recorded by me.
Hope you enjoy the video, the results and the music.

Another fun fact.
The whole video was shot with the iPhone 15 pro Max and iPhone 15.
Pretty good for smartphones I think.