Tag Archive for: techniques

Creating awesome zebra patterns with Photoshop AI

Creating patterns with Photoshop AI


WOW.
I knew that the generative fill from Adobe was great. But sometimes it all works great in demos, but not in real life. And to be honest that was a bit my experience so far. It was a bit hit-and-miss. But Adobe constantly improves and that’s visible. In today’s blogIn today’s blog, we take a look at what Photoshop AI did in this amazing zebra set with stylist and model Nadine


Generate fill in Photoshop

I don’t use generative fill a lot to add things to a scene. Mostly to extend backdrops, add some hair or skin, etc. You could say I use it to speed up my workflow but not really change my images. Well ok, during the cosplay workshop, we go all out but that’s also clearly visible 😀


Creating zebra patterns with Photoshop AI

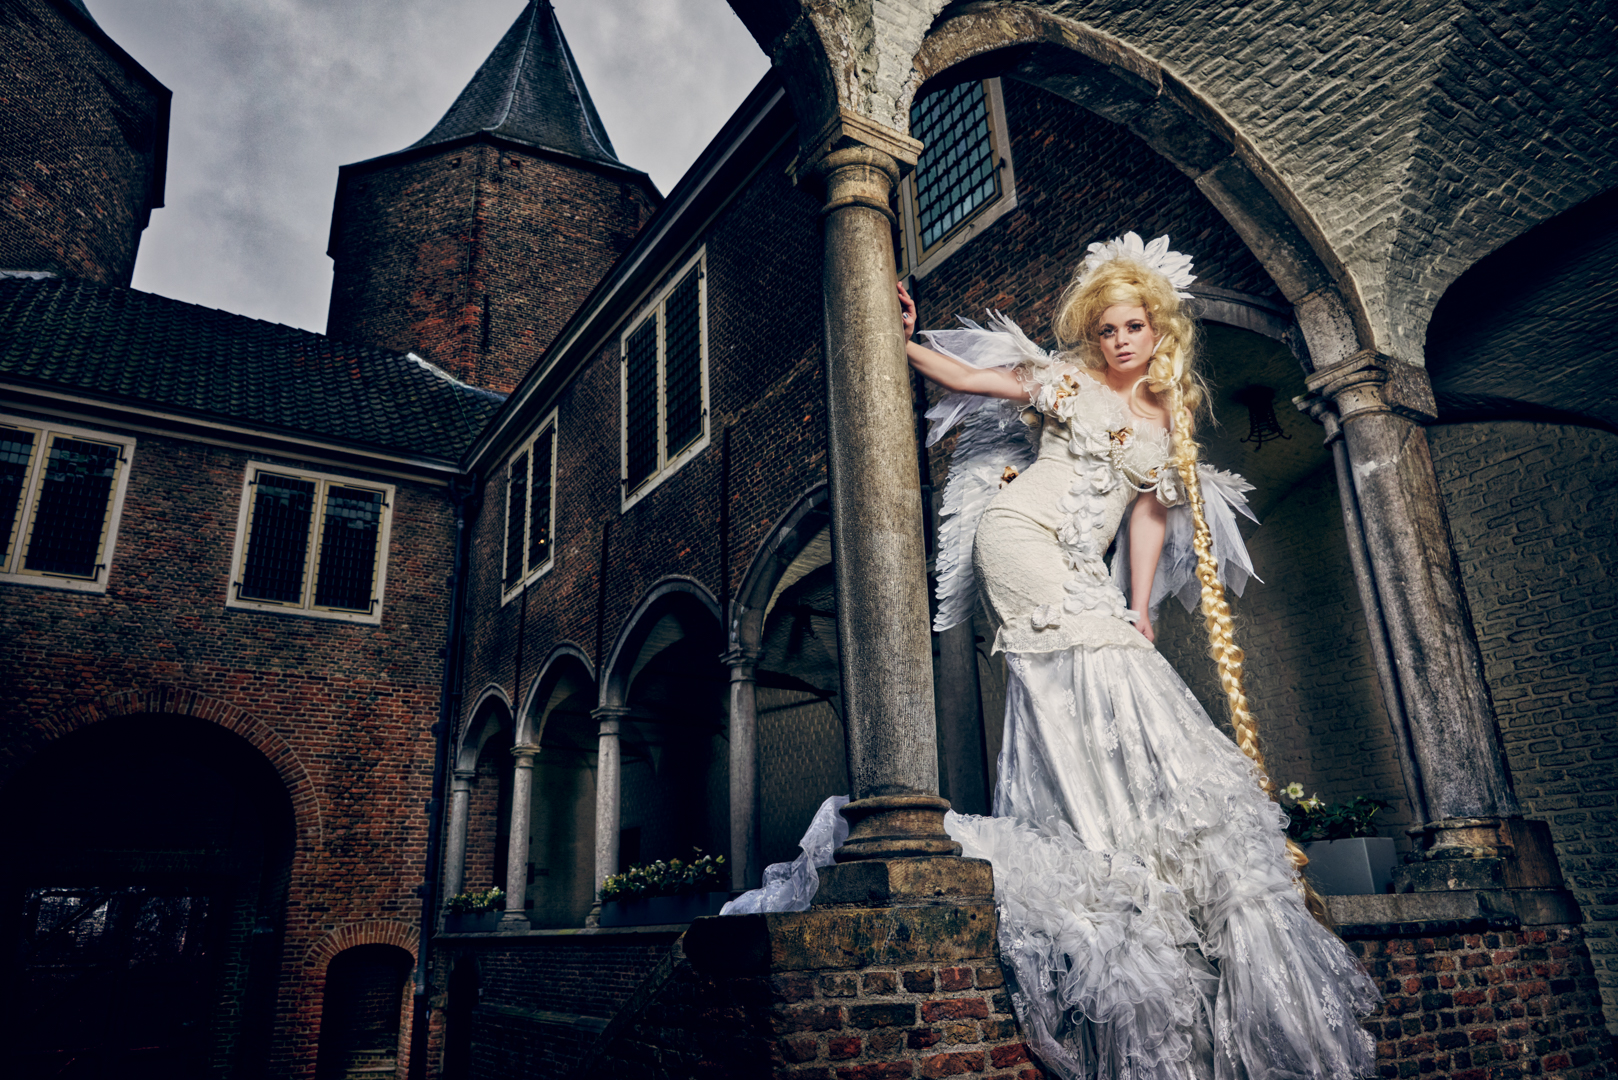
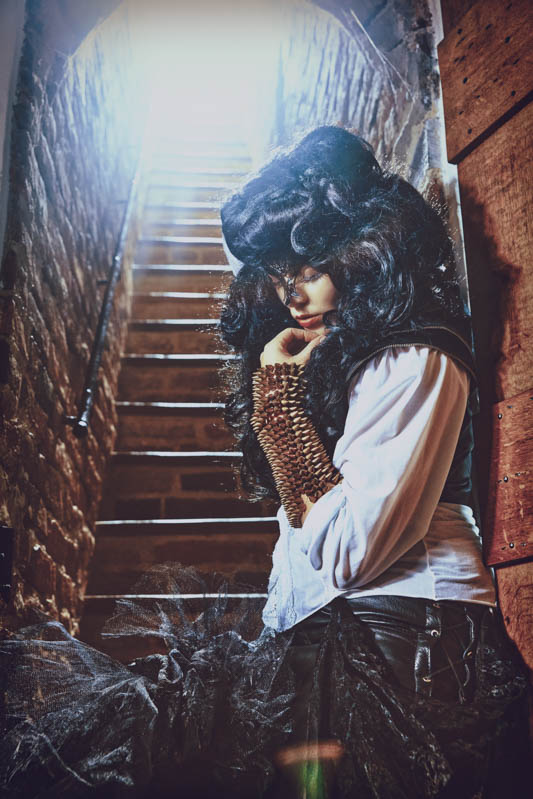
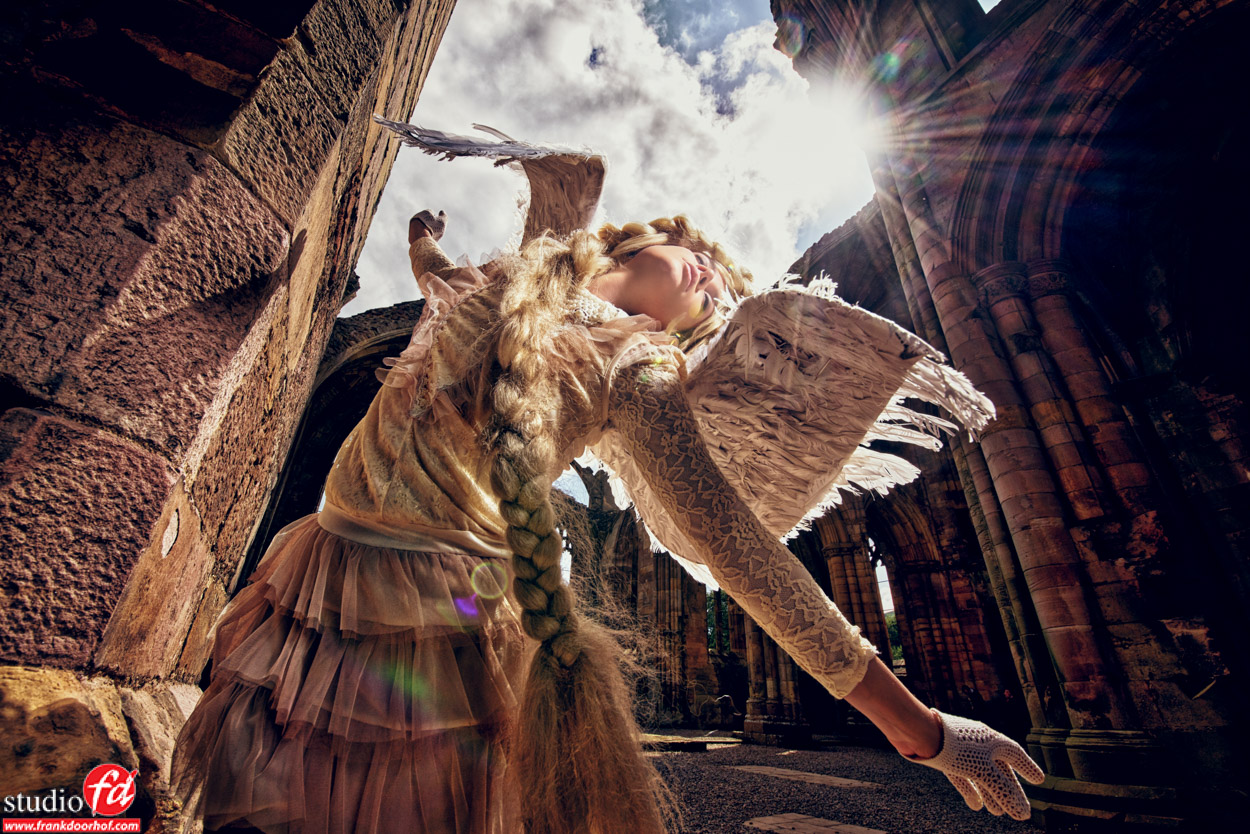
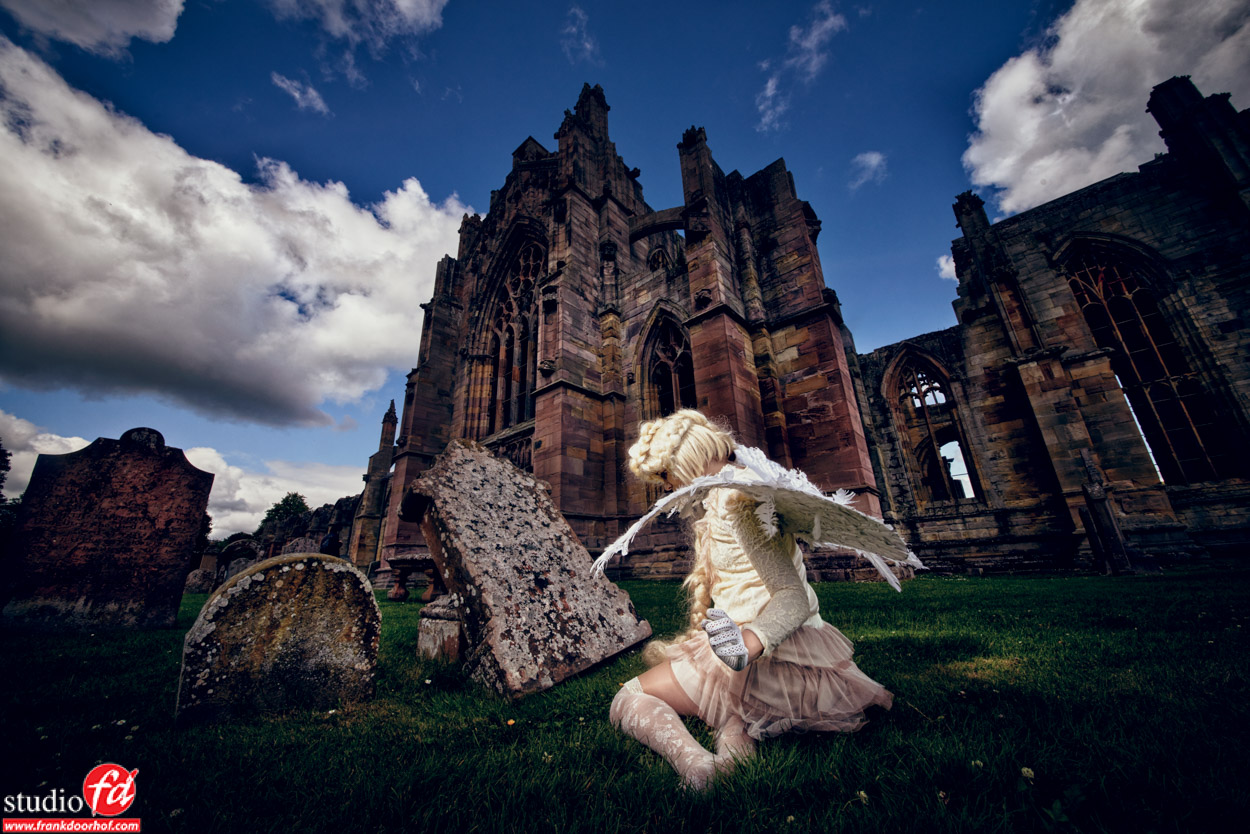
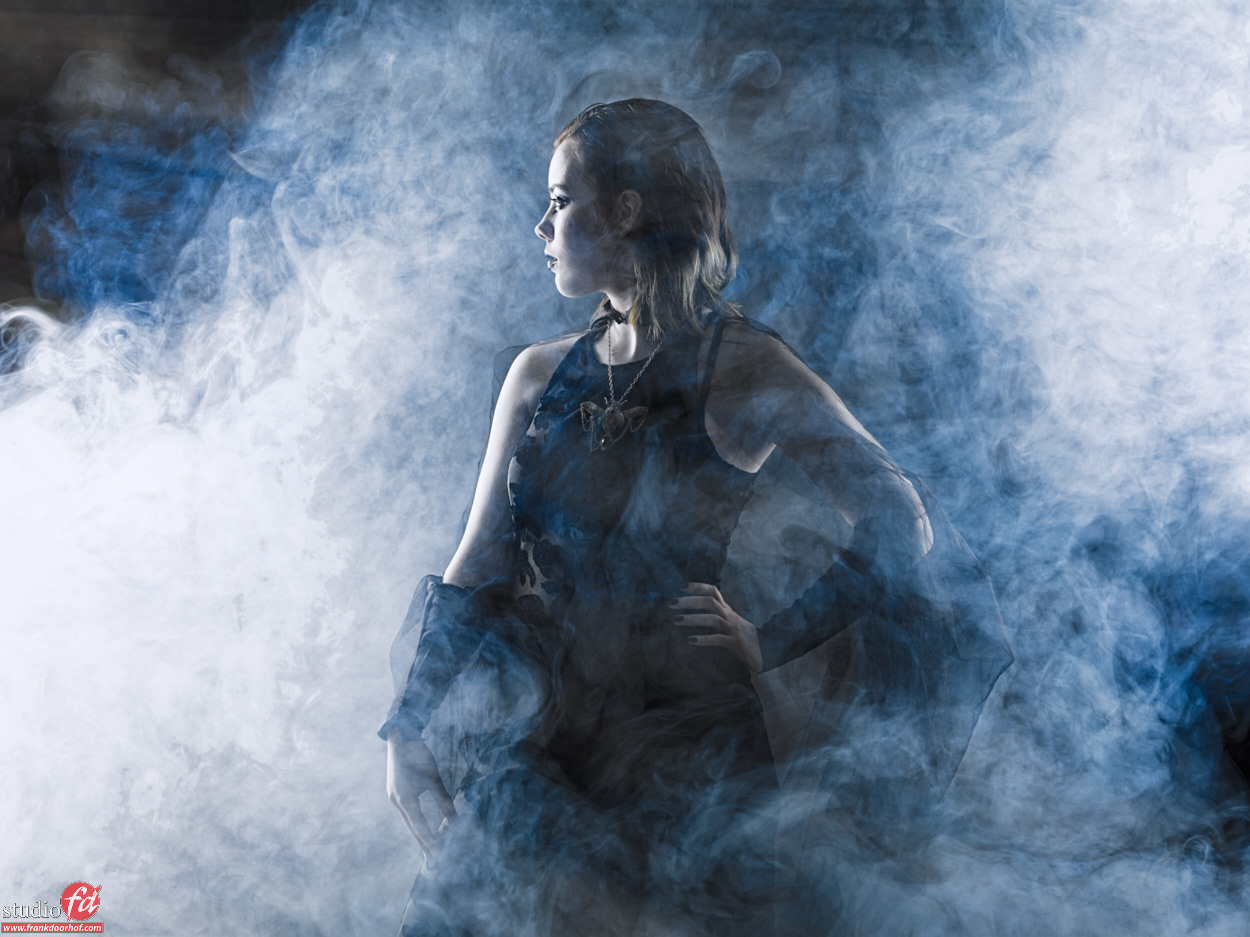
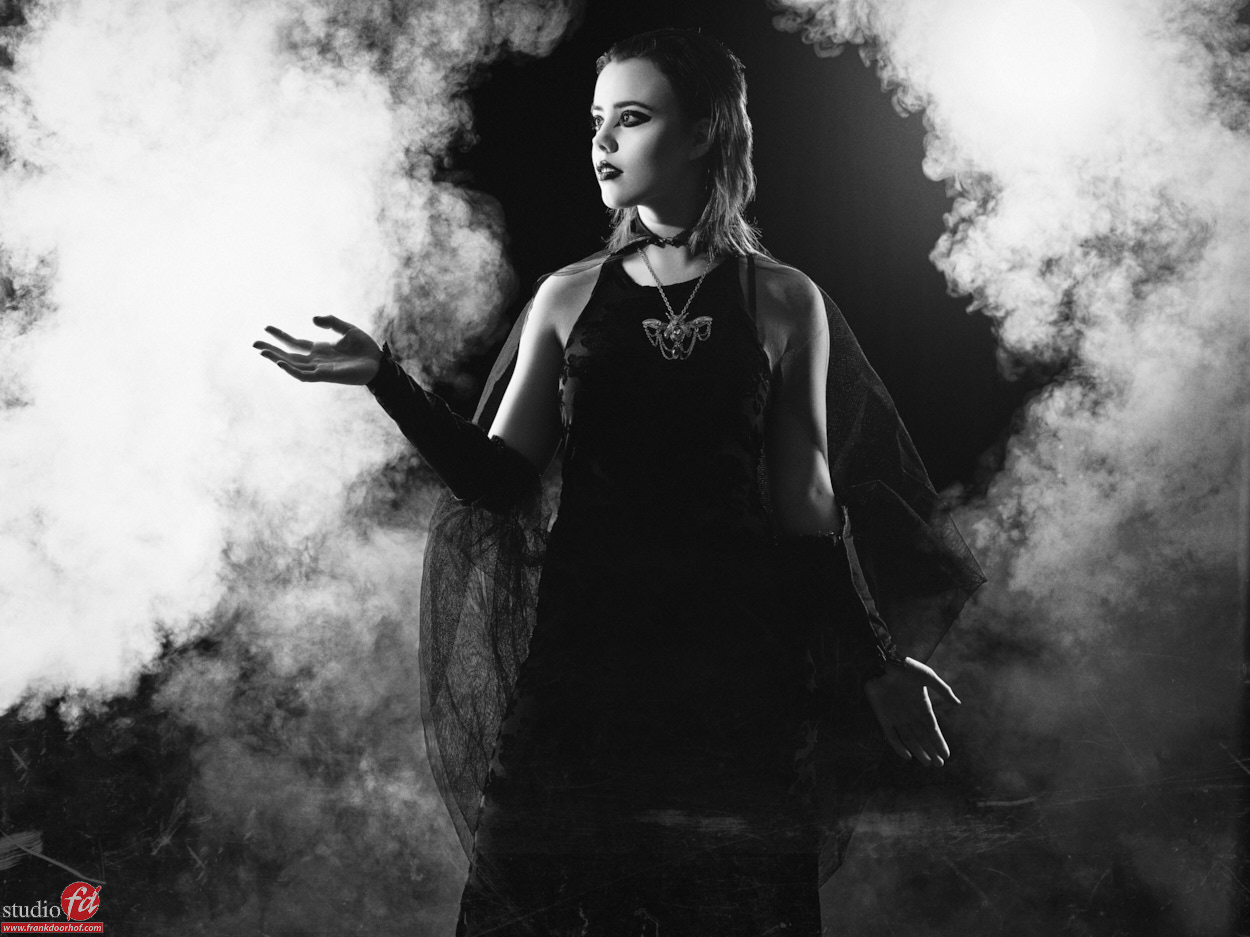
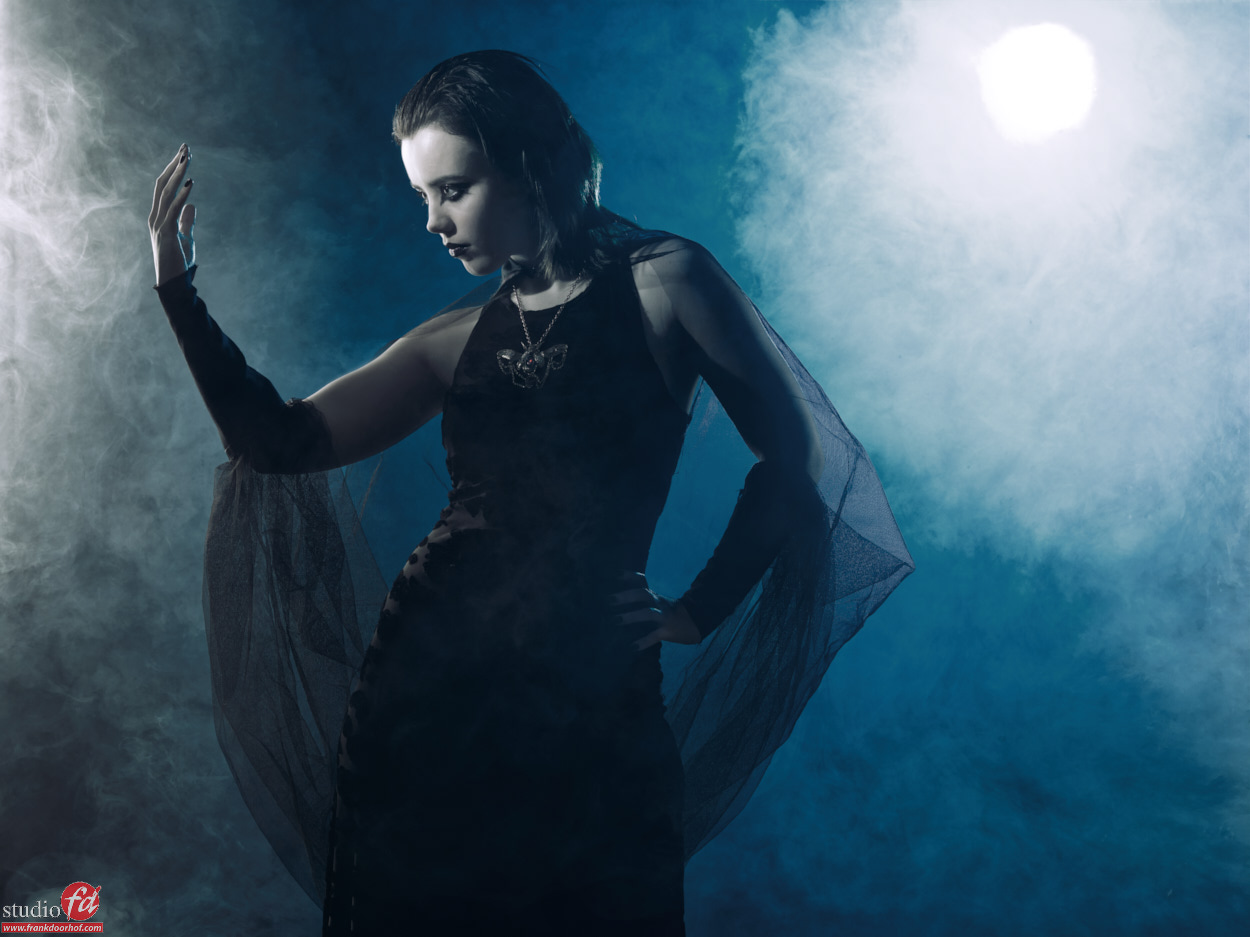
Today some images we took with our model/stylist Nadine.
For months, I had this idea with zebra prints. And we started buying material until we thought we could pull it off.
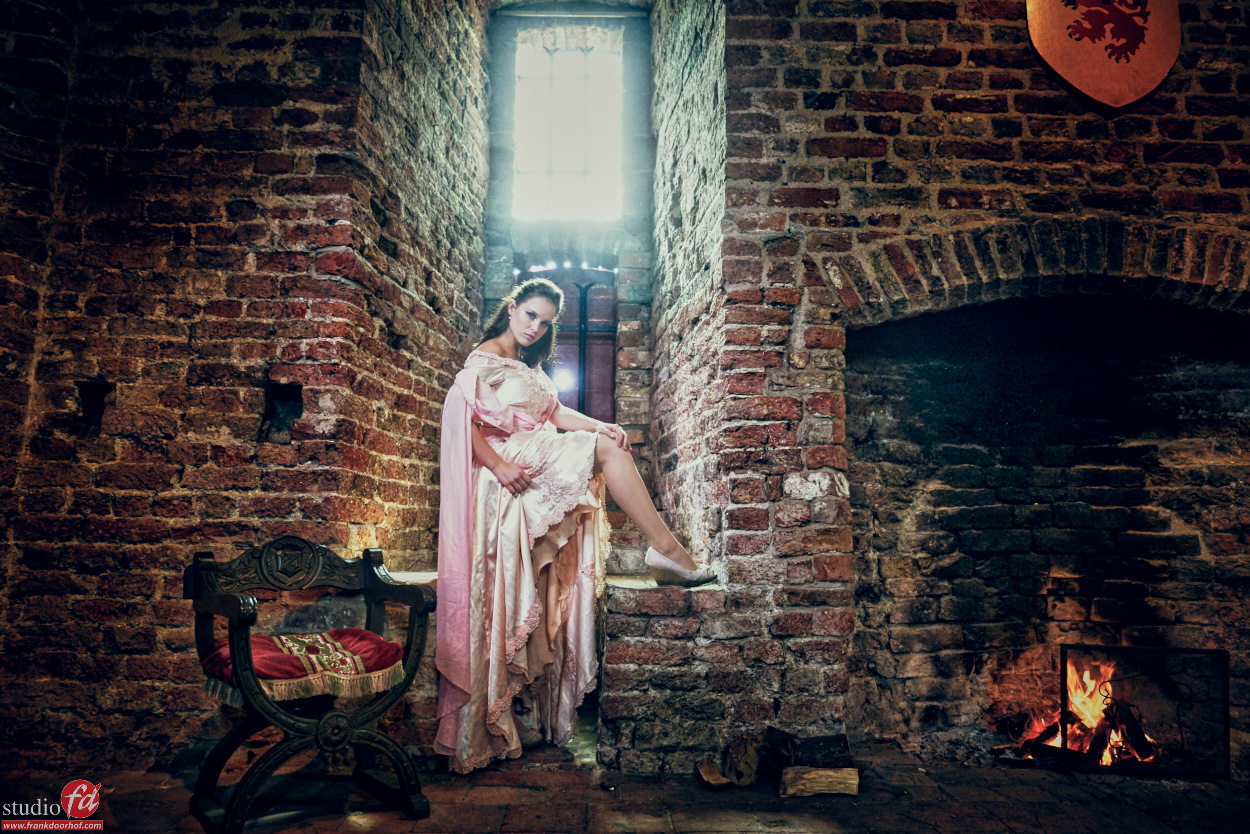
Nadine owns a great vintage store so the clothing was not a real problem in this. The main issue was that we did not really have enough material to cover the whole wall and for the floor, we only had a relatively middle-sized rug.


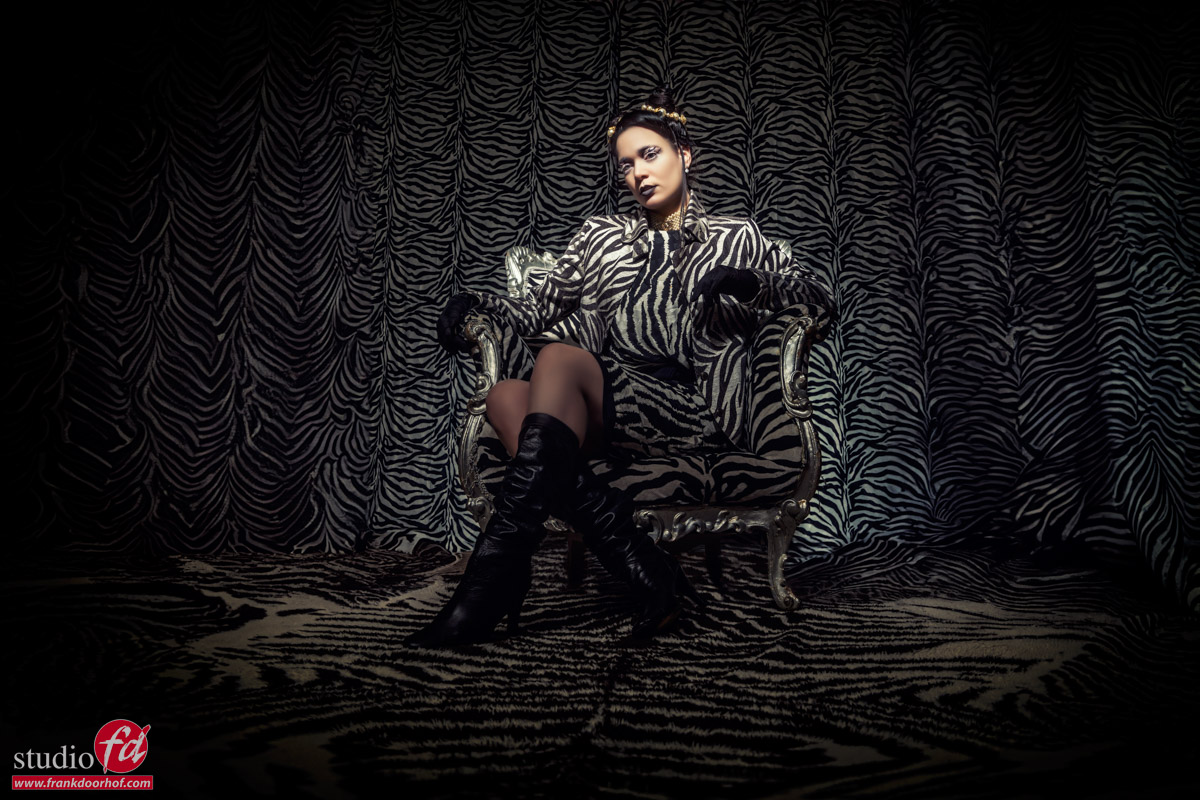
As you can see in the images…. Photoshop did very well. I was mostly impressed by the perspective on the floor.
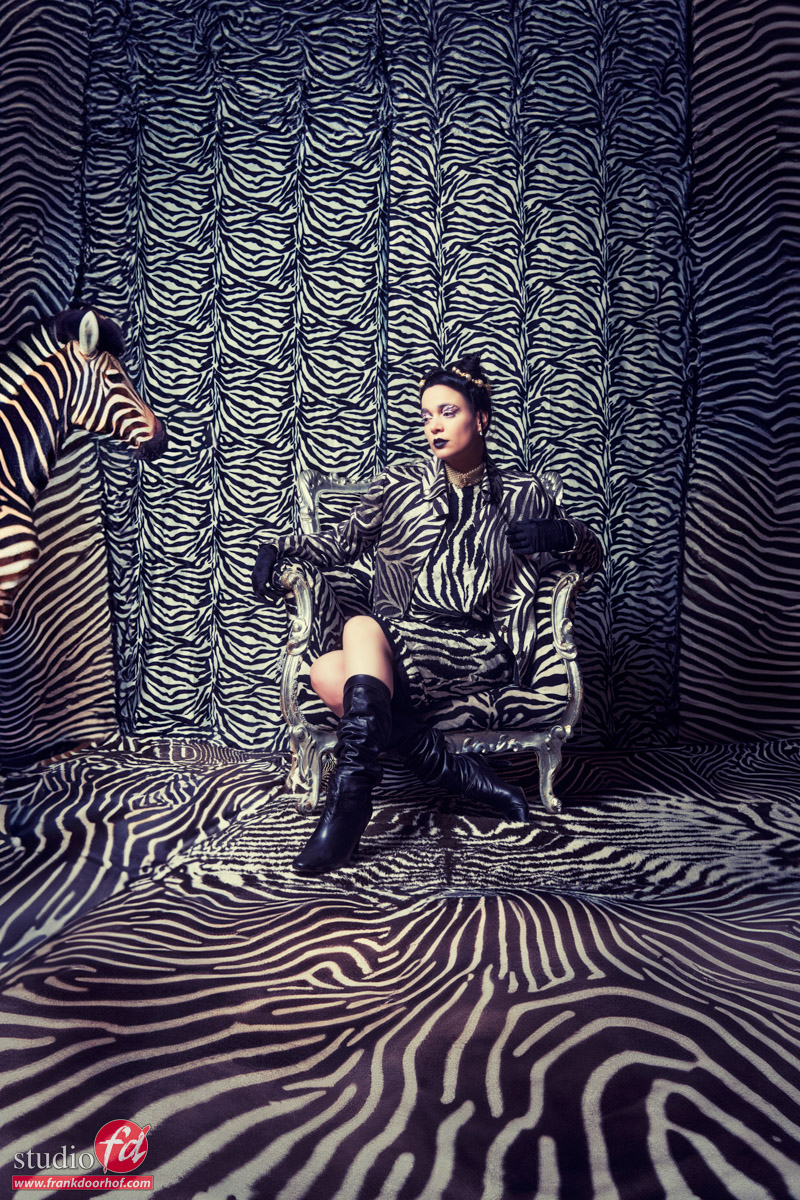
In some images I actually hid some zebras in some of the final results… can you spot them? 😀

creating patterns with Photoshop AI

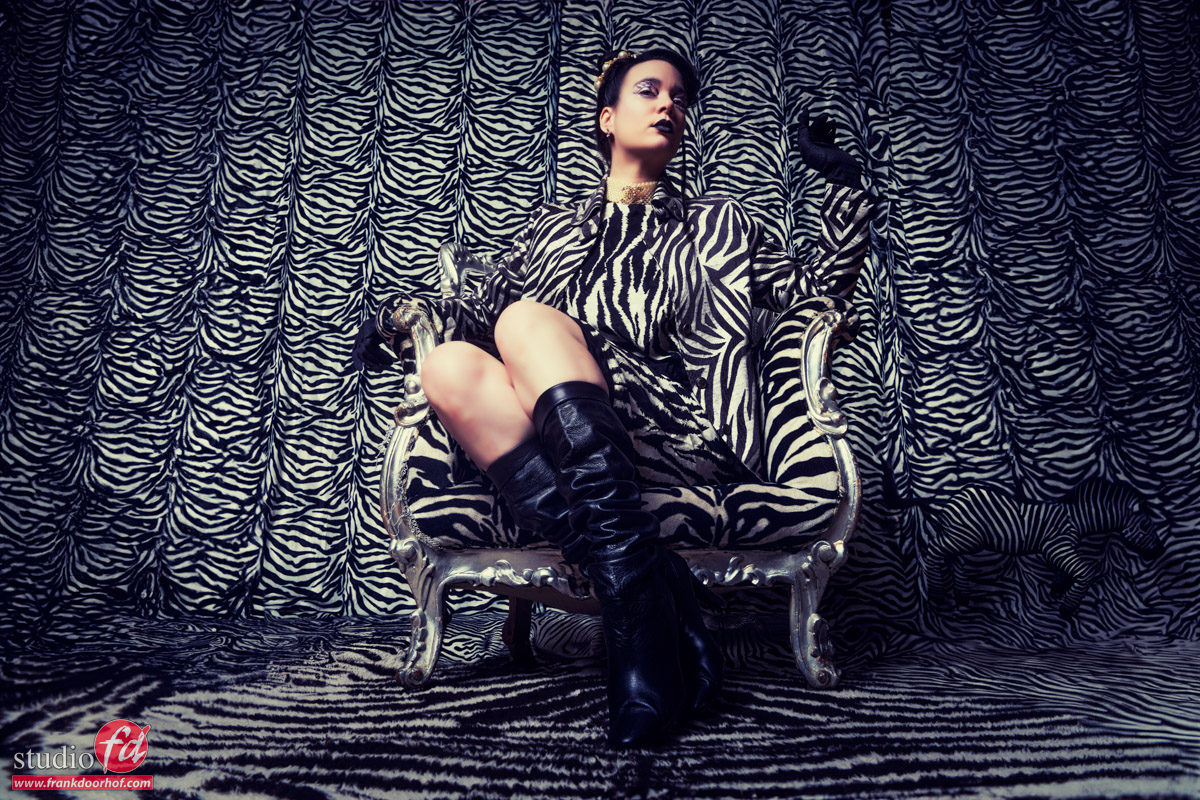
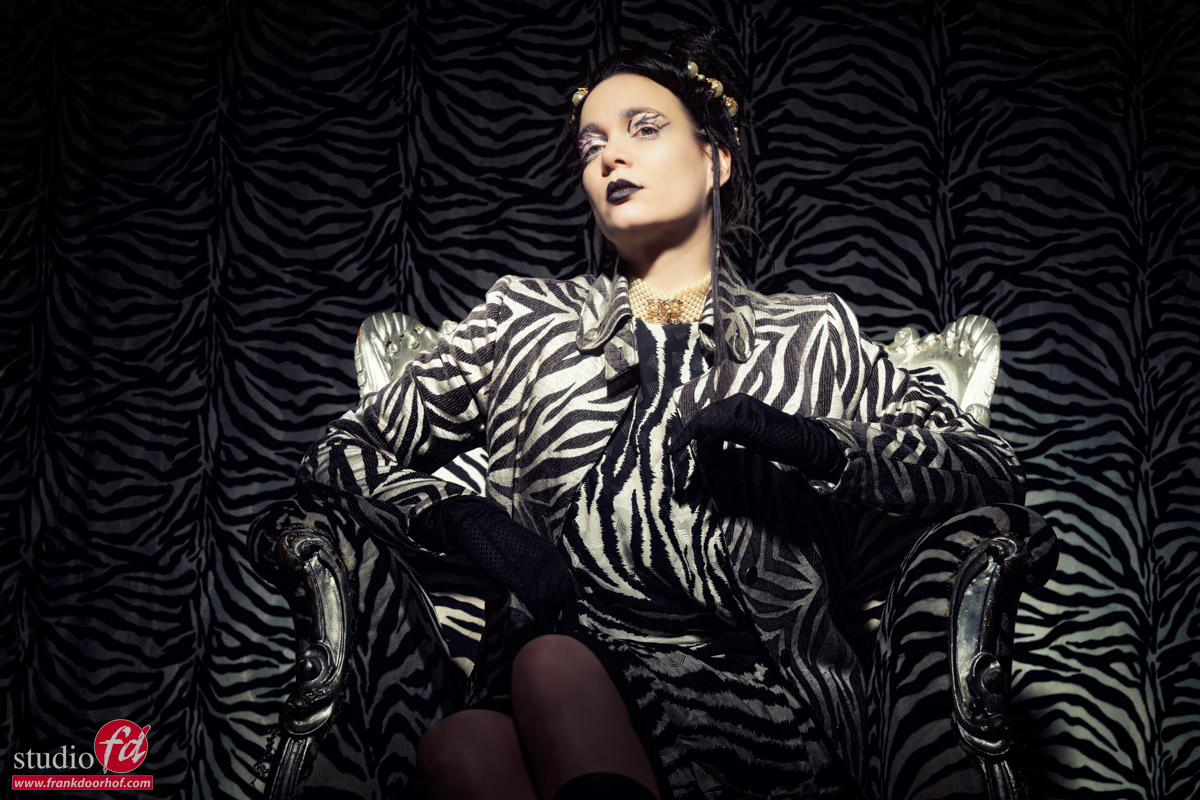
this is the best example of what Photoshop AI can do. It added more patterns.

creating patterns with Adobe AI

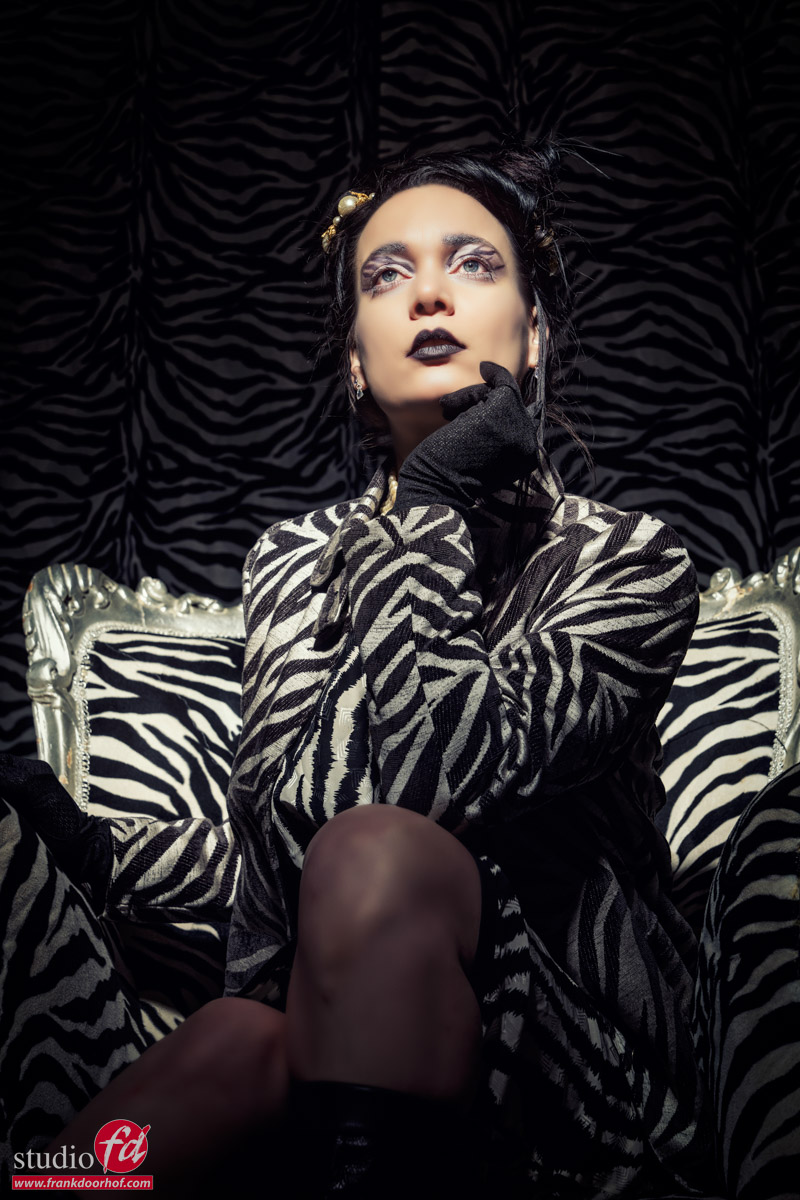
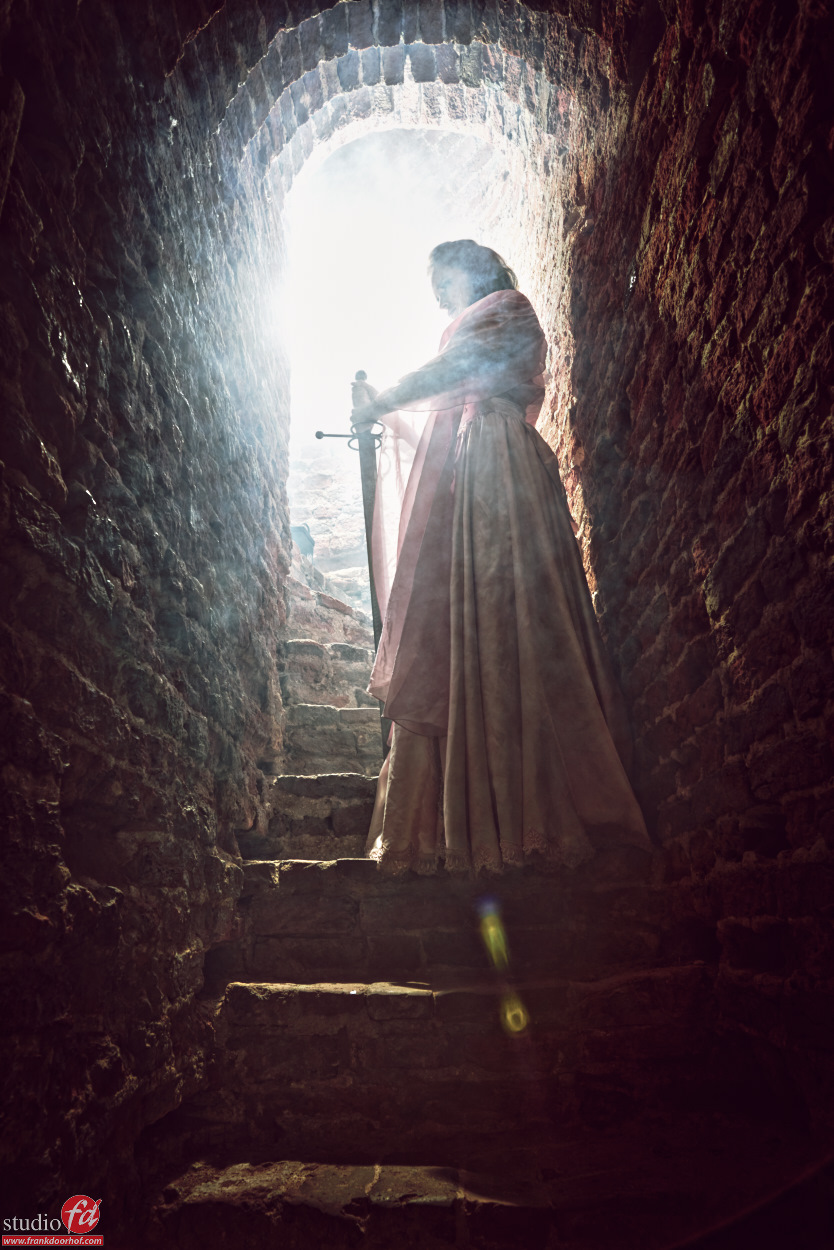
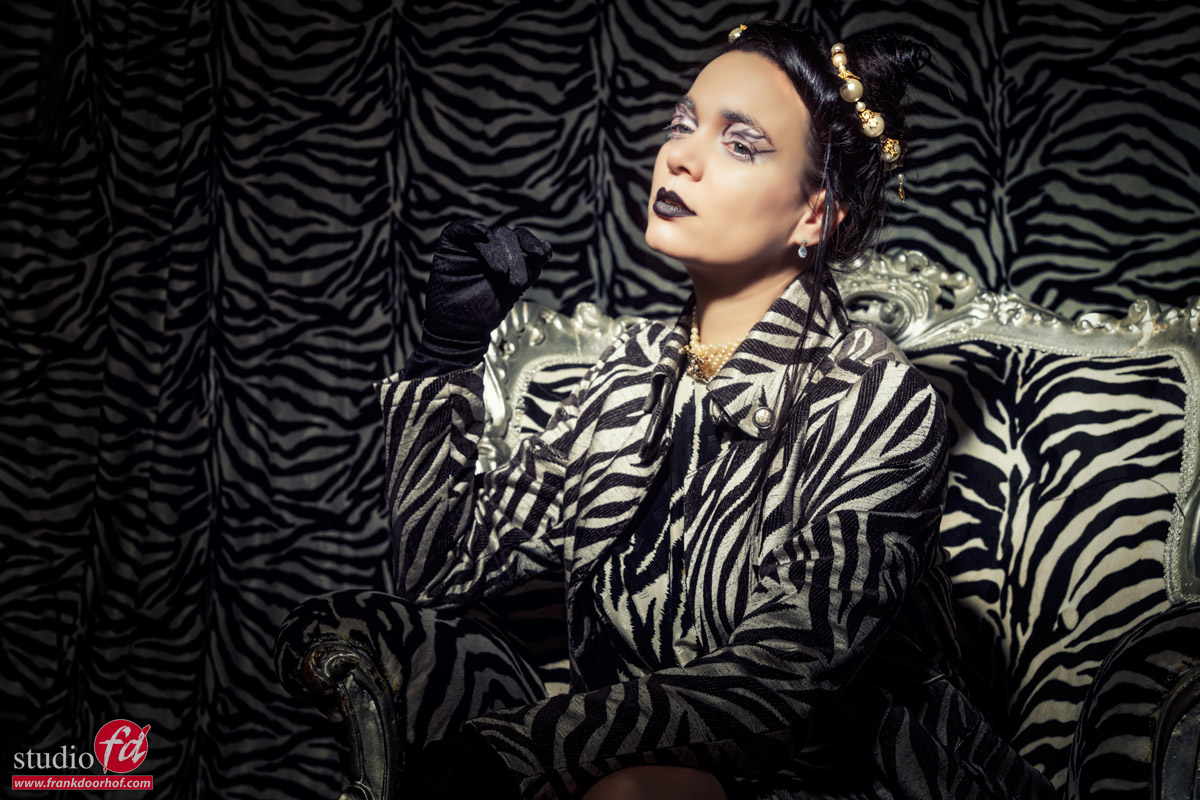
Make a close up and you don’t need extra patterns 😉

Creating patterns with Adobe AI

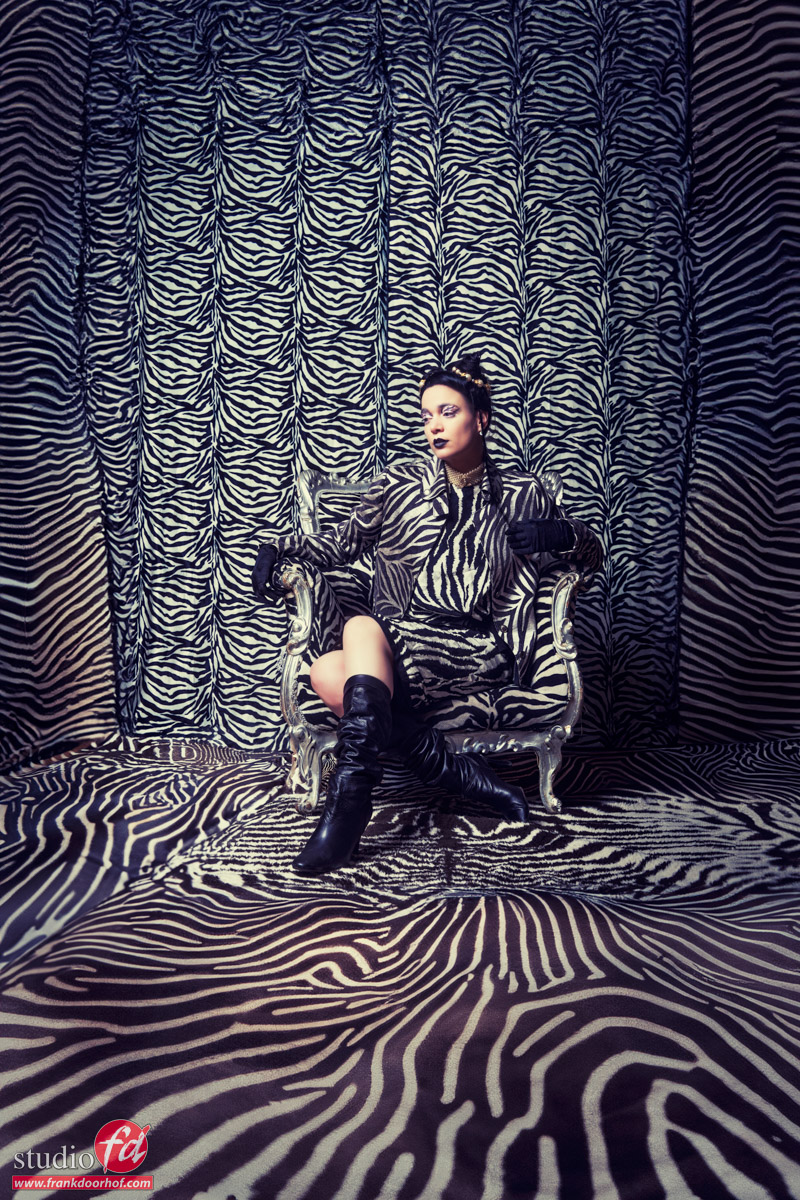
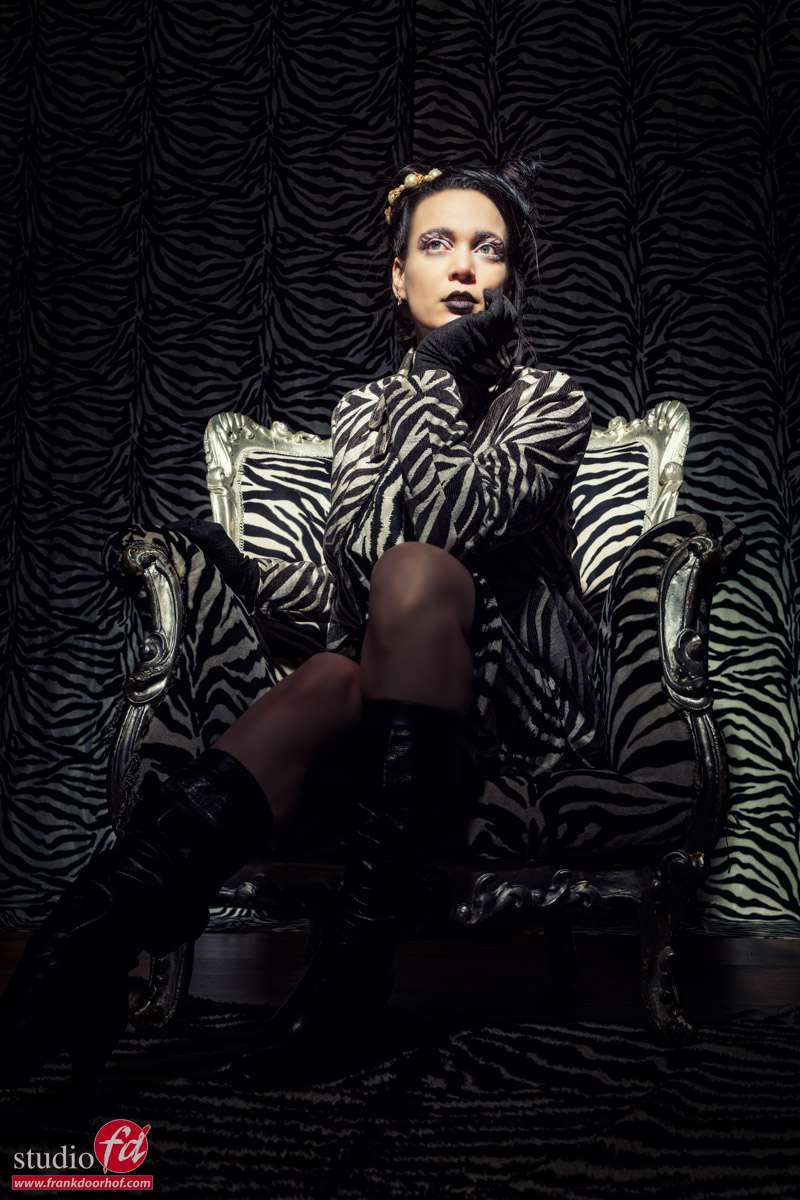
Only the backdrop in the middle and the rug is real, Adobe Ai did the rest


Another blog with styling from Nadine

and another Christmassy styling with Nadine 


UK Here we come…. for some cool workshops

It’s almost time for our yearly UK tour.
Every year we travel to 3 locations in the UK with a model to teach a full day workshop.
This year we will do it slightly different because we will also be teaching one of the very successful “Mastering the model shoot : A-Z” workshops in the London area.

Our team for this year:
Me (of course)
Annewiek : assisting, filming
Nadine : Styling, model

So where will we be?
We kick of the tour on June 4th in London with the “Mastering the model shoot : A-Z”
This is a full day with a complete explanation of my workflow, starting the with planning of the shoot, the light setups, retouching, sharing and business tips, all in a very flexible setup with loads of room for questions and fun.

Price of the workshop : 50.00 pounds.
Register via : UK tour “Mastering the model shoot” June 4th, (A to Z)


After that we will teach a full day workshop on June 5th in the London area.
This workshop was one of the fastest ever to sell out (within a week), but you can also mail us for the reserve list if someone drops out.
These workshops are small group workshops where you also shoot yourself and trust me… you will go home with some amazing shots and an incredible amount of information.
More info via : UK tour “Mastering the model shoot” June 5th, “hands on workshop”


Because London sold out so fast we added Manchester to the list where we will be on June 8th.
This workshop is also a combination of studio and outside work with Nadine telling about styling.
For Manchester we have 3 seats left at the moment so if you want to join register via : UK TOUR “Mastering the model shoot” June 8th, “hands on workshop”

Some samples from location workshops we did

Nadine Maart 21 2015  0151

Manon Duin en Kruidberg 218 - March 14 2015

Manon Duin en Kruidberg 169 - March 14 2015

Enka workshops Augustus 20 2014    256

Nadine   57 -  November 06, 2015

Nadine Cannenburch  11 -  September 06, 2015

David en Mercedes Juli 16 2013 - July 16, 2013 - 73-Edit

Nadine Juli 9 2015   0091

nadine  255 - July 15 2015

nadine  104 - July 15 2015

Manon Juni 20 Brederode  2015   0135

Manon Juni 20 Brederode  2015   0178


“Beyond snaps : street and travel photography tips” a new instructional video

We just released a brand-new instructional video called “Beyond snaps : Street and travel photography tips”


We all love photography right?
So when we travel the camera always travels with us, however how often did it happen to you that when you looked at the images at home you thought “Now where is that killer shot?, I know I made it”. Well we all know that feeling, often while traveling there isn’t time to wait for the perfect light, get the perfect position to shoot from etc. there is always something going on that will prevent us from taking the perfect shot.


In this video you travel with us through the beautiful Sweden and I’ll give you a lot of tips about how you can go “Beyond snaps”.
The video contains many topics like :
using GPS for more adventure, internet on the road, backups, power while traveling, gear advise, using lenses for special effects, finding the interesting angle, how to approach people, tripod tips, shooting a sunset very easily (or faking one), making roads interesting and much much more…


The video is jam-packed with information and will make sure that your next trip doesn’t end in “Now where are the good shots”, but will end in “LOOK at this shot”.


Video run time : well over 95 minutes
Quality : Shot on 4K, video is 1080P for download
File size : App 7 GB

You can now order the video straight from our video page or via :

Beyond snaps

working with smoke

One of the most interesting workshops is without a doubt “working with smoke”
It all might seem very simple, just pump some smoke and you’re done… but in reality it’s almost a science, I could literally write pages about it (I might do that one day).
In essence you have to remember that smoke acts like a diffuser and reflector at the same time, so backlighting smoke can be awesome and front lighting a disaster, however if you set up your lights perfectly before you add smoke it could very well be that all falls down when you add the smoke due to the fact that smoke also acts as a diffuser, so it could be way to bright OR way too dark….


Now if you’re smart (and I know you guys are) you can use smoke also to light up your model in areas where normally it would a bit too dark, for example put two strips behind the model and you will end up with a very dark front, however add a bit of smoke in the front and the light will bounce of the smoke and actually light the dress…… easy right? well not that easy but in essence it is, now you have to start to learn how to add the smoke.


With smoke we always work with 2 smoke machines if we can, just layering in the smoke using patterns that will fit the scene, and this has to be very fast because smoke will always move around, so often I’ll ask my assistants to first blow smoke in the front of the model (in these kind of shots) and then behind them and move up very fast. This way you can create some pretty interesting effects.
To show total control over your smoke you can even create two walls of smoke 😀
To light up the face of the model a bit more I used a small snoot with grid.


Poeka Januari 9 2016 31128

Poeka Januari 9 2016 31133

Poeka Januari 9 2016 31161

If you like these kind of tips make sure to check out my book “Mastering the model shoot” or get one of the instructional videos from this website.