In the 70’s they knew….
Using strong backlighting can be cool, it creates cool lens flares and it really spices up a shot, I won’t say that after the 70’s the photography went south and flat but in all honesty I sometimes am stunned by the questions I get during workshops about lens flare and backlighting, so I thought it would be cool to write a small blogpost about them.
Whenever I post an image with a strong backlight people ask me for the filter I used?
Now don’t get me wrong I do use filters… I love DxO filmpack and Alien Skin Exposure for tinting my images and I use a LOT of MacPhun intensify to spice up the pop of my images, but the lens flares are in 99% of the cases 100% real.
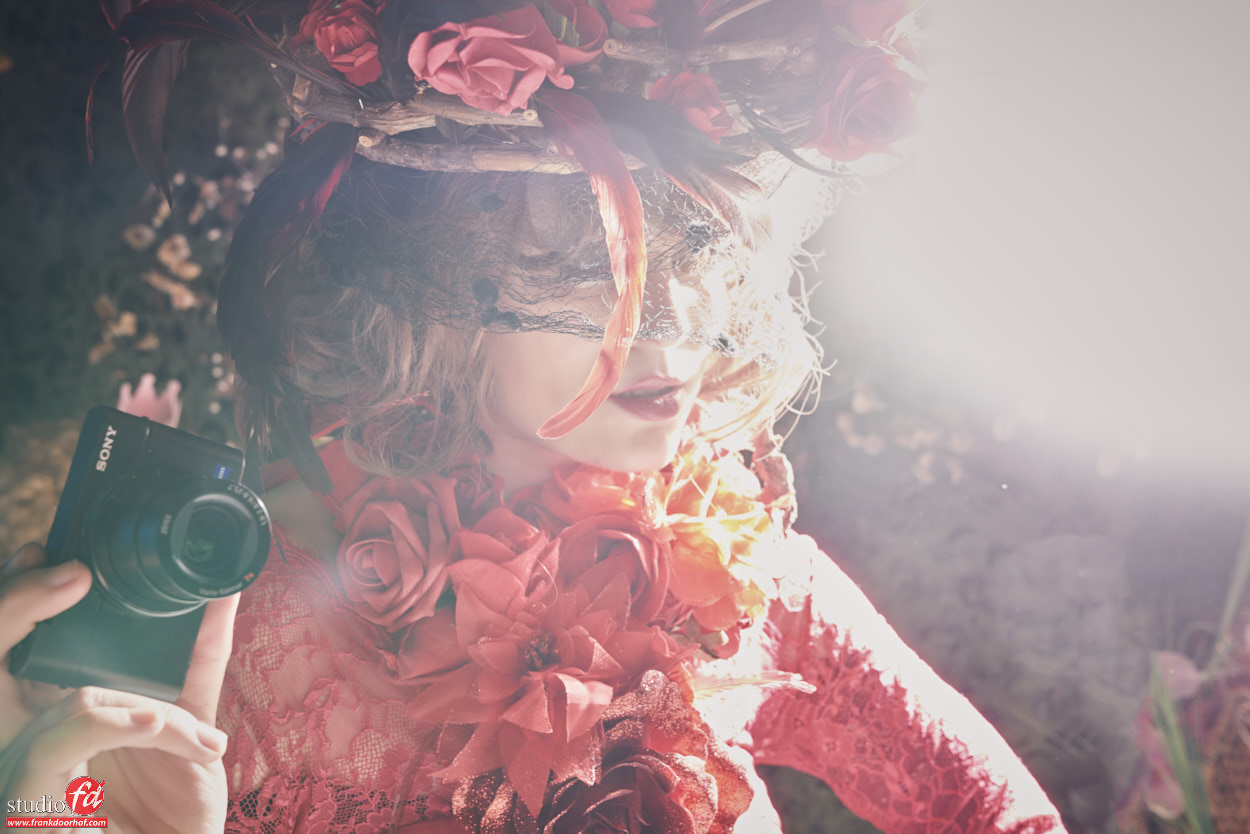
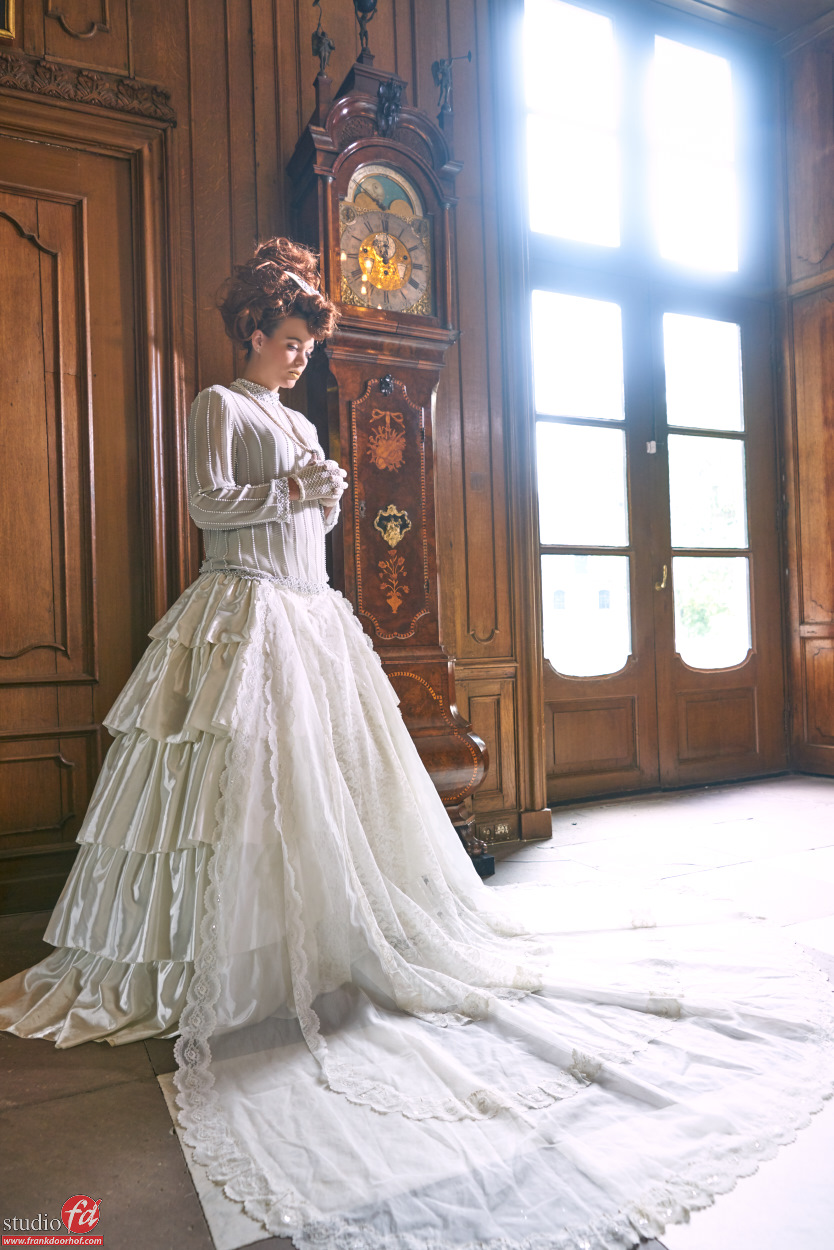
The shot on top we shot during last weeks workshop with iris and is just a strobe right behind our model without any modifier.
If you meter in front of the model (in this case pointing towards the camera) the exposure on her face will be correct, in fact it’s the scatter light from the studio lighting her face. This is also the cool thing about using an incident light meter (A sekonic in my case), if you hold it in front of the area you want correctly exposed you will get a proper exposure. Now it’s up to you to determine the look you want. In this case I only used one light so it COULD be that the backlight is way too strong, you can than do a few things. You can feather the light (turn it away from the model), or move it to the side of the model so not all light is hitting her (when using a reflector), or (when using a bare strobe) move it further back, or use a reflector in the front, all these techniques will do one thing, lower the contrast between the backlighting and front light.
In essence it looks like a very easy setup, but if you just throw in your lighting you will probably fail, or need a lot of Ps work, so make sure to meter correctly.
If you want to learn techniques about metering, check out our video on the light meter via Video downloads
When you want to do these kind of shots make sure to practice a lot with a mannequin or doll before doing it live with a model.
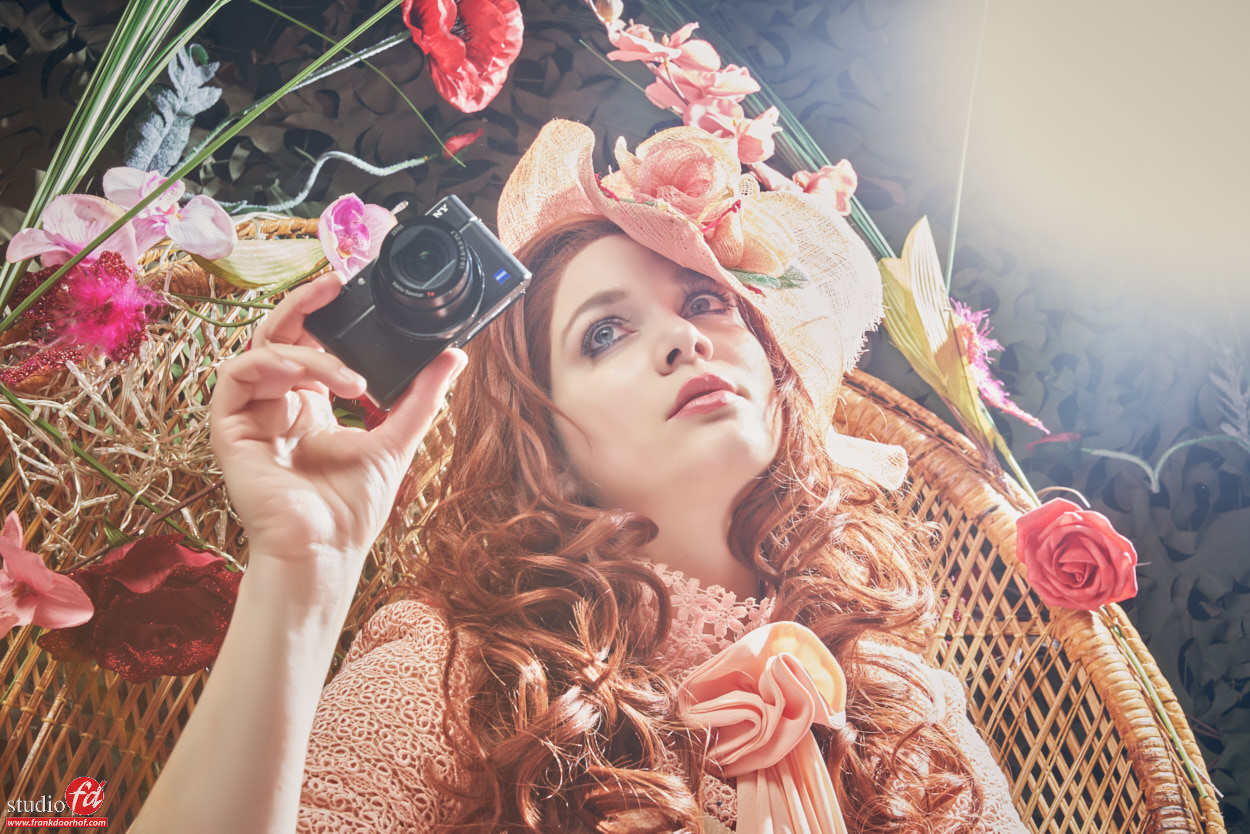
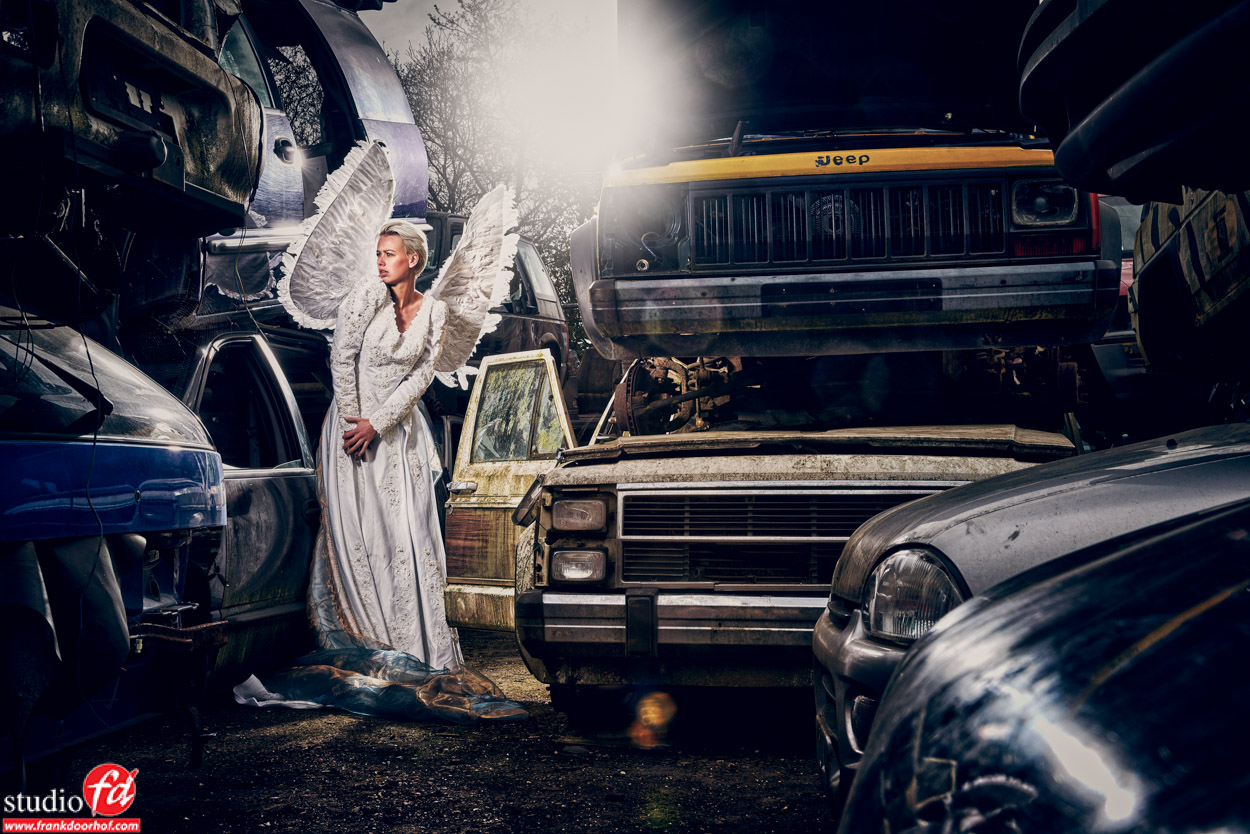
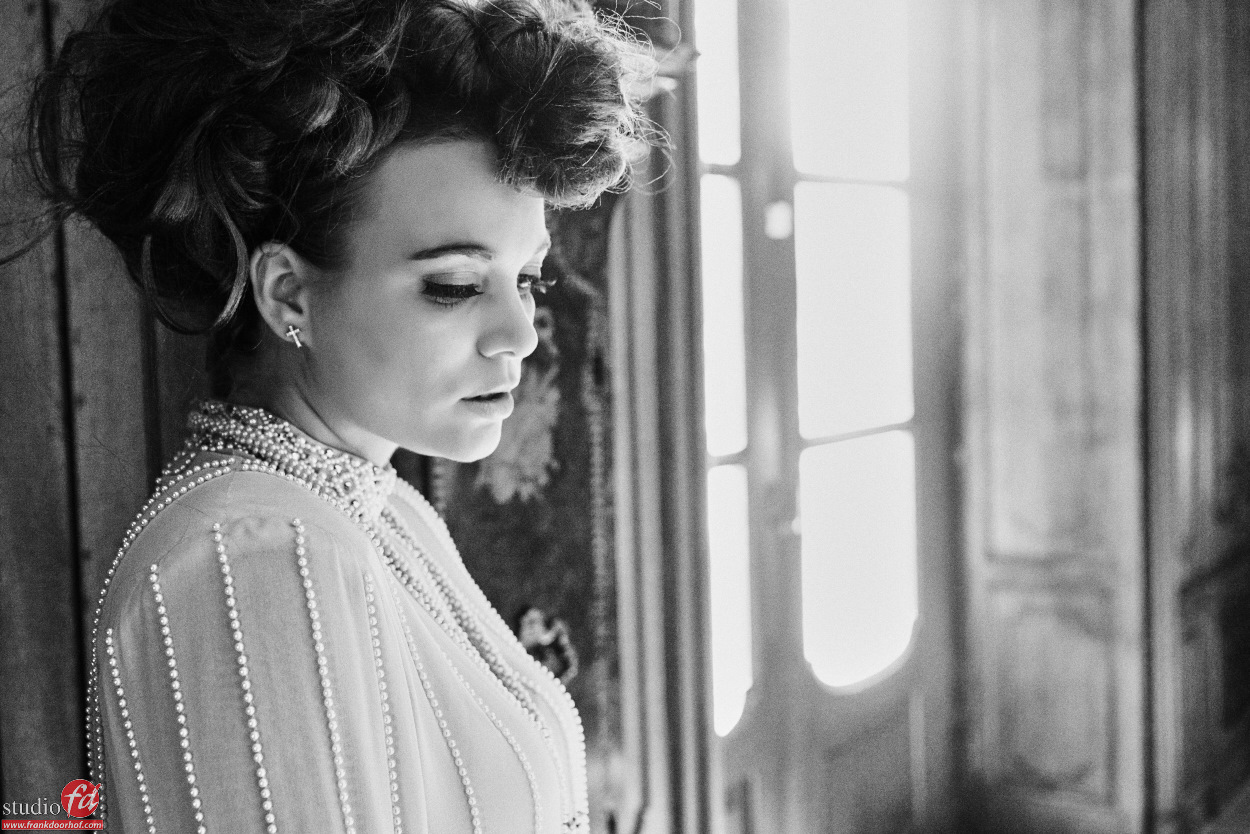
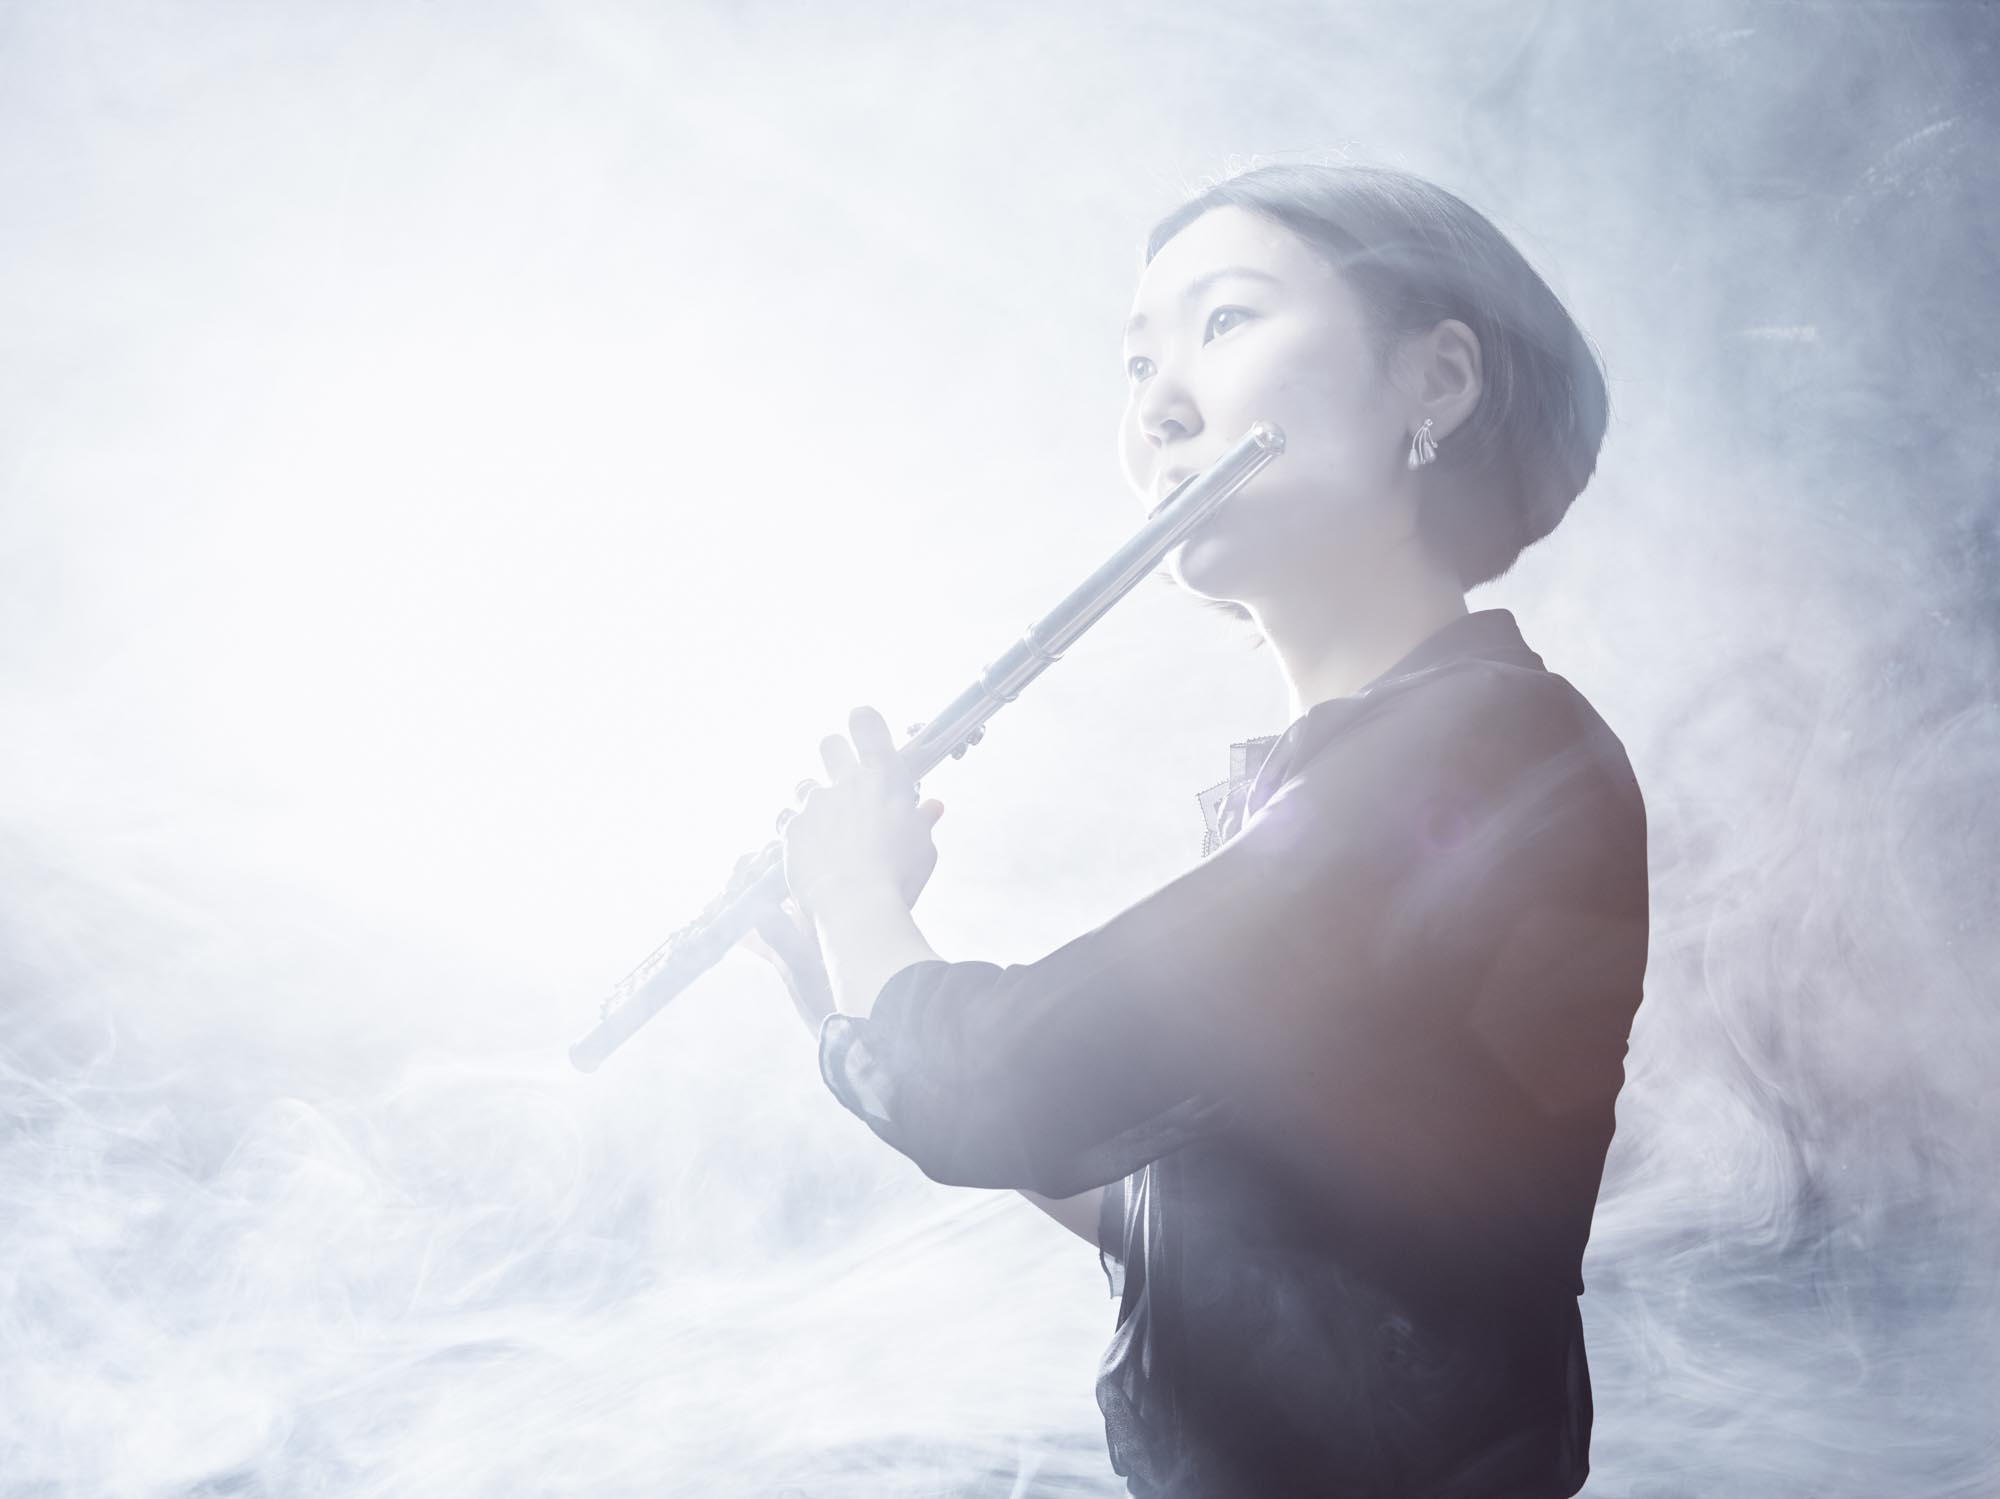
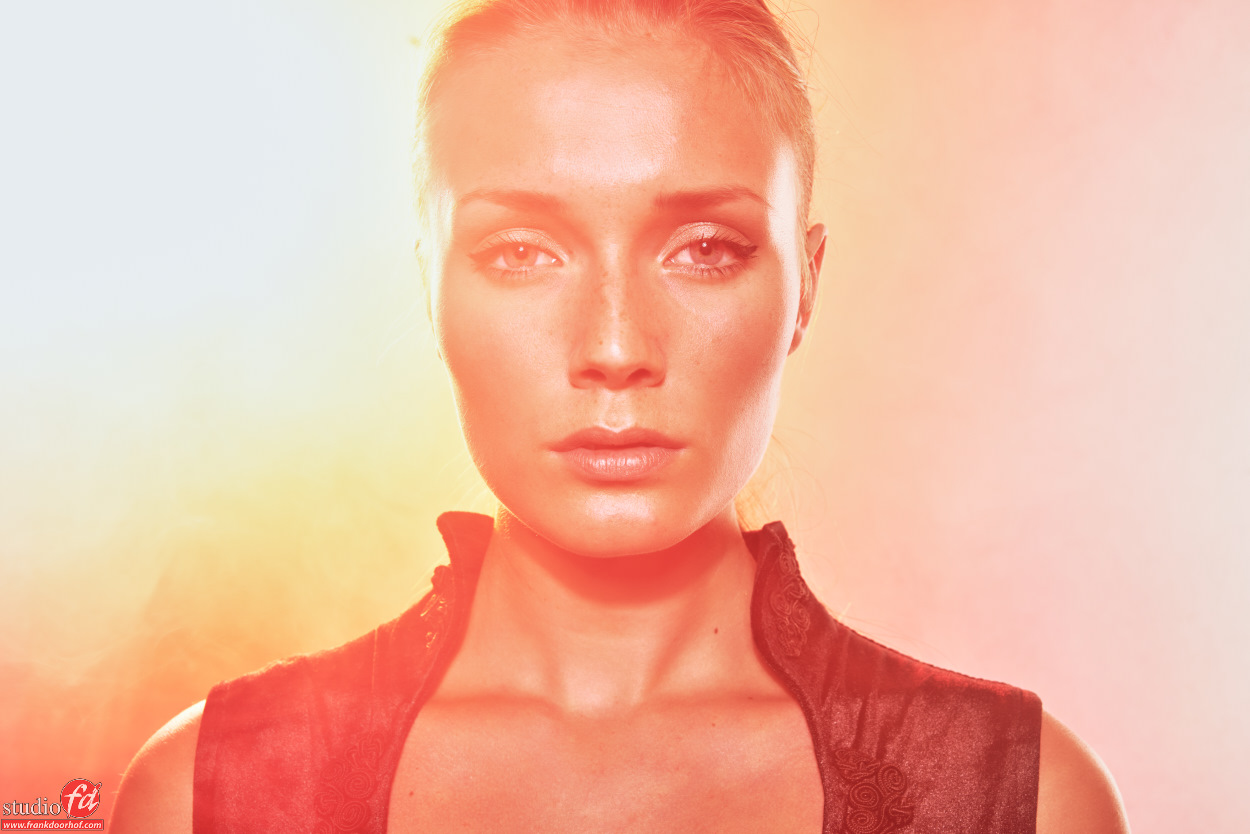
Some more samples where I used strong(er) backlighting from the sun and strobes.
Want more in-depth tips and techniques?
Check out my book “Mastering the model shoot” or get one of my instructional videos via Direct video downloads
Digital classroom is without a doubt one of the most intense things I do online.
The idea actually started out as just having a camera on during a photoshoot, we did this a few years ago and people loved it, being able to see what we do during a photoshoot. At that time there was not much going on to be honest, it was mostly seeing the model being in makeup, some movement in the studio and of course the Photoshoot, but still people loved it.
Years later we wanted to pick this up again but with todays market you have to do something unique so we thought hard and decided we would let YOU the viewers interact with the shoot, but as soon as the cameras rolled and we were live things changed…. I love teaching and that was exactly what I started doing, explaining what we were going to do, showing the light setups, giving tips and even showing the complete retouch process….. this was a huge succes and now we can do these broadcasts every month thanks to companies like BenQ and Rogue/Expo imaging because without them this would never be possible.
Today I can show the digital classroom we did with Kimberley and watch this space on Monday for the results.
Enjoy… oh and if you REALLY want to do us a favor…. subscribe to our channel via this link…..
Now this is of course free, imaging what you get with one of our instructional videos you can order from our site, make sure to check them out and learn even more in depth techniques and tips.
Topics include : Small flash, the light blaster, Rogue flash benders, how to meter light with a light meter, the new Sekonic 478, how to prevent reflections in walls, windows, glasses etc, how to coach the model, angles, gear, retouching in Photoshop and Capture one, tinting with Aliens Skin X and Capture One, some cool retouch tips and MUCH more…..
Sometimes we work together with a company that sells some of our videos, and don’t get me wrong we love those guys and we have had a great relation, so this is not to bash them in any way but it does EXACTLY show what’s “wrong” with photography today.
Recently I recorded a new instructional video on the use of the light meter called “Mastering the model shoot : the light meter” this video explains not only how to read and use the meter but also shows examples of light setups that are normally really difficult to figure out and take a lot of test/trial and error shots while with the meter they can be set up in seconds. The video literally shows everything a photographer should need to know about the meter.
The responses on this video has been incredibly well so I thought why not offer them this video also for a nice action, right?
Imagine my surprise when I got this response this morning:
—————————————————–
Actually we were reviewing this Lightmeter video and it looks great, no doubt but its just that we feel the light meter nowadays is only used by very few photographers. It was mostly used in the early 2000s and before.
So we may not get good sales for this deal. Can you refer us some other product of Frank which is doing great now a days?
Would love to know more details if there is any.
——————————————————-
Excuse me?
The fun thing is, and really mean this… this is one of the things I hear A LOT…. and it’s just very short sighted.
Let me give you an example You go the doctor and you have to have surgery.
You are on the bed and just before you close your eyes you hear this Doctor :”Hummmm nurse where is the appendix again?”
Nurse :”Pfff I don’t know, why don’t you just start cutting and if it’s not there you can always close it up”
Doctor :”good idea, but with my experience I will probably be close enough”
Sounds ridiculous right?
Well it’s about how photographers perceive photography today, we will just take some test shots, compare it on the “digital polaroid” on the back and we will correct the rest in Photoshop. Or even better… I can guess it very good… I’m normally about a stop off… (Yeah that’s double the amount of light so pretty close dude)
Or how about this one, a real story:
“I never ever use a light meter…. it just doesn’t make any sense…. you know why?… I love to overexpose all my shots by about 0.5 stops to get my signature look, so a light meter….. (scuffs) not for me”
Yeah “dumbo” so how do you know to over expose by 0.5 stops if you don’t know the correct setting.
And don’t even get me started about videos online that get thousands of views where photographers claim they don’t use a light meter because models are not 18% gray…. that’s reflective metering smartypants not incident, in fact that’s why you SHOULD use a meter because your camera tries to make everything 18% gray…. and I can go on and on and on and on.
In Essence…
The light meter is a tool, it’s just like a ruler a carpenter uses it’s not an old fashioned tool it’s hypermodern, there are versions with touch displays, there are apps on your phone that can do it. The light meter is not a vampire that will sucks all the creativity out of you at night when you leave it too close to you on your nightstand (btw don’t think I sleep with my light meter).
The light meter is a device that meters your light
In photography light is our language.
If people would take the time to LEARN that language they would find that they don’t need a meter to take photographs but that the meter is a tool that will help them to INCREDIBLY speed up their workflow, get CONSISTENT results and cut down their time in Photoshop and Lightroom AT LEAST in half, and on set probably tenfold.
People discarding the meter as pre 2000 are still thinking light changed when we switched to digital, but in essence it didn’t, we still need an Aperture and shutter speed and ISO, that didn’t change… I don’t tell you you NEED a light meter to take the photos you see from professionals, heck even a lot of pro’s don’t use a meter, what I do tell you is that if you want to make those (or your) photos QUICKER and more CONSISTENT you should really try a light meter.
In all these years I teach I have converted more people to a light meter than you can count (and I can remember), NONE of them came to my workshop with the idea they were missing it, MOST (if not 99% of them) leave the workshop with they idea they actually need a light meter for the simple and pure speed I set up my lights.
And that’s all it is… a very simple tool to help you with that.
And to be honest if you take the 70 minutes to watch the video you will actually know the meter by heart, because in essence it’s incredibly easy to use and to operate (despite of what some people tell you online)
But I do ask you, and I normally don’t do this that much…. feel free to retweet, repost and tell people about this little rant… because I really do feel sad that a tool that is so handy for photography is put into such a bad light (no pun intended).
I will keep this code active for the next 1-2 weeks.
And if you try it on all our other videos… well it might work too 😀
Here is also the trailer we shot for this video :
Again this blogpost was not made to bash the company which we consider as dear friends (we really do) but to actually point out a “prejudice” I encounter all the time and to be honest I don’t know how it ever was created but I really wish people would think before they take their position against the light meter.
https://frankdoorhof.com/web/wp-content/uploads/2015/10/Stephanie-16-Februari-2011-12.jpg598799Frank Doorhofhttps://frankdoorhof.com/web/wp-content/uploads/2015/03/studioFD_Logo-1FV.pngFrank Doorhof2015-10-08 12:07:472015-10-08 09:15:35A little bit about the light meter
You probably already saw it on social media, but I also want to give some attention to it on my blog of course.
This week saw the release of my brand new instructional video “Mastering the model shoot : the light meter”
A lot of people have asked me when I would make a new instructional video series in the style of the very populair “Light” series, my answer was always that I would make a new video as soon as I had a lot of information that I did not already share on other videos, because just like you I don’t like to spend money on something I already saw.
After the release of my book “Mastering the model shoot” and the workshops connected to the book I got so many ideas and I still got a lot of stuff that did not make the book (there is limit to the amount of pages :D) that I decided now would be the time to release a brand new series of instructional videos.
Everything is new.
We have a new approach to filming, we now film everything in 4K for extra quality (videos are presented in 1080P) and we use different camera angles, text will appear on screen to explain the more difficult parts, and all videos will cover different topics so you can buy the ones you like and are not forced to pay for something you don’t like (although I think they are all more than worth it of course).
The first video is called “Mastering the model shoot : the light meter”
In digital photography this is without a doubt one of the most talked about topics and to be honest you also hear a lot of stuff that is, now how to say this nicely, well….. not really helping (was that ok?).
In over 70 minutes I take you through everything you need to know about the light meter, topics include :
* reading the meter
* which meter to buy
* reflective vs incident
* where to aim the meter
* how to calibrate the meter
* working with strobes
* working with ambient
* mixing strobes and ambient
* working with white backgrounds and black
* how to keep detail in the blacks with a technique called light in light (and how to meter it)
* histogram vs the meter
* how to trigger the meter
* apps and film
* and much more……
I’m joined in the studio by our model Manon and next to the explanation on the meter we will also show you in easy to follow (and copy) examples. This is a very complete video on the light meter and I’m sure you will run out and buy one if you don’t already have one, or understand your meter beter if you already own one.
https://frankdoorhof.com/web/wp-content/uploads/2015/03/studioFD_Logo-1FV.png00Frank Doorhofhttps://frankdoorhof.com/web/wp-content/uploads/2015/03/studioFD_Logo-1FV.pngFrank Doorhof2015-01-17 06:00:342015-01-16 19:42:59New instructional video “The light meter”


You must be logged in to post a comment.