This is a game changer: Topaz Photo AI
It seems the world is going really fast nowadays.
Where a few years ago the term AI (Artificial Intelligence) was just something that you talked about in connection to some robot vacuums that were actually pretty dumb today the story is completely different and in all fairness, it’s an exciting but also frightening time.
Personally, I’m all for innovation but also have problems with some applications. Like probably most of you I am totally stunned by the quality of photorealistic images you can get from several AI image generators. But I also have to add I don’t see this as “art”. Of course, it looks insanely good, but it’s not “real” like where you create a set, light the set, coach the model, and take the image. In a group of its own yes! But Instagram is almost overflown with awesome-looking fashion shots where I literally thought “What a great photographer” until I scroll down more and see that the rest of his/her work is often below average/ It’s something I struggle to recognize as art, but maybe that’s just me.
The chatbots are also getting incredibly good and will probably be a real problem for education, but can help with writing articles and/or doing research. But do we really want to see the same kind of reviews without any personal input from a real human being? I don’t think so, but again it can help a lot with research and I’m excited to see how AI can be used for medical and scientific applications. I truly believe we are on the verge of some major breakthroughs. We have to find ways to incorporate AI into our workflows without losing the “soul” we all put into our work.
So why this intro about AI?
Well, a lot of software nowadays uses the term AI. And in all honestly most of the time it does do it work pretty well. But nothing where I really had to pick my jaw up from the ground. Yes, the first time I saw Content Aware Fill I had that kind of moment, and that was way way before it was officially released and became much better. Today I can tell you I had the same sort of experience, and probably even more important.
Photography for me is freezing unique moments in time that will never come back again.
But Photography sometimes also means we have to capture those moments in situations that are far from perfect. So sometimes images are a little bit soft or have some tremendous noise because there wasn’t enough light to capture a razor-sharp clean image. Now I can’t even remember how many images I threw out that were just not “usable” at that time… But what if I told you that those cherished memories from our loved ones can be saved? That those concert images can be stunning and noiseless? And that time you missed focus is not a real problem anymore… would you label me crazy? or tell me “yeah, well we can sharpen it a bit, and use some filters, but it’s not sharp so it can never be as good as shot right at the moment we took it”
Well, I would have said, “absolutely” a few weeks ago, but not anymore.
Enter Topaz Photo AI.
Topaz Photo AI
I’ve been a Topaz fan for years. They always deliver awesome plug-ins or standalone solutions that really add something to my workflow. It’s hard to really describe, but a lot of plugins work great on razor-sharp images, or images where there is a little bit of noise. But when I started testing Topaz Photo AI my jaw literally dropped to the floor, and for the first time, I was literally wondering how the heck did they do this….
I can talk for hours about the importance of proper focus, controlling noise on location, etc. but sometimes you just don’t have that option. All the images that would normally be unsuitable for release are now…. “perfect”. So let’s take a look at some samples.
Let’s start very simply with something that happens to all of us.
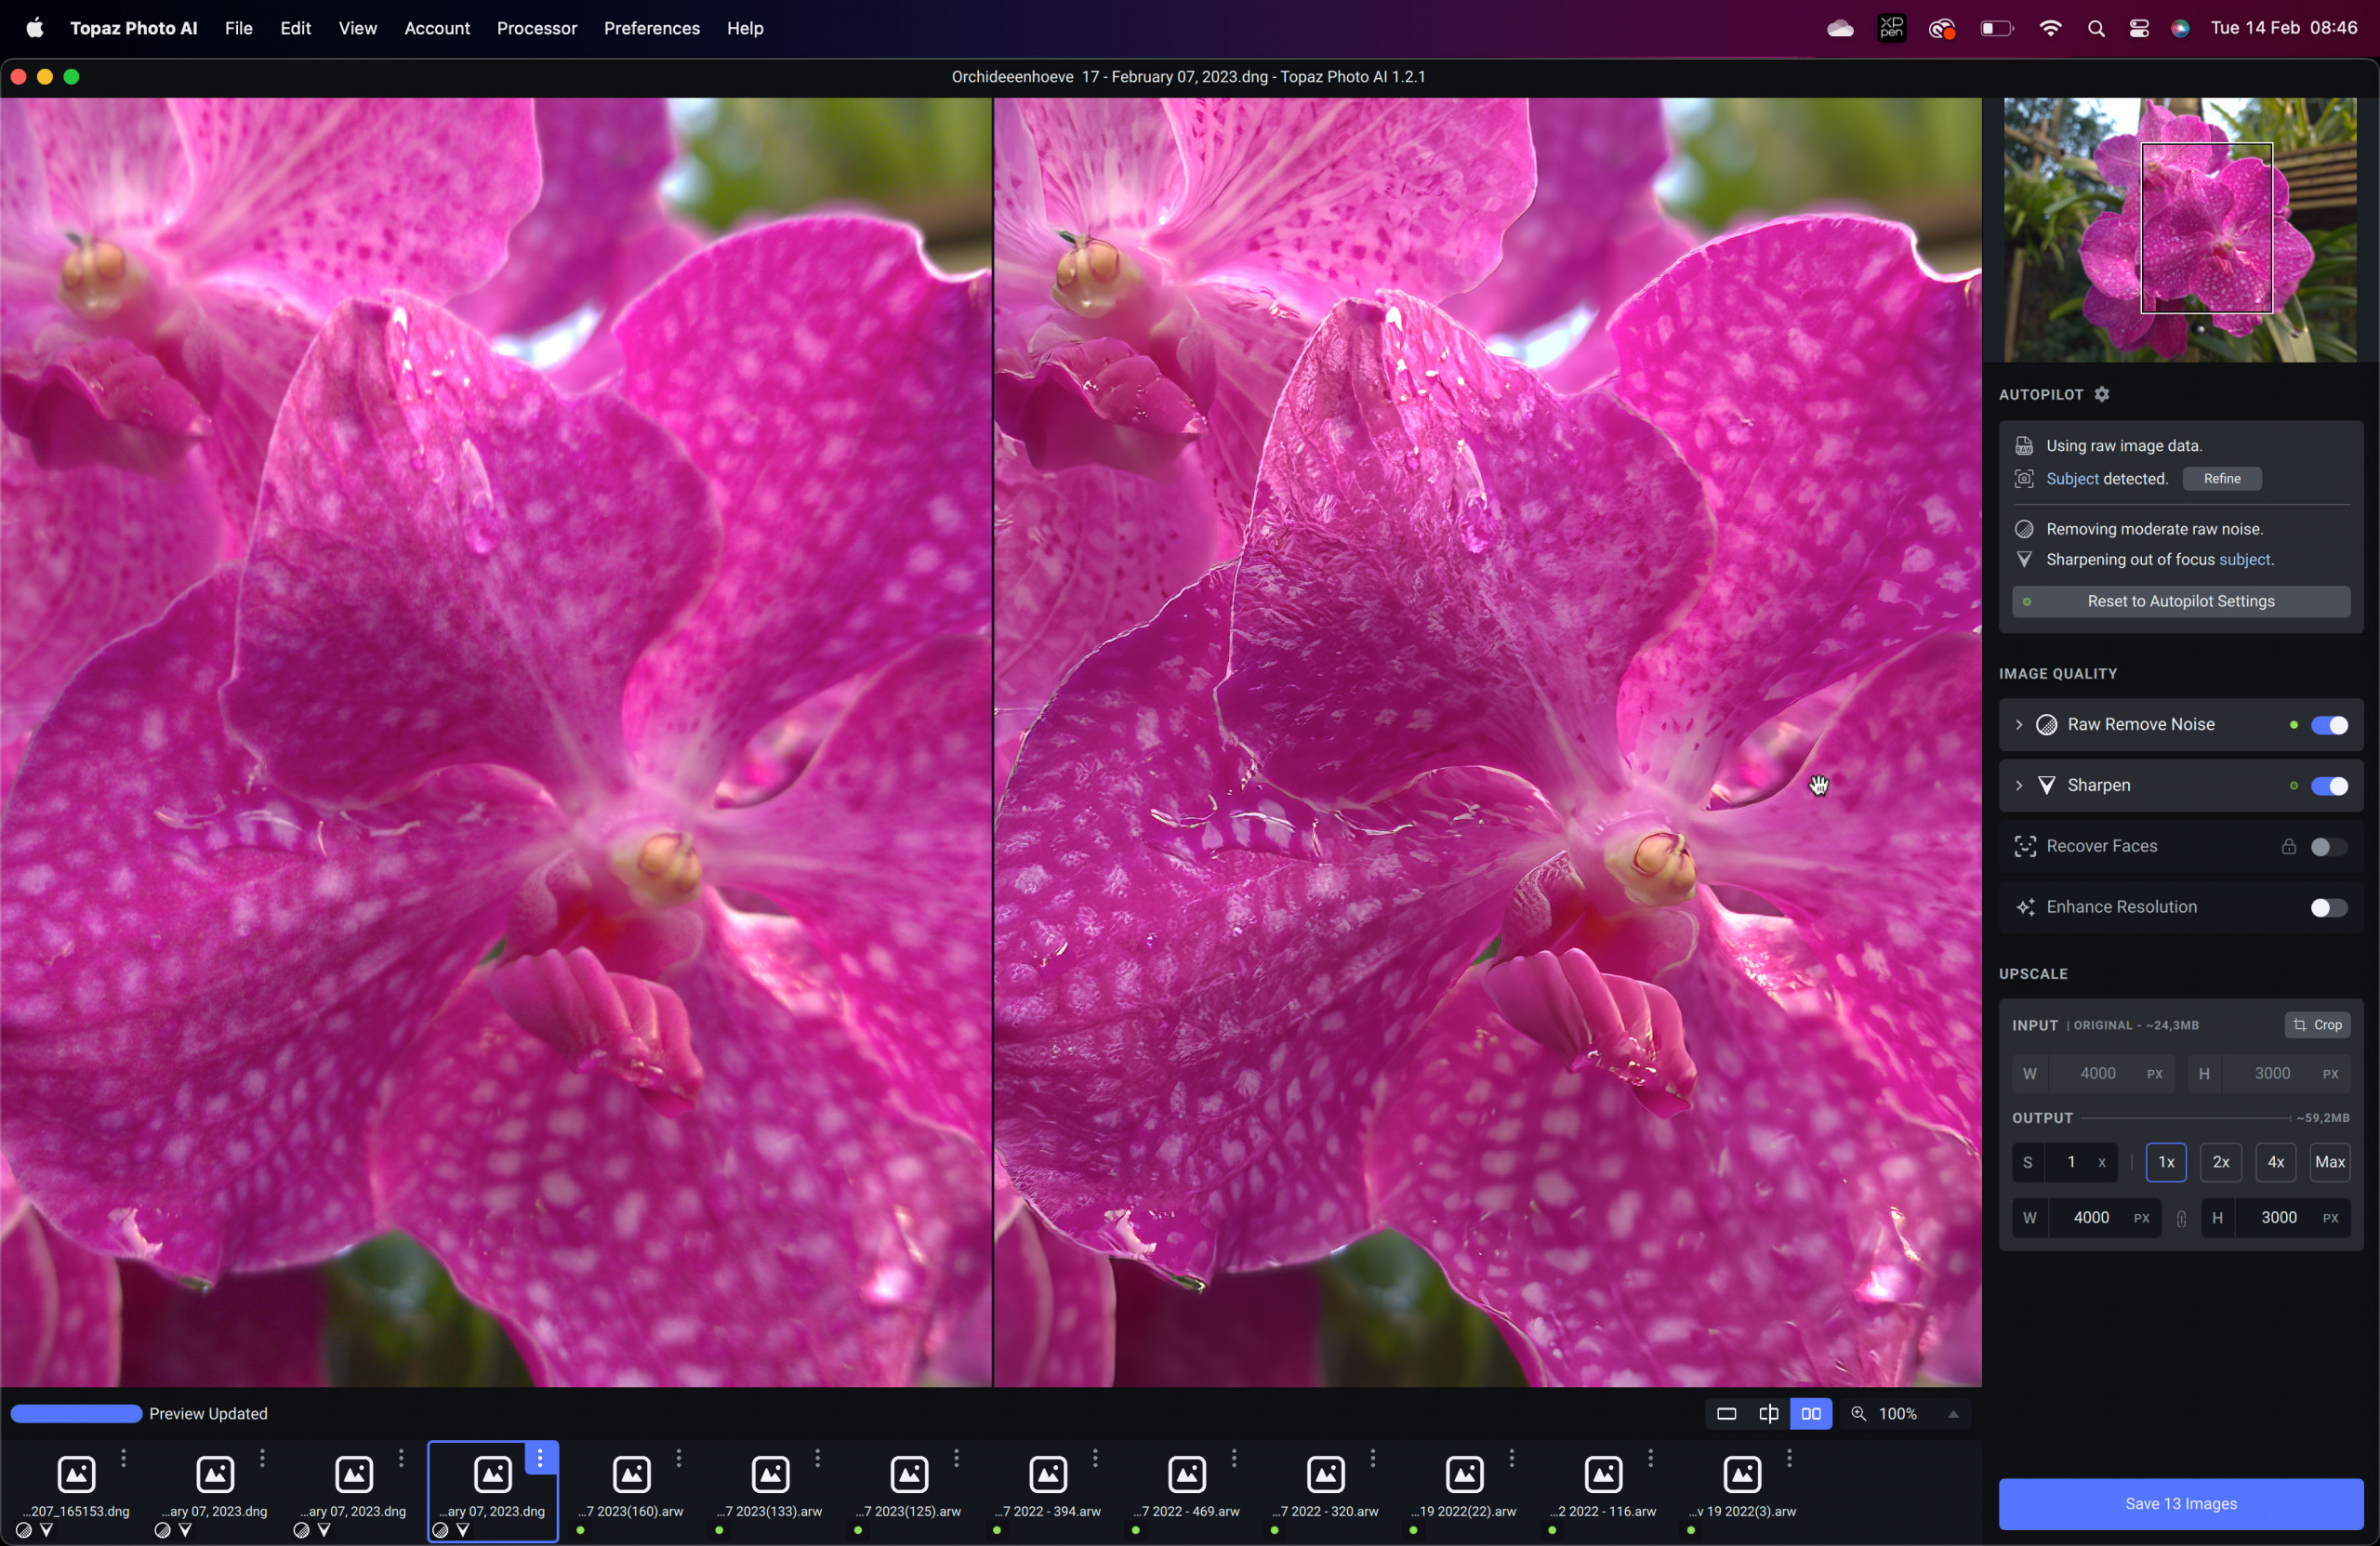
I took this shot during a visit to the Orchideeënhoeve (the largest tropical attraction in Europe).
It’s a screenshot straight out of Topaz Photo AI
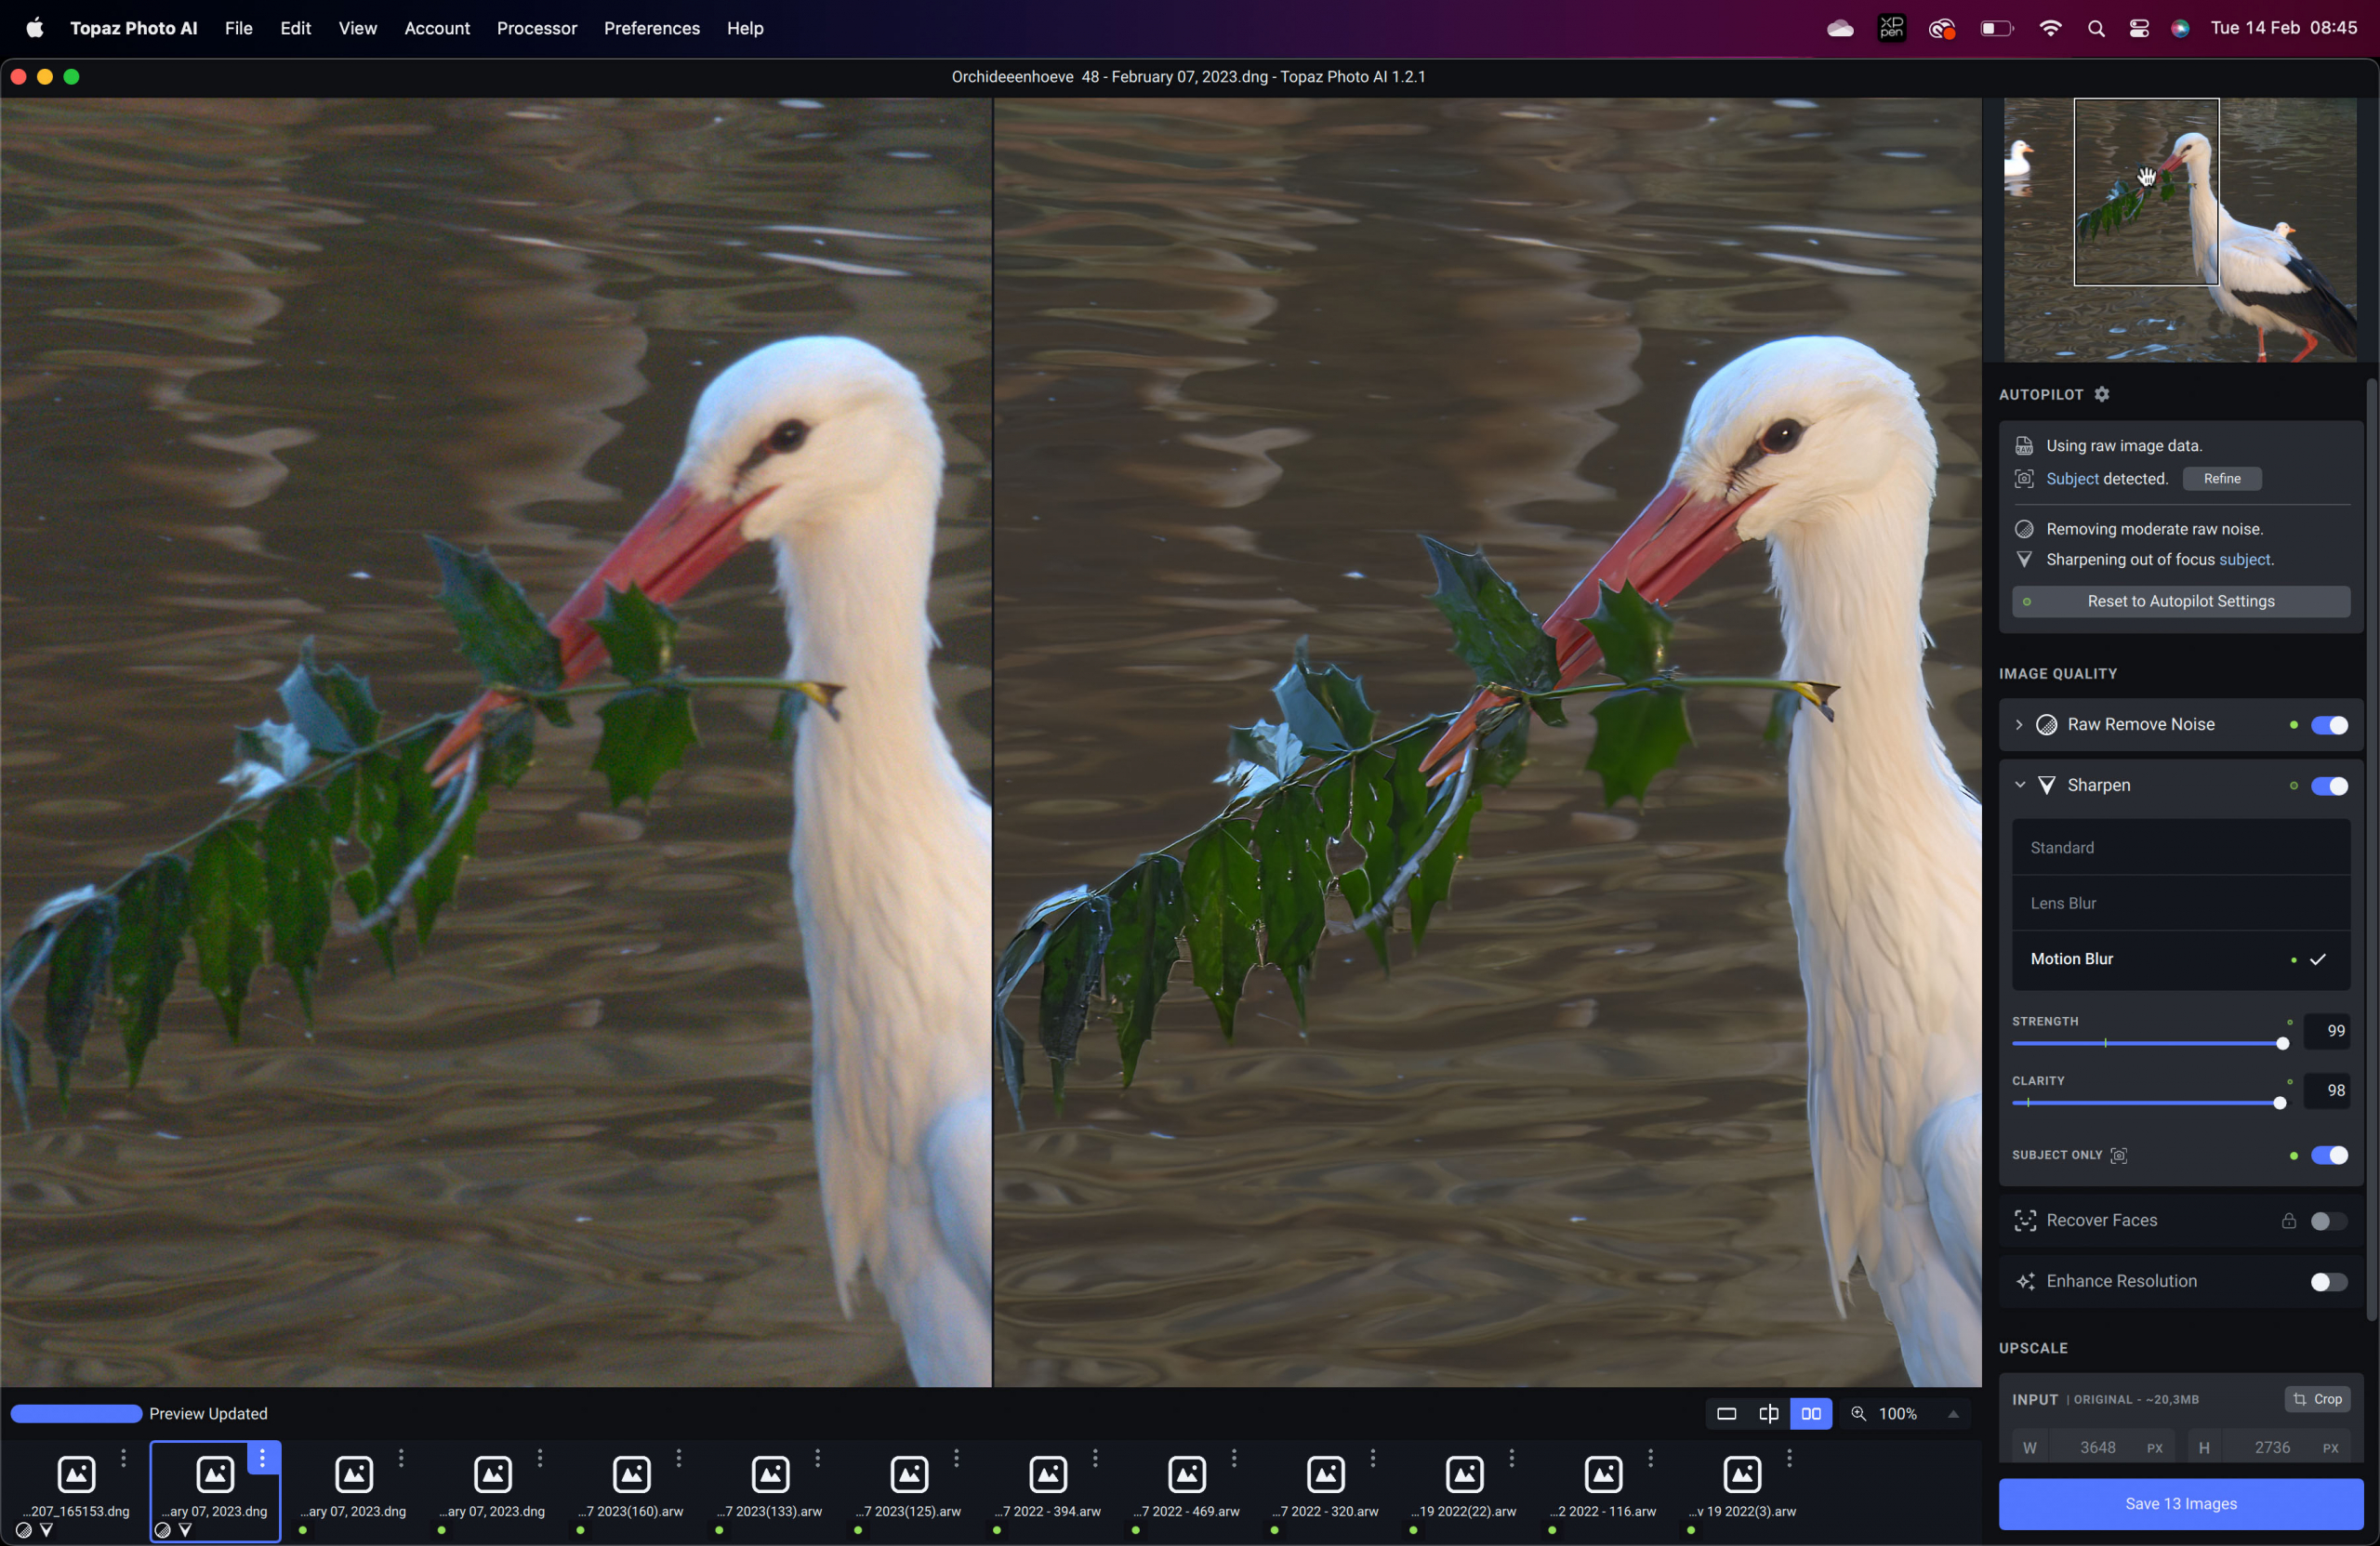
I am using the sharpness here on full blast to see the effect of ringing (artifacts) and to be totally honest…. this is so much better than expected. The image really jumps out and is sharp enough to publish. It’s also incredibly handy that the software gives you the option only to affect the subject and not the background. In other words, keep your silky smooth bokeh but fix your foreground….
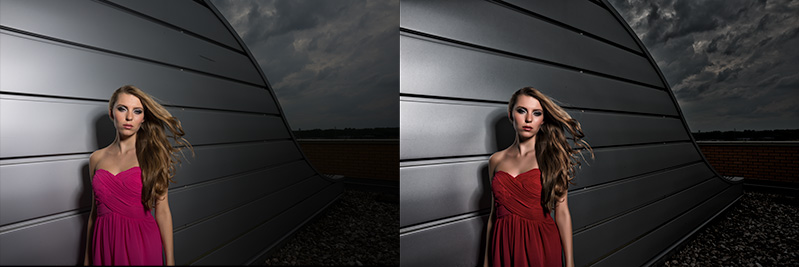
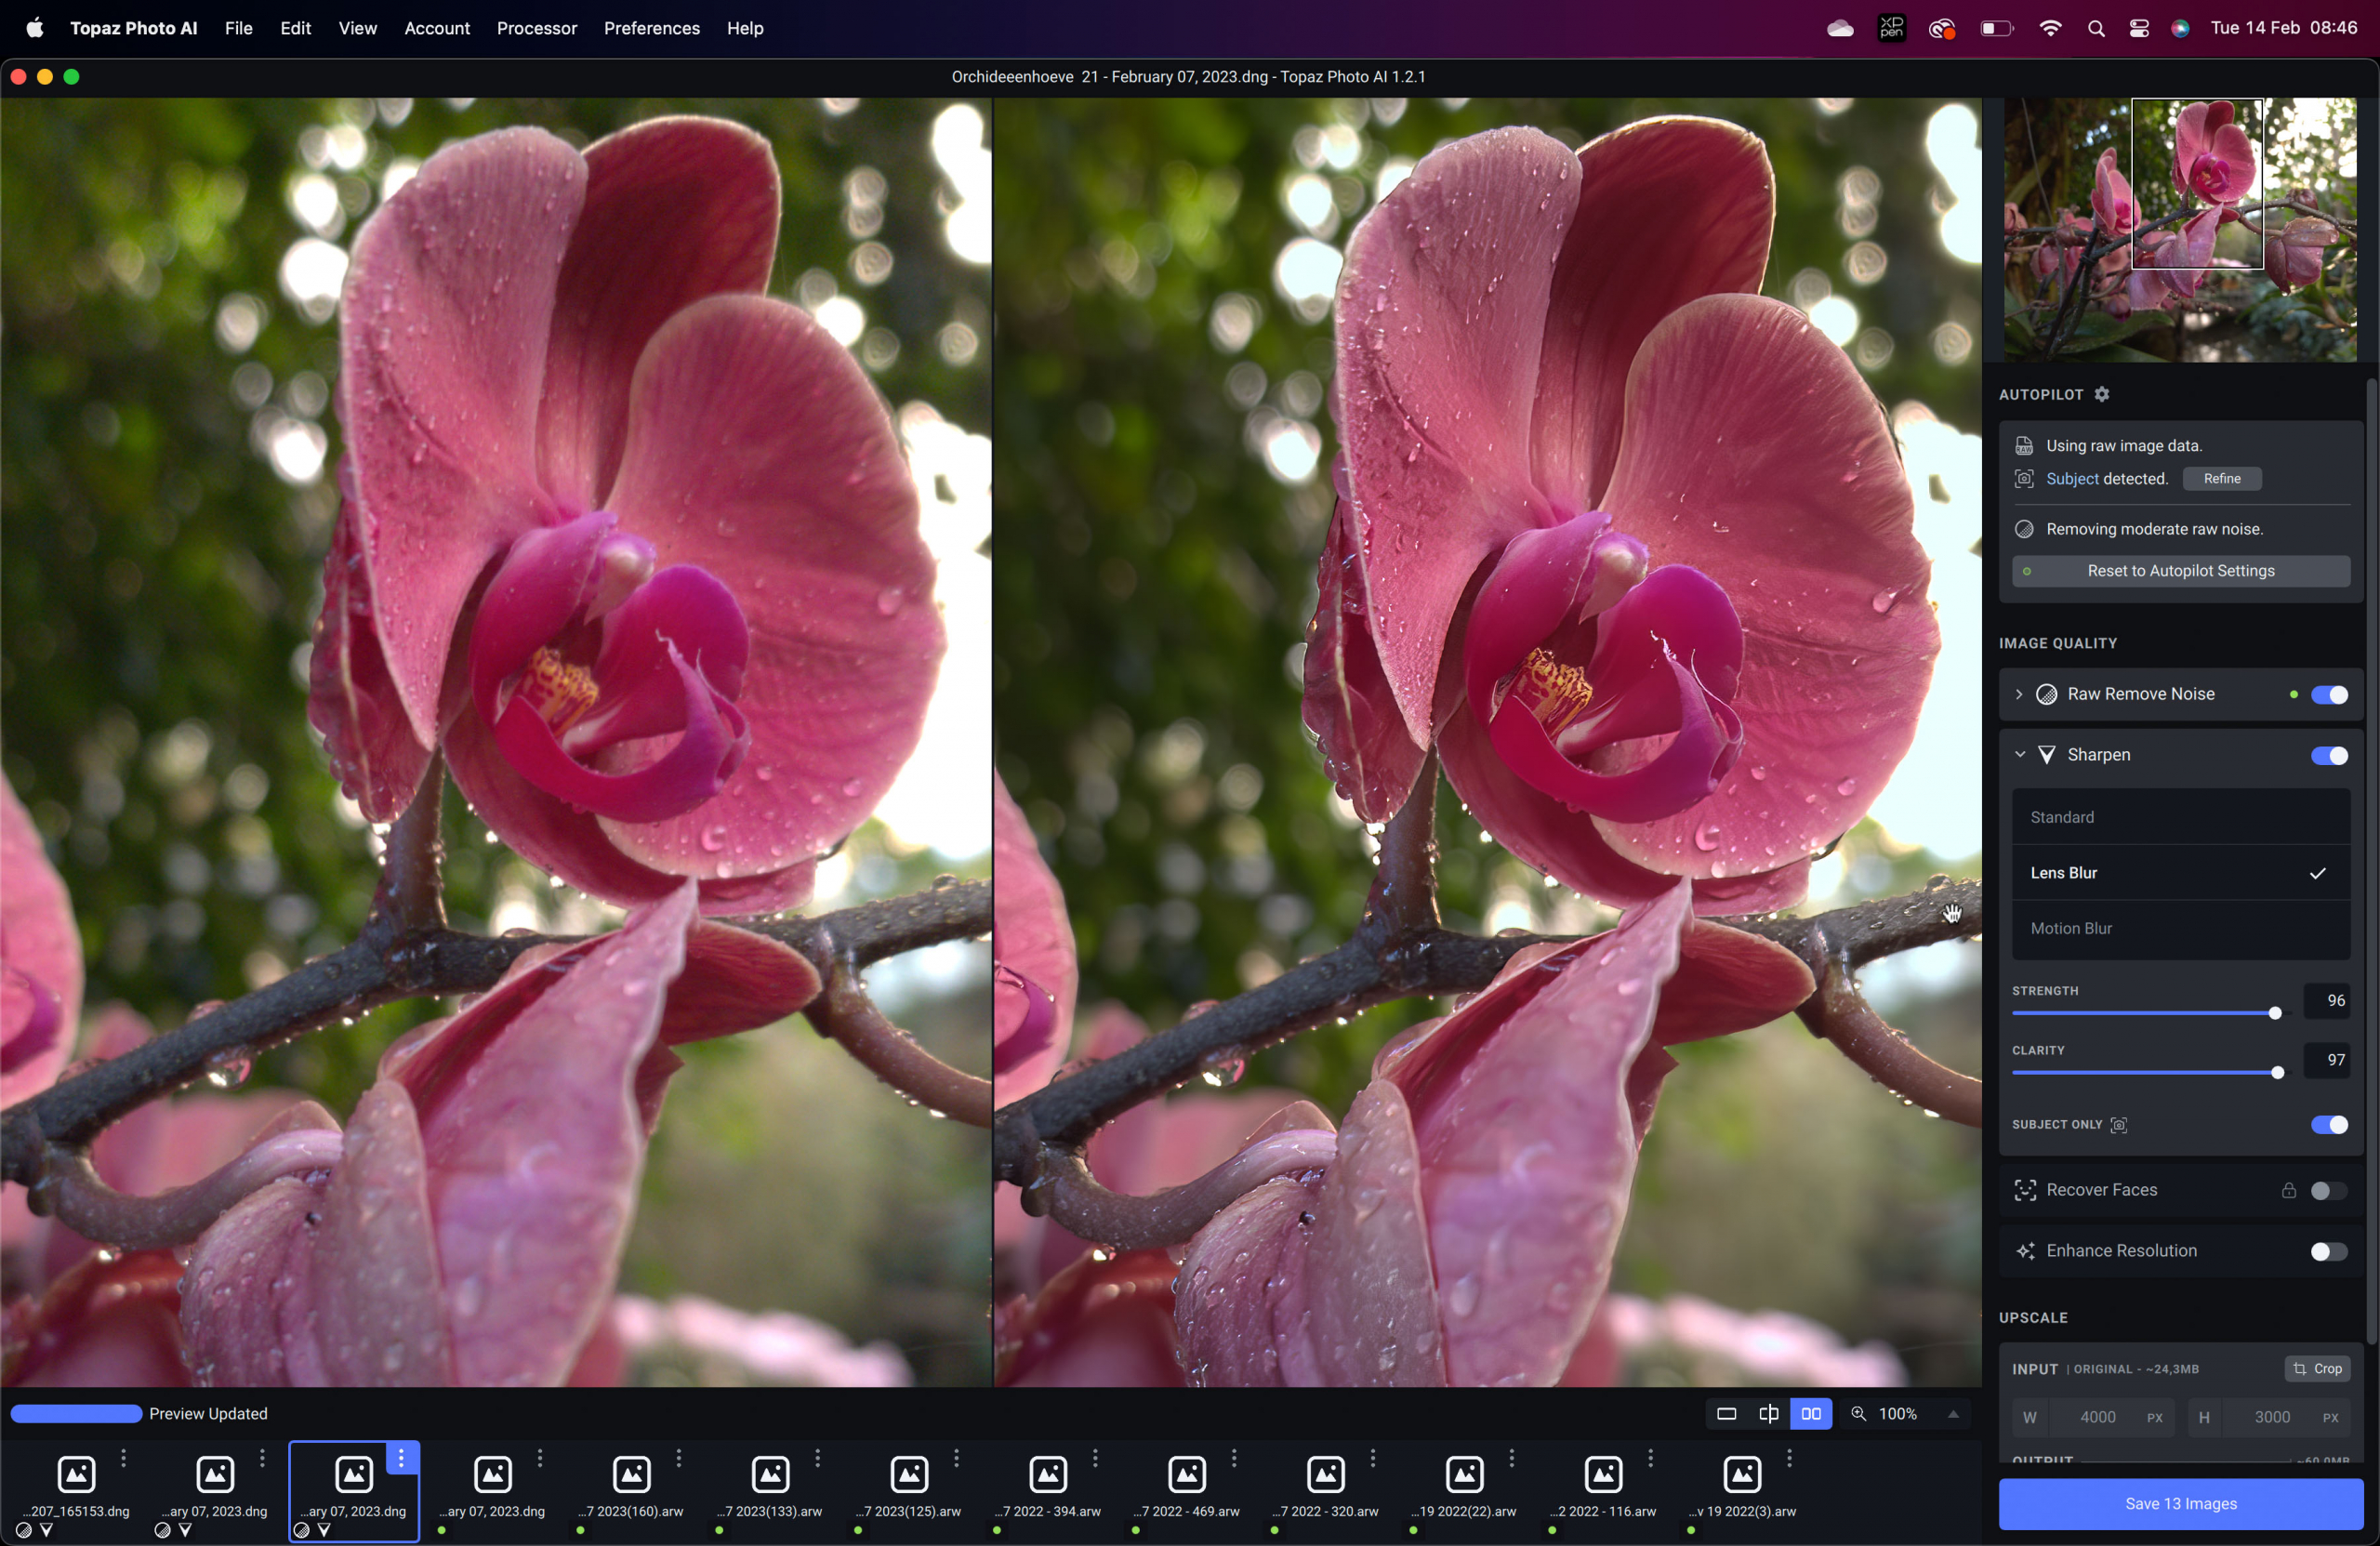
And what about an image where the focus is just slightly off, let’s be honest this happens a lot.
As you can clearly see it’s a HUGE improvement, and you can also see a boost in the 3d look, something I’m always looking for in images.
So it’s pretty clear now it can fix images where you missed focus.
But that’s not all, what if you’re perfect and always shoot sharp images?
How about using it on an image that was already pretty sharp?
Even on an image like this, the improvement is pretty substantial to the point the original actually starts to look soft…..
But lets up the ante a bit.
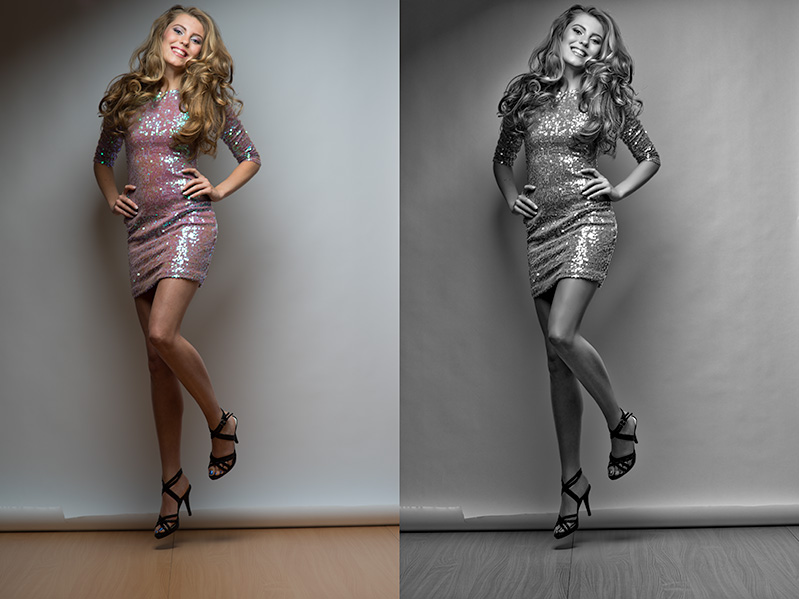
The following image I shot during a workshop with our model Claudia. This was shot with continuous lighting and although my Sony A7RIV is pretty good with noise, it is still an image that looks a bit flat and noisy. So I was curious to see what it could do with this one… and again I was stunned.
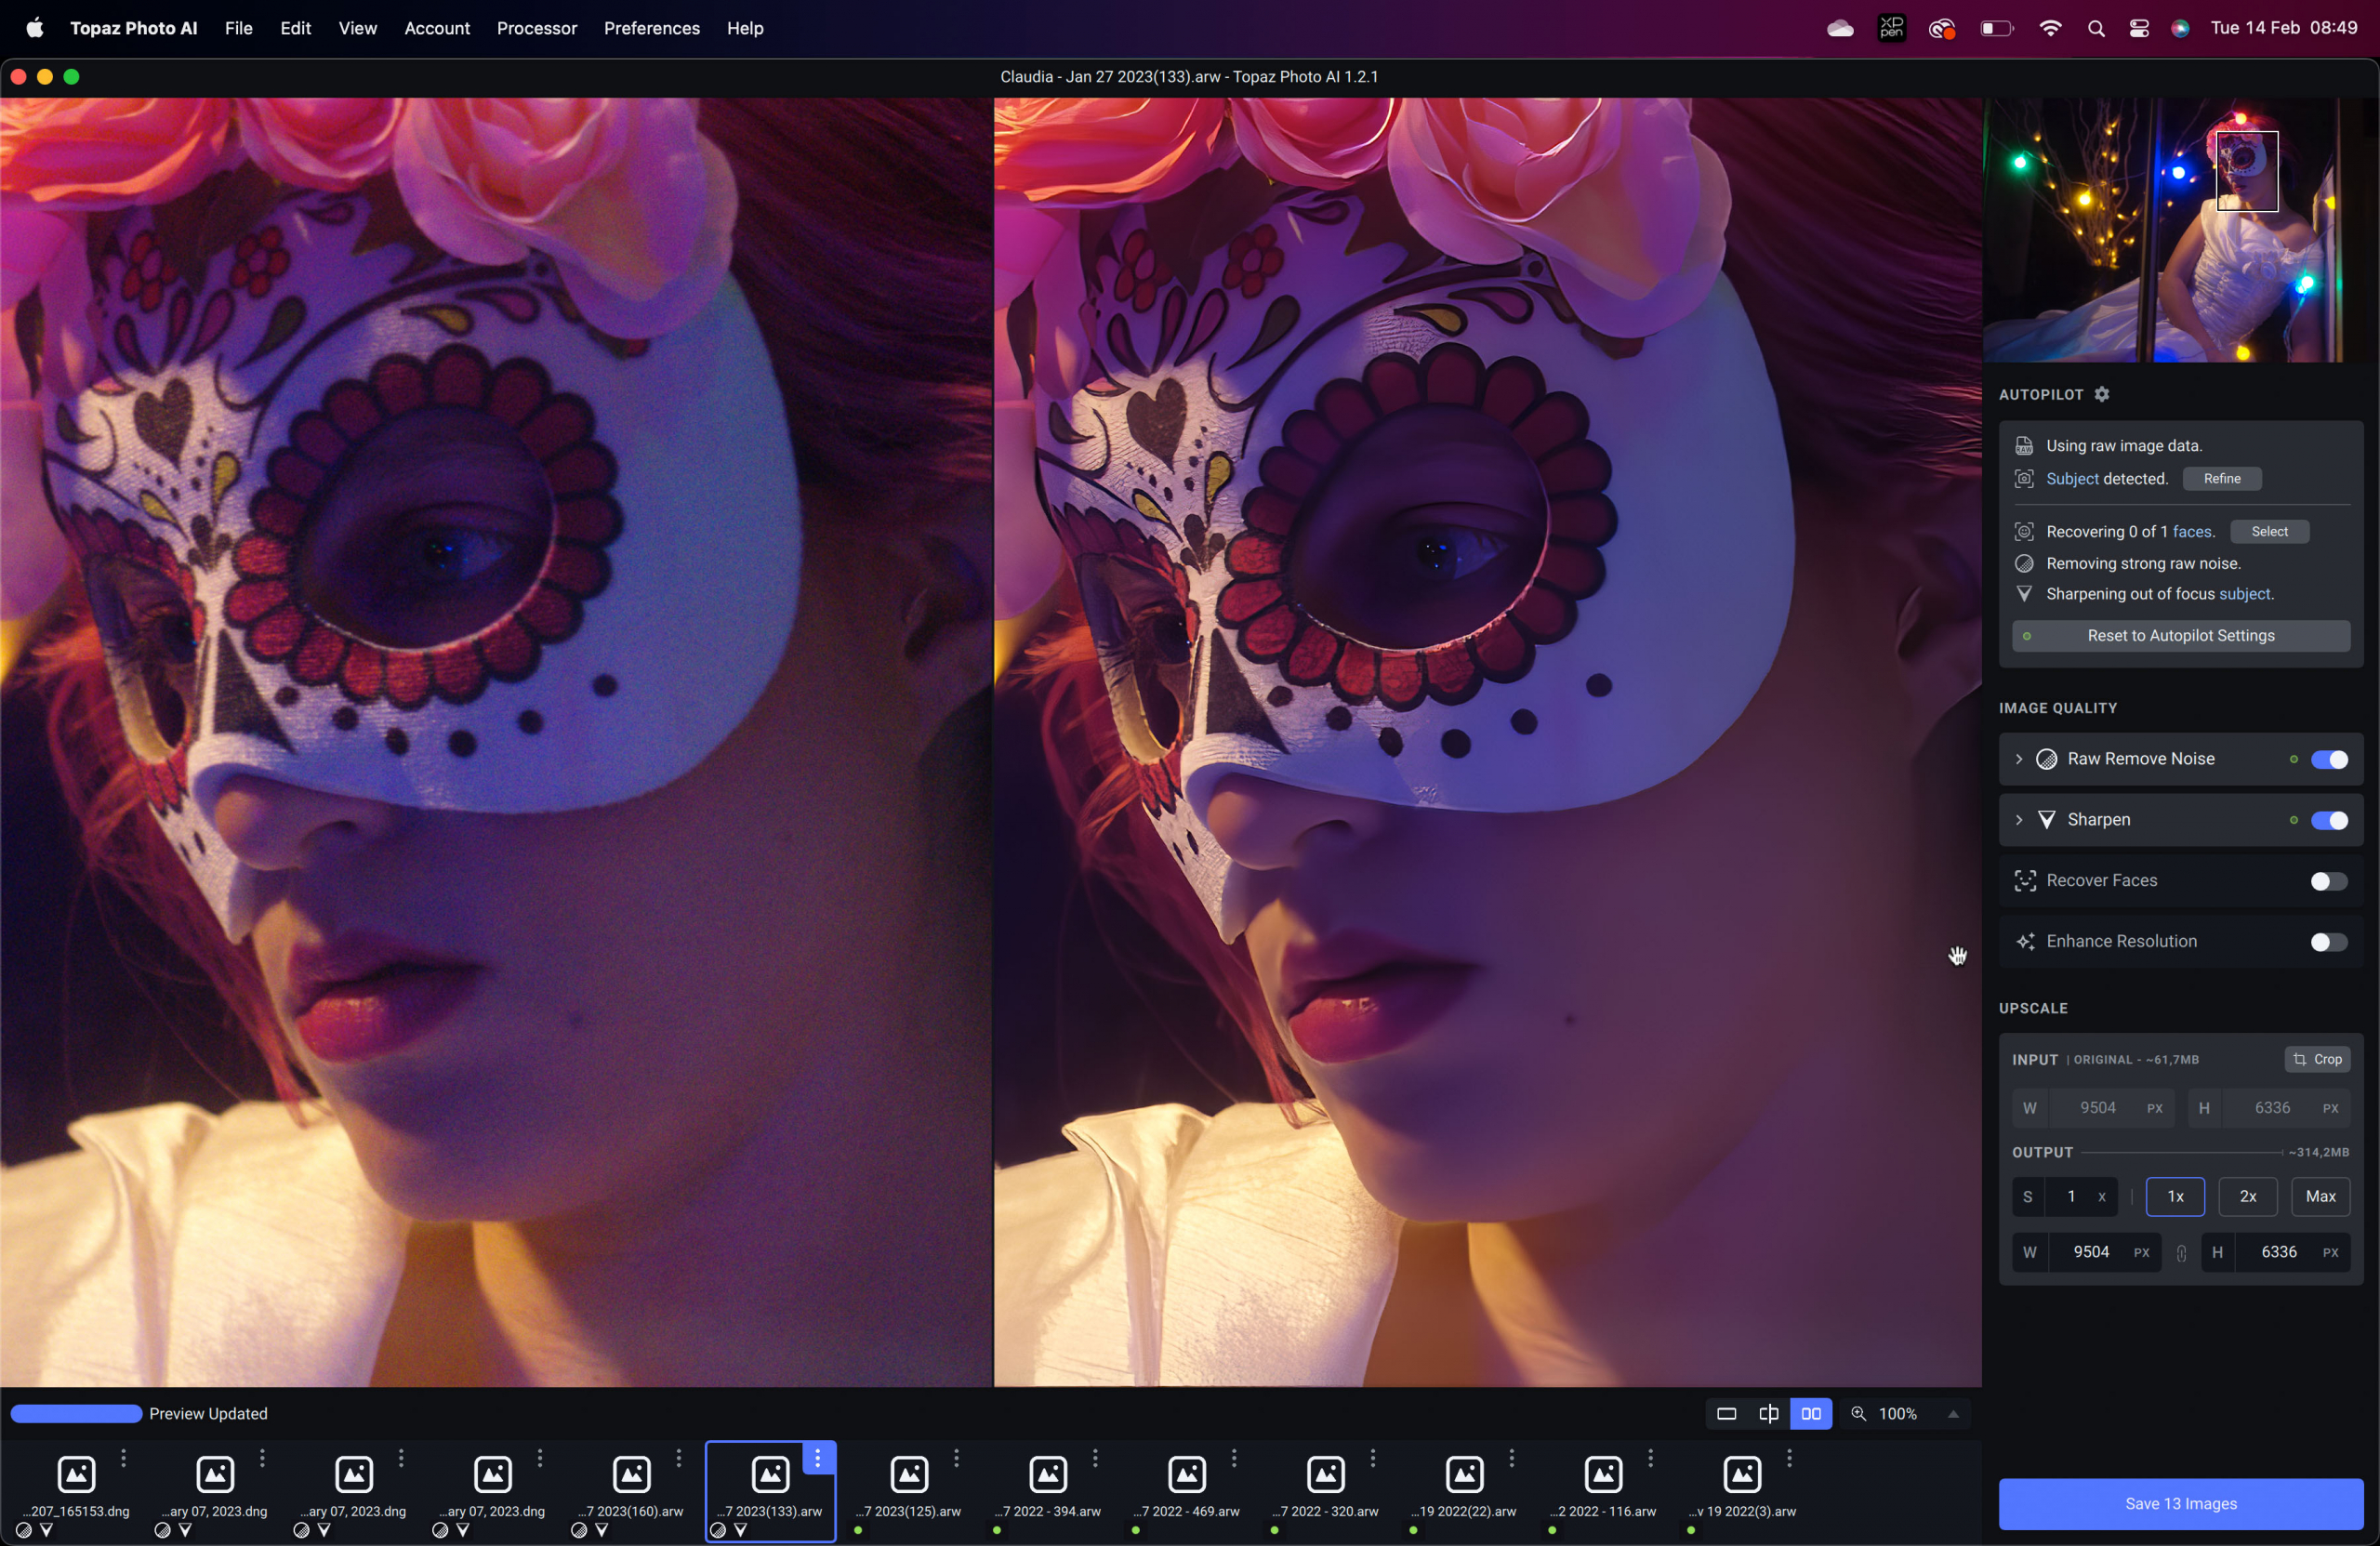
It’s not only the noise that is gone, but look at the depth in the image….. this is just insane.
Depth in an image is always something that is very hard to do in post. It’s a combination of contrast in your lighting, lens choice, and even the sensor has a huge deal to do with this. For example, a Medium Format camera renders depth a lot better than even the best full-frame 35mm camera. Well, at least the Medium Format cameras I used over the years. And I’m totally honest when I say that for the studio Medium Format is awesome, but with Topaz Photo AI for the first time I see that depth also in my Sony images. Look at the way the mask wraps around the face, this is HIGHLY addictive.
By now I was convinced about the magic of Topaz Photo AI and I was ready for the real test.
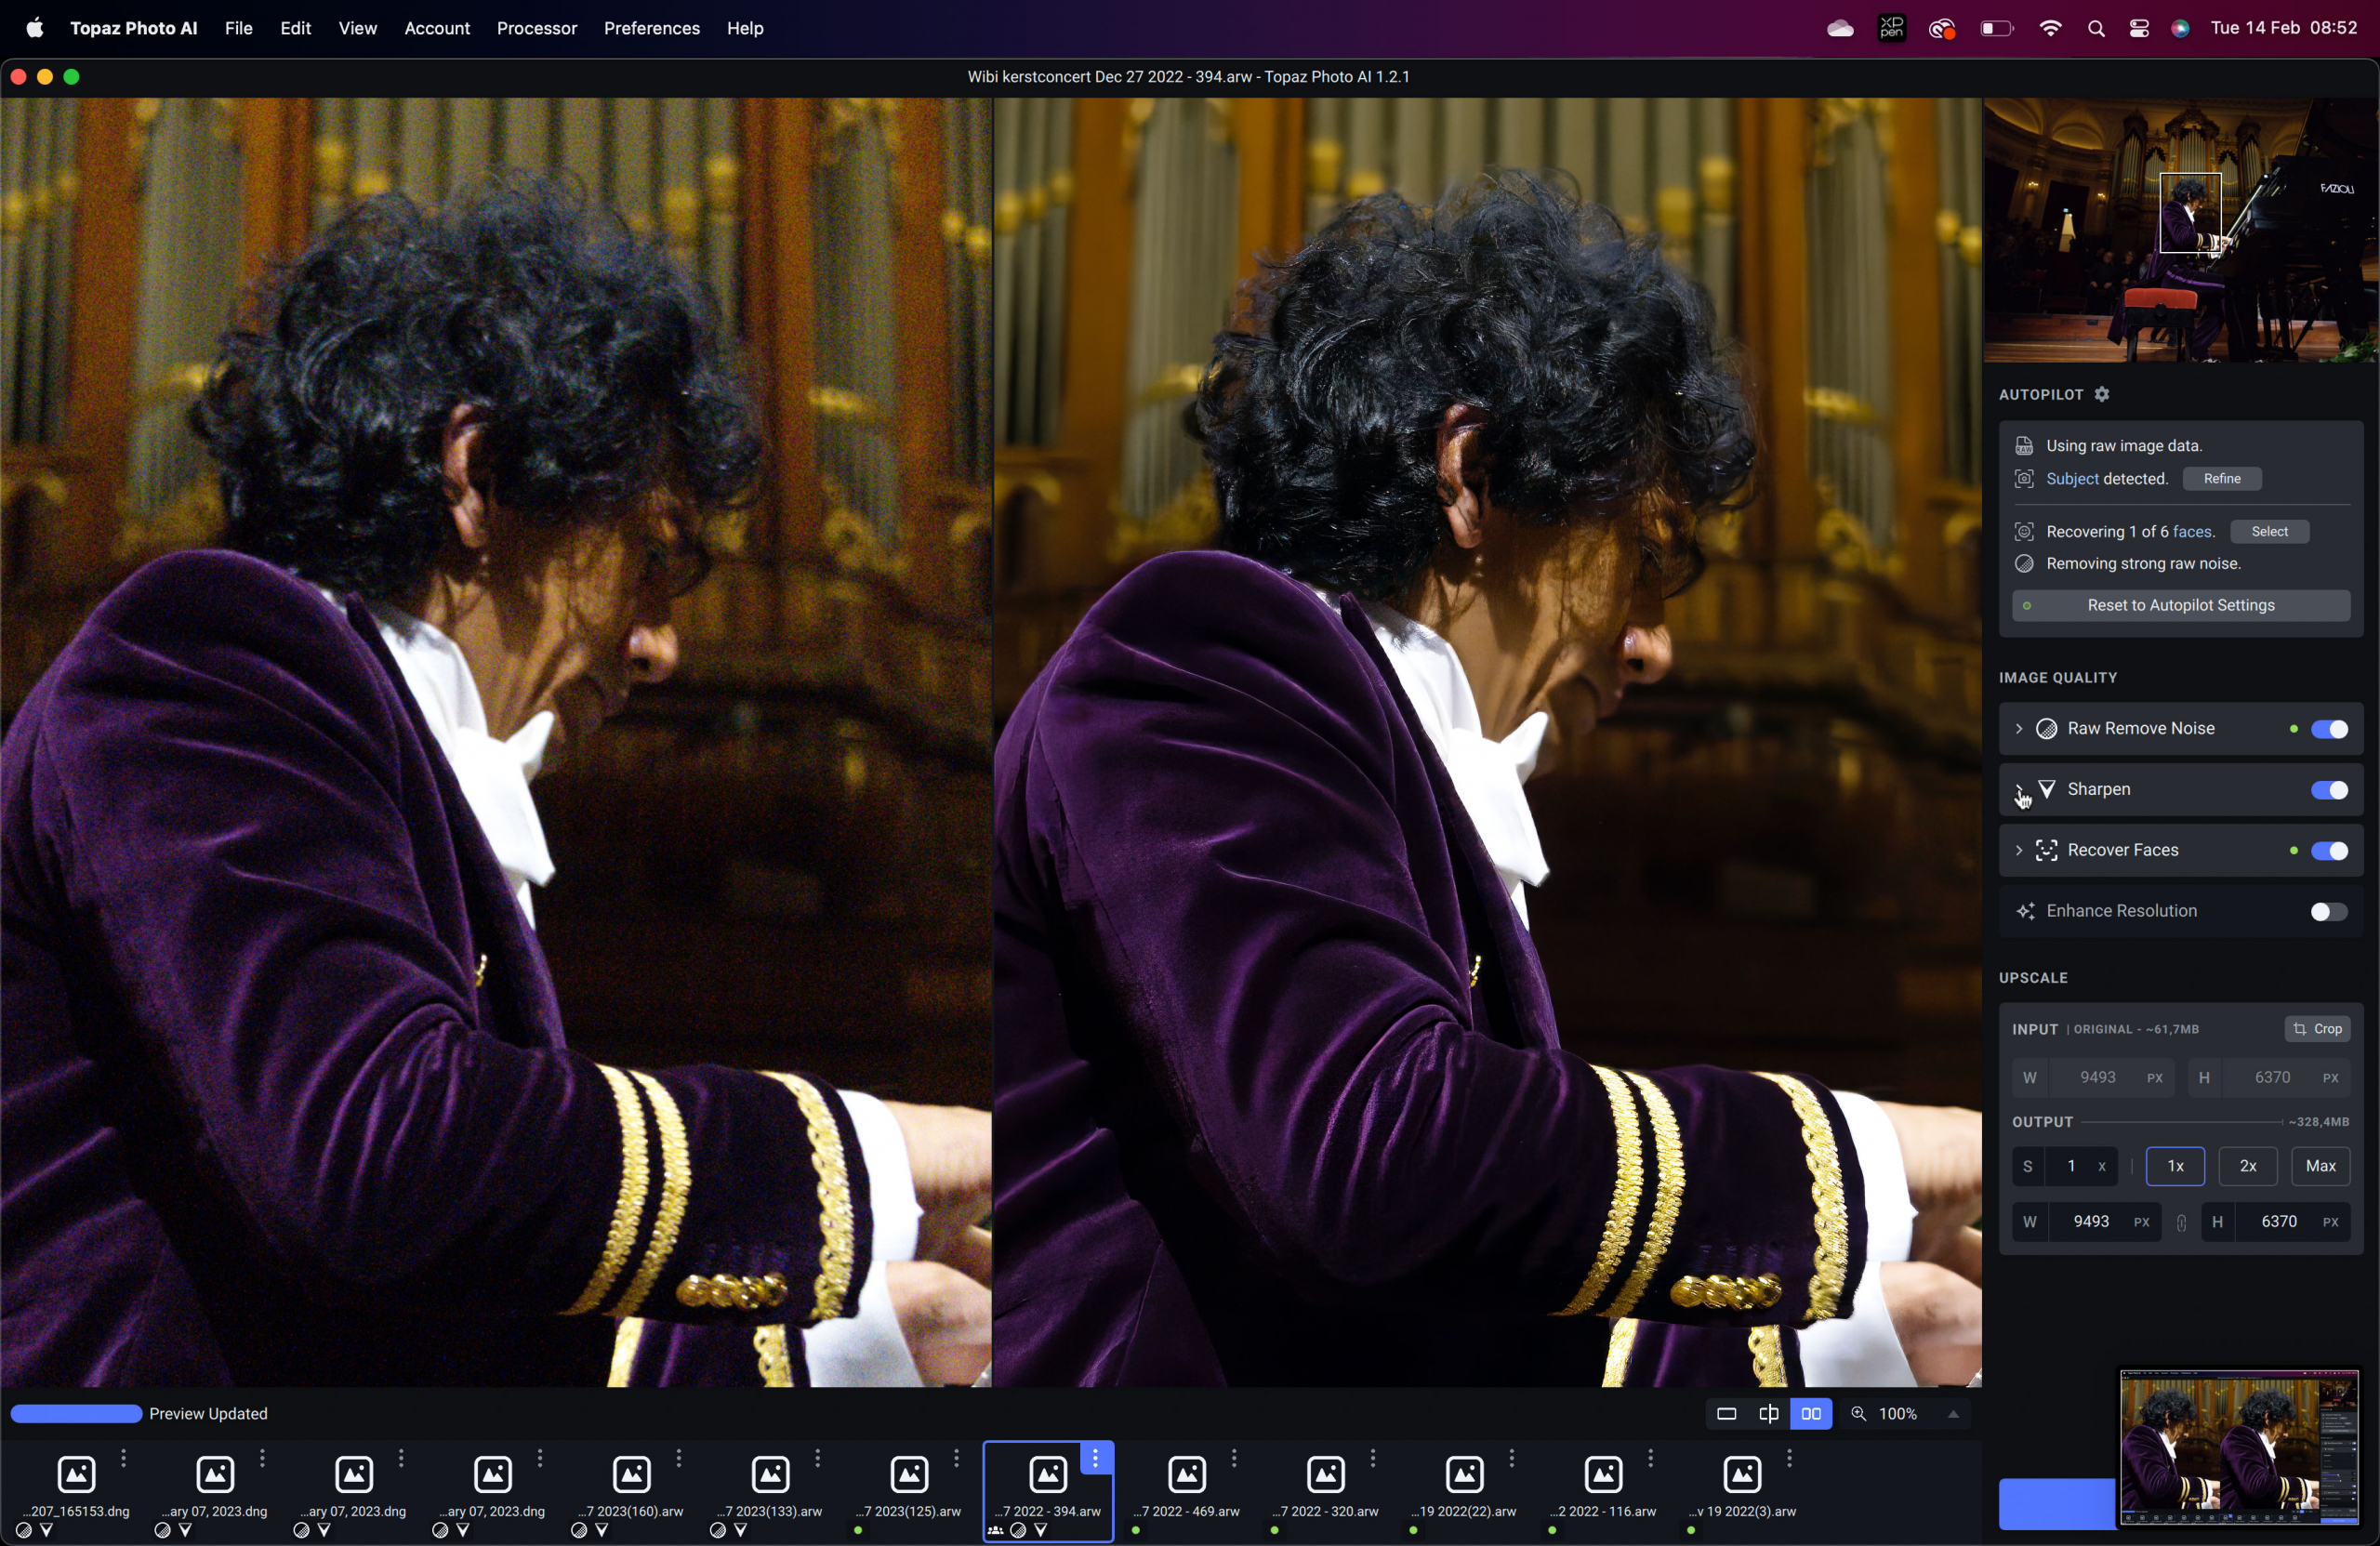
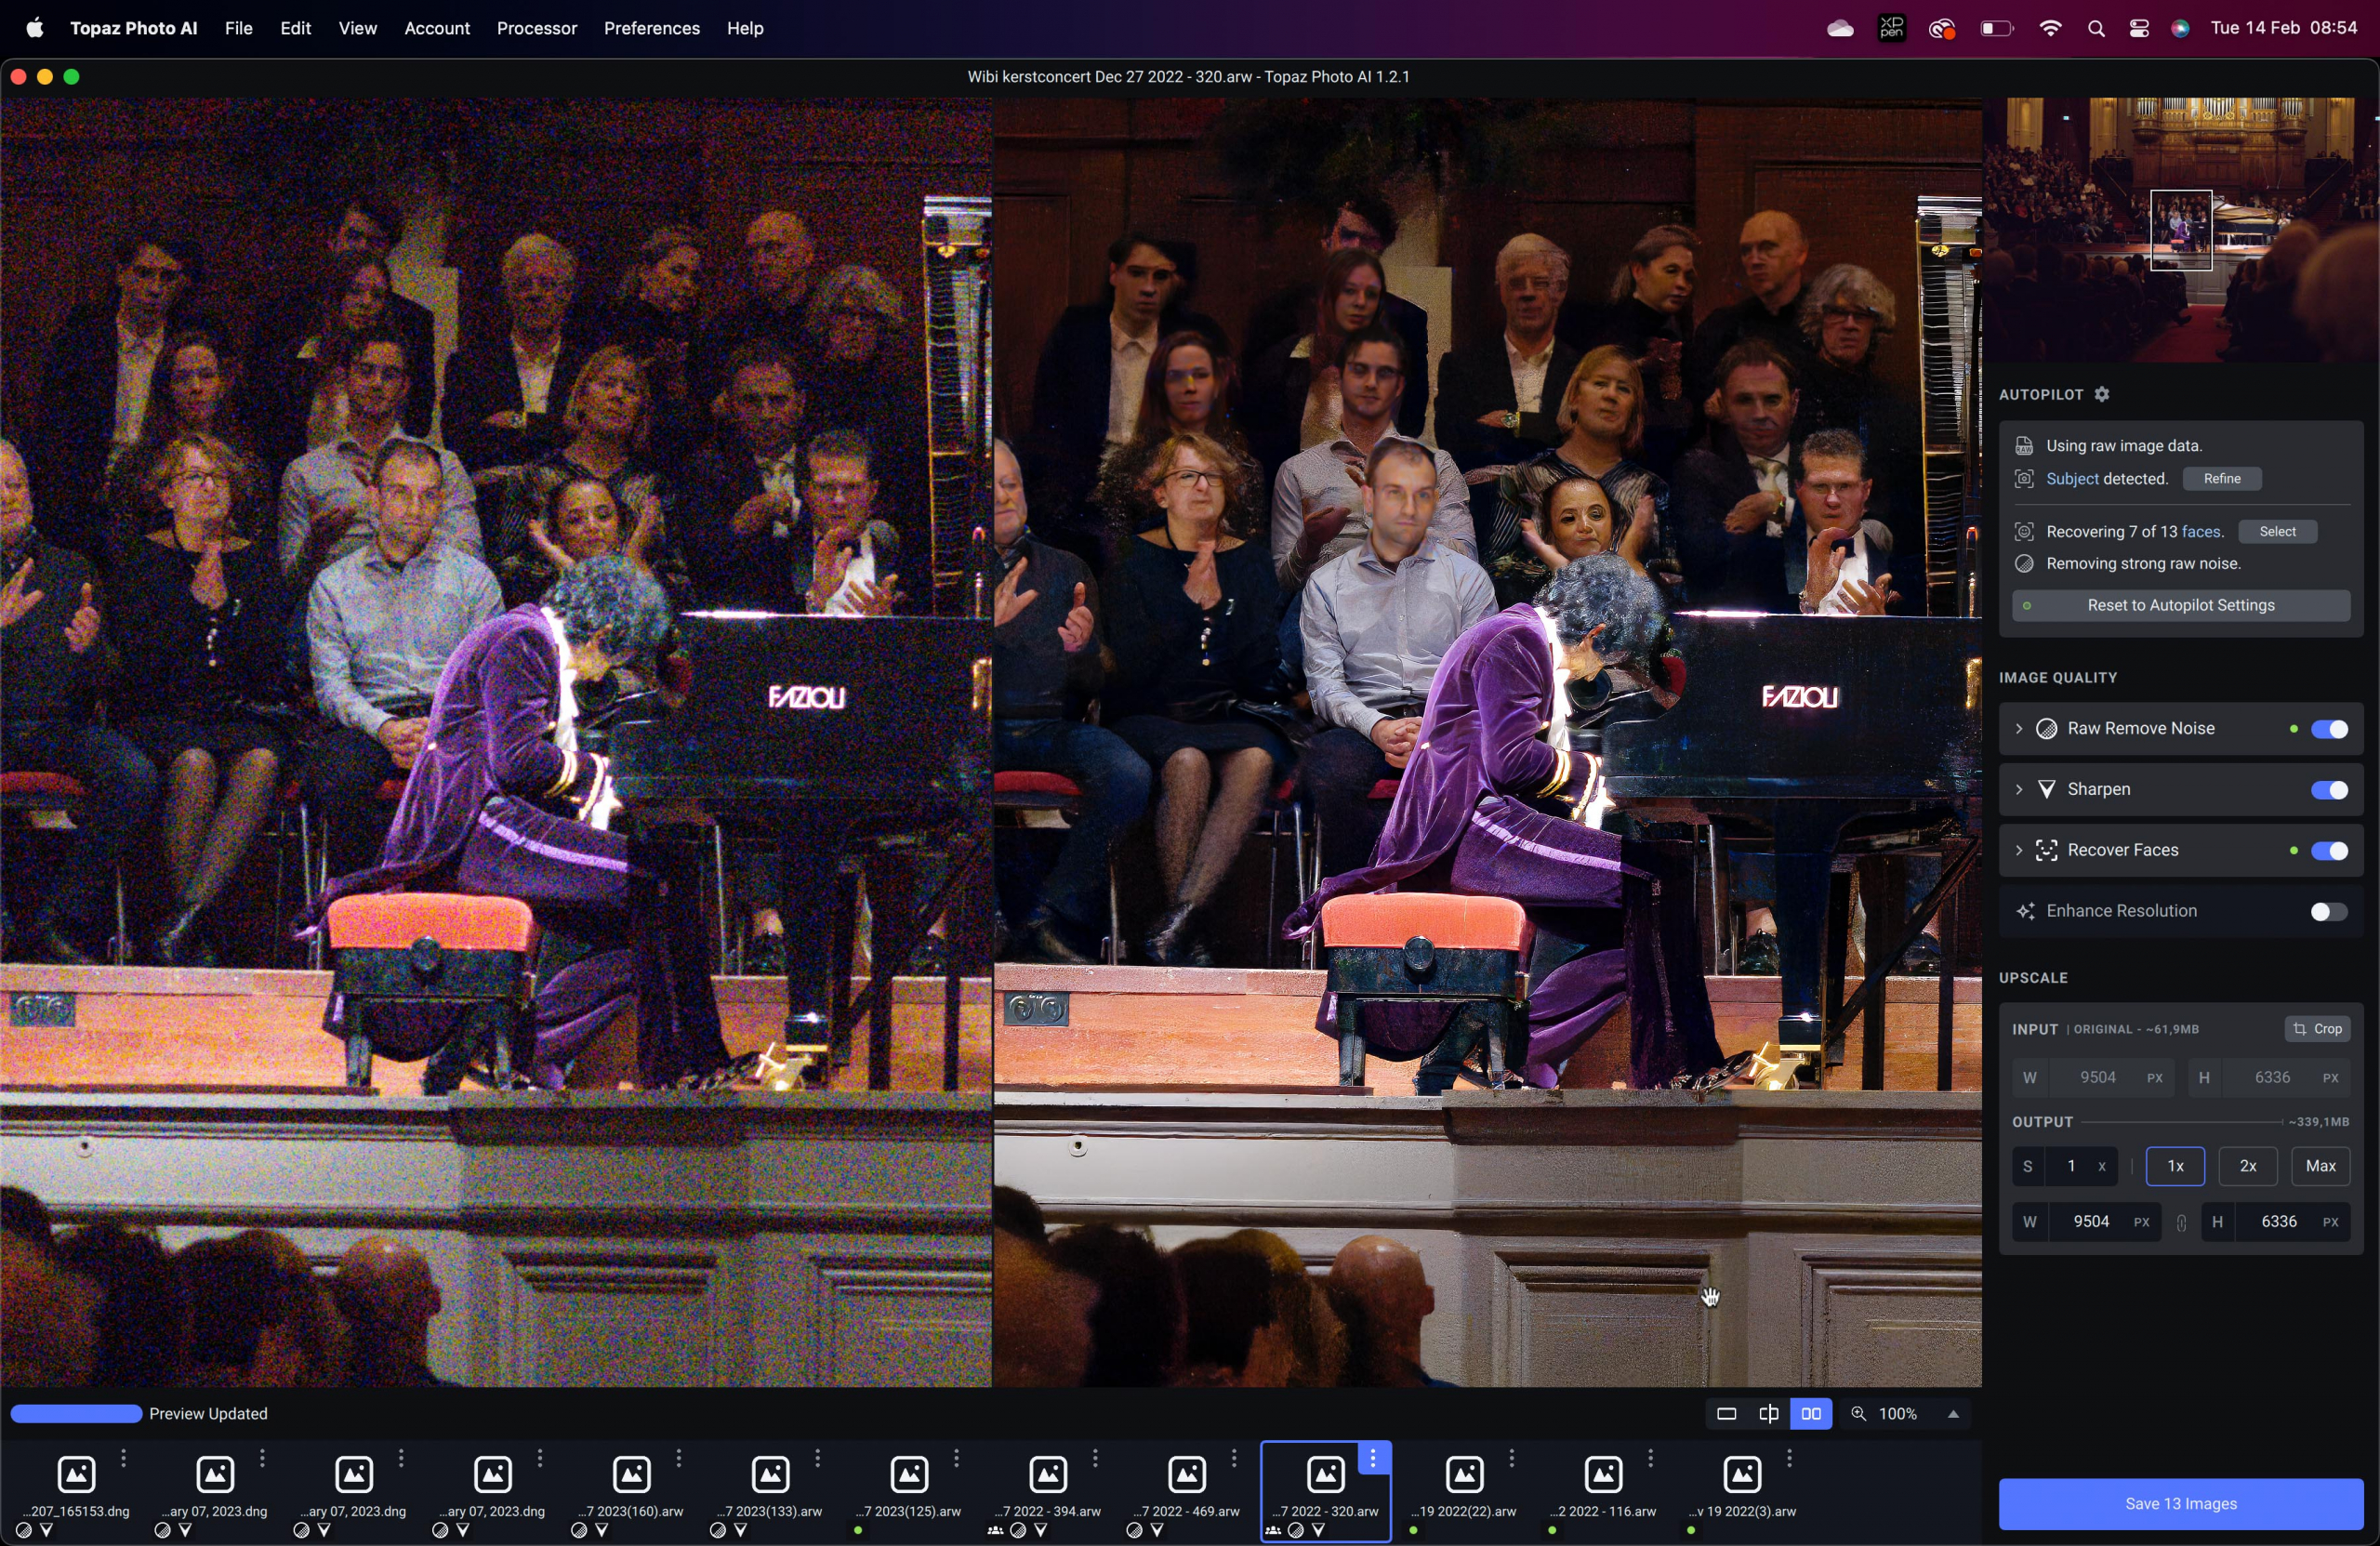
As many of you know I’ve been shooting Wibi Soerjadi for years. One of the highlights is the Christmas concert in the Amsterdam Concertgebouw. But this its also a real challenge for any camera. ISO values of 32000 are almost standard (yes indeed 32000) and in some cases I have to shoot at even higher ISOs to be able to capture Wibi’s hands in motion.
This image is already a real challenge, but as you can see it works like a charm.
When I saw this result I thought “let’s throw something in there that’s really terrible and unusable for publication”.
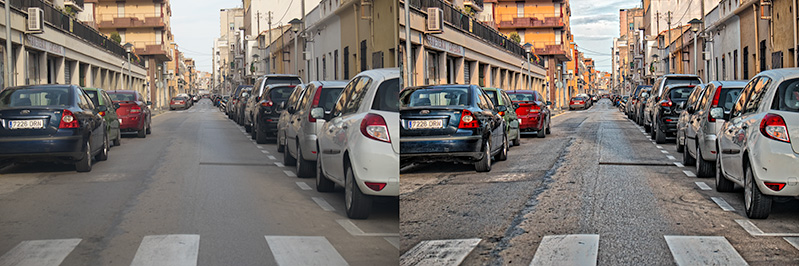
Let’s be honest when someone is filling the frame noise can be “ok” but when you shoot something with a wide-angle look it can really ruin a shot. The following shot is one of those images where you shoot it more to remember the situation than to ever publish it….. or………
As you can see… this is insane.
No loss of sharpness, no dull colors, no ringing, and all the noise is gone….
But there is more
In this short review, I only show you the tip of the iceberg.
There is also an excellent upscaling engine, and for example, the face recovery option is great for bringing back detail in faces that are shot with low-resolution cameras or are covered in noise.
Conclusion
It doesn’t happen a lot that I have to pick my jaw up from the ground. But while reviewing Topaz Photo AI it happens continuously. It didn’t matter what I threw at it, it did improve every single shot. Now don’t get me wrong, I still strongly believe you should try your best to shoot everything as well as possible on location. But when for one reason or another you don’t get the shot perfectly sharp or there is a lot of noise, there is absolutely no reason anymore to throw it out. I really hope you did save some of your images of loved ones or special locations that were not 100% perfect and in the past seemed unusable.
It might be a bold statement but with Topaz Photo AI you can bring your images/memories back to life and enjoy and keep those special moments forever in much better quality. And only for that, I would love to say to Topaz, “Thank you so very much from the bottom of my heart and from many other photographers out there for saving some of my precious memories which are now looking 100x better”.
As a tool, I think Topaz Photo AI should be installed on all workstations and should be a standard part of your workflow. The improvements are just too good to not use. It doesn’t just act as a great noise killer (one of the best I ever saw) but it also doubles as one of the best sharpening engines I ever worked with. Add the options to select only the subject and change the effect with sliders and add in the upscaler and face recovery option and you probably know why I’m so incredibly enthusiastic.
Buy Topaz Photo AI through our link
Disclaimer:
I’ve been working with Topaz software for as long as I can remember and I get my software for free from Topaz, however, this has and will never influence my opinion about the software, I’m always 100% honest in my reviews and don’t believe in telling you guys stuff that doesn’t reflect reality.