Tag Archive for: photography

Having fun with poses. This will get you more dynamic photos and much more fun during the shoot

We all want stunning images

We all want images that jump off the screen! But how do we get free of the “forced” poses? Today I talk about breaking the forced poses and getting more dynamic photos. Like most people when I started with photography I was using the so-called “posing” books. One thing I learned very quickly was that although some worked. It always ended up looking forced, or just plain awkward. And let’s be honest, every person is different so having a posing book in hindsight does sound a bit weird.

Finding the perfect lines in the body of your model

One thing that I learned after the posing books was finding the lines in a pose.
Sometimes it’s a nice flowing S-curve in a pose, and sometimes I love working with triangles.
Now in all honesty I didn’t really look for triangles. It just happened that all the shots I  liked had some triangles in the poses.

Letting go, go with the flow in your shoot

When I started shooting more and more models and also did assignments for brands it became very clear that posing a model wasn’t a thing I liked. Luckily at that moment, I worked with some models on a weekly (and sometimes several times a week) that were always in for experimentation. Also during that period, I watched several videos on the work of LaChapelle, Avedon, Newton, etc. and the thing that really caught my eye was that they most of the time didn’t really pose the model to perfection but also just let the model go.

The moment I let go was the moment my photography changed from “stiff poses” to much more free-looking and natural poses.

The trick is actually incredibly simple.
You pose the model for 50% of what you want, angle, leaning against something, etc.
And after that you…. well just let go and shoot.

So let’s take a look at what happens.

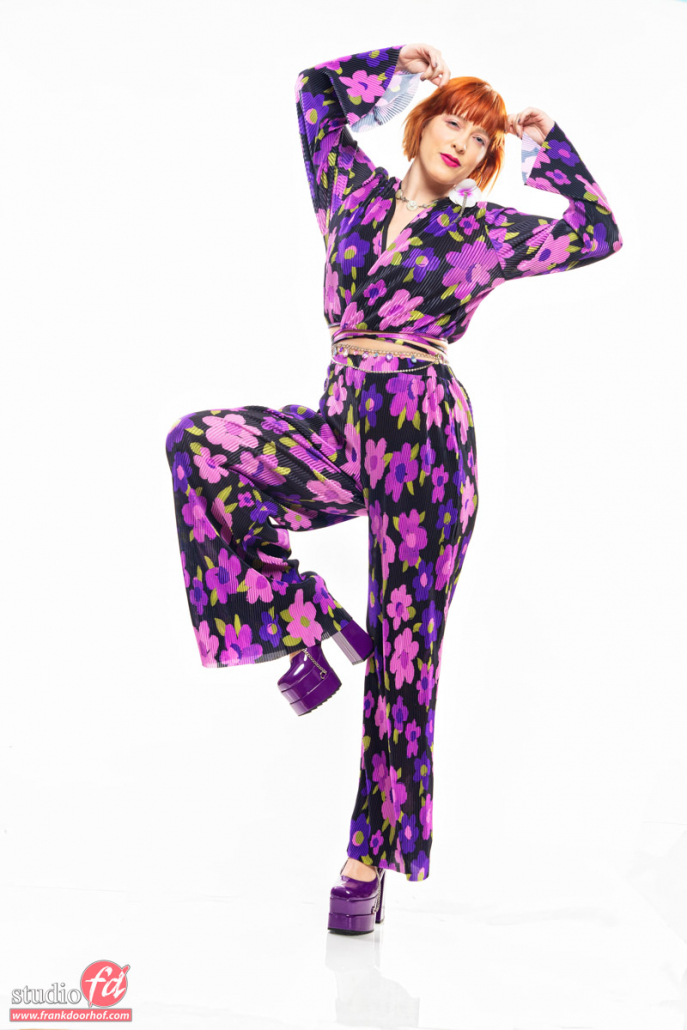
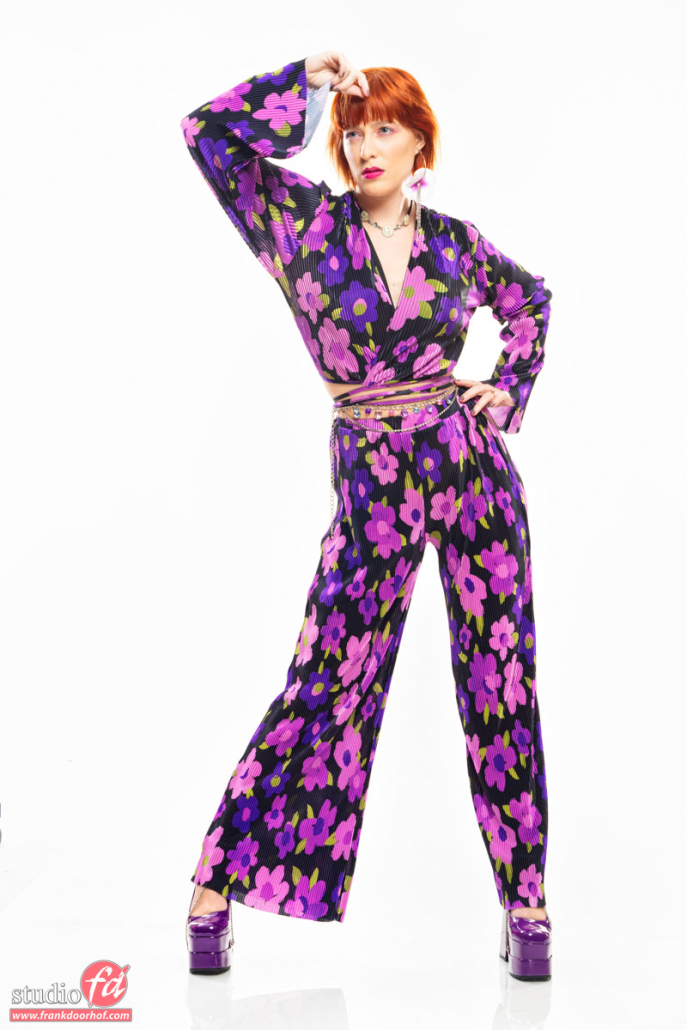
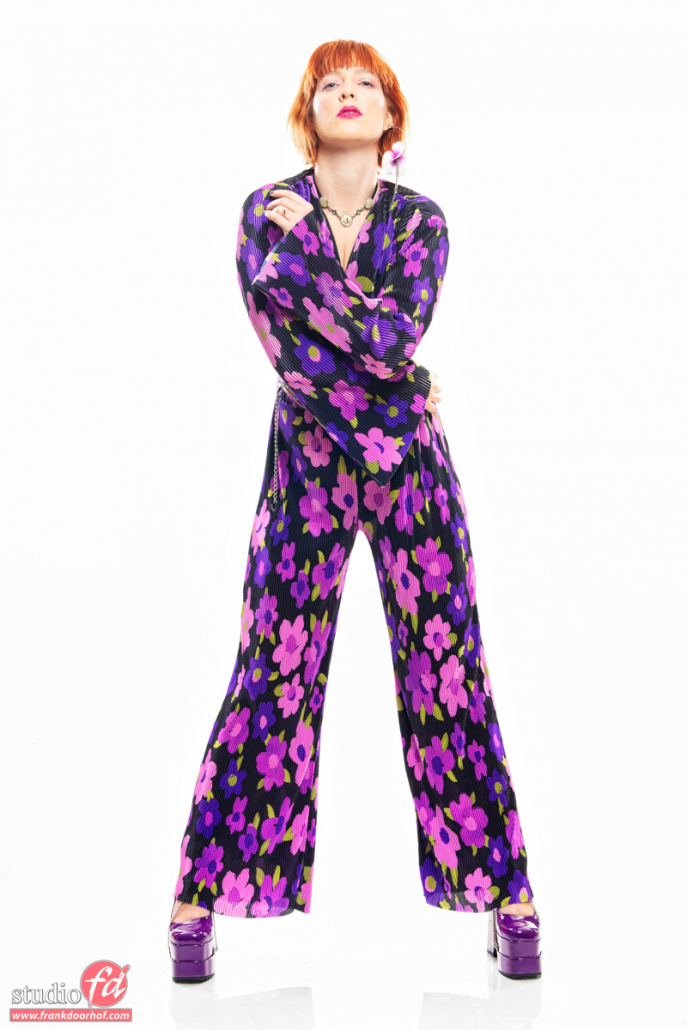
Some examples where I let go and just shoot

During a recent workshop with Claudia, we did exactly that.
I chose the most simple background setup and lighting so the model had to do all the work.
The nice thing about this approach is that you will always get fresh looks. Instead of always seeing the same poses. But it also really loosens up the model and the mood in the studio. Put on some music and just let the model literally flow through the poses and keep shooting.

So let’s take a look at some of the results from a few minutes.
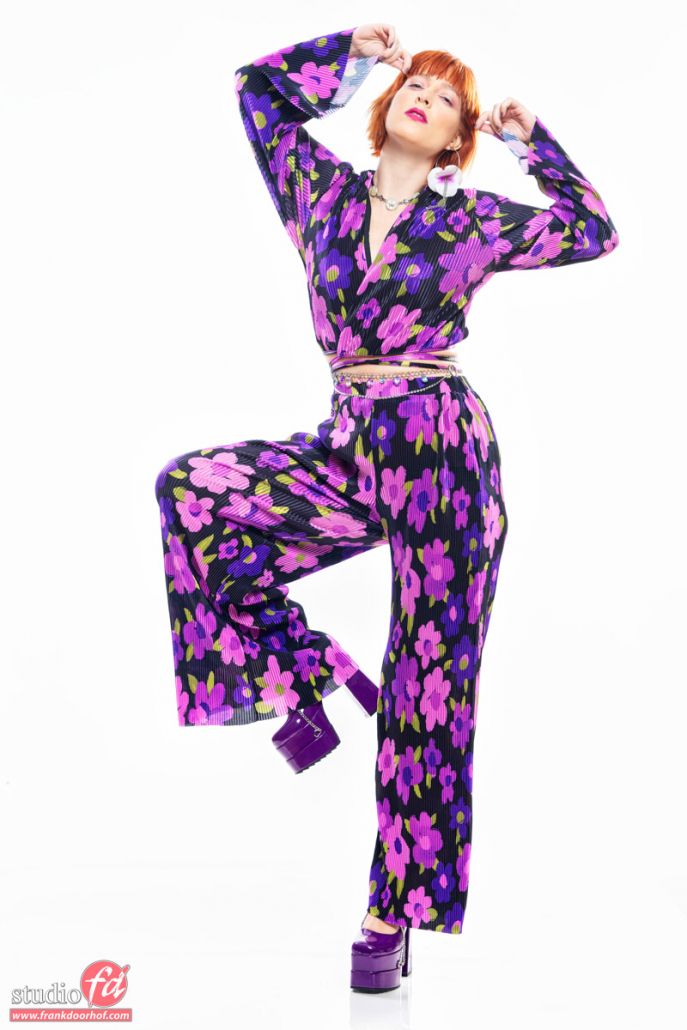
How do you get more dynamic photos? Go with the flow.  How do you get more dynamic photos? Shoot and find angles and curves in your model's body.

Now it might not immediately catch your eyes, but when you work this way you will find that not only the poses look much more natural and “flowing” but also the expressions of your model will be much more relaxed. and that is the start of more dynamic photos.

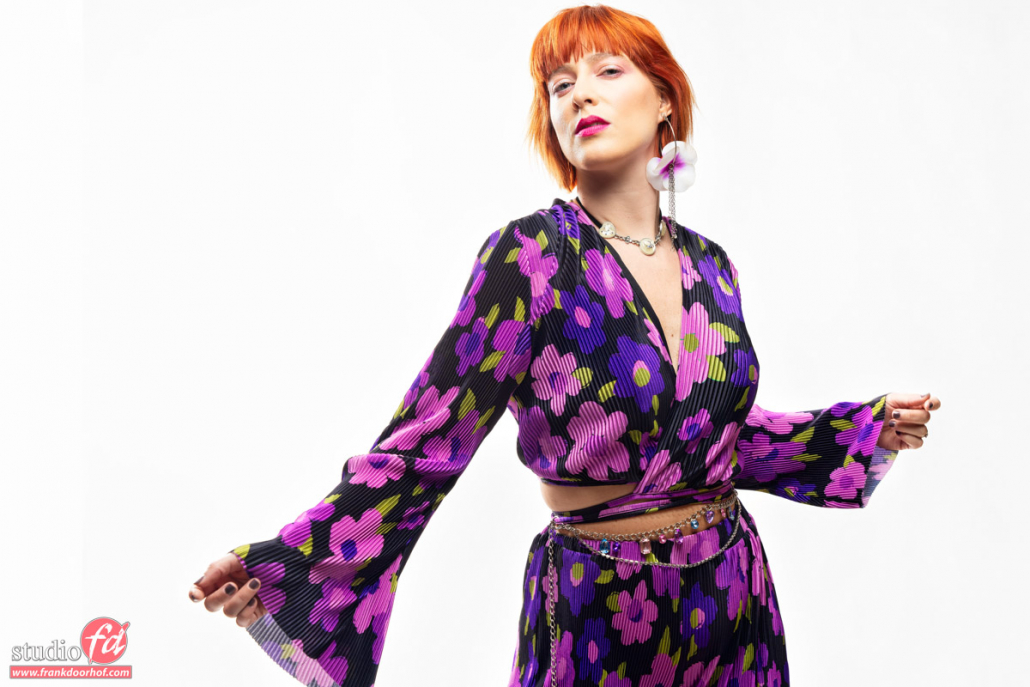
And of course, don’t forget some close-ups 😀
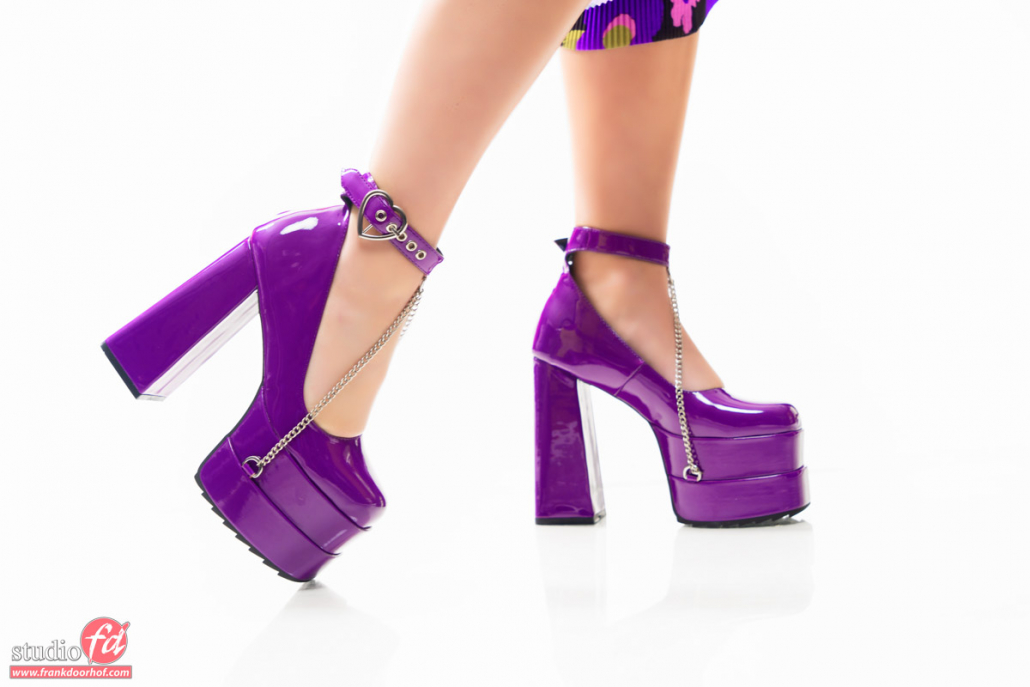
don't forget te close-ups How do you get more dynamic photos? Go with the flow. Let go. Shoot and find angles and curves in your model's body.

Conclusion on how to get more dynamic photos

Of course, photography is very personal, and what works for one won’t work for everyone.
However, over the years I’ve found out that getting the model at ease and relaxed really boosts your photoshoot and gives much better results than just pushing a model into a pose.

So what is your next move to get more dynamic photos?


Claudia is an amazing multivalent! check out the blog where I used seamless paper as a dress

Fashion shoot? use this is a great backdrop for more impact


Check out this video about using a reflector

I show you how I started and where we are now (Digital Classroom Love for Photography)

Digital Classroom Love for Photography

It’s been interesting….

It’s been interesting to go through my old work for this episode of Digital Classroom. It was broadcasted on February 14, Valentine’s Day. And we didn’t want to do another model in red.
I thought it would be fun to dedicate a whole episode to Love for Photography.  About the way my photography changed, but also my vision of my work and the way I work with models, sets, lighting, and styling.

I hope you enjoy this very special and personal episode in our digital classroom series.

Don’t miss our live broadcasts and new videos by subscribing to our channel and hitting the bell icon.

Above the recording of the Digital Classroom Love for Photography


Check out our Next Digital Classroom on YouTube 


or the whole playlist on our website 

Working creatively with seamless paper in a totally different way

Being creative with left-over seamless paper

What are seamless paper backdrops again?

Yes, most of the time we use our Click Backdrops. In practically all situations a Click Backdrop is better than seamless. Even white! this article is about working creatively with seamless Paper left-overs

But we started with Seamless paper backdrops so we have much of it. Seamless paper backdrops are large non-reflective rolls of paper that fit on a stand behind your subject. They can be plain or colored, and give a smooth, professional look to your photographs. Seamless paper is often used in portraits, headshots, or baby photography, as the colors can be changed to suit your subject. As you understand very boring and plain.

No, don’t throw it out… yet!

Annewiek must have heard this a million times… yes I have a problem throwing stuff out. Especially seamless (paper)
I somehow always feel you can still use it for something, and when that moment is there it’s better to have it… right?

I am not a huge fan of seamless paper. Over time it becomes unusable due to tears and dirt. And you have to throw it out and get a new roll. But for a nice and long backdrop, it’s still one of the most used backdrops. But what do you do when you can’t use the paper anymore but still have a lot left?

Well…. we can always use it in a shoot 😀

Working Creatively with Seamless Paper

Make a skirt out of seamless paper (or pretend it is a skirt)

working creatively with seamless

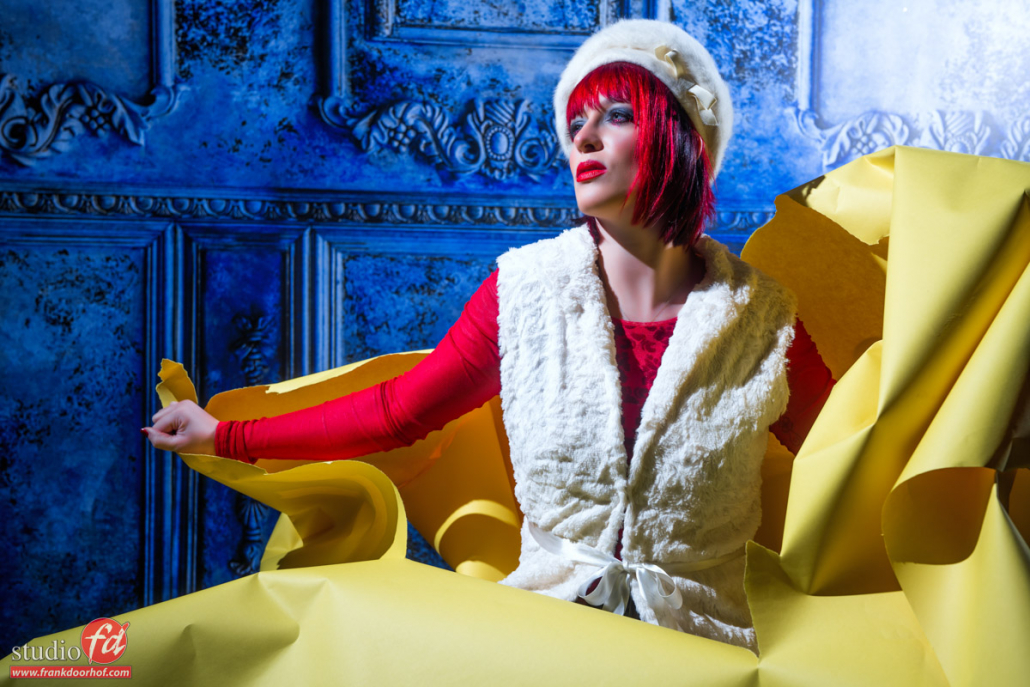
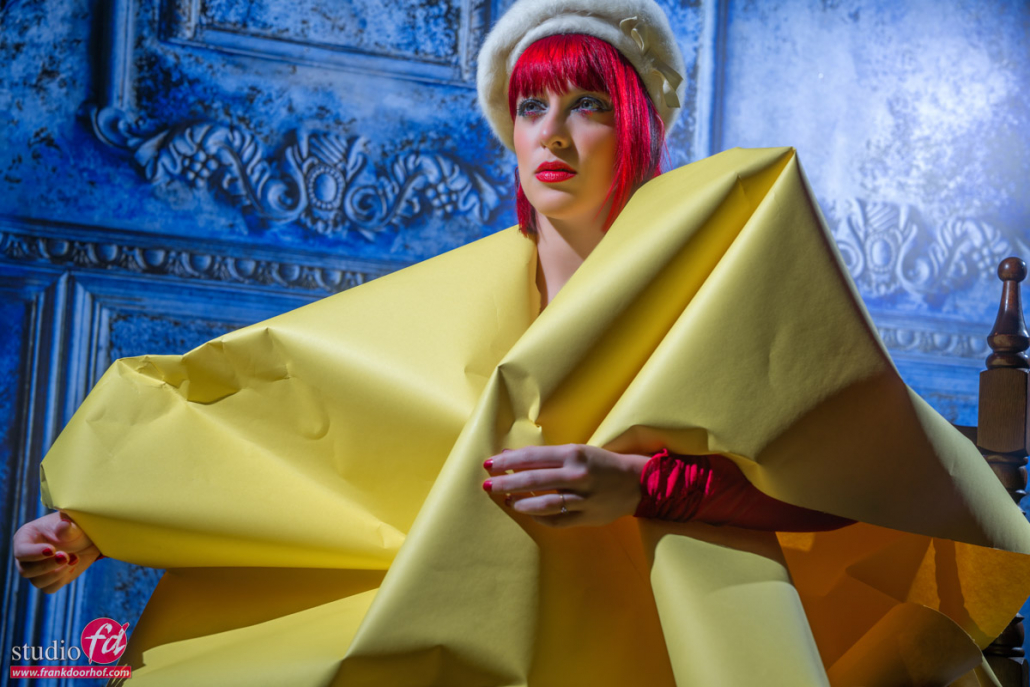
In this case, it was the idea of one of the attendees of the workshop. He had some yellow paper left and asked me if it would make a nice prop.
Claudia our model had bright red hair that week (yeah it varies) so that fitted perfectly in this setup.

The combination of yellow and red makes a great contrast which is balanced by the white clothing/hat and the blue background.

Of course, you can use the paper for many different things. We could have built a dress out of it. Used it as a backdrop with loads of wrinkles and tears. Or maybe on the floor with the model lying on or under it, in essence, the sky is the limit. So the next time….

Always reuse… and recycle your seamless paper

We all know recycling is important, but when you think you can use something for a photoshoot… maybe hang on to it just a little bit longer 😀

So what is your next idea about working creatively with seamless paper?


Behind the scenes during a Zebra photoshoot  and how to extend your Zebra backdrop with AI 


Using isolation blankets as a backdrop


A great new addition to the iPad ecosystem

The iPad ecosystem gained another great app

When I bought my first iPad Pro I was deeply disappointed. It was nothing more than a blown-up iPhone at that moment. But a few years later I bought the new iPad Pro.  And man,  did the ecosystem change over the last few years. So this blog is about the new addition to the iPad ecosystem: Luminar.

The M1 generation

I strongly feel that with the release of the M1 chipset Apple changed the playing field forever.
At the moment I was editing some drone footage on a Dell XPS i9. And although H264 went smoothly, for the H265 I needed to use proxy media (a sort of smart preview because the system can’t handle the original). To my surprise, my iPad Pro had no problems at all with the material… I was surprised but also motivated to find the perfect workflow on the iPad.

The main advantages

Let me start by saying that it’s no laptop replacement for me.
But it’s so much more.
I’m using Cascable to shoot tethered to my iPad Pro. Which means I can now bring my iPad on location (or in the studio). The advantages are numerous.

The iPad Pro runs forever on the battery and still has more light output than my MPB 14″ (MacBook Pro). The MacBook Pro is great for outside, but also the protection against the elements is much better on the iPad. With my laptop, I’m always worried about my keyboard or card reader catching dust or worse. Now I can leave my laptop at home and do the whole shoot with the iPad Pro.

The iPad Pro is also much easier to mount on a stand.  I’m using the Ulanzi myself which makes carrying around the iPad (still on the stand) much safer than dragging around an expensive laptop. Check out this video about tethering to the iPad 

But there is a limitation.
When I’m teaching I also like to show some retouching tips, and this is where the iPad always was rather limited with many apps for example not being able to output full resolution images or for example a Tiff 16bits ARGB. But things change.

Lightroom and Photoshop

Adobe released Lightroom and Photoshop on the iPad a while ago and in all honesty, they both work great. Recently Adobe even added generative fill to Photoshop on the iPad.

And even if you’re not in the Adobe ecosystem there are some really good alternatives such as Darktable, Procreate, and for example Affinity. I’ve tried most of them but I still keep going back to the Adobe suite. This has also everything to do that the link between the desktop versions and iPad versions is absolutely seamless with Adobe, and that makes my workflow a lot easier. Check out this tip where I turned the lights on in Photoshop for the iPad

New addition to the iPad ecosystem

So why this “news update”

Over the years I’ve tried several ways to tint my images, in short, give it my own look.
And although I love Lightroom a lot there are still some things I can’t do with Lightroom and I need to dive into Photoshop.

On the desktop, I’ve been using products from Skylum since they were called MacPhun and I always loved their approach to making something standalone but also fully incorporating it into the Adobe ecosystem. Nowadays you probably know them best for Luminar.

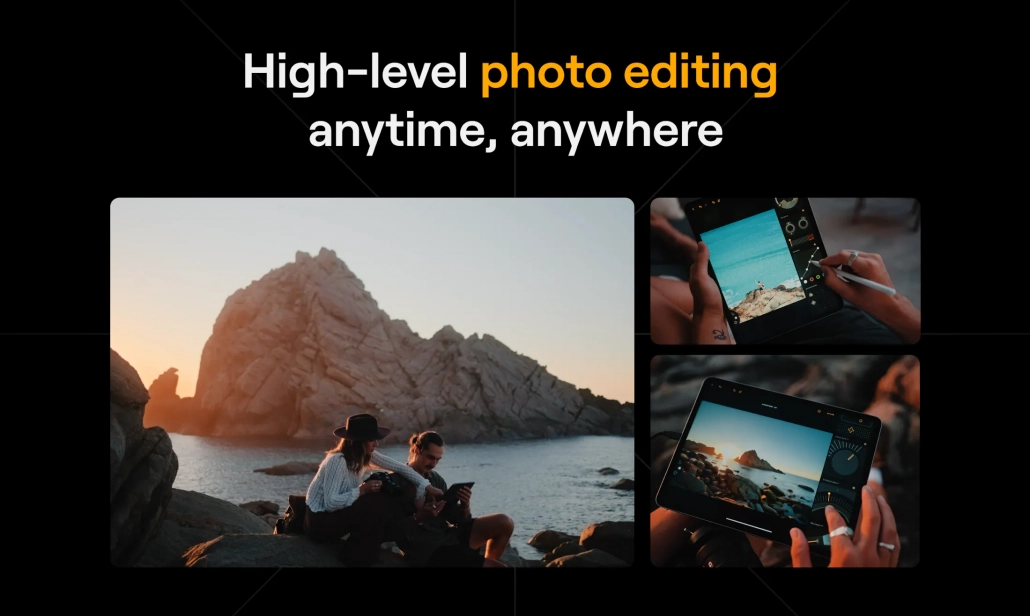
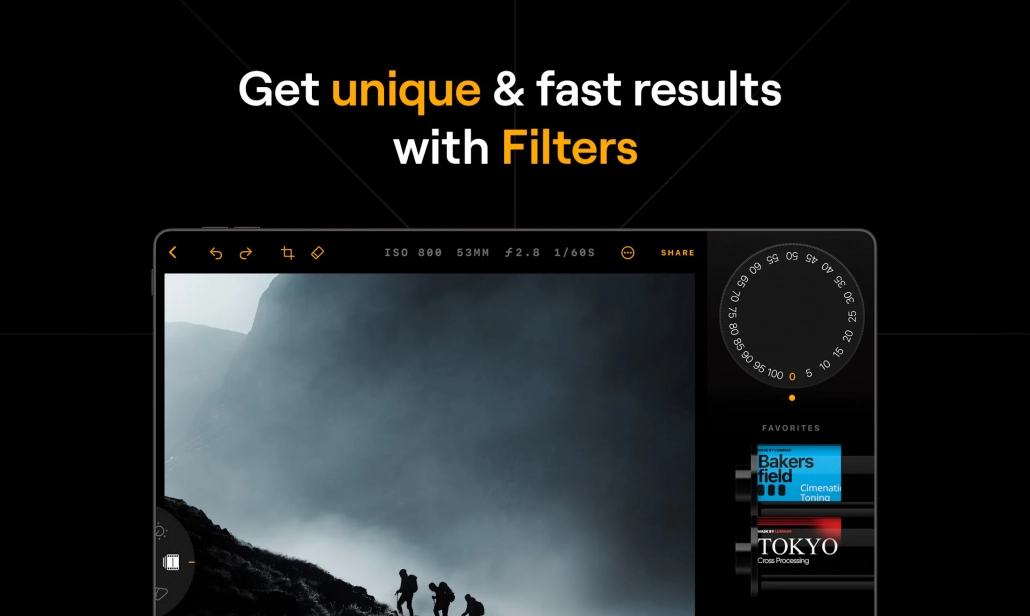
And man, am I excited because Luminar has now been released on the iPad.
I still have to test everything and see how it will integrate into my workflow with Lightroom. But for “looks” in my images, I can’t wait to start building new presets.

So if you’re like me also working a lot in the iPad ecosystem make sure to check out Luminar for the iPad, I think you will love it, and this is just the first version 😀 Keep following me for my experiences with this new addition to the iPad ecosystem