When Annewiek and I ran the computer company one of the things that always hit me were the moments when people came in our store because they lost all their data.
Sometimes they still had hope because only their C: drive crashed, but in most cases they didn’t realise that their D: drive was actually just a partition on that crashed drive. In some cases we could get some data back, but it was never a 100% perfect recovery, and especially with file names, dates etc. it often meant we got stuff back, but it was a lot of work for us and them, meaning a huge bill.
The weird part is that they were always happy to pay, even if we got half back.
Now those invoices were often higher than a solution to prevent it all.
Today I wanted to share a video with you in which I explain how we have our backups setup.
I hope it will trigger you to start taking backups serious, unless you already do, in that case… well done.
Dataloss is something we all will experience in our life, it also happened to us a few times, luckily never a lot, but even with a good backup strategy its always wise to automate things as much as possible and make sure you are checking your backups.
In the video I talk about automatically downloading your photos, but also the more complicated setups, and also which drives are best for usage in a NAS.
https://frankdoorhof.com/web/wp-content/uploads/2024/04/Prevent-data-loss.png7201280Frank Doorhofhttps://frankdoorhof.com/web/wp-content/uploads/2015/03/studioFD_Logo-1FV.pngFrank Doorhof2024-04-24 17:00:112024-04-12 12:12:03What if you lose all your data…. better prevent it now
Is often one of those backgrounds we all use once in a while, and some have even build a complete career around it.
When I started out with my learning process I was lucky enough to find out about Dean Collins so I started using a lightmeter almost immediately which makes setting up a white background (and everything else) a lot easier and faster. But still I ran into a lot of problems.
Over the years I’ve tried different ways to shoot this setup.
At one point I was using two strobes on the background, two strip lights as accents and one main light.
The problem always was the floor. The accent lights would give double shadows, this by the way was solved by angling the strip lights slightly up and using grids, but that didn’t solve my other problem, the floor itself.
The miracle of plexiglas
When using the standard setup the main issue was always the floor.
The background would be nice and white, the model was perfectly lit, the accents were nice, but the floor….
You can do it in Photoshop but then you have to edit every single shot, plus it looks the model is floating, so I added some shadows.. and realised it must be possible to do it faster and easier.
Enter, Plexiglas.
By placing transparant plexiglas on the floor you can redirect the light and create a perfect white background which seamlessly blends in with the background, it’s a simple trick of reflections. And the cool thing… you can also use transparant plexiglas on other colors, it’s always giving an awesome reflection.
I’ve talked about this extensively in this blogpost, but today I also show you in the video how I use three and even two umbrellas to create the perfect white background for a full body model including accents… yeah it’s really possible and super easy (and cheap).
https://frankdoorhof.com/web/wp-content/uploads/2024/03/Claudia-18-March-09-2024-Edit.jpg1200848Frank Doorhofhttps://frankdoorhof.com/web/wp-content/uploads/2015/03/studioFD_Logo-1FV.pngFrank Doorhof2024-04-22 17:00:332024-04-12 11:55:02Using two or three umbrellas for a perfect white background a video tutorial
When you shoot for a client, delivering different options is always interesting and smart.
But different options take time, right? In this blog the same background and totally different results
Well not exactly.
Be smart with your setups.
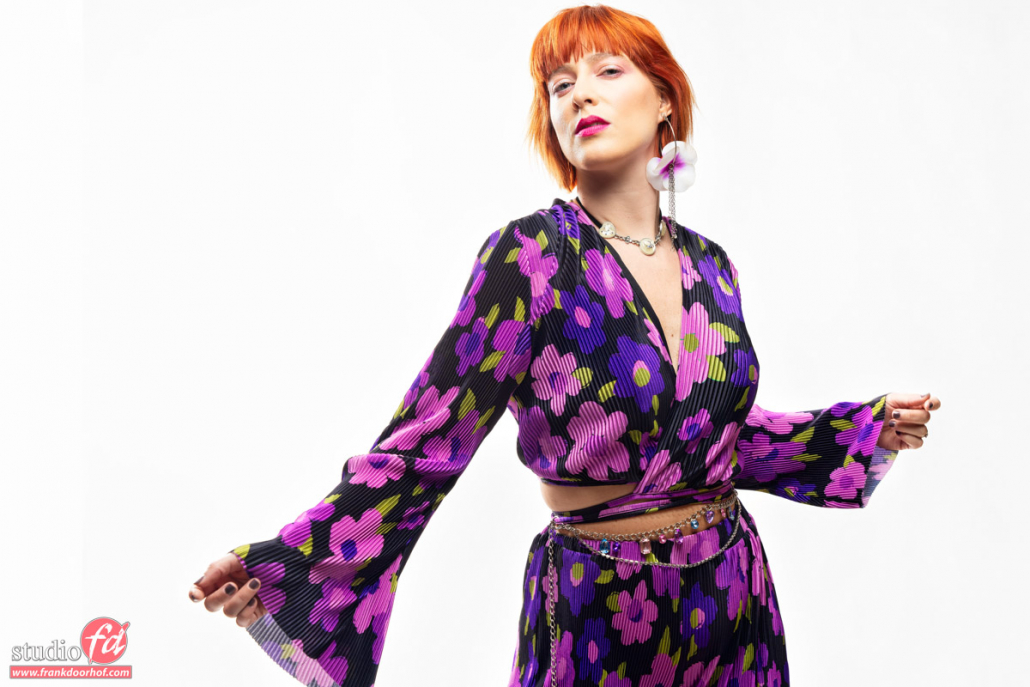
For this example, I’m using a white background.
In the front, I’m using the Rogue black umbrella with a sleeve aimed straight at our model.
The backdrop is white seamless.
You probably already know about the inverse square law, meaning light falls off over the distance.
A great way to use this is to control your background.
I’m using the white background for my first shot in this setup.
This one was shot with one Rogue umbrella in the background and one Rogue umbrella on the front.
You can already see a very slight light fall-off in the background, which can be solved by using a second umbrella on the other side of course as explained in the previous blog posts.
But what if you just take away the umbrella(s)
As you can see the background now turns grey and you can add some extreme vignetting in Lightroom or Photoshop (or your favorite editor) for a completely different look.
Change the distance for total control (different results)
Using the inverse square law you can change the luminance of the background very easily.
You actually have 2 options.
you can change the distance from the main light to your model.
Move it closer to the model and the background will become darker.
Move it further away from your model and the background will become lighter.
Move your model forward to get the background darker
Move your model towards the background and the background will become lighter.
Of course, you have to re-meter the light when you change the distance between your model and your background.
Explained wrong
I just wanted to add an extra note to this blog post.
I’ve seen several videos and articles that claim that the light halves when doubling the distance, this is however wrong.
The name already gives you the answer in fact.
“The intensity of the light is inversely proportional to the square of the distance”
meaning in simple turns that for every doubling you lose about 75% of your light.
In usable terms.
Place your light really close to your model and the light will fall off incredibly fast. Place it further away from your model and more of the set and model will be lit and the light fall-off will be smoother.
Conclusion using the same background and getting different results
When you have to shoot with certain setups always check if you can also get usable results by turning off/on certain strobes.
You might surprise yourself when you start testing this, it can be done in much more situations than you might think.
The wide angle is probably one of the most fun lenses. Period. yes i mean the Wide Angle Lens on your iPhone
That might be a very strong expression, but the wide angle is undoubtedly one of those lenses you can have a lot of fun with.
So for today’s blog post I decided to take some wide-angle shots while walking in the forest with Chewie.
The way it was intended… right?
Most of the time we use it just to get a wider view, and let’s be honest, it does really make a difference.
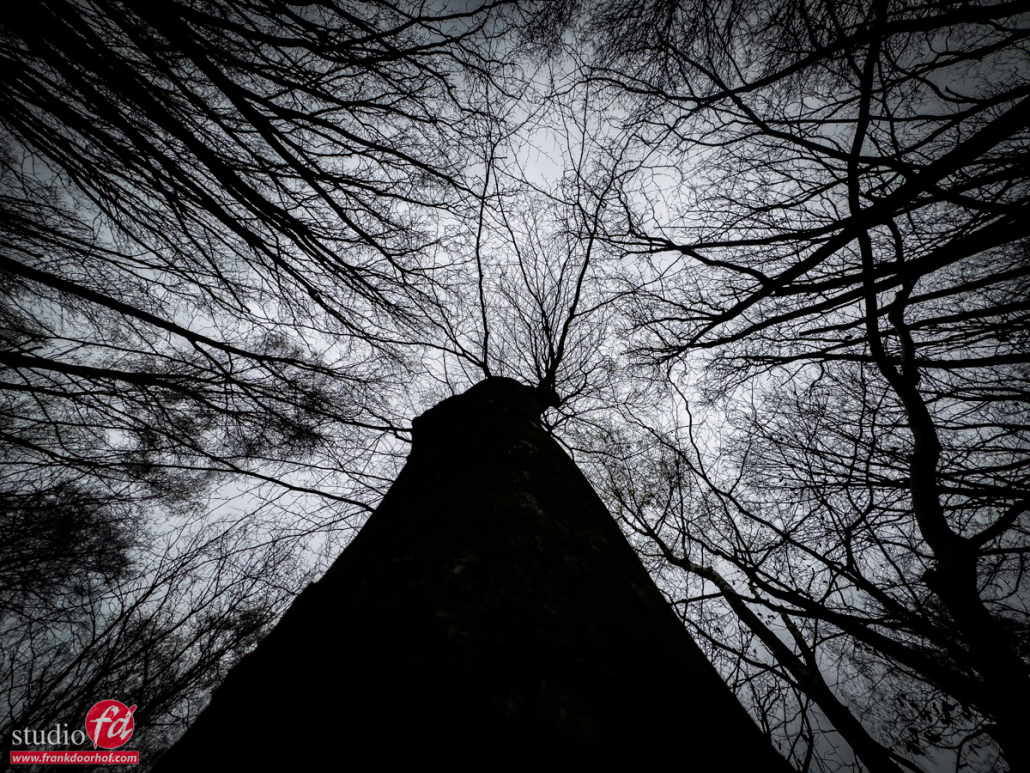
However, for me one of the cool things about the wide angle is not that it just gives you more of the scene. But the way the wide angle distorts.
Now normally distortion is of course a bad word (unless you play guitar :D) but you can also use it creatively.
For example, what about just holding your phone really close to a tree and just aiming it up? The trees will look huge and if you bump the contrast you get some really cool results.
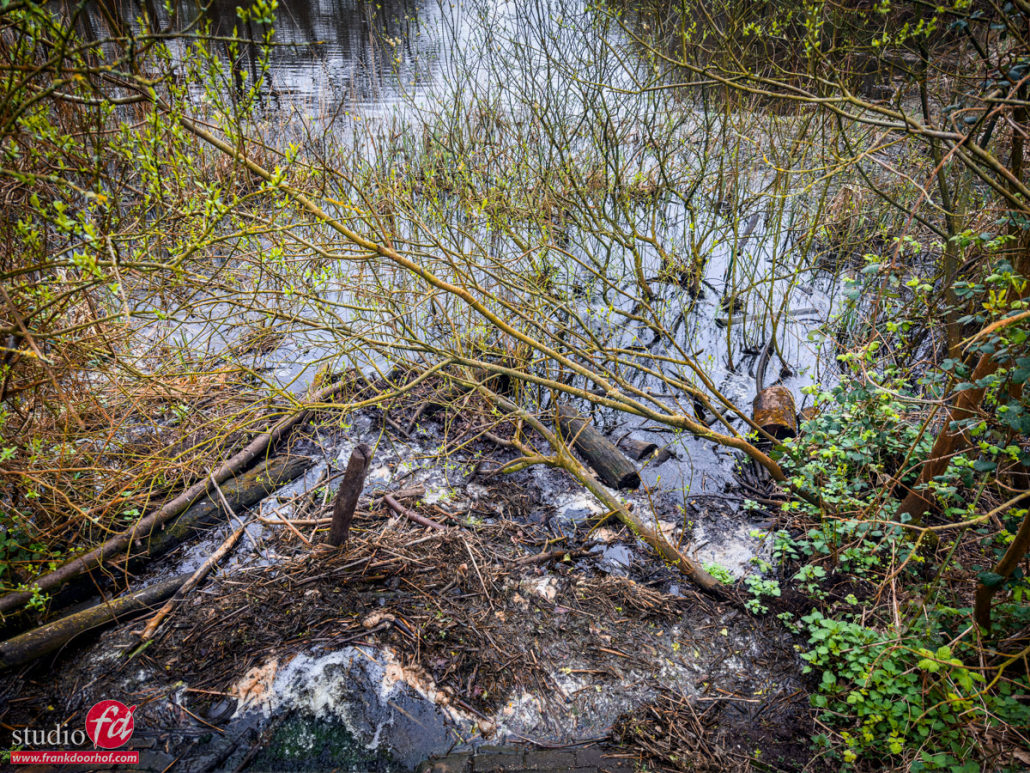
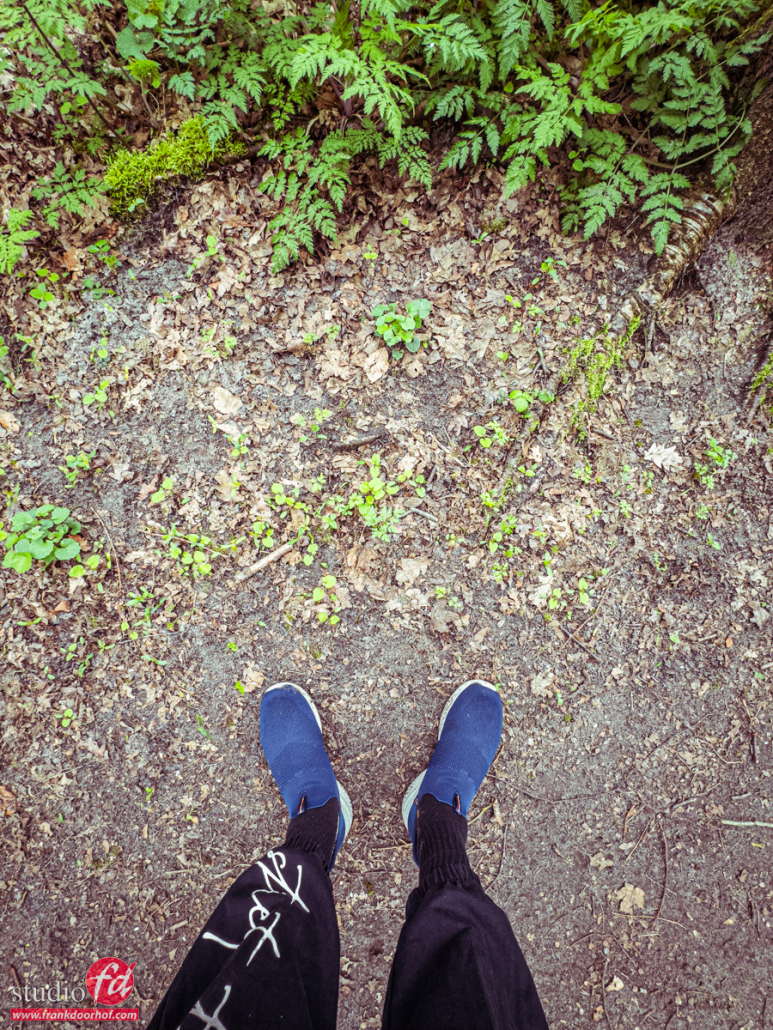
Now it’s also sometimes cool to use the wide angle to include your own feet.
Think about the start of a big hike, or maybe you like a sign that you find on your route and you want to spice the shot up a bit. Why not switch to the wide angle and include your feet?
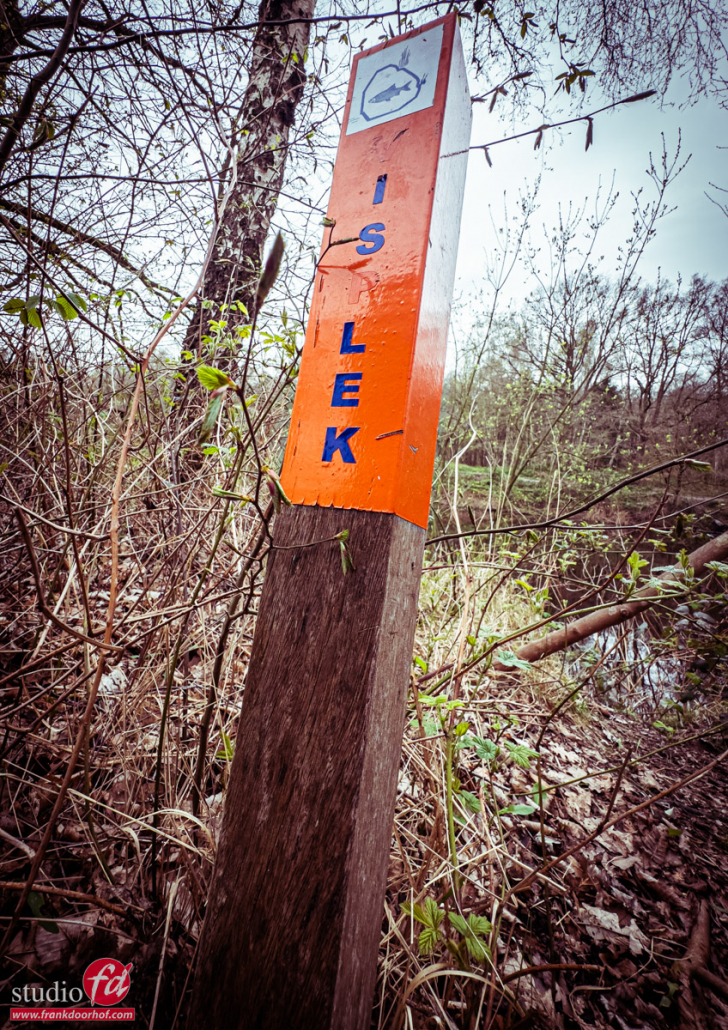
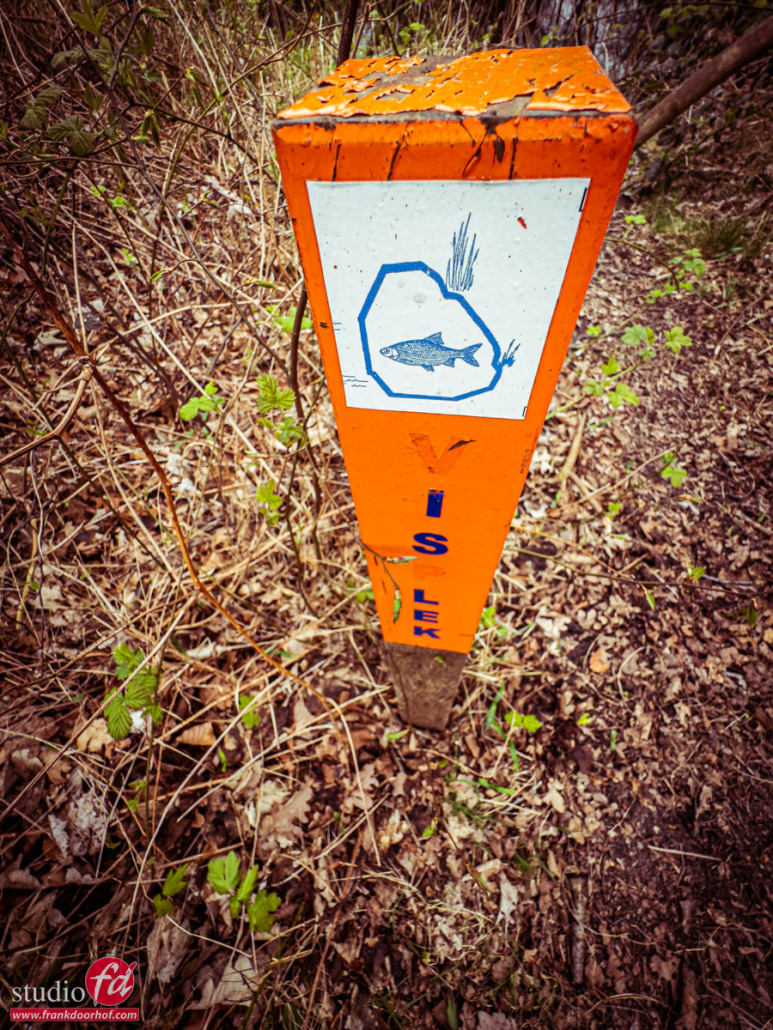
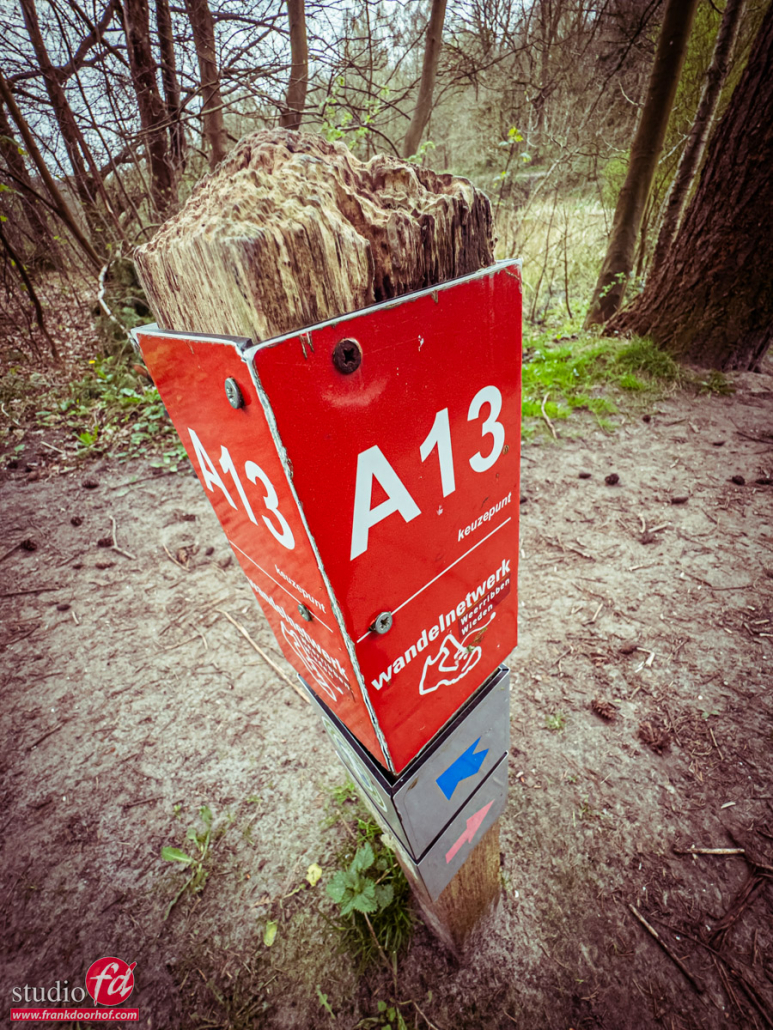
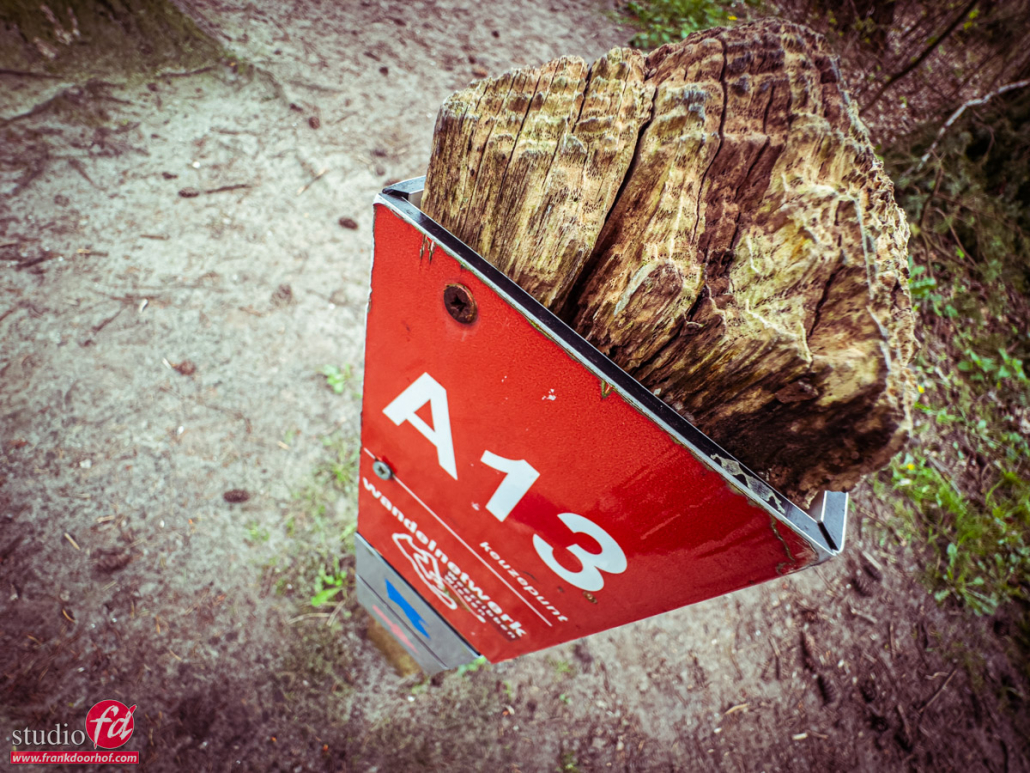
Now talking about signs and angles
Those are actually awesome for the wide angle.
But don’t just shoot them straight on. Try different “funky” angles! Shoot them top down, or just sit on the floor and shoot up.
Signs are great for this, especially with street photography I love to shoot street signs this way. (although they mostly from the bottom up of course).
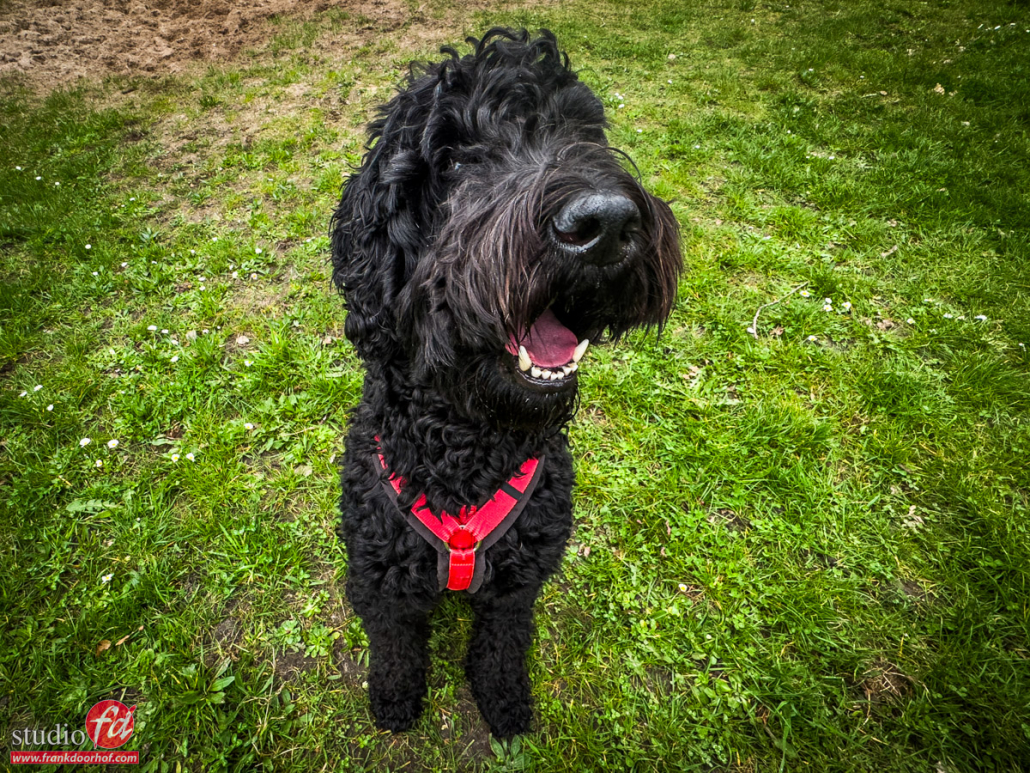
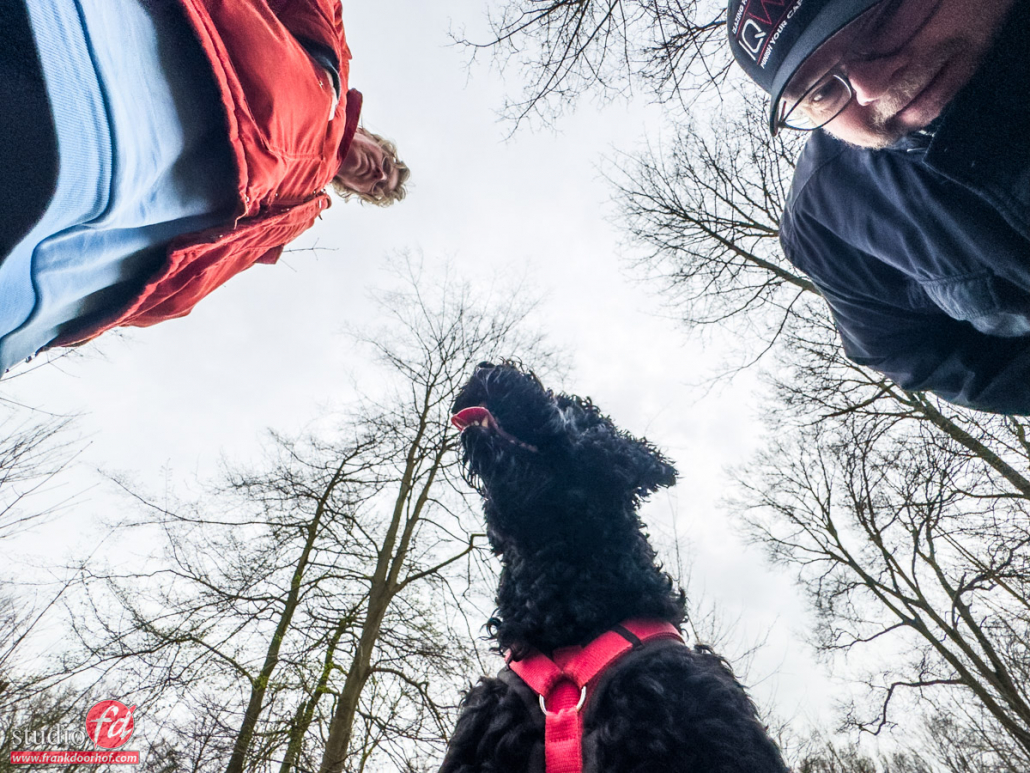
Shooting my pet with a wide-angle
Of course, when walking with Chewie we also had to take some shots of him with the wide angle.
Now you can take a little bit of a distance and it will just appear Chewie has a really big head.
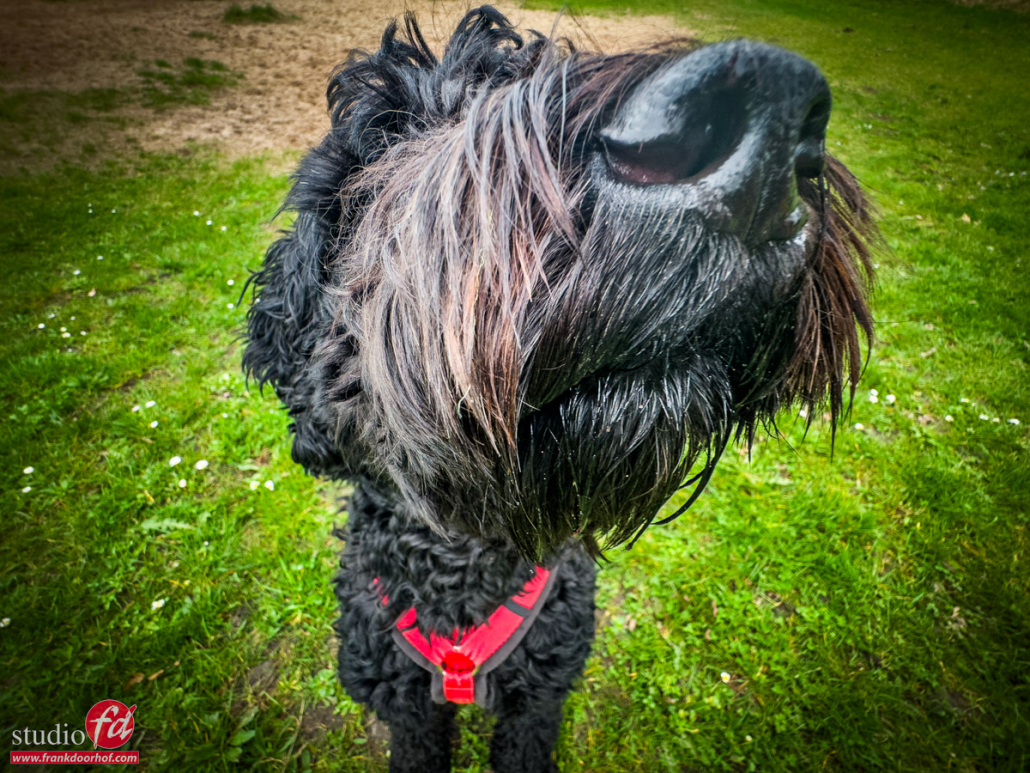
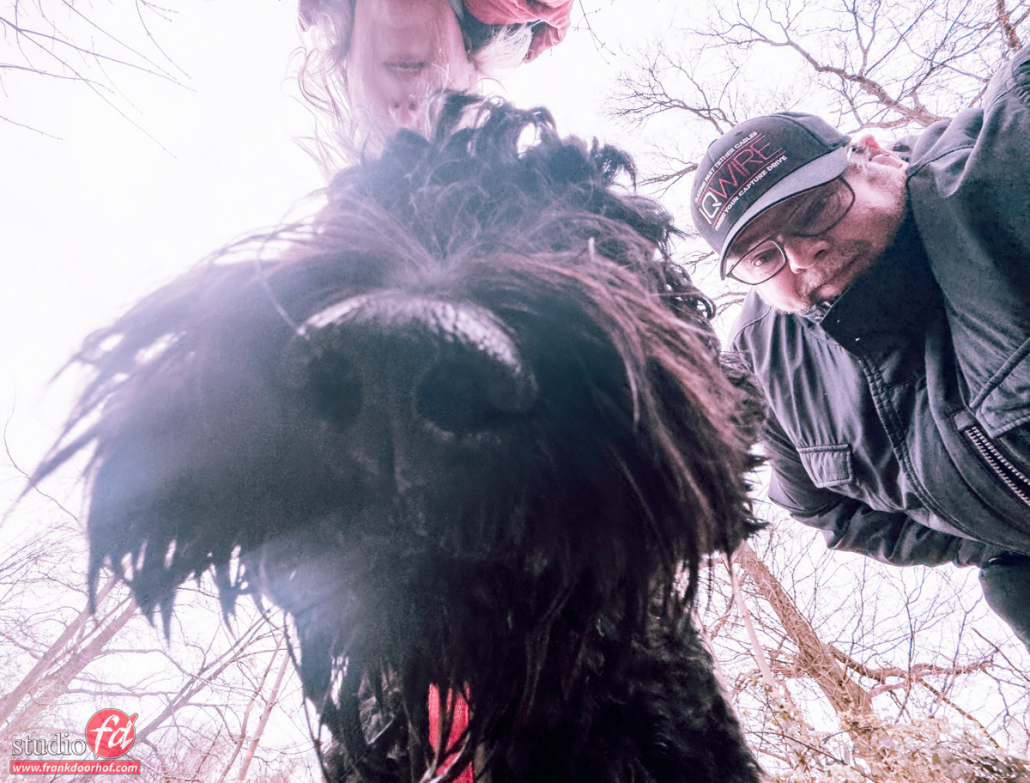
But it becomes so much fun when you get REALLY close up and personal.
Just beware that your phone doesn’t end up as a snack.
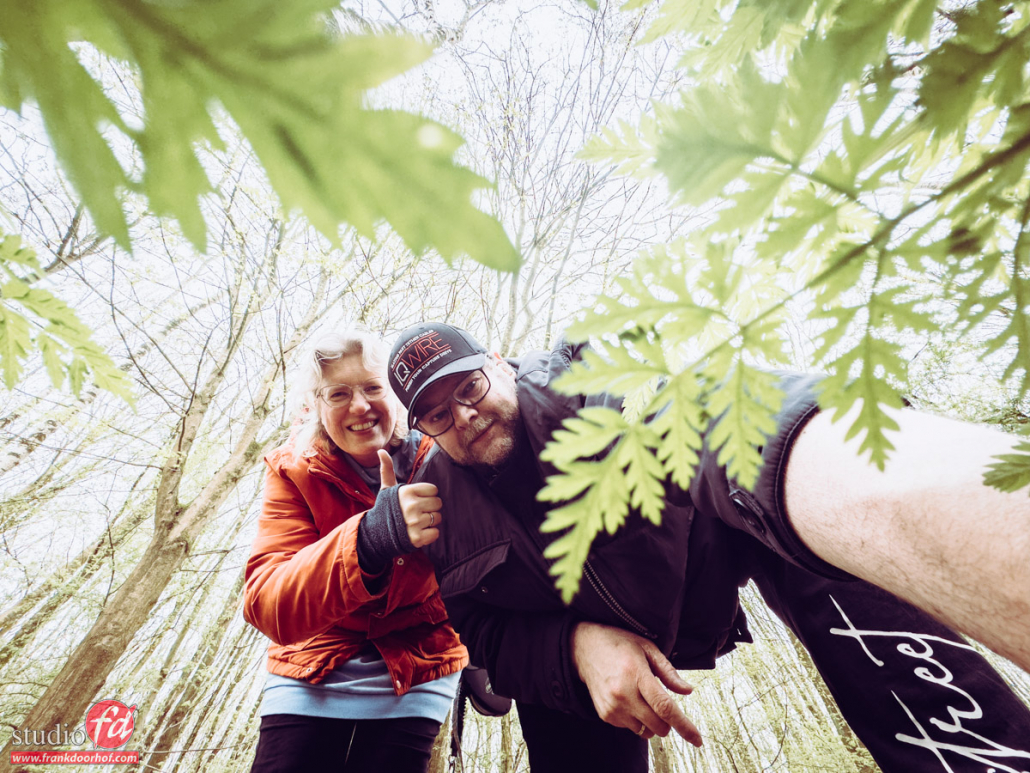
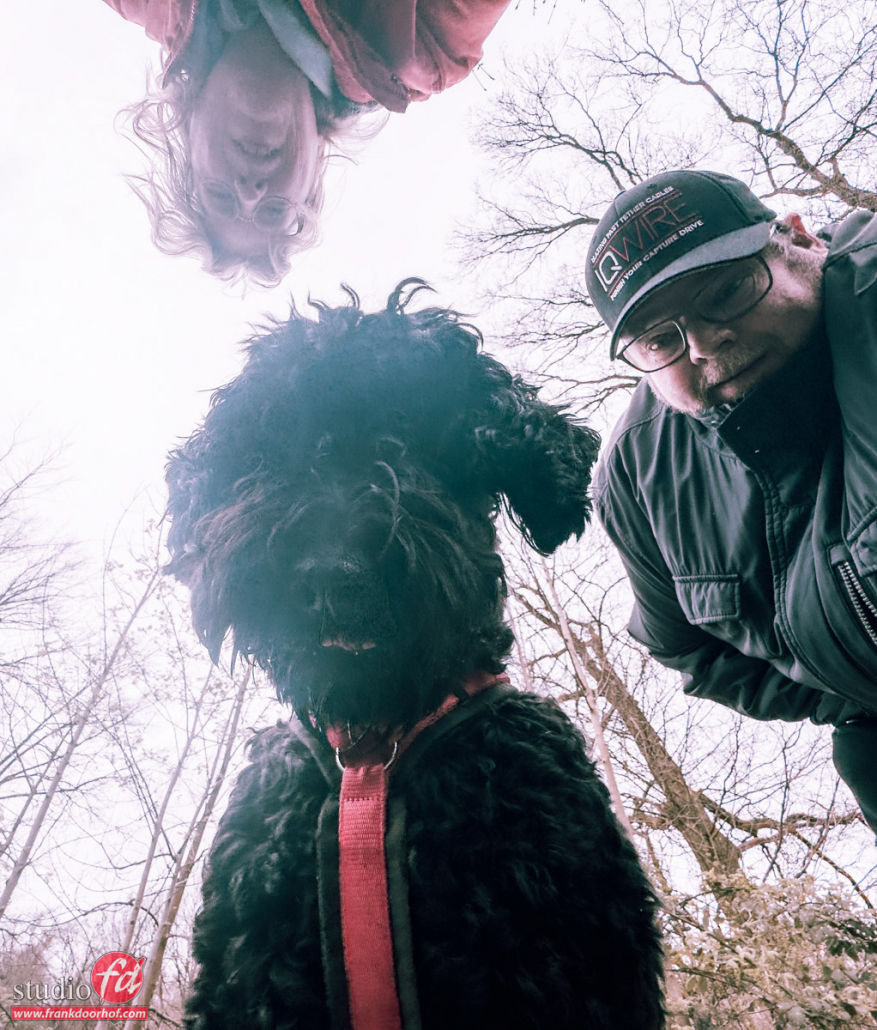
Cool selfies
Now I’m not going to lie, because I want to use the wide angle I can’t see the screen. So the following shots are 99% luck. But when you try enough times you will get some really unique selfies.
Let’s start with the phone on the floor with some leaves in front of it. You can also do this from a higher standpoint of course.
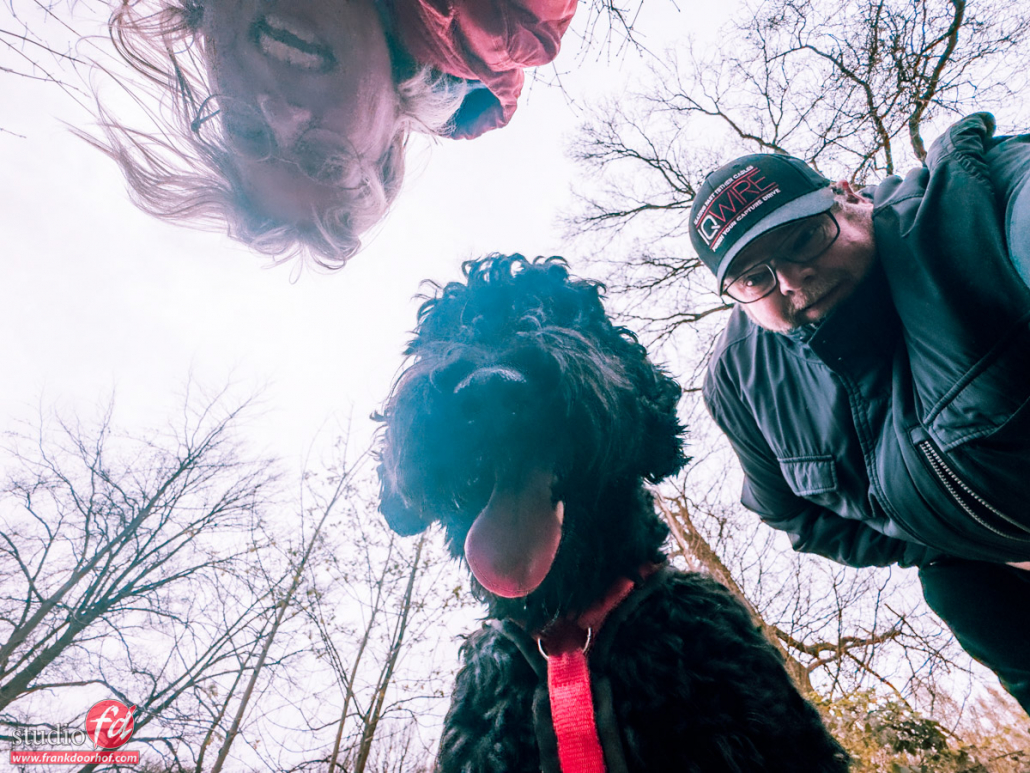
We loved this shot, but it was too easy to get right…. so we decided to throw in Chewie and be a bit more creative with the composition….. It’s not hard to guess, but most images were totally wrong (you can’t see the screen) but when it works… well it’s loads of fun as you can see here.
The wide-angle on your phone is fun
So the next time you use your phone. Use the Wide Angle lens on your iPhone, get close, and take some pictures for more creative shots.
As soon as you start using it you will find that even the most boring things can become really interesting, just due to the distortion and the different angles.
These shots were done with the iPhone 15 pro-Max on the wide-angle setting.
Editing is done in Adobe Lightroom Classic
https://frankdoorhof.com/web/wp-content/uploads/2024/03/Chewie-Kuinderbos-19-March-30-2024.jpg9001200Frank Doorhofhttps://frankdoorhof.com/web/wp-content/uploads/2015/03/studioFD_Logo-1FV.pngFrank Doorhof2024-03-31 18:00:512024-03-30 18:00:04Have fun with the wide-angle option on your iPhone or other smartphone
 You can already see a very slight light fall-off in the background, which can be solved by using a second umbrella on the other side of course as explained in the previous blog posts.
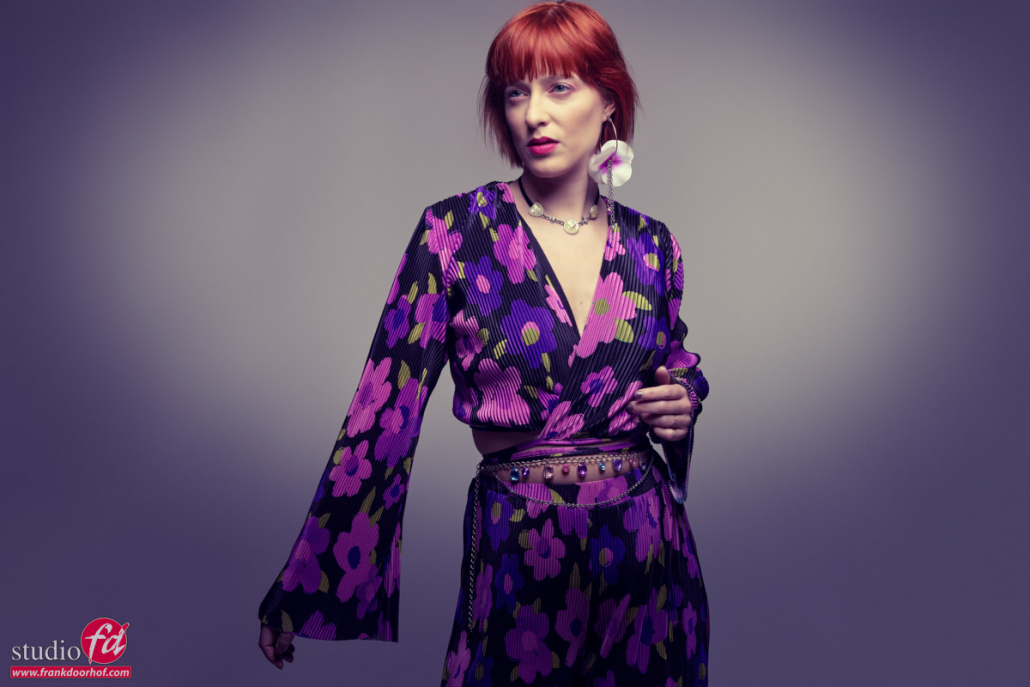


You must be logged in to post a comment.