Tag Archive for: light meter

Same background, totally different results

Maximize your results with this simple technique

When you shoot for a client, delivering different options is always interesting and smart.
But different options take time, right? In this blog the same background and totally different results

Well not exactly.

Be smart with your setups.

For this example, I’m using a white background.
In the front, I’m using the Rogue black umbrella with a sleeve aimed straight at our model.
The backdrop is white seamless.

You probably already know about the inverse square law, meaning light falls off over the distance.
A great way to use this is to control your background.

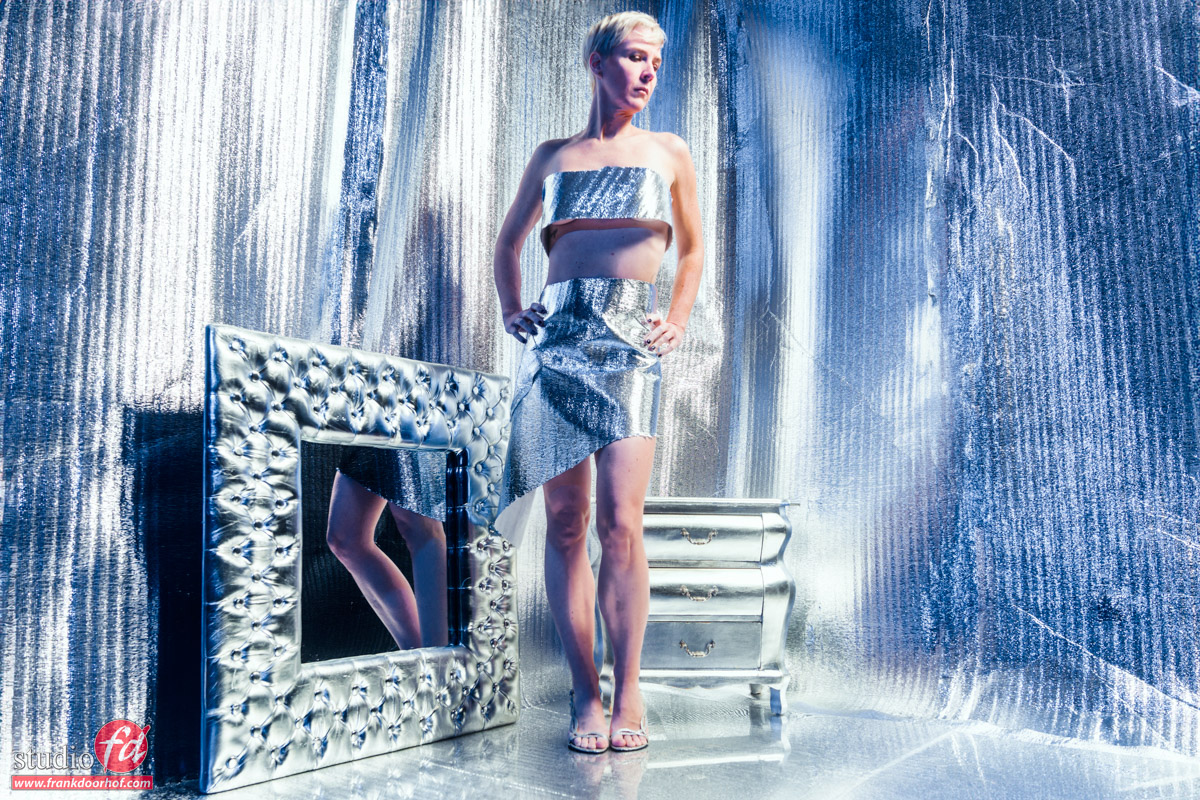
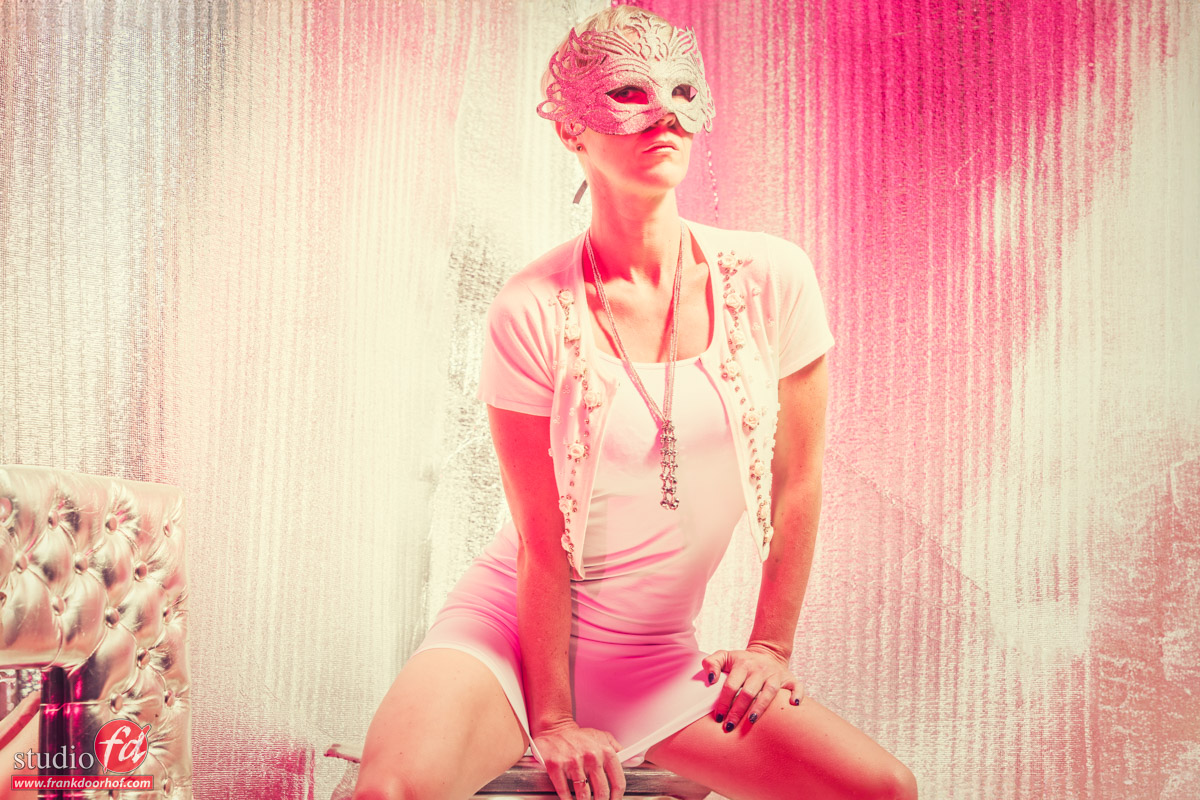
I’m using the white background for my first shot in this setup.
This one was shot with one Rogue umbrella in the background and one Rogue umbrella on the front.

white background but different results 
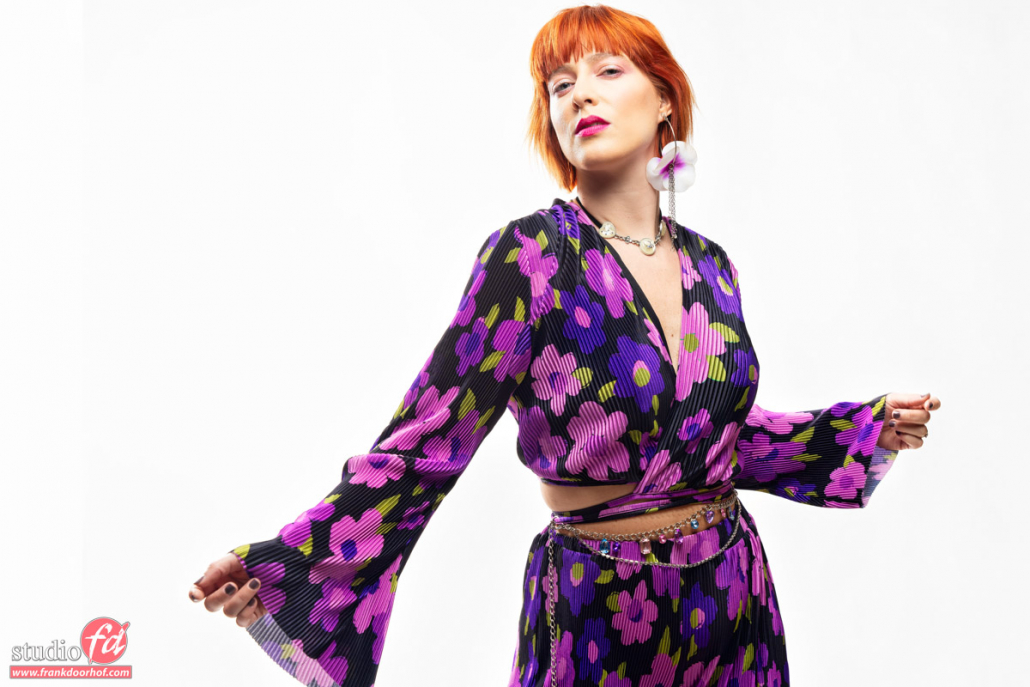
You can already see a very slight light fall-off in the background, which can be solved by using a second umbrella on the other side of course as explained in the previous blog posts.

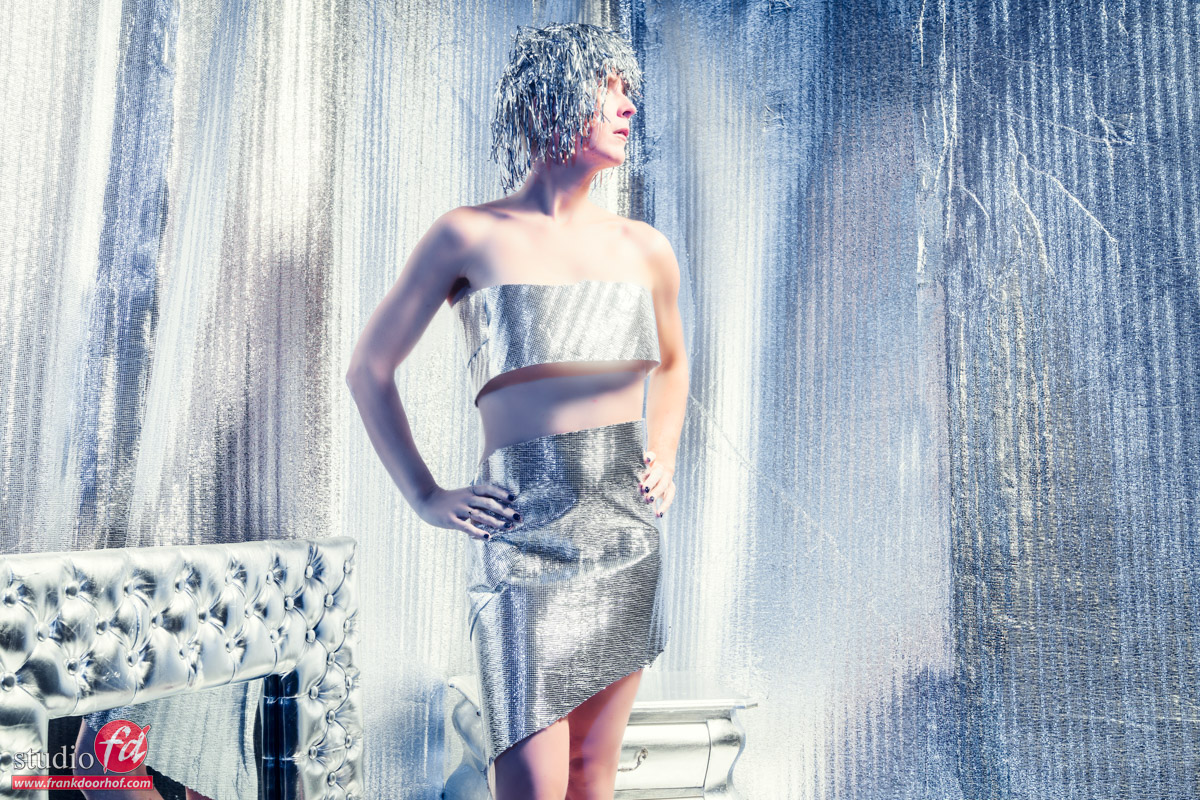
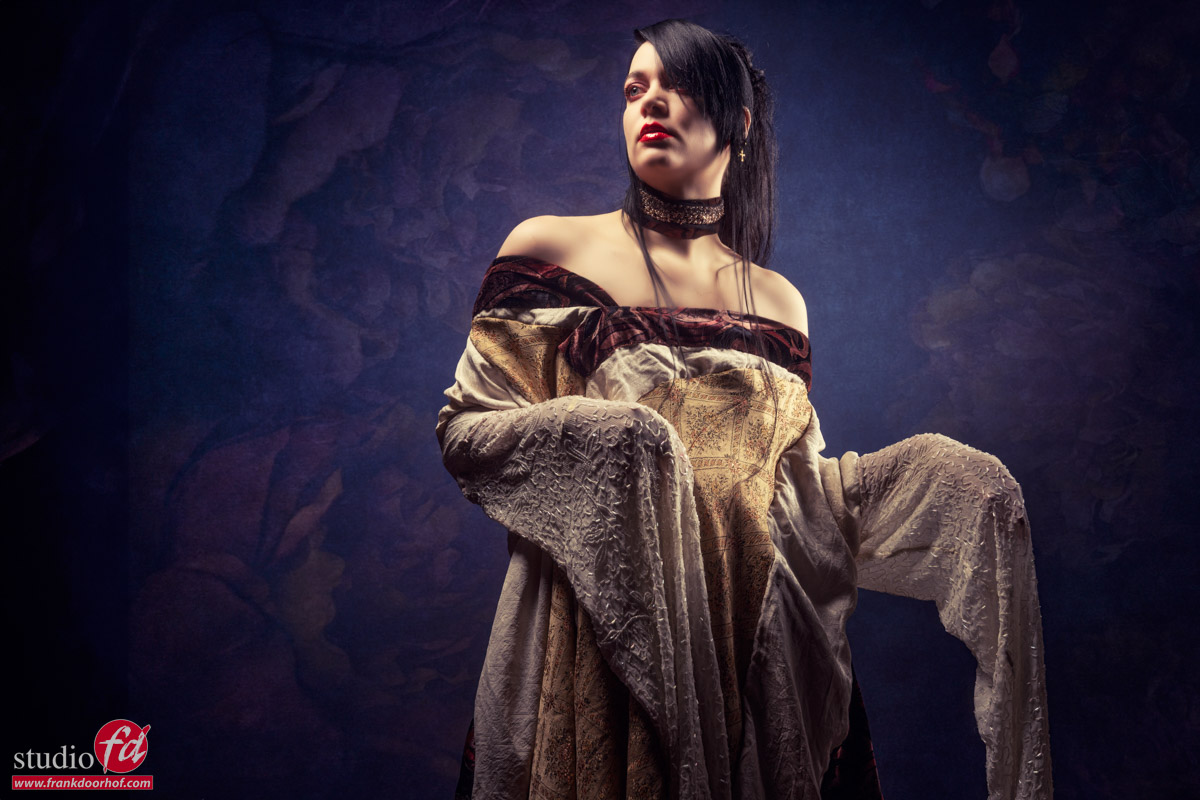
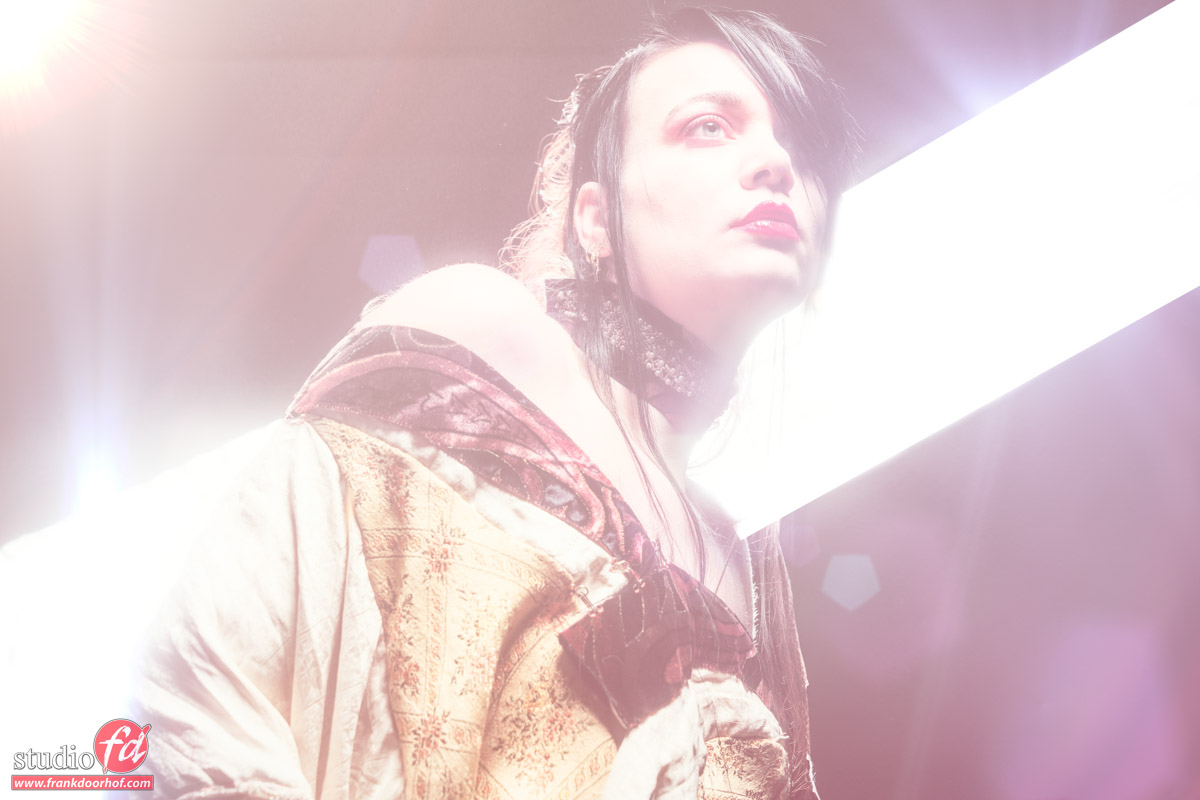
But what if you just take away the umbrella(s)

again the same white background but different result

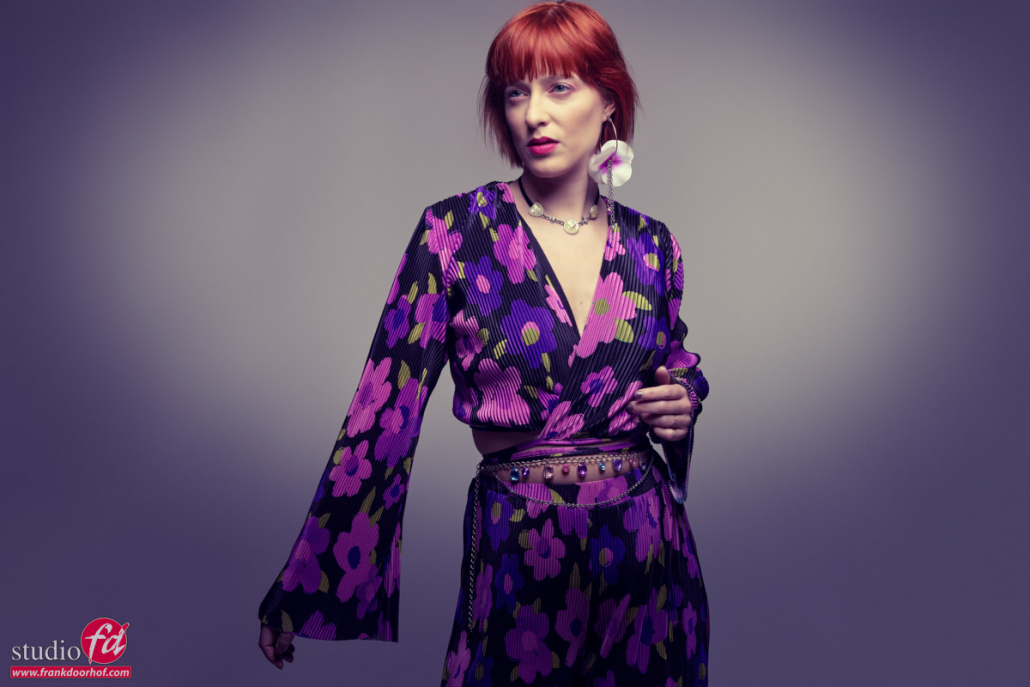
As you can see the background now turns grey and you can add some extreme vignetting in Lightroom or Photoshop (or your favorite editor) for a completely different look.

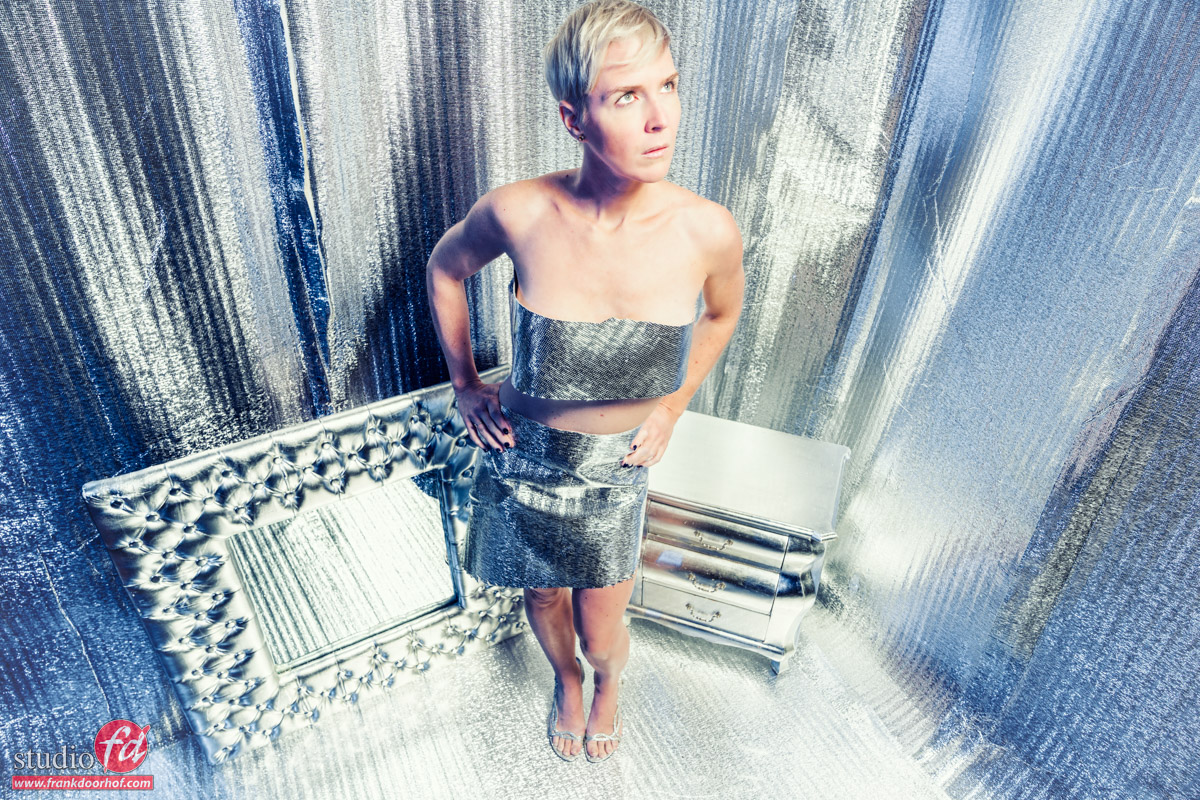
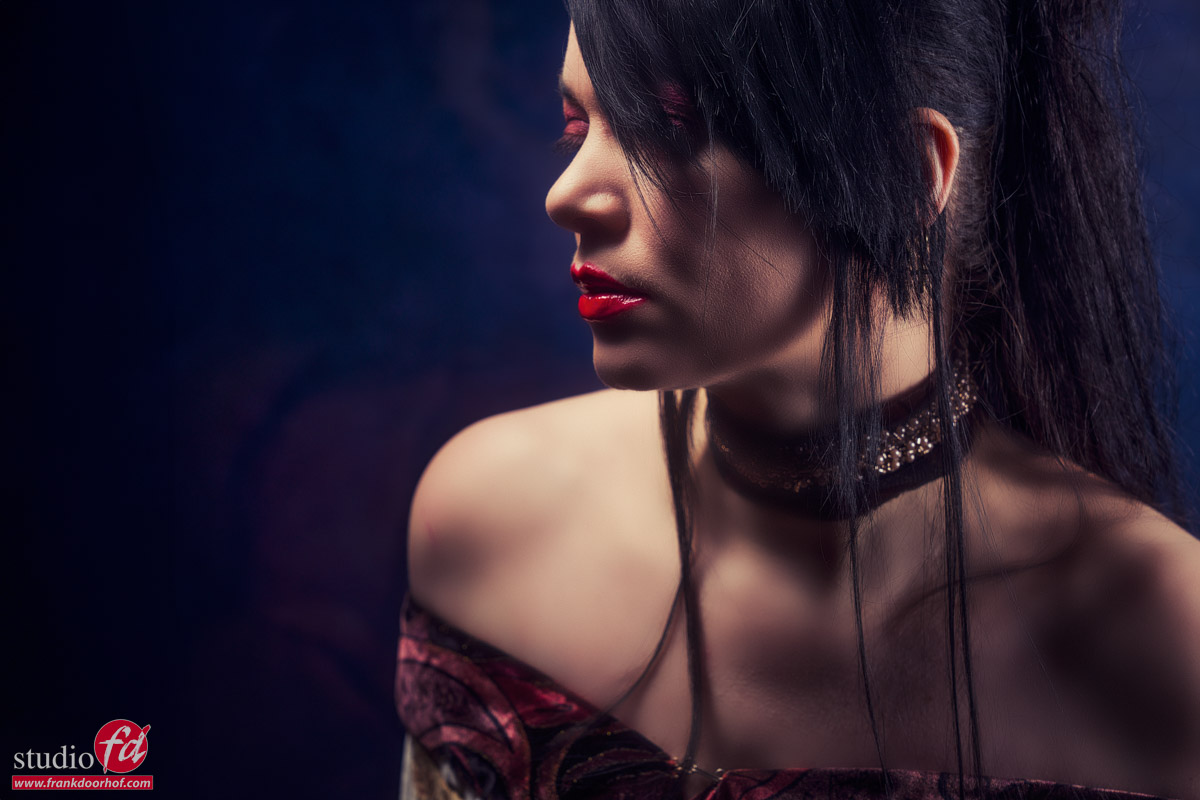
Change the distance for total control (different results)

Using the inverse square law you can change the luminance of the background very easily.
You actually have 2 options.

  1. you can change the distance from the main light to your model.
    Move it closer to the model and the background will become darker.
    Move it further away from your model and the background will become lighter.
  2. Move your model forward to get the background darker
    Move your model towards the background and the background will become lighter.

Of course, you have to re-meter the light when you change the distance between your model and your background.

Explained wrong

I just wanted to add an extra note to this blog post.
I’ve seen several videos and articles that claim that the light halves when doubling the distance, this is however wrong.
The name already gives you the answer in fact.

The intensity of the light is inversely proportional to the square of the distance
meaning in simple turns that for every doubling you lose about 75% of your light.

In usable terms.
Place your light really close to your model and the light will fall off incredibly fast. Place it further away from your model and more of the set and model will be lit and the light fall-off will be smoother.


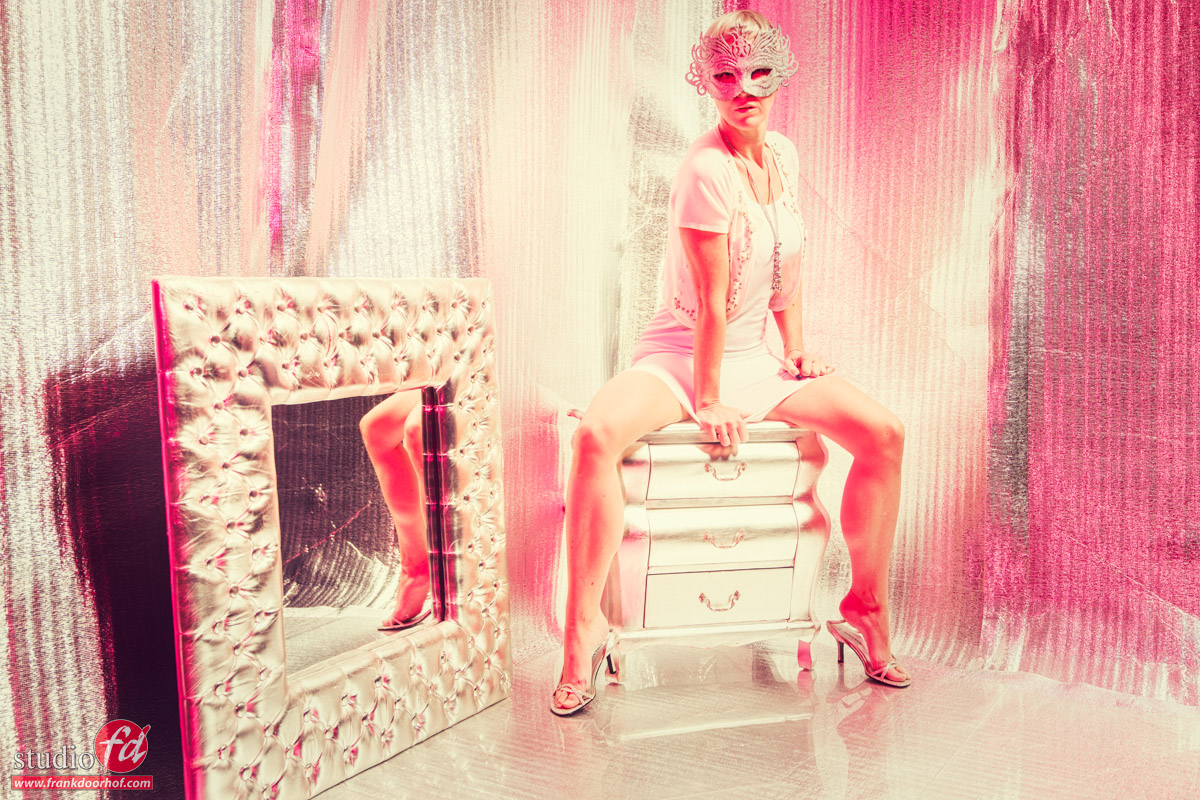
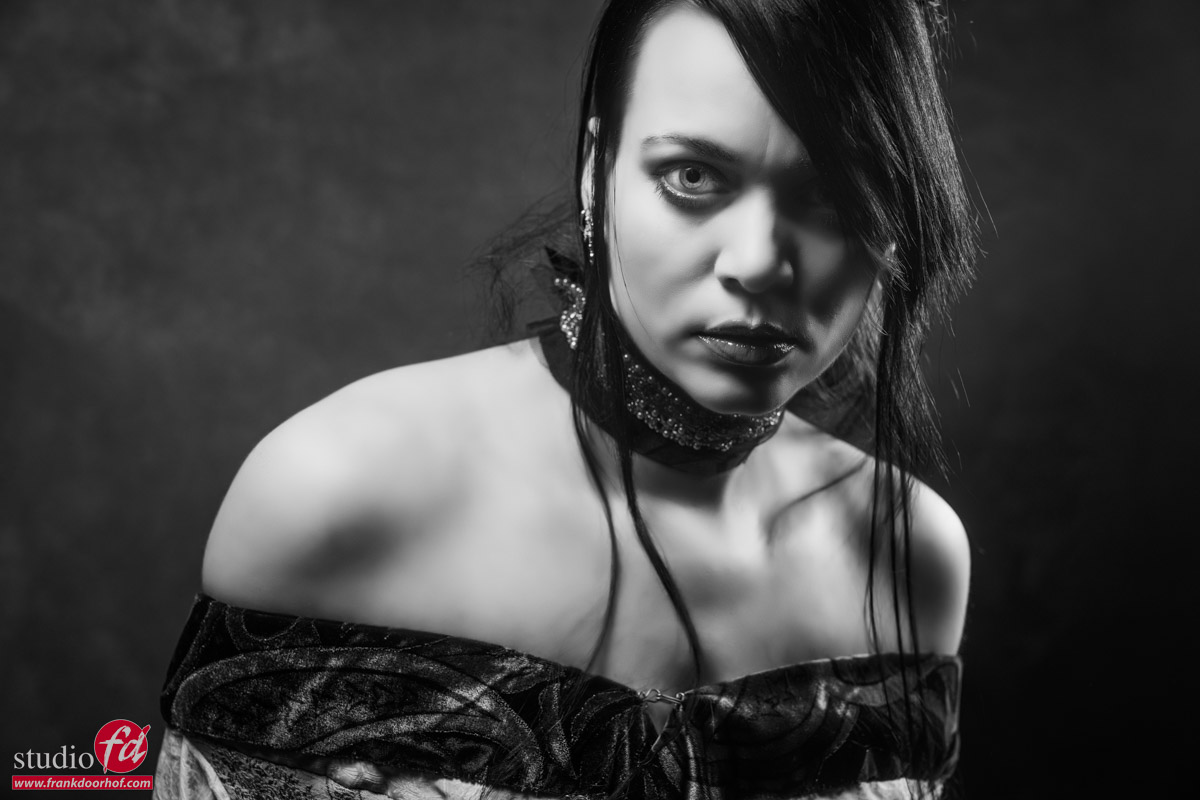
Conclusion using the same background and getting different results

When you have to shoot with certain setups always check if you can also get usable results by turning off/on certain strobes.
You might surprise yourself when you start testing this, it can be done in much more situations than you might think.

Read the post about poses and the white background 

Read more about making the background and floor totally white 

see more pictures Frank made with the Umbrella on the RogueFlash website 

check out the Digital Classroom about Umbrellas

I show you how I started and where we are now (Digital Classroom Love for Photography)

Digital Classroom Love for Photography

It’s been interesting….

It’s been interesting to go through my old work for this episode of Digital Classroom. It was broadcasted on February 14, Valentine’s Day. And we didn’t want to do another model in red.
I thought it would be fun to dedicate a whole episode to Love for Photography.  About the way my photography changed, but also my vision of my work and the way I work with models, sets, lighting, and styling.

I hope you enjoy this very special and personal episode in our digital classroom series.

Don’t miss our live broadcasts and new videos by subscribing to our channel and hitting the bell icon.

Above the recording of the Digital Classroom Love for Photography


Check out our Next Digital Classroom on YouTube 


or the whole playlist on our website 

A set built with isolation blankets for… zero

A set built with isolation blankets?
Why not?


Today in the blog some images we shot with our model Trista during a recent workshop.
We recently had the studio roof replaced and of course, that also meant that we have some stuff left, including some isolation blankets.
The moment we saw them we knew we had to do something with them.
We have already built sets with rescue blankets (gold/silver) but these were a lot larger. And in the end, in all honesty, it just didn’t work in this set. But I think they would be awesome as a background for portraits, so I think you will see them again in the future.

Let first, start with the initial setup. We used our movable walls and taped the isolation blankets to it.

a set built with isolation blankets, why not?

As you can see the set is far from perfect, but somehow it also works.
Here I’m using the mirror to mirror the legs and the accent lights, I talk a lot about walking around the model to get a different kind of contrast, here you can clearly see what the angle does on the legs, this is not photoshoped 😀

Of course after that I oped for more close ups, mainly because I didn’t like the set for full bodies.

This I liked a bit better, but I also tried one from the back.
And to be honest I’m still in doubt between the two which one I like most.

move around your model in the set built with isolation blankets

Angles, angles and again angles….

And as usual, always try different angles.
I can’t tell you guys enough how much impact the shooting angle can have, not only in lighting but also with the total way the image looks.
Lower angles will often give a “hero” feel, where higher angles sometimes give a really cool effect.

Adding some color….
Or a lot

After the “standard” setup I opted for a lot more red in the scene.

Now be warned, these images are far from the run of the mill images, but sometimes I just love to go to the extreme sides.
In this case I opened the aperture a lot (to the point of overexposing) just maintaining the highlights in the skin, I didn’t want the skin to overexpose, this often looks awful in color shots, the only thing you could do is convert it to black and white where we are often a bit more forgiving for overexposure. But best is to keep it just below overexpose on the skin, you can always go to black and white later if you want.

Im adding a Rogue omnidirectional dome here with a magenta gel, and although I’m still using the mainlight the red really overpowers everything giving it a totally different vibe.

adding red to a set built with isolation blankets

As you can see by just adding some color you can change the look of our set built with isolation blankets completely. Just make sure the model covers up for certain angles.

Feel free to reach out with questions.
A like and share on social media is highly appreciated.


Check out the short about the rescue blankets 


Subscribe to our newsletter 

Use light in different ways for awesome portraits and more

One of the things we probably all start with are books with lighting diagrams.
Now don’t get me wrong, they are awesome to get a general idea of the lighting setup.
However I strongly believe you should be able to “read the light” by just following the shadows, it’s often not really important to know which light sources are used, as long as you can recreate the look.

We can shoot images with a beauty dish that can very close to a small softbox for example, but when we start to use Fresnell’s you can very quickly see the difference between a reflector and the Fresnell, this is something that you will quickly pickup when you start to look at the shadows and the different way the shadows change.

But then it becomes really interesting when you add the angle into play.
Of course we all know that changing the angle from higher to lower can have a huge impact in your end result, but for me the real game changer was when I started to move around my model. Just a slight movement to left or right can make an image look totally different.

Let’s take a look at some of the images I took of Nadine during a recent workshop.

I’m using our Geekoto GT400 here with the Geekoto small softbox and grid
On the other side I’m using GT400 and the Nanlite striplight with grid.

One of the things I love about a striplight is that you can use it in a lot of different situations where you need to light a large area but don’t want any spill light.
In this case I’m using the striplight angled, this way I lights both my model and the background. By changing the angle of the striplight slightly I can balance the light on the background and the model. A very powerful technique.

By moving just a little but you can create some more powerful portraits.

But sometimes you need a little bit more intensity?
Make it black and white, add some grain and contrast….. “instant art” and yes this one was in focus 😀
(inside joke).

But let’s take one more step to the side and also include the striplight.
Now this one won’t be the shot you like or even want to try, but sometimes clients want something a bit different. And it’s just one step more to the side. Always try it.

If you have any questions, feel free to reach out.
We really appreciate a share on social media.