Tag Archive for: iphone

Have fun with the wide-angle option on your iPhone or other smartphone

The Wide Angle lens on your iPhone

The wide angle is probably one of the most fun lenses. Period. yes i mean the Wide Angle Lens on your iPhone

That might be a very strong expression, but the wide angle is undoubtedly one of those lenses you can have a lot of fun with.
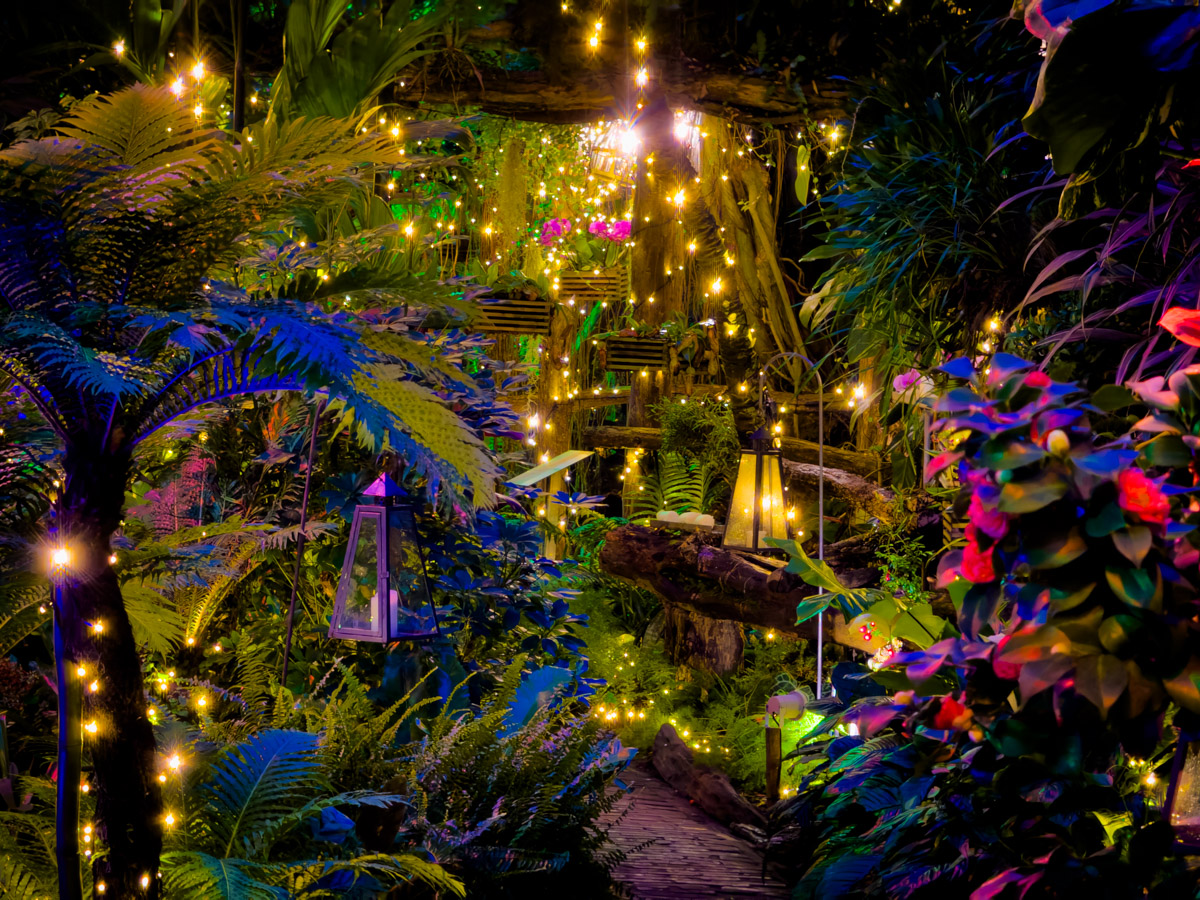
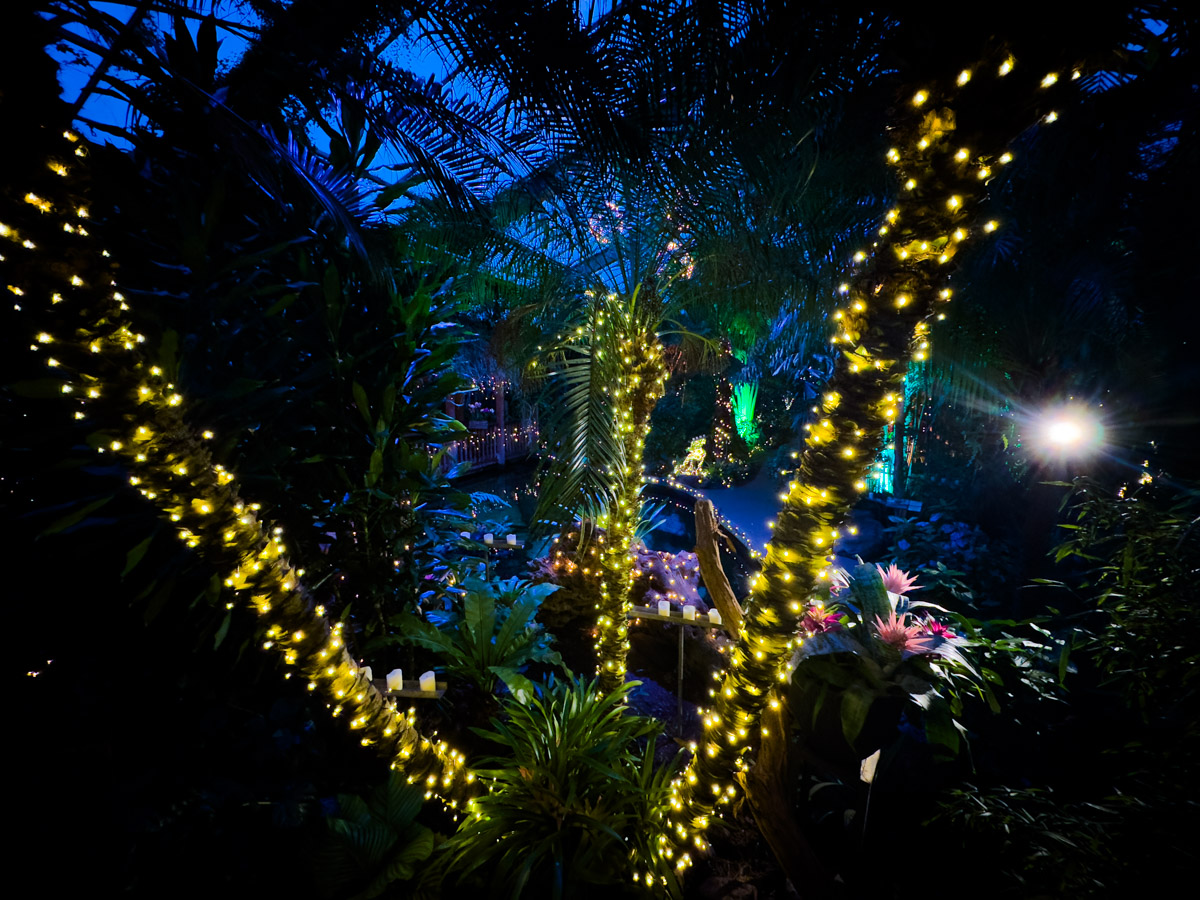
So for today’s blog post I decided to take some wide-angle shots while walking in the forest with Chewie.

The way it was intended… right?

Most of the time we use it just to get a wider view, and let’s be honest, it does really make a difference.

the wide angle camera on my iphone

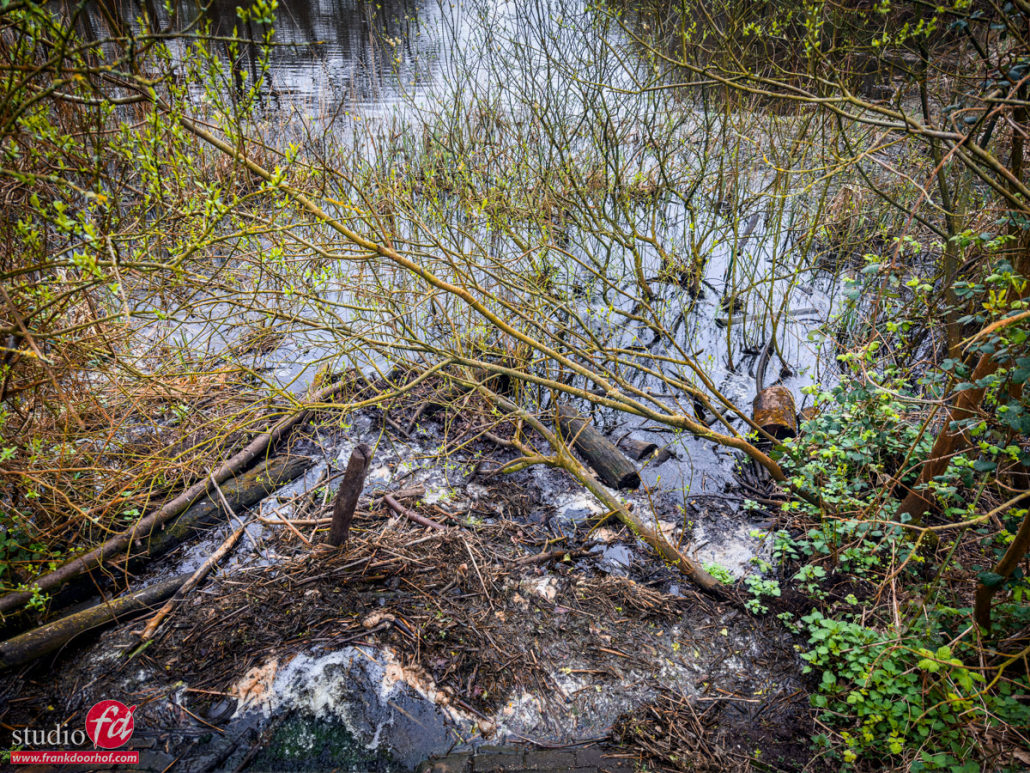
However, for me one of the cool things about the wide angle is not that it just gives you more of the scene. But the way the wide angle distorts.
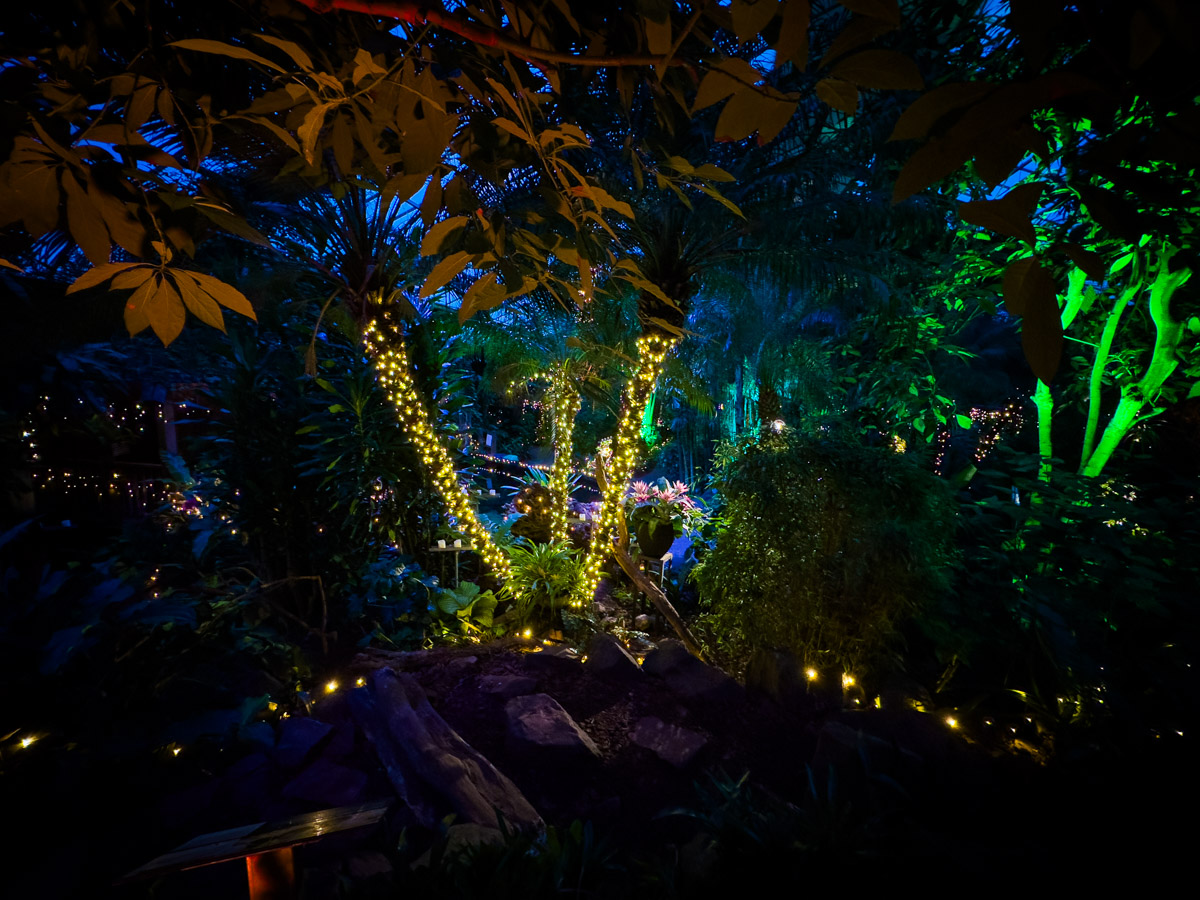
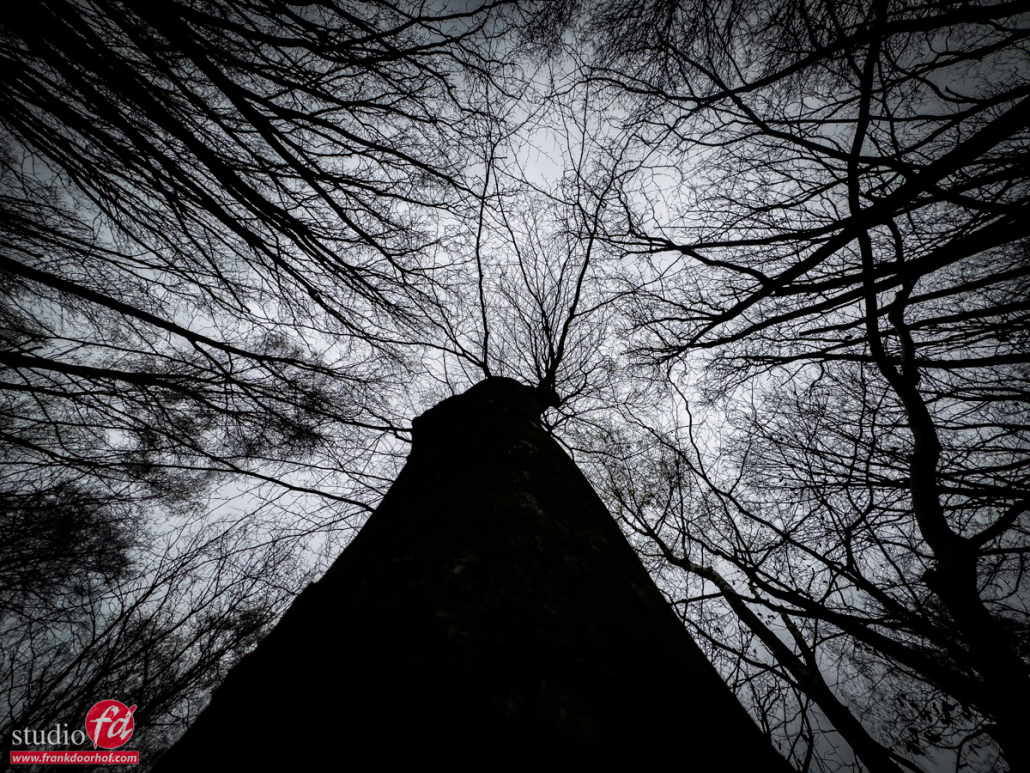
Now normally distortion is of course a bad word (unless you play guitar :D) but you can also use it creatively.

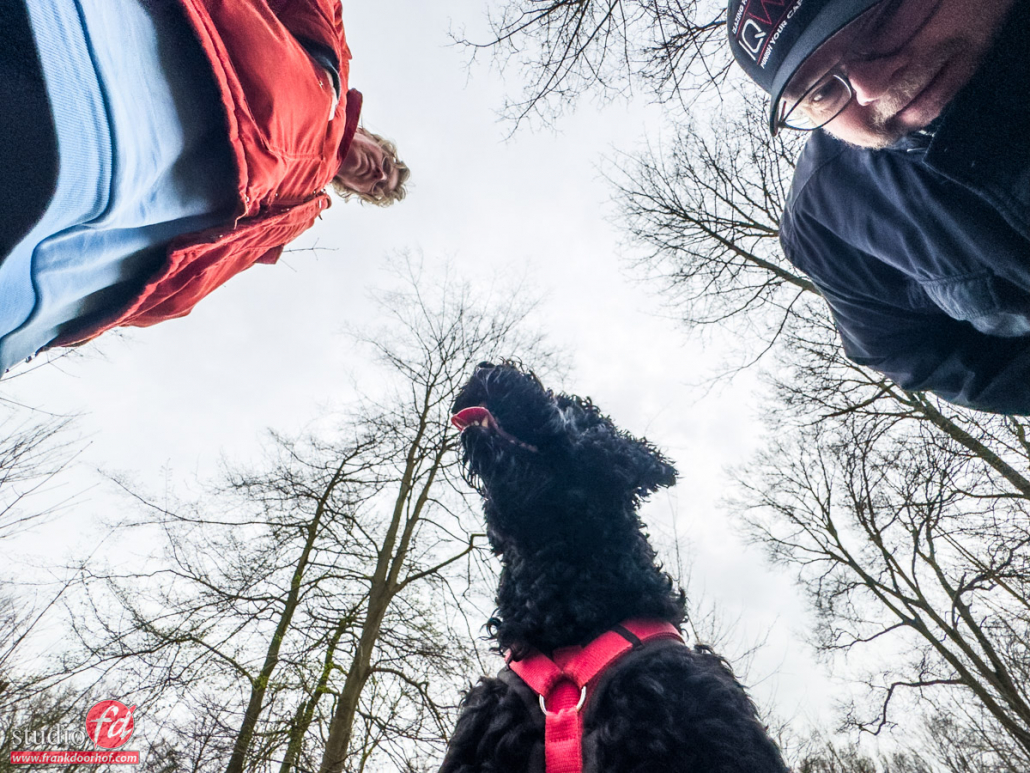
For example, what about just holding your phone really close to a tree and just aiming it up? The trees will look huge and if you bump the contrast you get some really cool results.

using the wide angle on my iphone at a tree

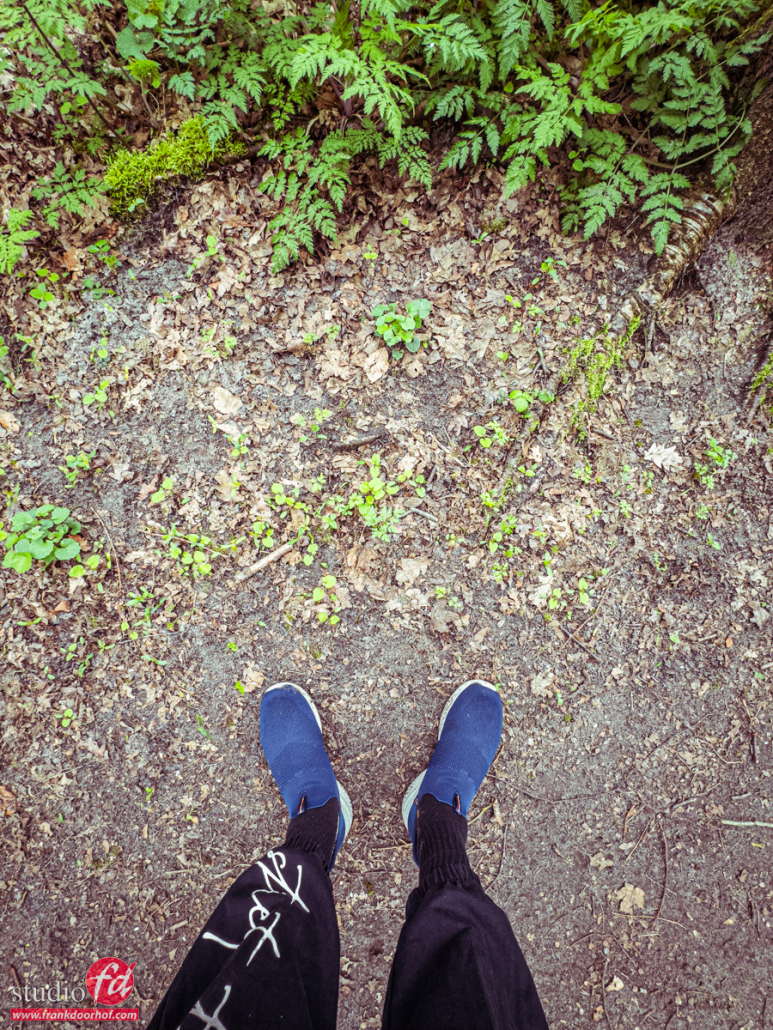
Now it’s also sometimes cool to use the wide angle to include your own feet.
Think about the start of a big hike, or maybe you like a sign that you find on your route and you want to spice the shot up a bit. Why not switch to the wide angle and include your feet?

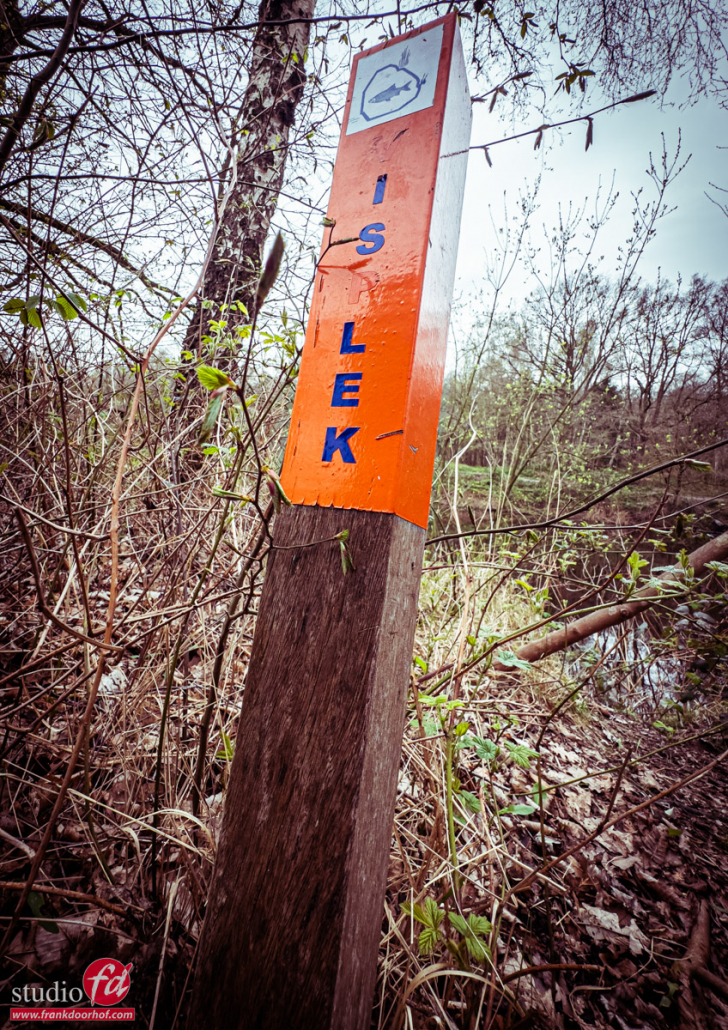
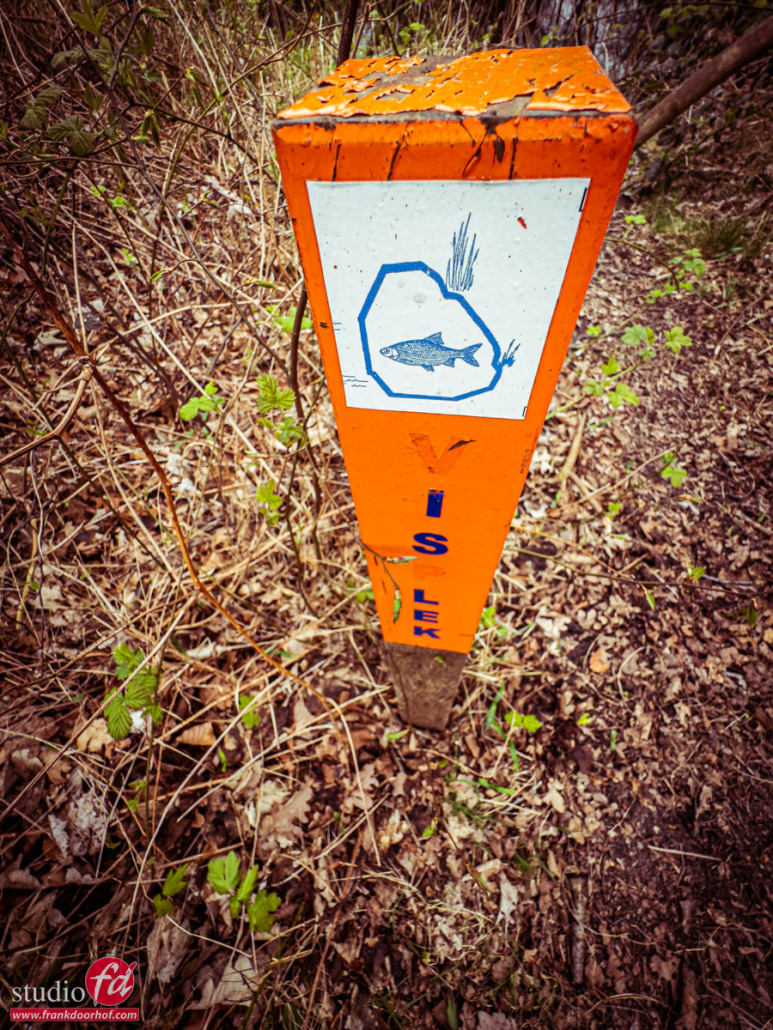
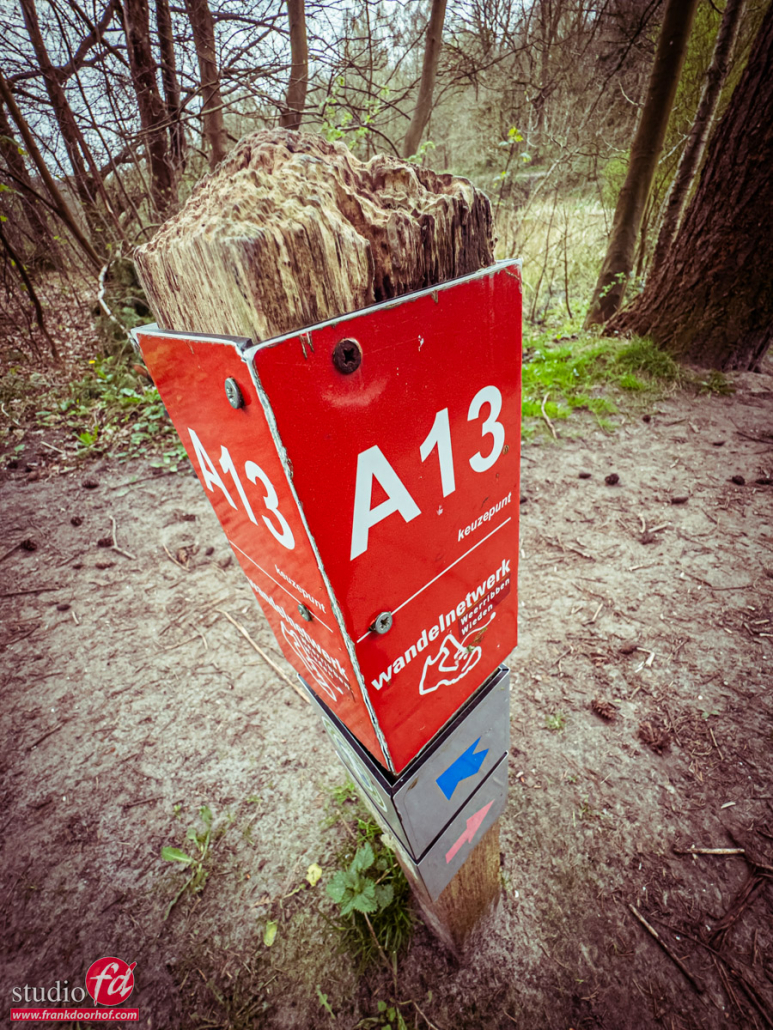
Now talking about signs and angles

Those are actually awesome for the wide angle.
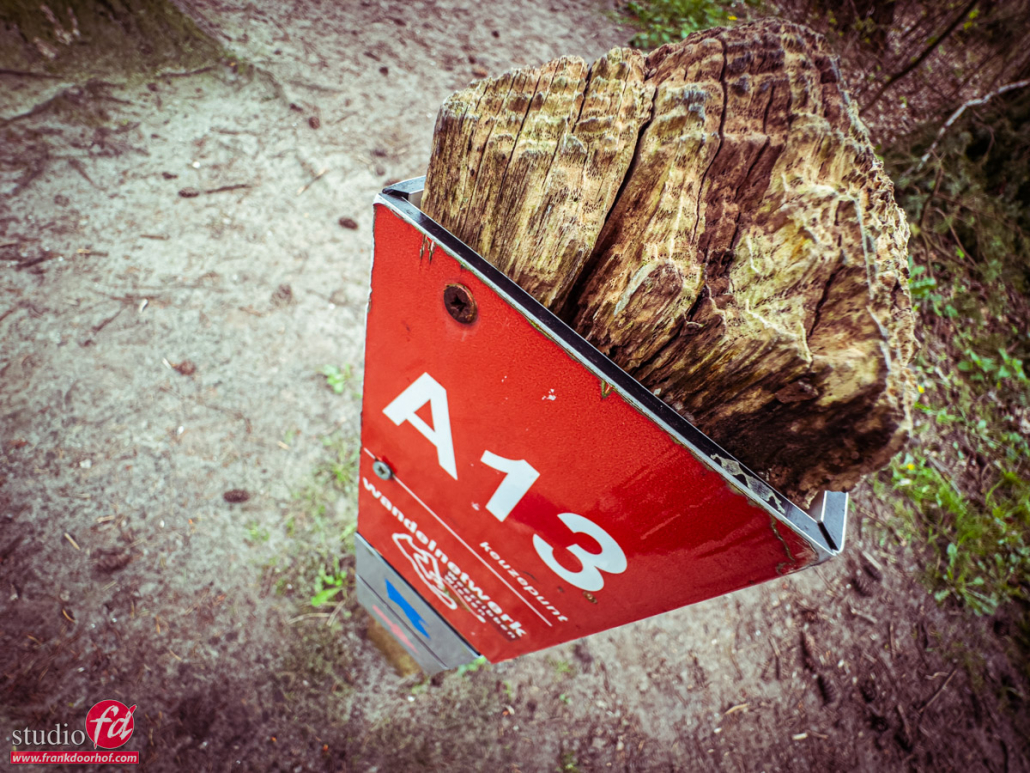
But don’t just shoot them straight on. Try different “funky” angles! Shoot them top down, or just sit on the floor and shoot up.
Signs are great for this, especially with street photography I love to shoot street signs this way. (although they mostly from the bottom up of course).

using a wide angle on my iphone for a sign

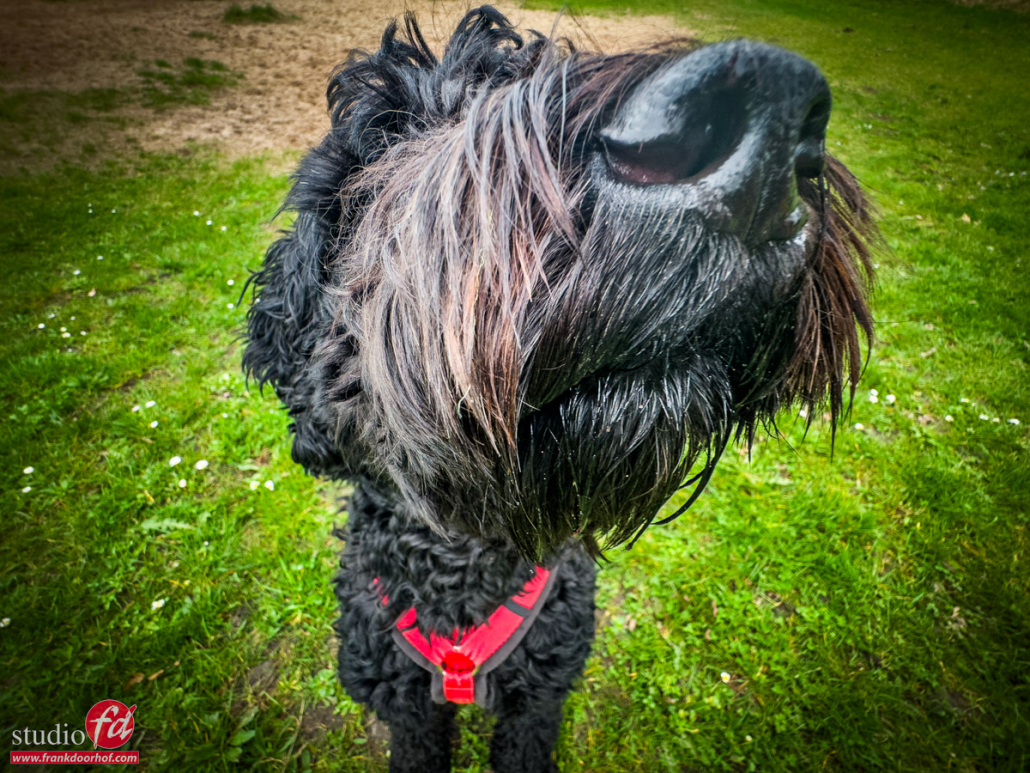
Shooting my pet with a wide-angle

Of course, when walking with Chewie we also had to take some shots of him with the wide angle.
Now you can take a little bit of a distance and it will just appear Chewie has a really big head.

using the wide angle on a pet makes his head really big

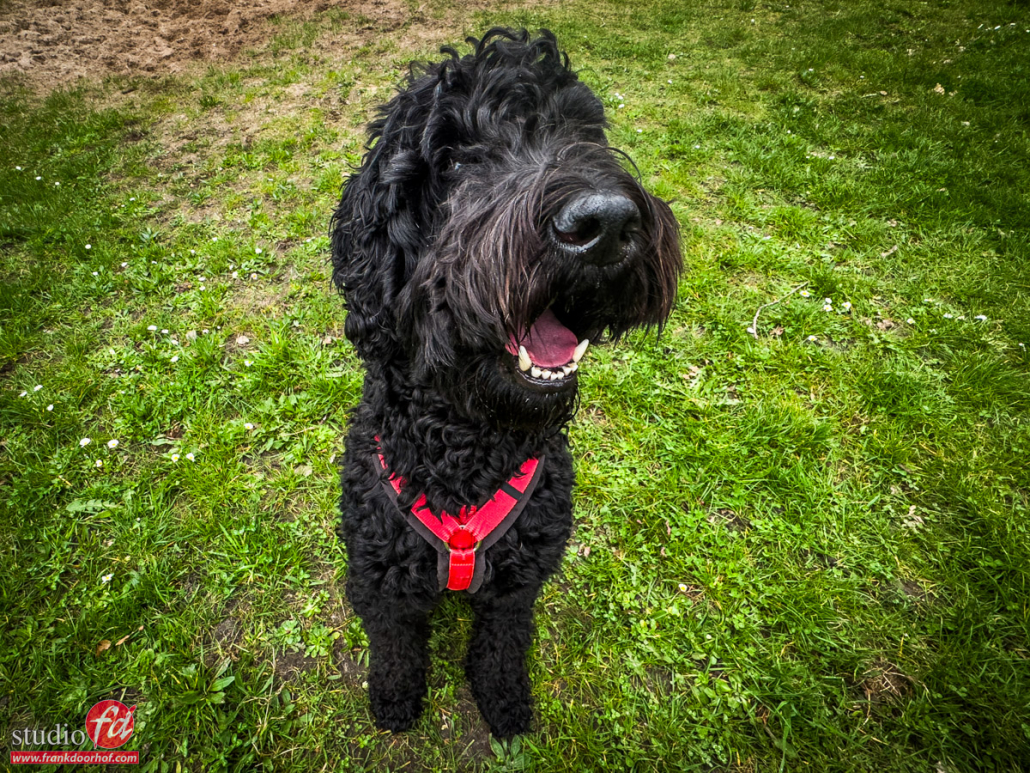
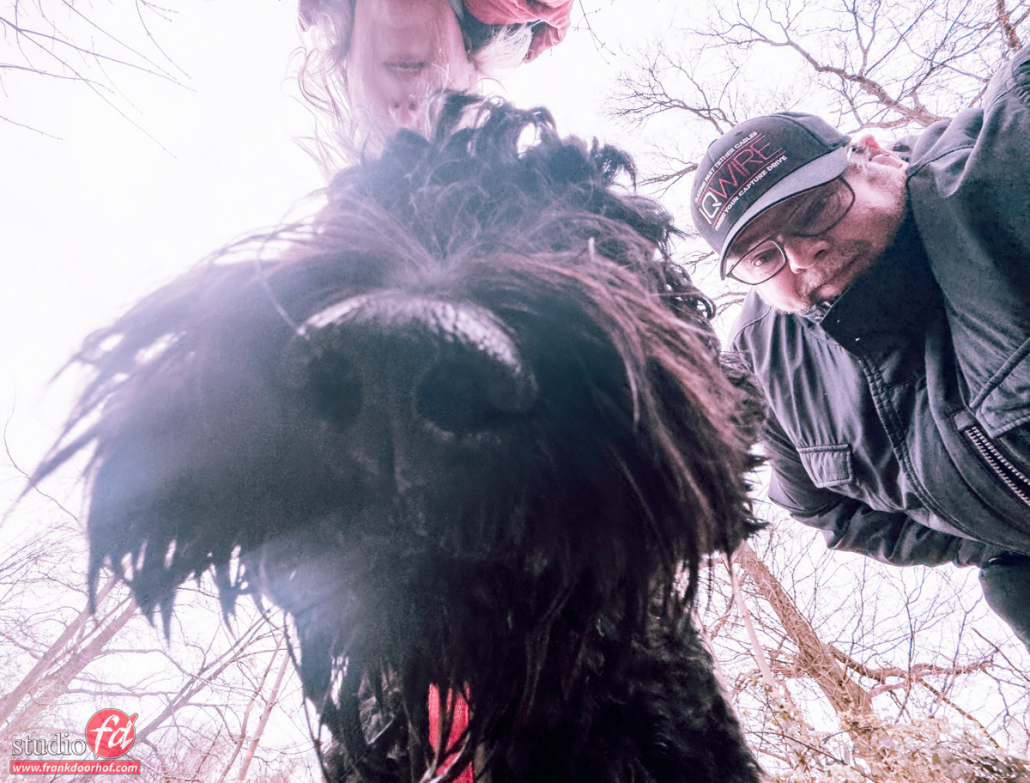
But it becomes so much fun when you get REALLY close up and personal.
Just beware that your phone doesn’t end up as a snack.
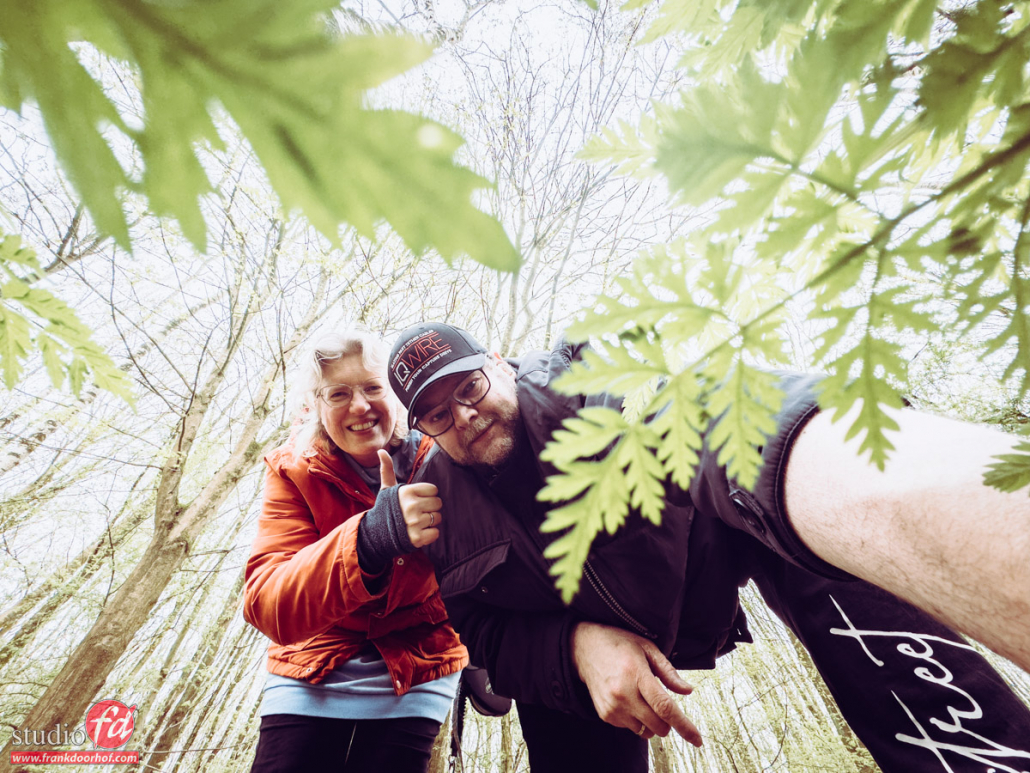
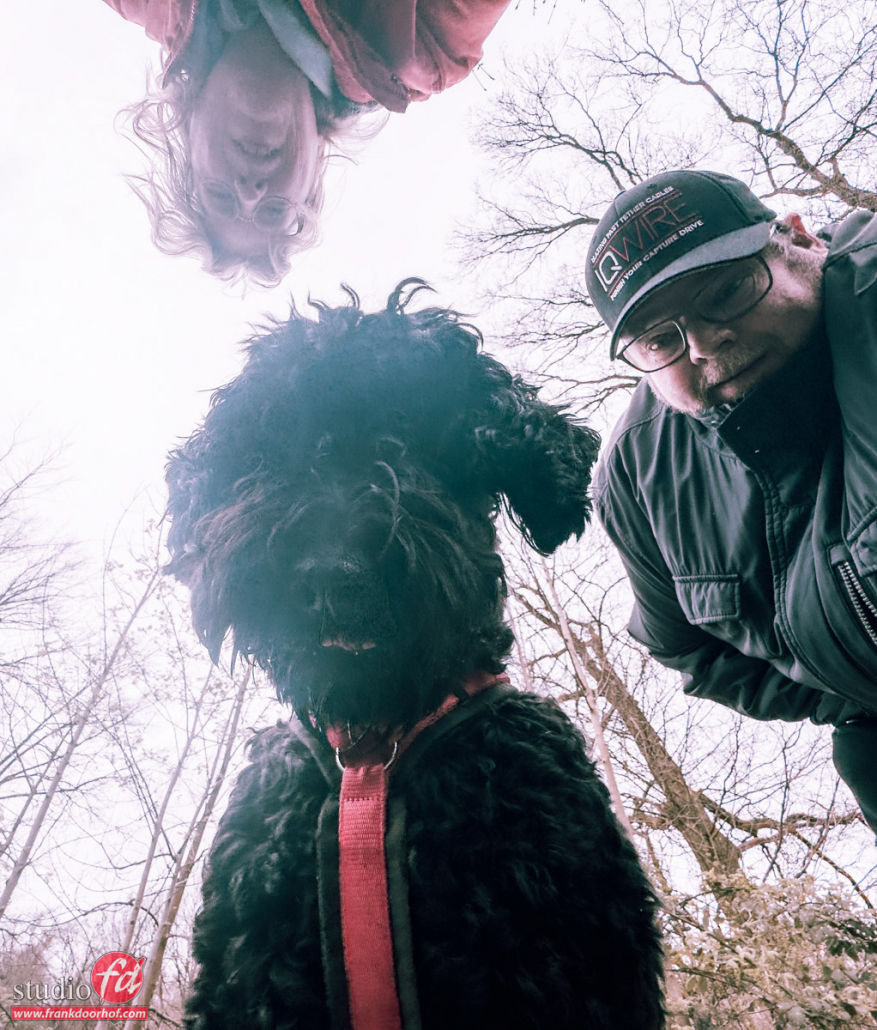
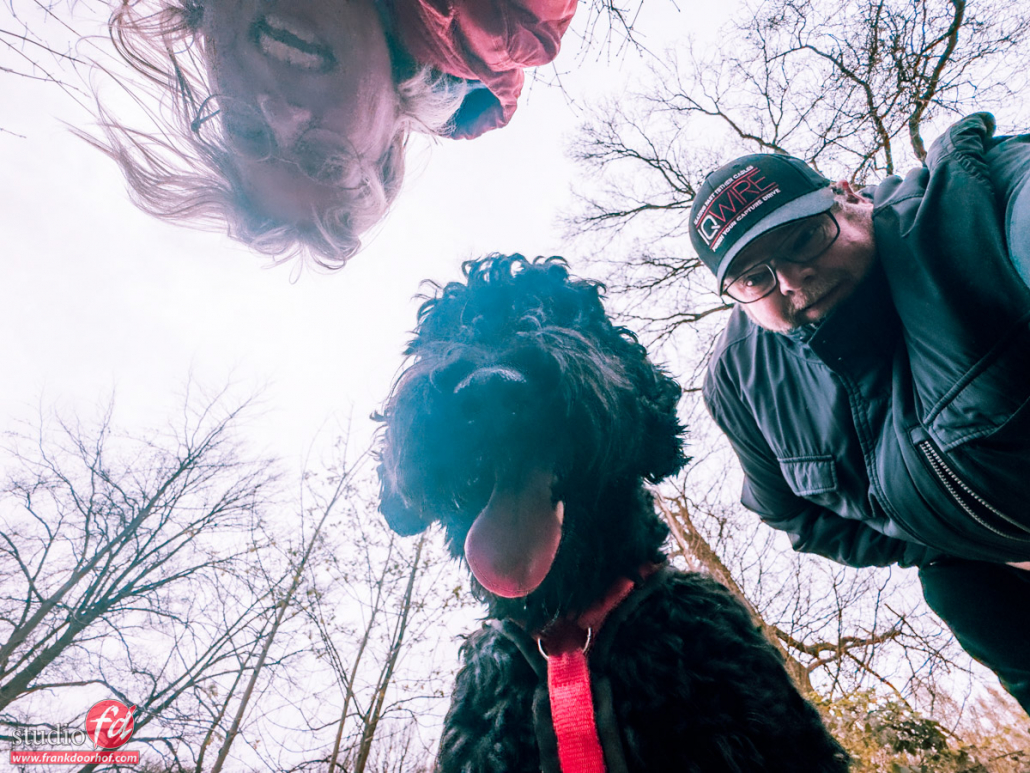
Cool selfies

Now I’m not going to lie, because I want to use the wide angle I can’t see the screen. So the following shots are 99% luck. But when you try enough times you will get some really unique selfies.
Let’s start with the phone on the floor with some leaves in front of it. You can also do this from a higher standpoint of course.

wide angle from the ground

We loved this shot, but it was too easy to get right…. so we decided to throw in Chewie and be a bit more creative with the composition….. It’s not hard to guess, but most images were totally wrong (you can’t see the screen) but when it works… well it’s loads of fun as you can see here.

The wide-angle on your phone is fun

So the next time you use your phone. Use the Wide Angle lens on your iPhone, get close, and take some pictures for more creative shots.
As soon as you start using it you will find that even the most boring things can become really interesting,  just due to the distortion and the different angles.

These shots were done with the iPhone 15 pro-Max on the wide-angle setting.
Editing is done in Adobe Lightroom Classic

A few years ago, the Digital Classroom was about Small Spaces and Wide Angles 

Rock that Low and Wide Angle Blog about street and travel photography in the UK

Fashion shoot with Nadine, a blog about angles and more 

More about Angles in this short video

Orchideeën Hoeve in winterstyle

The Orchideeën Hoeve is a place very close to our studio/home where we often walk around with Chewie and of course always advise our foreign visitors to visit. It’s a wonderful and magical place all year through but in December it’s always very special.

Today in the blog no modelphotography but some images I took with my iPhone last night during a quick visit.
Hope you enjoy the impression.

How to get your images of your iPhone fast and easy without extra apps

One of the things I always struggled with when using iOS is how to get large amount of photos and videos of my phone without jumping through hoops, using wifi or backup solutions.

I wondered why it was not possible to just connect the phone and drag the photos/videos to the desktop, just like my Android phone.
And well….. the answer was there all the time.

In todays video I show you how to use an MacOs native app to do it all super fast and easy, and it can also automatically start up when connecting your phone, for me a game changer, and I never knew it was there. Hope it helps you too.

Results from one workshop….. probably more than you think

Results from one workshop

We get a lot of questions about what I teach during workshops, but mostly about what you can expect for results. So I thought it would be fun to post all the images I retouched from ONE workshop. Let me show you the results of this workshop.

Before we start

Now to make one thing clear before we start. Some people call shooting images of a model a workshop. I don’t… I strongly feel a workshop should be an intense learning experience with loads of information, tips, questions answered, etc. So in every set, I try to add some things I know people struggle with.

During the workshops, I always try to do at least 3 to 4 totally different sets with their own problems and solutions 😀

The used products are linked to our webshop. If you have any questions, let me know. I am happy to answer them.

In today’s blog post the results from one workshop with our model Claudia.


For the first set, we used a box to pose our model in/on. The main idea was to get interesting effects in the background and how you can manipulate these.
Of course, the added element of the box triggers creativity.

I’m using a Geekoto GT400 with the small Geekoto softbox as the main light.
In the back, I’m using a Geekoto GT250 with the Rogue Magnetic Snoot. The main thing I love about this snoot is that you can use it not only in 4 different configurations but also can be used with or without a diffusion panel (this is without) which gives it a multitude of different looks. It’s one of my (many) favorite modifiers.

Now do remember these are WORKSHOP shots, so I shoot them while teaching, meaning they are okay, but far from perfect.

Set 1.

Result of one worshop result of one workshop, adding more props

And of course, there are always more ways to shoot something than just one 😀


Motion

For the next set, it was all about styling colors and adding motion to a shot. To make sure you freeze motion it’s important to know on which setting your strobe has the fastest T01 value.  I’m using a Sekonic 858 meter for this, which besides the exposure, also meters the flash duration.

And of course, coaching the model and getting the right moment is vital.

As a backdrop we used the the Rembrandt Brown vinyl 300x244cm 

model in front of a backdrop

And of course, I couldn’t resist throwing in some different angles for a portrait.
It’s always fun to see the responses when I start shooting from “weird” angles and the attendees see the images coming in.results of one workshop: portrait shot from a low angle


Clicki

For the next set, we are using the brand-new Clicki system from ClickBackdrops. This is a great solution for photographers shooting on location who are not willing to make any sacrifice in background quality.

I’m using a pro fabric version here. But vinyl is also an option (same price)
It’s great for portraits and 3/4 body. But I thought it would also be fun to use the backgrounds hanging in the back as a backdrop. So we placed the Clicki in between two other backgrounds, to create some more depth.

I mainly focussed on portraits and angles. Here are the results, and remember; this is still from one workshop.

result of one workshop, model claudia in front of a clicki backdrop

What gear did I use to get these results?


For these images I’m using a Geekoto GT250 with my all-time favorite modifier, the Frank Doorhof Rogue FlashBender.
And of course, when it carries my name it should be my favorite right?
Yes and no.
The main reason I love the FlashBender so much is that it’s very easy to use a bounce card. You make background effects by bending the FlashBender. You can fold it as a snoot. And that is awesome during events to really make a couple or subject stand out, even if the available lighting is poor ( like on some weddings during the dance). Or use it as a small softbox…. but mostly I use it as you can see here, with the striplight attachment and grid.

The cool thing…. when you buy the Frank Doorhof FlashBender everything is in the box 😀

Results of one workshop; model in front of the clicki, ligted by only the FlashBender XL Pro


The next results


For the next set, we decided to play with “light in light” where we focused the light in the model. With for example a snoot or in this case a Fresnel, opening up the shadows with a fill-in flash, often with a colored gel. The main light is the Nanlite Fresnel on a Geekoto GT400. and the Rogue magnetic system on a Geekoto GT250 as a fill-in flash. I’m using a blue gel to very slightly open up the shadows.

results of one workshop. model in front of the backdrop with a fesnel and a bleu gel

Of course, we also shot some portraits.


a portrait is also one of the results from one workshop

But there are more results


After these images, I thought it would be cool to throw in a microphone as a prop. And explain some very powerful techniques where I combine feathering with “fake” reflections by angling the light just correctly around the model. This is a very powerful technique to create stunning almost silhouette-like shots.

In this setup, I’m still using the Nanlite Fresnel on a Geekoto GT400. But the blue gel was now moved to the opposite side. Depending on the effect I wanted (the angle I’m shooting from) we just angled the strobe aiming it toward the camera. Love the results from this technique. When walking around your model you get a lot of different looks.

another result of one workshop. more silhoutte-like portrait with a vintage microphone

By adding the blue gel into the frame the total look and feel of the shots change.


Frank Doorhof Workshops

If you like these results and are looking for a workshop that’s totally different from just shooting images (a shooting zoo), make sure to check out fotografie-workshops.nl Here you can find information about the Dutch workshops (and location workshops abroad). Most workshops in our studio are in Dutch, but if you let us know in advance we can switch to English, most Dutch people speak and/or understand English.

1:1 workshops are always possible


PS: During this workshop, I also tried to shoot some images with the new iPhone 15 Pro Max. Can you spot them?