Tag Archive for: flash

Outside fashion shot for sunglasses with extreme styling and flash Part V : let’s talk about something grungy

The final setup

Today in the blog the final setup from the workshop “on location in Emmeloord”
In this workshop we use locations close to our studio, that at first sight might look uninteresting, but by using light/poses/angles and of course styling are still suitable to create awesome images.

If you didn’t already I highly recommend reading the previous blogposts.
Let’s talk about the flash
Let’s talk about gear
Let’s talk about storytelling 
Let’s talk about backgrounds and angles

For the final setup we are still using the same lighting setup with the same Geekoto GT200 with a large reflector.
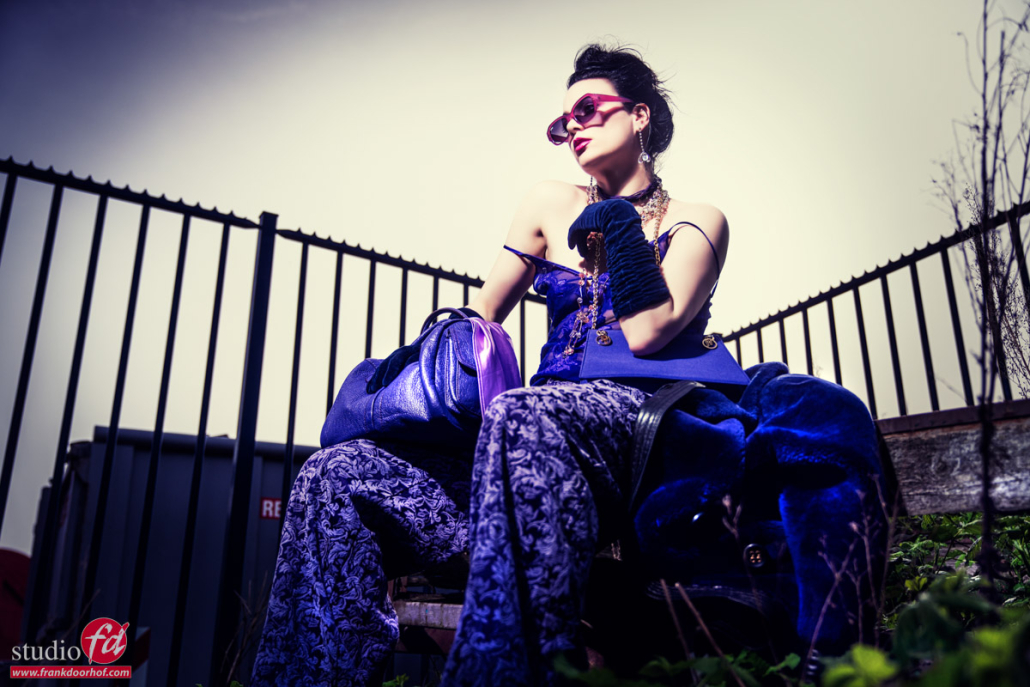
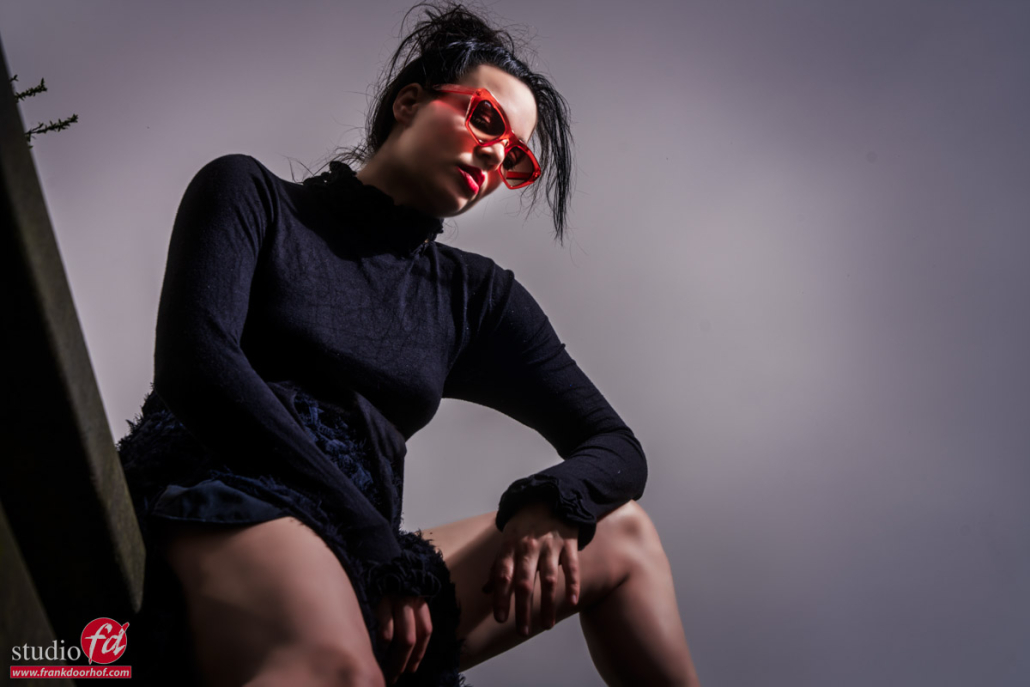
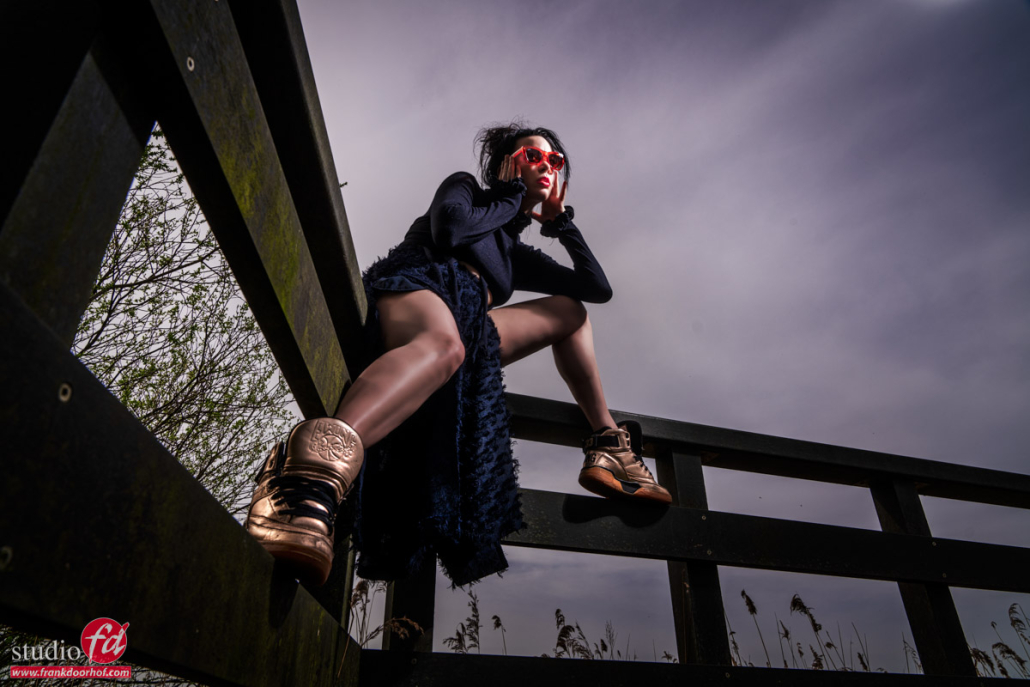
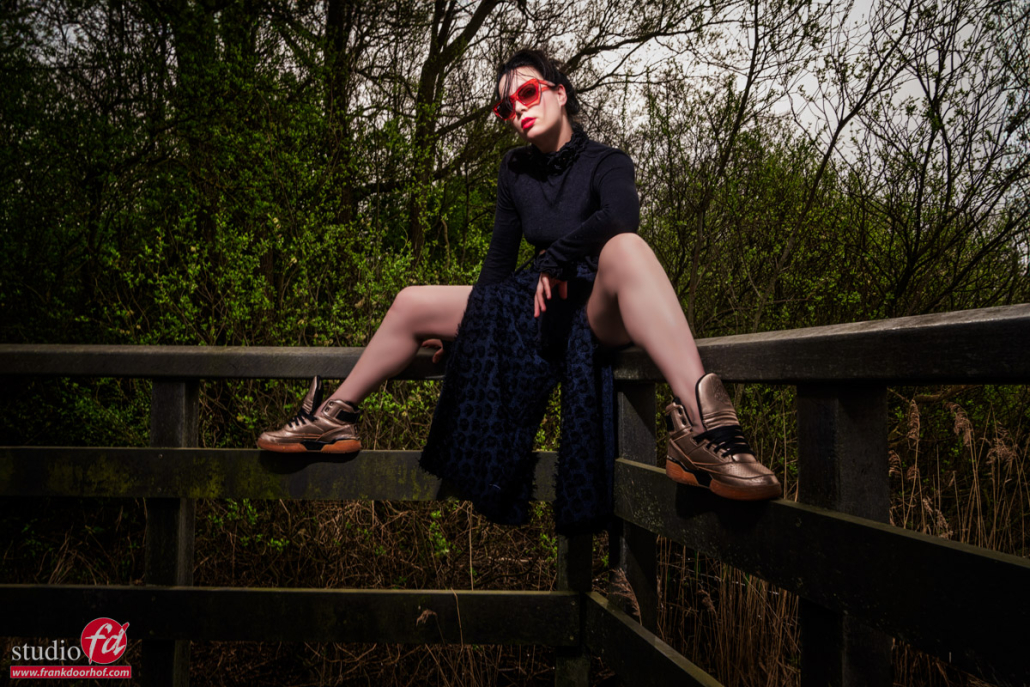
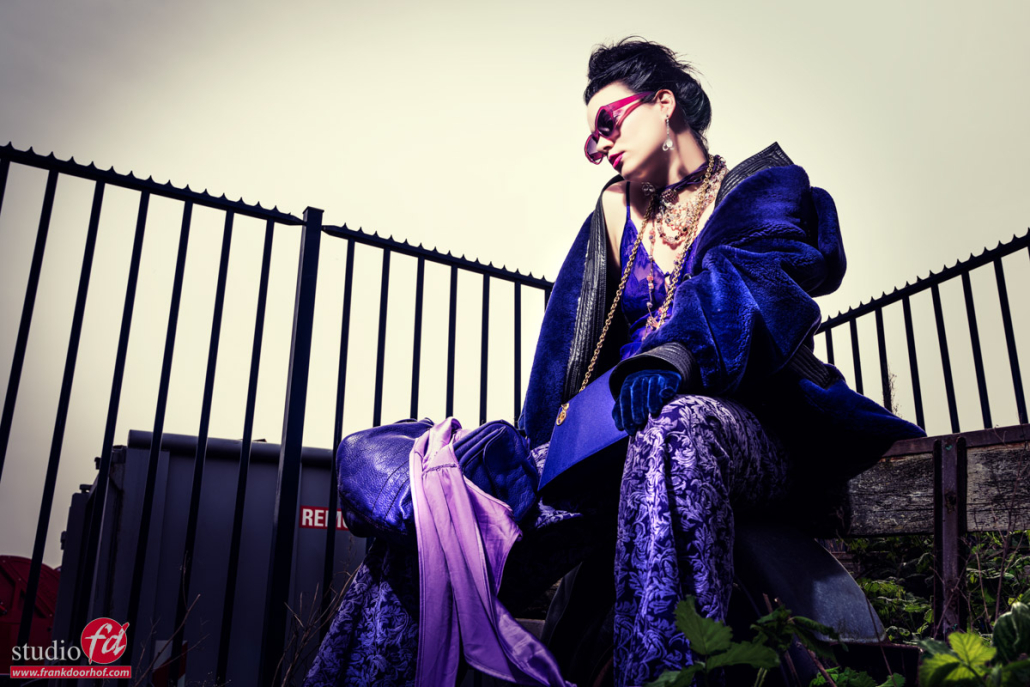
This is what we sometimes call our “outside studio” or in other words a part of our studio (away from the public eye) where we just leave everything (within reason), so it looks very “grungy”/”urbex” this part is based around an old trailer with some bushes and is great as a location, especially when shooting from a low angle the fence in the background and the angle it creates can be very nice.

In this setup I’m also using HSS for the last images.
During the workshop I did not use HSS because when working during a workshop it’s better to shoot with a so called “dumb” trigger, this means I can setup the strobe with my Geekoto Commander  and just let the attendees shoot via their own trigger. HSS and ETTL only work correctly with a commander that fits your system. With Canon, Nikon and Sony we have special commanders, but this workshop we also shot with a Leica so the choice was made to let HSS rest till the end.

The main advantage of shooting HSS is that you can break the 1/125th second limitation of normal cameras/strobes.
By the way, Sony just released the first camera with a global shutter that will make it possible to shoot on much faster shutter speeds with strobes not using HSS. This is a HUGE deal for flash photography on location and will change the way you can work forever. I hope to be able to test one of them in the near future.

With HSS you can break this rule which means you can shoot day2night but still have a very shallow depth of field.
Now don’t just set your camera to 1/8000 and F16 ISO100 because you will be disappointed.
HSS is awesome but it takes a HUGE hit on your output. Where with a large reflector shooting F22 on ISO50 is no problem at all with HSS you will end up with a pitch black image not even seeing the strobe.


HSS Technique

Also with HSS I’m using the same technique.
I set the camera to manual and use the EVF (or lightmeter) to determine the look I like. But I do take into account that I leave the aperture below F4 and I try to keep the shutterspeed sensible, and only at the speed I need. When you are used to setting up for HSS you will find that it really adds a lot more different looks to your arsenal, and… that’s always a good thing 🙂

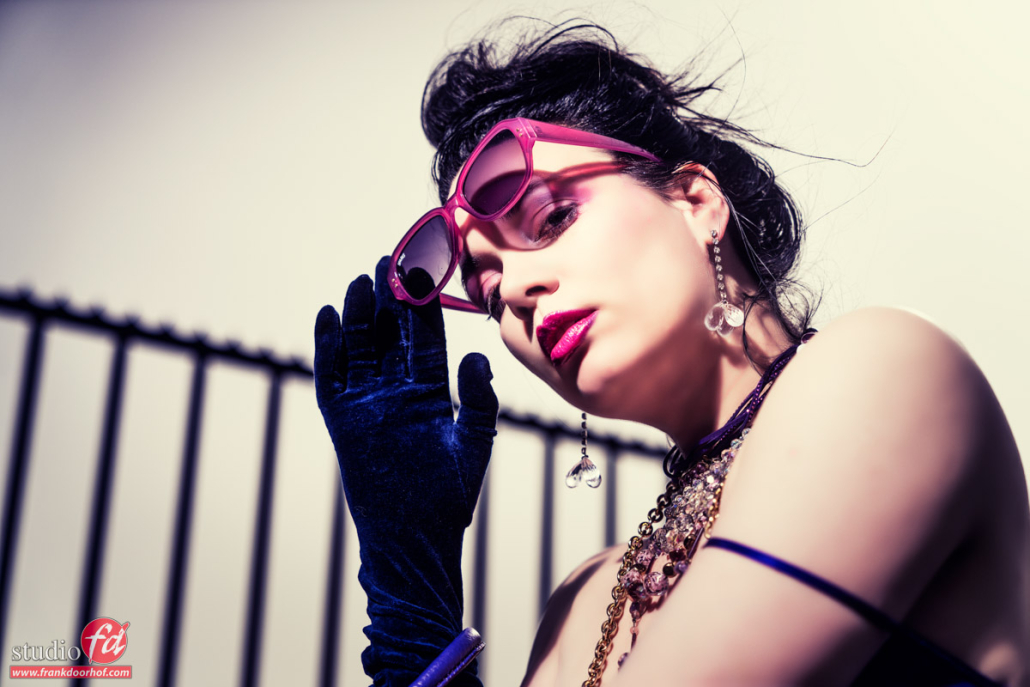
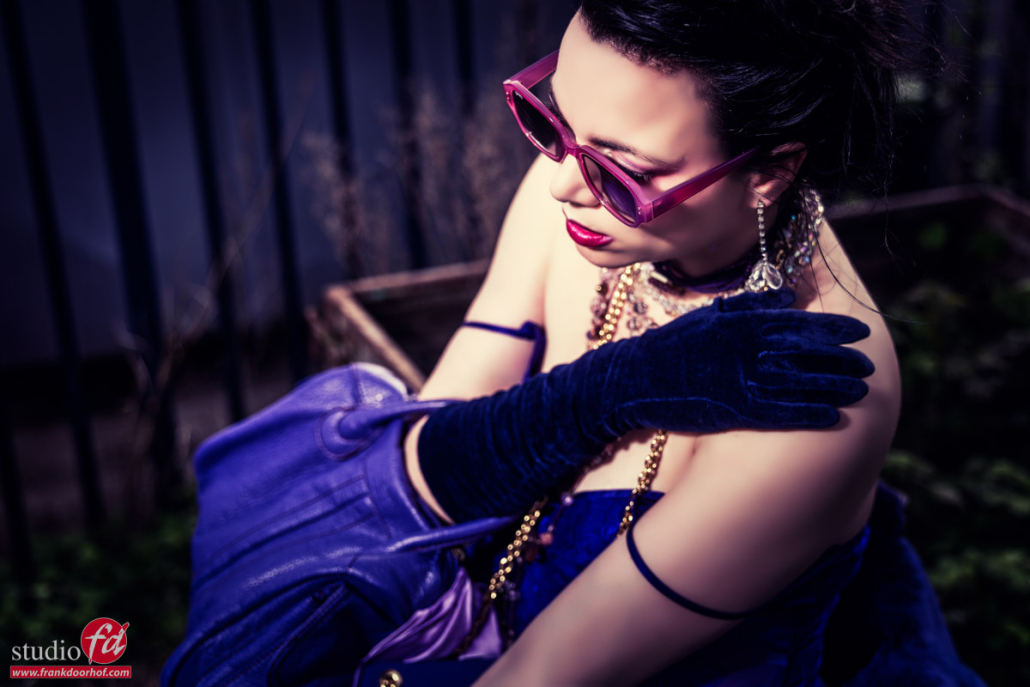
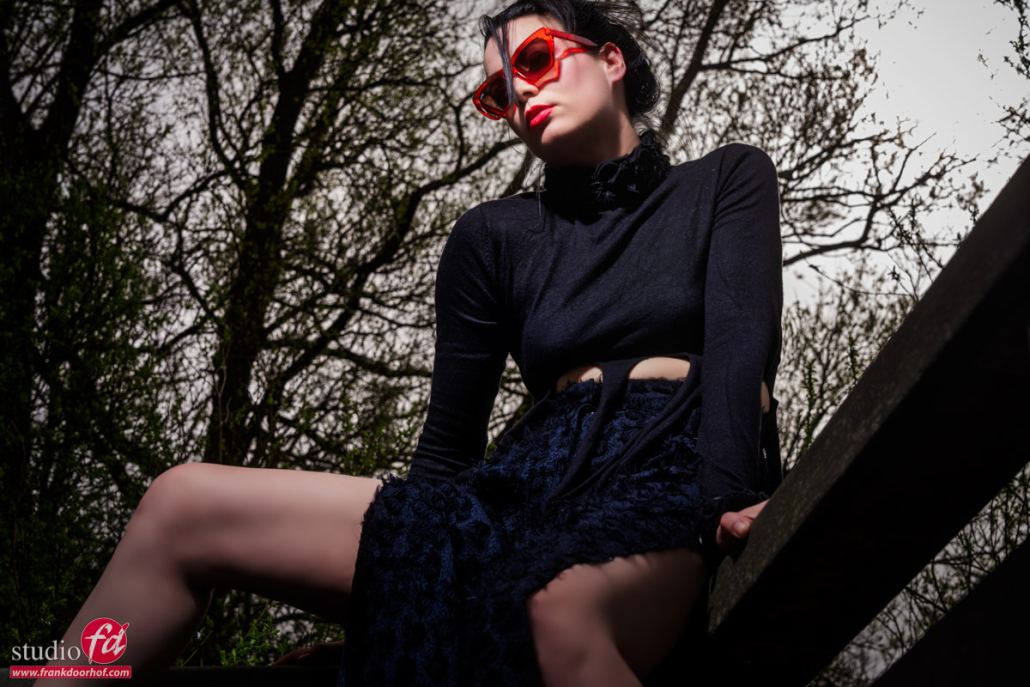
So let’s take a look at the final results… can you spot the images I was shooting with HSS?

Model/Styling : Nadine
Sunglasses : Sparks

www.fotografie-workshops.nl for the Dutch workshops
www.frankdoorhof.com/shop for my gear
Outside fashion shot for sunglasses with extreme styling and flash Part IV : let’s talk backgrounds and angles

Wow that’s a different…

This is one of the most heard comments when we use extreme differences in the background, especially when the model wears something more eye-catching, or dark/bright.

Chasing the perfect background on location is one of my favourite things. And it’s not always that the most interesting looking background is also the best. It’s great to have a cool background but we don’t always want them to compete with each other. I always try to choose a background that will help my model to pop-out, or disappear into.

This is the 4th part of this blog series and I highly recommend first reading the previous ones.
Let’s talk about the flash
Let’s talk about gear
Let’s talk about storytelling

The forest/beach

One of the things I love about the area we live is the diversity for photography.
Although you see totally different images in this series they are all shot in walking distance from each other, or right next to our studio. And trust me, I’m pretty sure you will have loads of interesting locations near your home, you just have to look with your “photographers-eyes” 🙂

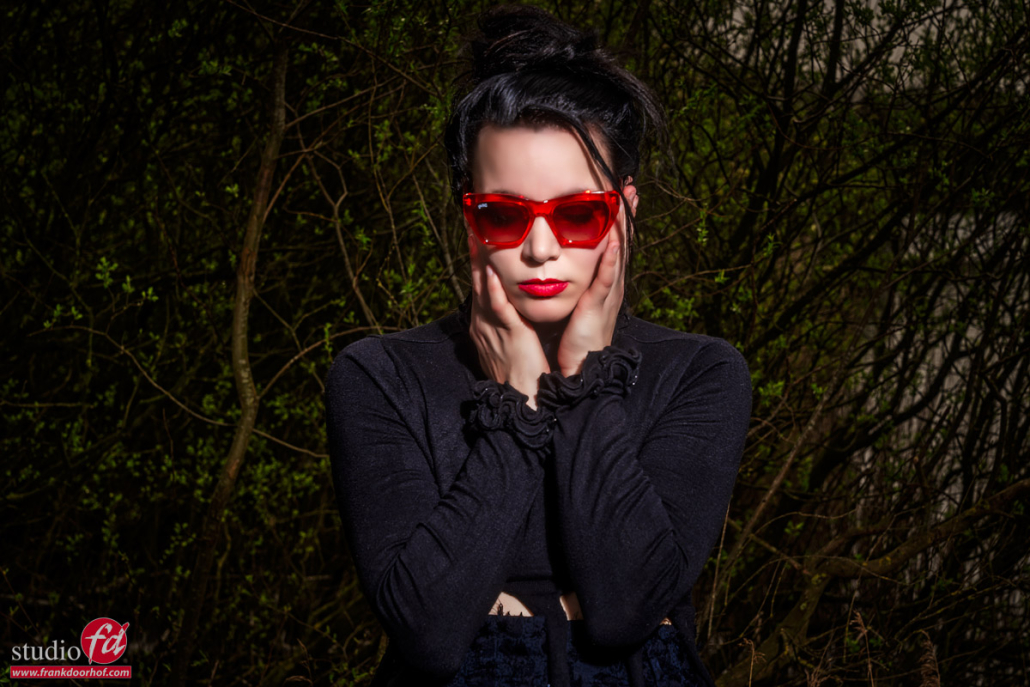
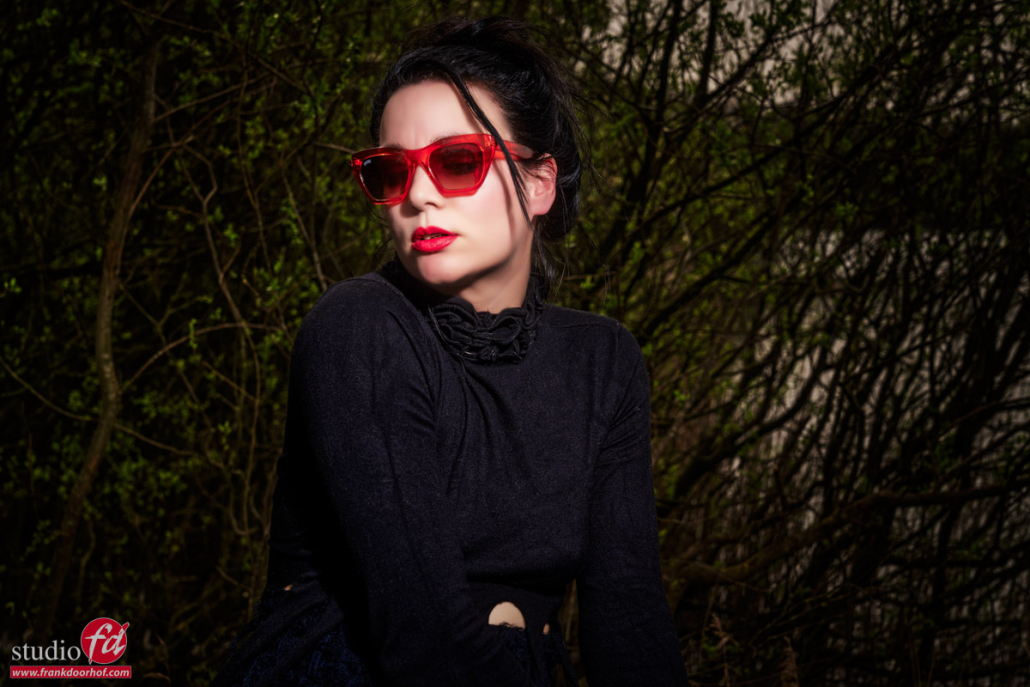
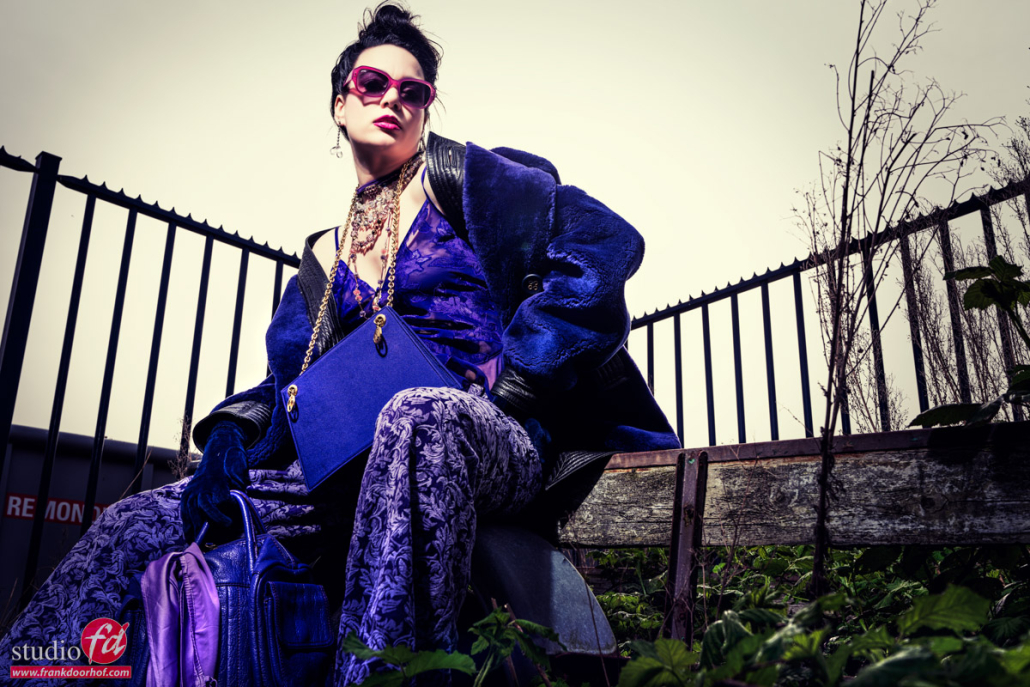
In this case Nadine was wearing a non reflective black outfit (thank you very much) and some cool Sparks red sunglasses.
I didn’t tell you this yet, but during this workshop we also shot some images for our friends from Sparks sunglasses, a cool trendy brand of sunglasses for which we also did the introduction shoot for their new collection. Most of the time I also ask some sample to use during workshops and give our client some extra material which can promote their brand, my work but also the models. A win-win situation.

Anyway.
Because Nadine was wearing black it made it a challenge to shoot against the overcast sky, or against the dark forest.
One could say it’s impossible because you will blow out the sky, or block up the shadows, and with a dark forest the model will disappear.
yes, that could be one way to look at it.
OR….
You use exactly that “problem” and use it to your advantage.


The shoot

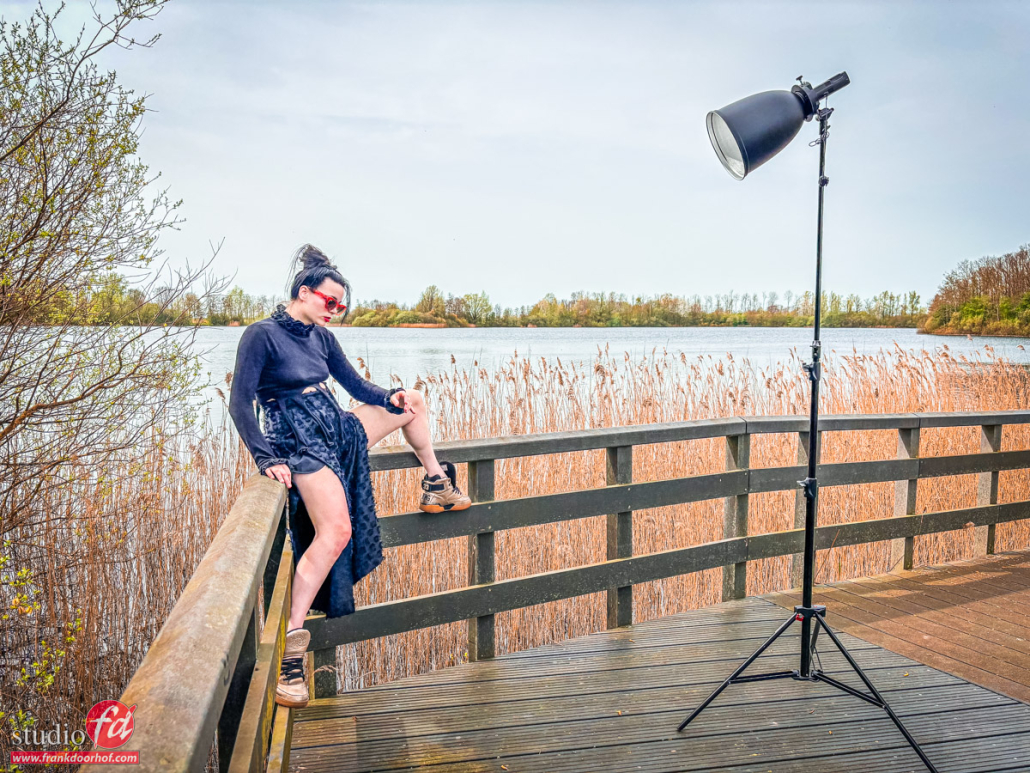
Here is the setup of the shoot.
I’m using the same Geekoto GT200 with a large reflector.
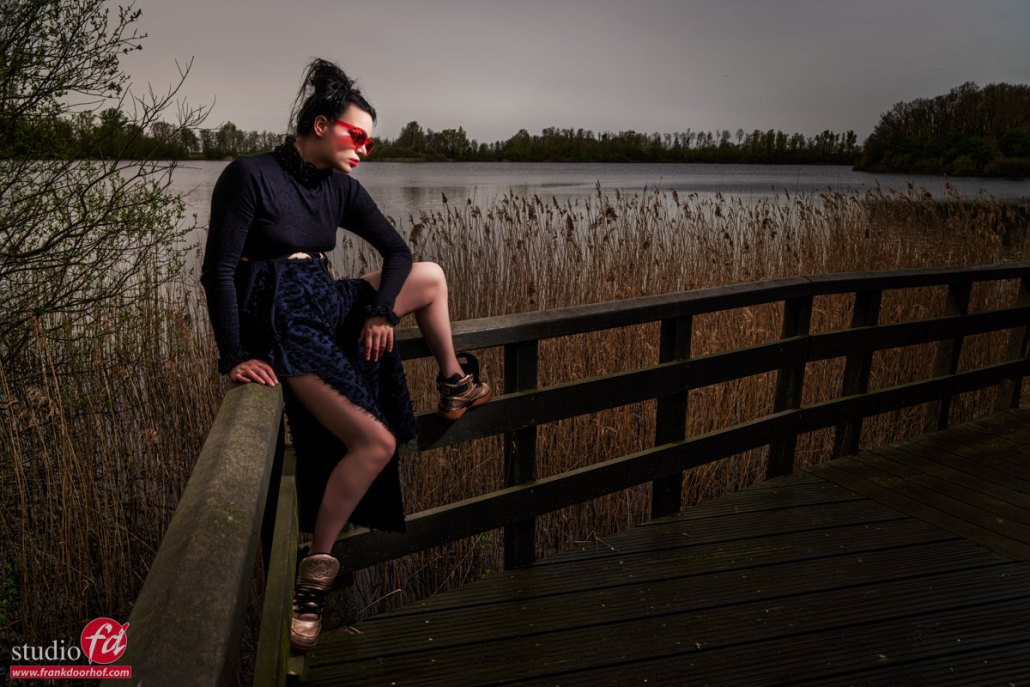
I love this location for the strong leading lines and the way the model can pose with the bridge parts. Also the two totally different backgrounds by just changing your angle makes this one of my favourite locations to use for workshops and shoots.

I love to shoot from more extreme angles on this location and using a more wider angle gives that really nice “distortion” in the image that draws the viewer towards our models face. I also use this a lot in the studio. Wide angles can be terrible for portraits or even full body shots, but if you use them carefully they can be awesome.

Because the clothing was so dark, Nadine’s legs were getting a lot of light/attention, so when you find yourself in a situation like this, use a grid on your strobe or make the model cover part of the legs, you do want to see some, but not too much light areas in the darker areas of the shot. hope that makes sense.

I decided to actually embrace the dark clothing and use it create some really nice edgy contrast in the shots, add the red sunglasses and some cool poses, and you have a very simple lightsetup, an ok location but some killer shots.

Model/Styling : Nadine
Sunglasses : Sparks

www.fotografie-workshops.nl for the Dutch workshops
www.frankdoorhof.com/shop for my gear
 

A pure white background and floor, plus accents on your model with just three umbrellas

A white background, floor, and accent on your model with just 3 umbrellas?

Seems impossible… it’s not

Shooting with a white background and floor is far from my favorite setup, but sometimes you have to 😀
When I started with photography the white background was hot. And used all the time (I was always more of a light grey fan). So of course I had to learn how to shoot it.

The first problem I ran into was getting the background completely white.
This is easily solved by moving the model forward and just blasting the background. But when cameras became better and the headroom larger it became more and more problematic due the the enormous amount of light reflecting back from the background. So how to get that pure white background?

Special modifiers to get a white background

The first thing I tried was of course lighting the background with open reflectors, or softboxes. And although it worked ok it never was 100%.
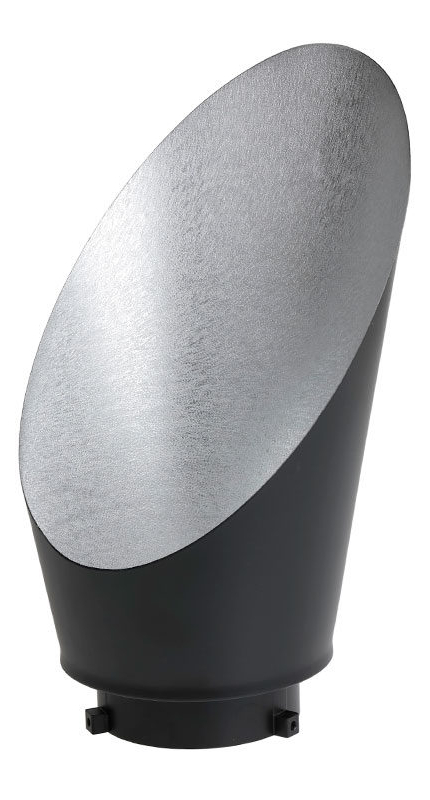
So enter the special background reflectors.
The idea behind these is that they “focus” the light on the background and spread it out evenly.

a modifier which makes it easier to get a white background.

By the way, it’s more easier if you have two of those.

And although it worked a lot better than a standard reflector it’s far from perfect.

The solution(s). How I made a white background and floor

Floor

So let’s not make the blog post too long and immediately jump to the solution.
Let’s start with the floor.

Without a doubt, this one was the most difficult to crack.
You can use extra strobes on the floor. But that also meant the light fall off on the model would look unnatural with loads of light on the feet.
You can use Photoshop of course. But that would mean the model just floats in the air, so you can start adding shadows again. Long story short this is not doable when you need to deliver 50 images to a client. You simply can’t edit every single image in detail unless you have a very large budget.

The solution is actually super simple and gives an awesome effect.
Just put some transparent plexiglass on the floor.
The plexiglass will reflect the light and give you an instant perfect white floor and as a bonus a great reflection.
The added bonus when using transparent plexiglass is that you can also use it on other color backgrounds and get some stunning reflection effects. But for today let’s keep it on white.

Now that we have the floor covered (pun intended) we have the background to light.

Background

For this, the solution is actually much simpler and cheaper than you might think.

white background, white floor and accent on your model


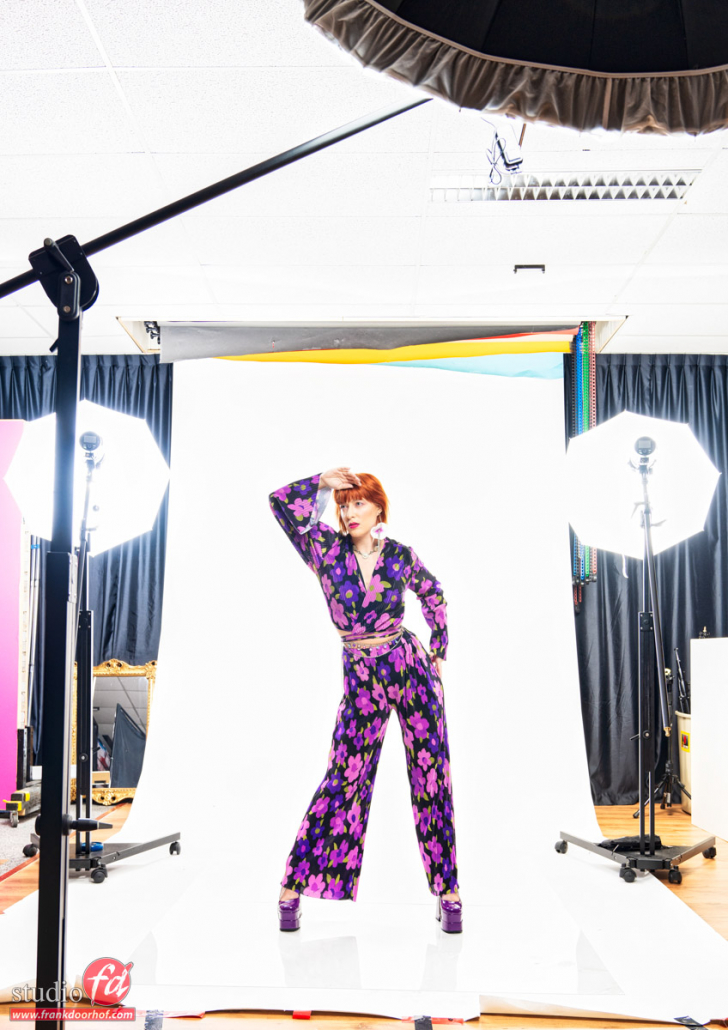
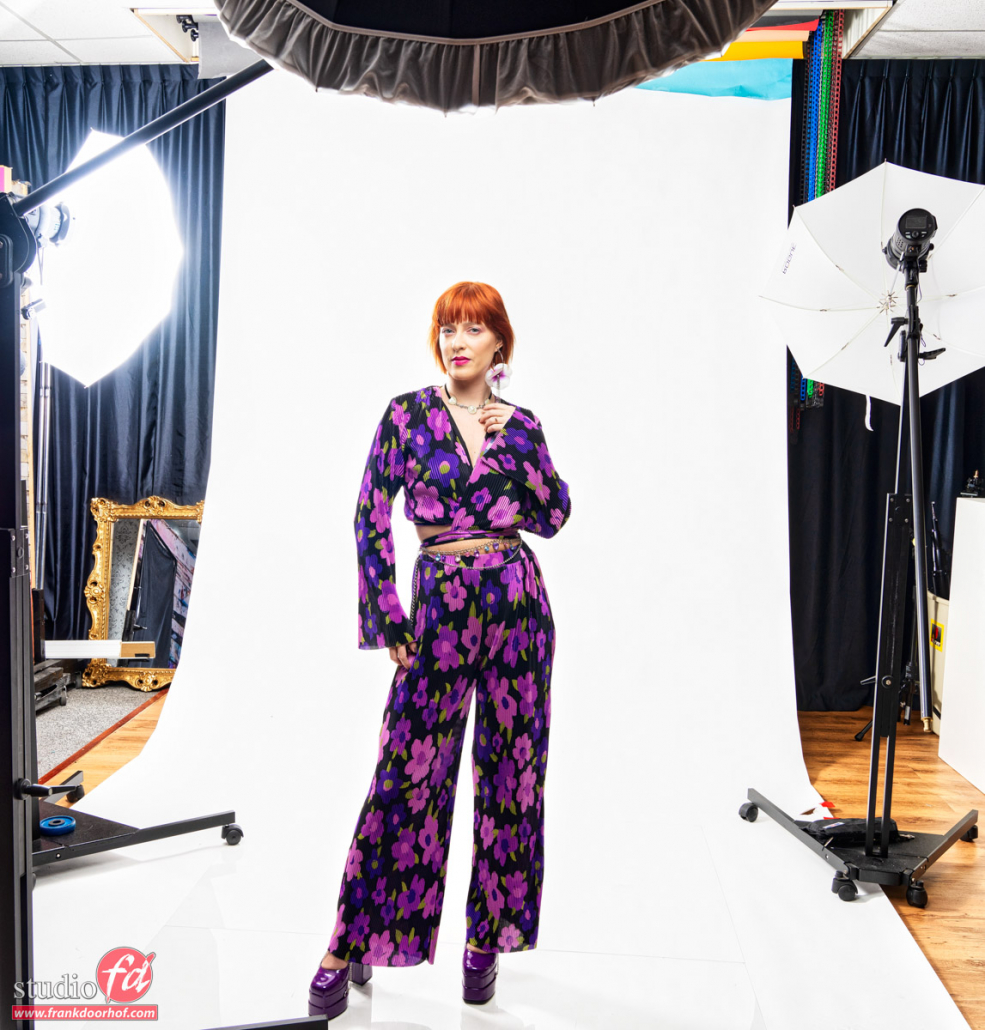
Here you can see the setup we used for the shots with Claudia from the previous blog post.

Umbrellas for a white background and floor

As you can see I’m using two white Rogue umbrellas, on our Geekoto GT400 strobes, at the back. And these are more important than you might think at first sight.
The placement of those two is vital for the end result and also gives you a lot of flexibility.

The first task for the umbrellas in the back is of course lighting the background and floor. So they are placed behind the model aimed at the background with the shoot-through part. However, a white umbrella also reflects so we have a light source that’s pretty unique. It lights both what’s in front but also what’s in the back, and that’s actually the whole secret or trick in this setup.

By choosing the right angle of the back umbrellas it’s possible to light both the background and also give a very accent light on the model.
In loads of setups, you can see 2 strobes on the background and 2 strobes as accent plus your mainlight which means you need 5 strobes for one setup.
By using umbrellas you can bring this back to just 3 strobes, and also the costs are considerably lower than using background reflectors and for example striplights as accents.

For example, we sell the Rogue fiberglass umbrellas in a nice travel kit edition with a black umbrella plus sleeve (here used as main light) and one white umbrella in a travel kit for € 116,00 the extra white umbrella retails for € 23,00

Now if you don’t like the accent lights you can always place two large flags between your model and the umbrellas and take away the accent lights.

And how about just 2 lights?

You might wonder, can we also do this (getting a white background and floor) with 2 strobes and 2 umbrellas?
That’s the nice thing about umbrellas.
The disadvantage is that the light spreads around very easily. But that’s also the advantage if you know how to control it 😀

Now when you use one umbrella on the back the accent light will of course just be on one side. But when you look at the end result it’s absolutely a setup that you can use.

Conclusion of white backgrounds

White backgrounds can always be tricky due to the amount of light that spreads everywhere.
But by using the right light modifiers and placing them correctly in the scene a lot can be done for a very low budget.
And let’s be honest. These images are straight out of the camera with just a little boost in contrast, as you can see the background is almost pure white and the only thing you have to take out are the seams of the plexiglass, which in most cases can be done in seconds.

So the next time you need a pure white background, why choose the expensive and difficult route?
Just use three or two umbrellas and some plexiglass and deliver images almost straight out of the camera.

check out the video about the Rogue Umbrella’s


Or this short, also with model Claudia about the Umbrella 

I show you how I started and where we are now (Digital Classroom Love for Photography)

Digital Classroom Love for Photography

It’s been interesting….

It’s been interesting to go through my old work for this episode of Digital Classroom. It was broadcasted on February 14, Valentine’s Day. And we didn’t want to do another model in red.
I thought it would be fun to dedicate a whole episode to Love for Photography.  About the way my photography changed, but also my vision of my work and the way I work with models, sets, lighting, and styling.

I hope you enjoy this very special and personal episode in our digital classroom series.

Don’t miss our live broadcasts and new videos by subscribing to our channel and hitting the bell icon.

Above the recording of the Digital Classroom Love for Photography


Check out our Next Digital Classroom on YouTube 


or the whole playlist on our website