Mixing strobes with available light
This blog post is about the workshop: mixing strobes with available light. Why is it difficult? Or is that just the impression? An explanation and of course, some results with our wonderful model, friend, and stylist Nadine Stephan.
The problem of mixing strobes and available/ continuous lighting
For loads of photographers mixing available (or continuous) light and strobes can be a real challenge. Still in essence it’s incredibly simple.
We have to remember our famous triangle of ISO, Shutterspeed, and Aperture.
When combining flash with continuous lighting we always have to remember that the flash is a pulse and the continuous lightning is cumulative (meaning it adds up over time).
Our flash is also a lot more powerful than, for example, LED lights. This means we start with the strobe on the lowest possible setting. This is one of the reasons I always advise buying strobes that can be adjusted in a wide range and are not too powerful. We don’t need 1000W in a studio environment. But 200-400W is actually the sweet spot. Outside you can use the same strobes on HSS and literally kill the sunlight without any problem. In our studio for these setups, we use our Geekoto GT400 strobes and GT200/GT250.
ISO and aperture are important when mixing light sources
If we know the output of the strobe we have to of course also look at the lens we are using. It makes no sense to set the strobe to f1.4 when you’re shooting with a f2.8 lens. However, don’t adjust your strobes yet….. remember that we need as much light from the continuous light as possible. So if the strobe is not outputting enough, just raise your ISO till you read f2.8 (if that’s your widest aperture).
Now that we know the ISO and the aperture we forget about those two.
Meaning you are not changing those anymore. Everything from here on is done with the shutter speed.
A faster shutter speed means the lights will be dimmer. Slower shutter speeds will make the lights appear brighter.
You can now exactly setup the shot exactly the way you want by experimenting with your shutter speed.
Some things to remember when mixing strobes with available (continuous) lights
Always start with an image without strobes and your intended continuous light to see what’s going on. In a perfect setup the image would be 100% black. Now add the continuous lighting first to see how it looks. And finally add the strobe (this is after we already metered everything and is more of a test to make sure there is no extra light, we don’t want in the shot).
When you can’t get your strobes low enough, you can always experiment with other modifiers. For example, a striplight with a grid will “eat” much more light than a beauty dish or open reflector. And if that’s still not working you can always think about adding Neutral Density (ND) filters to your strobe (not the camera, because that won’t benefit you, due to the continuous light you have to mix).
Do always remember to turn off ALL the lights in your studio INCLUDING the model lights of course 😀
If you don’t, it won’t always be bad, but you have to realize that they will influence your image.
Some results from the workshop
During my workshops, we always try to do 3-5 sets. And during this workshop we managed 4 amazing setups. But because only 3 were done with mixing strobes and continuous lighting I’m just showing you these in this blogpost.
Model and Styling: Nadine
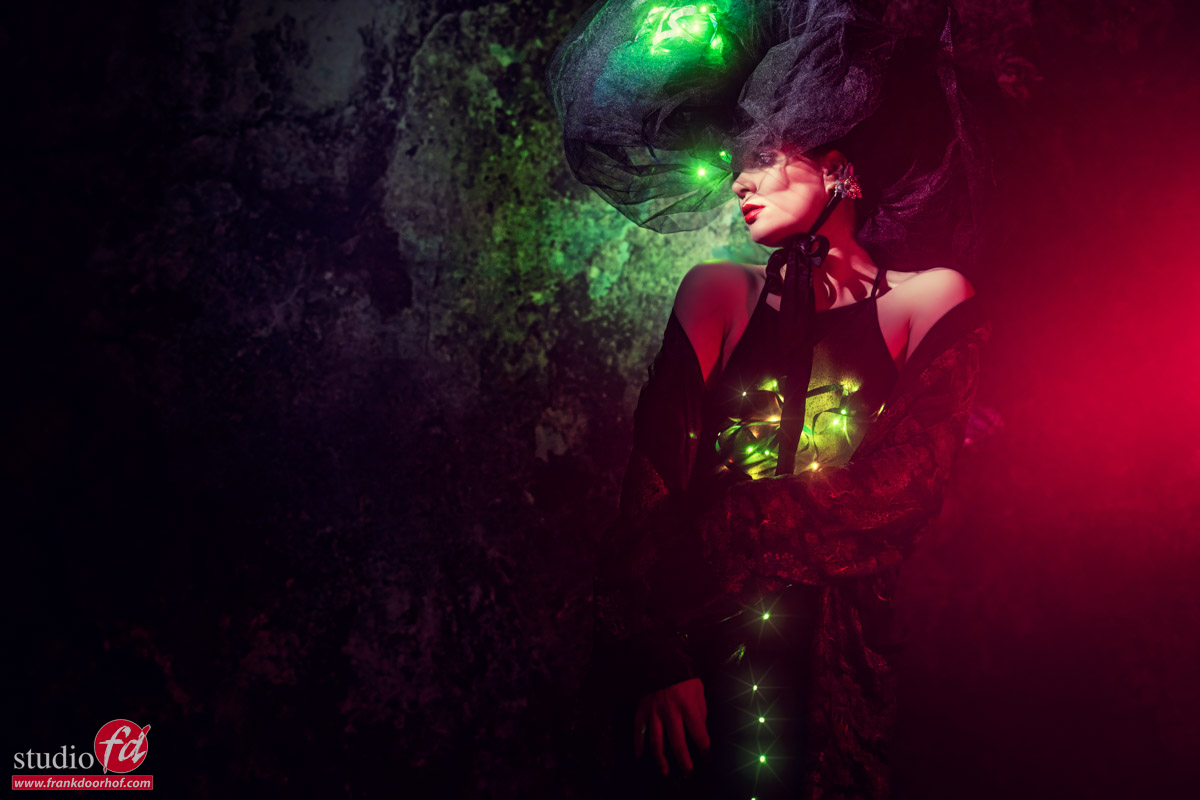
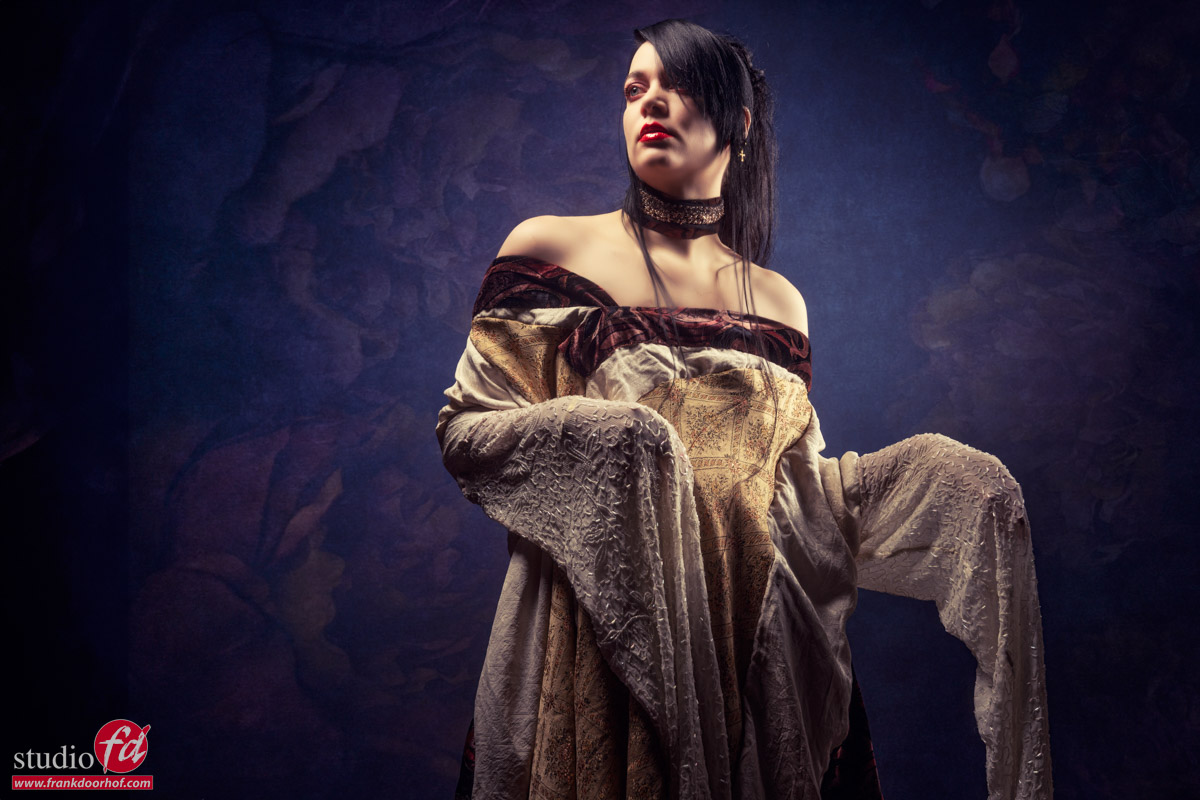
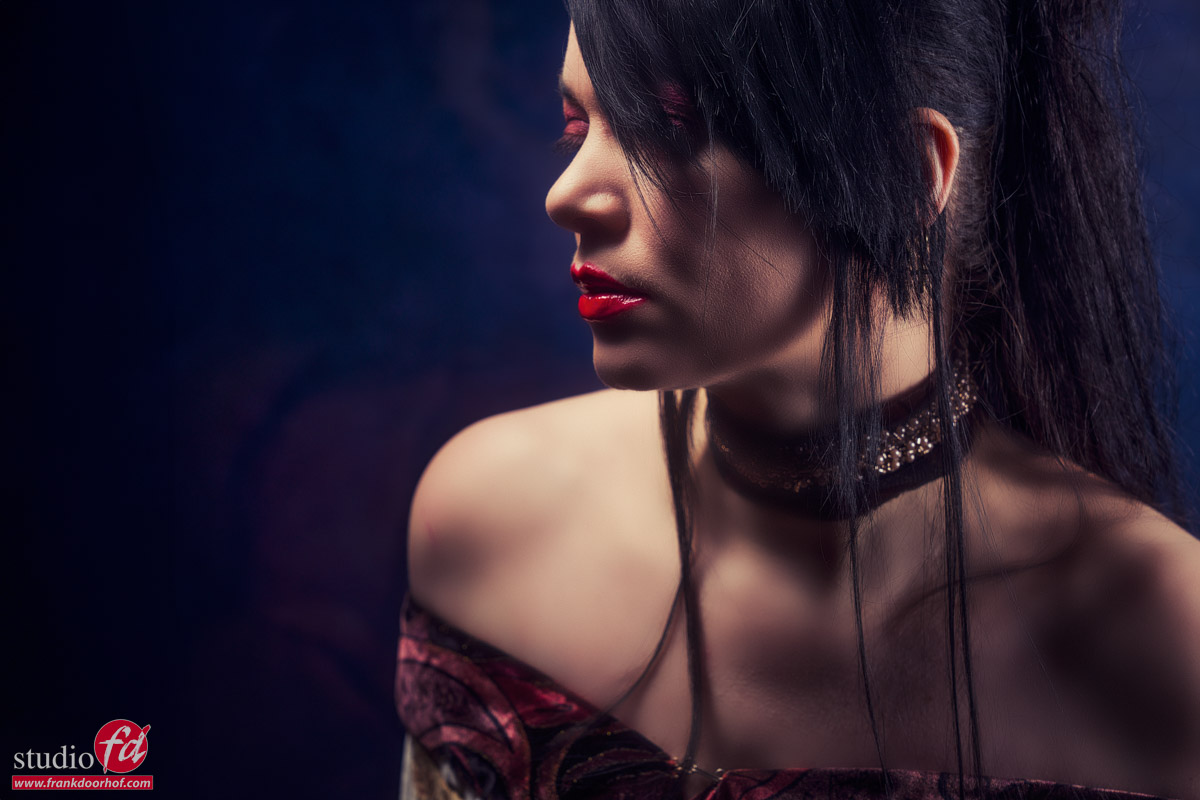
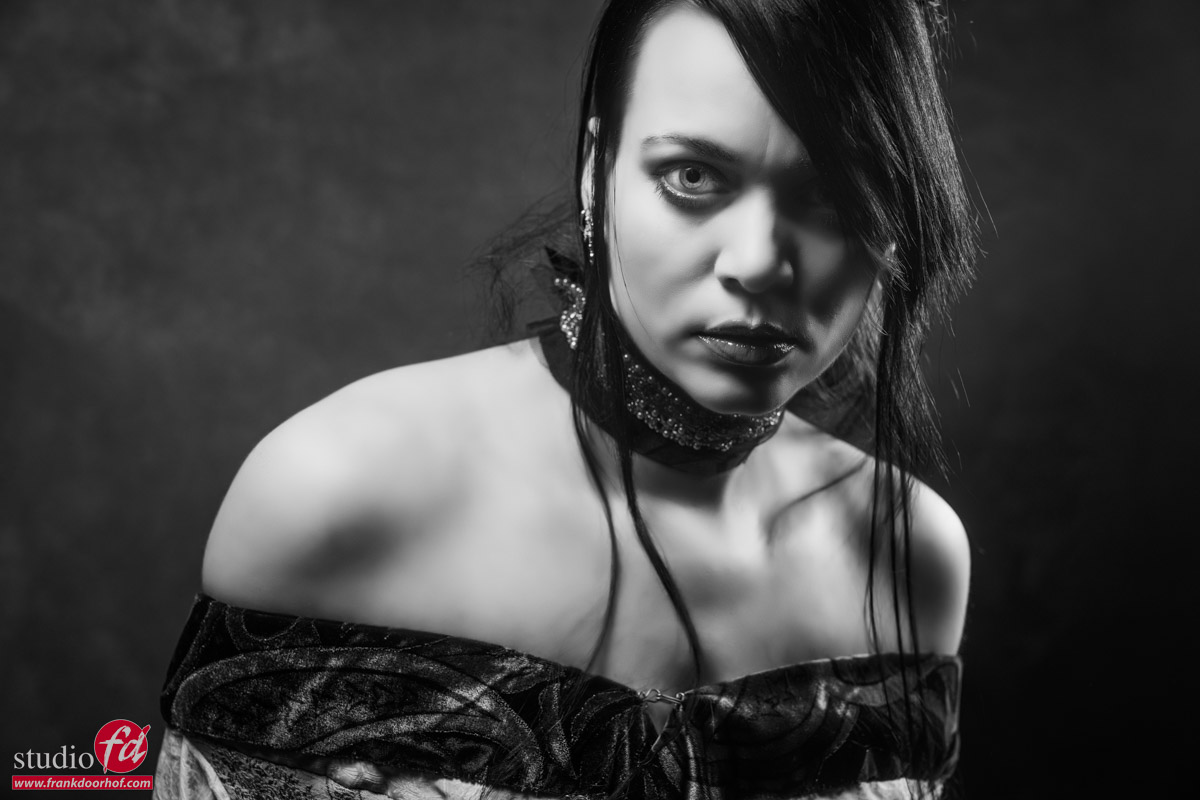
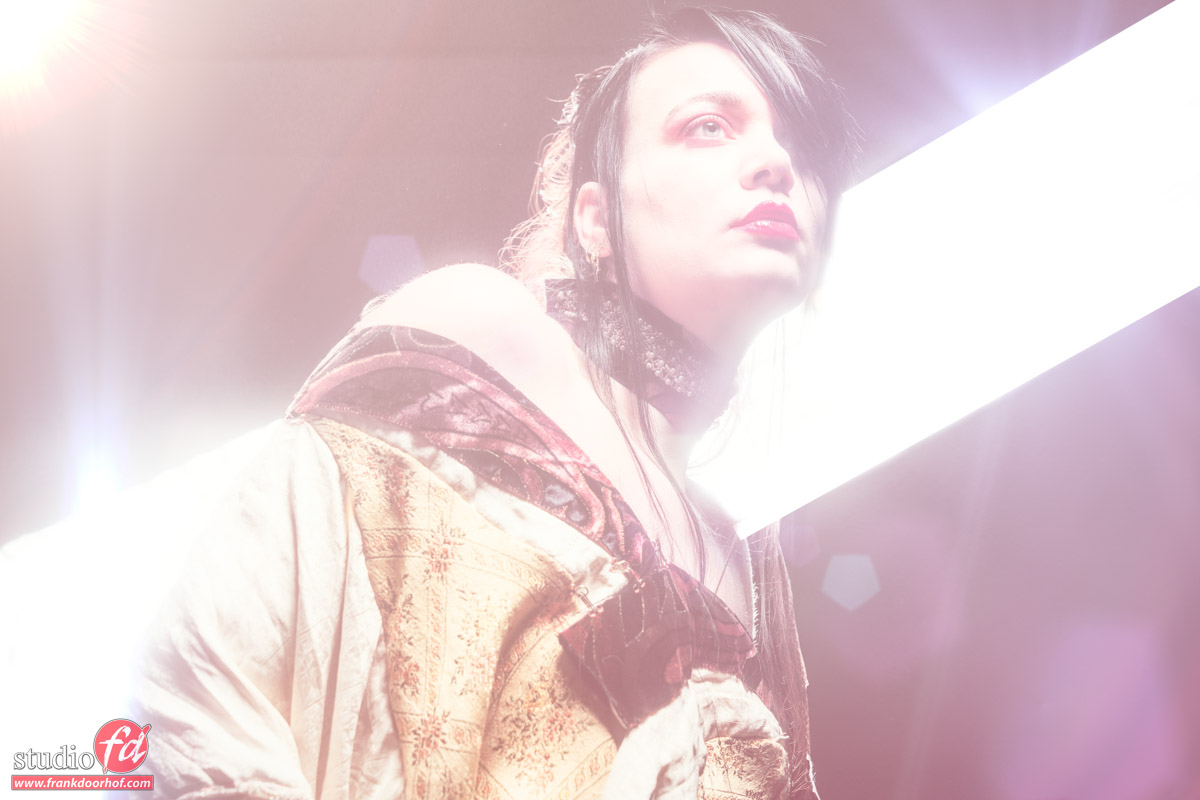
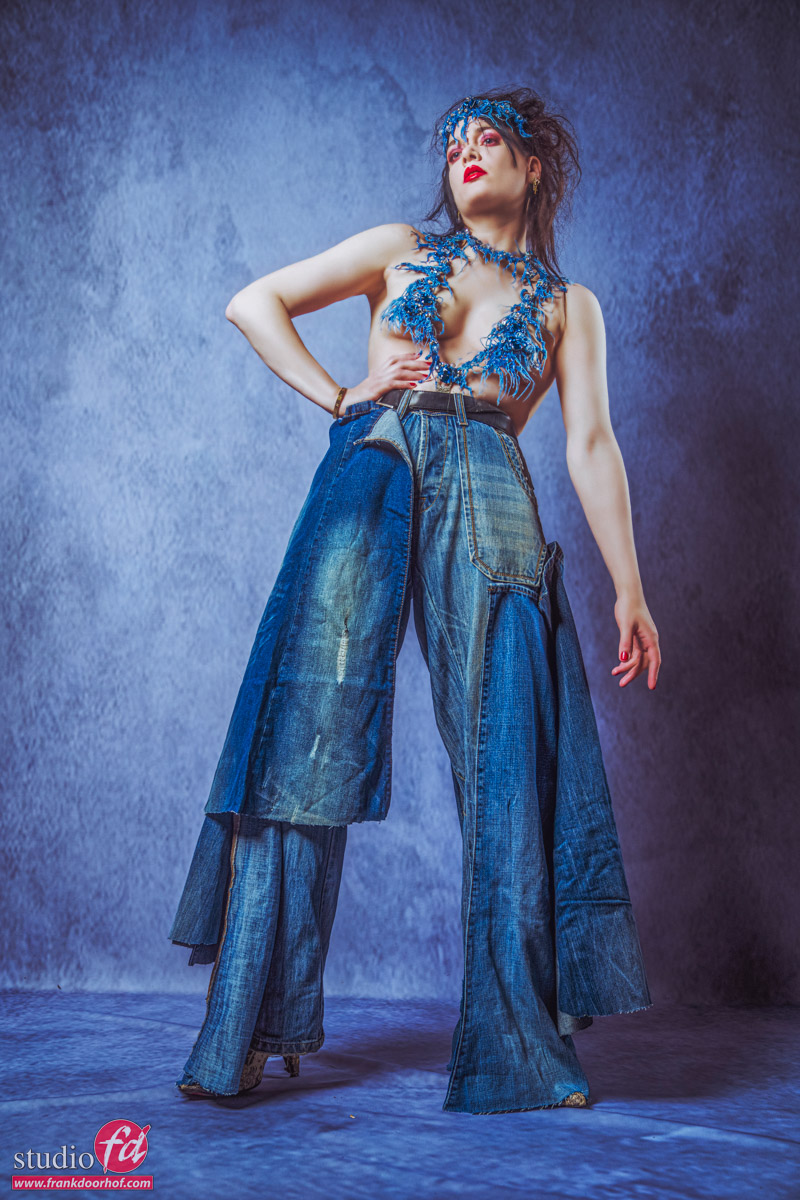
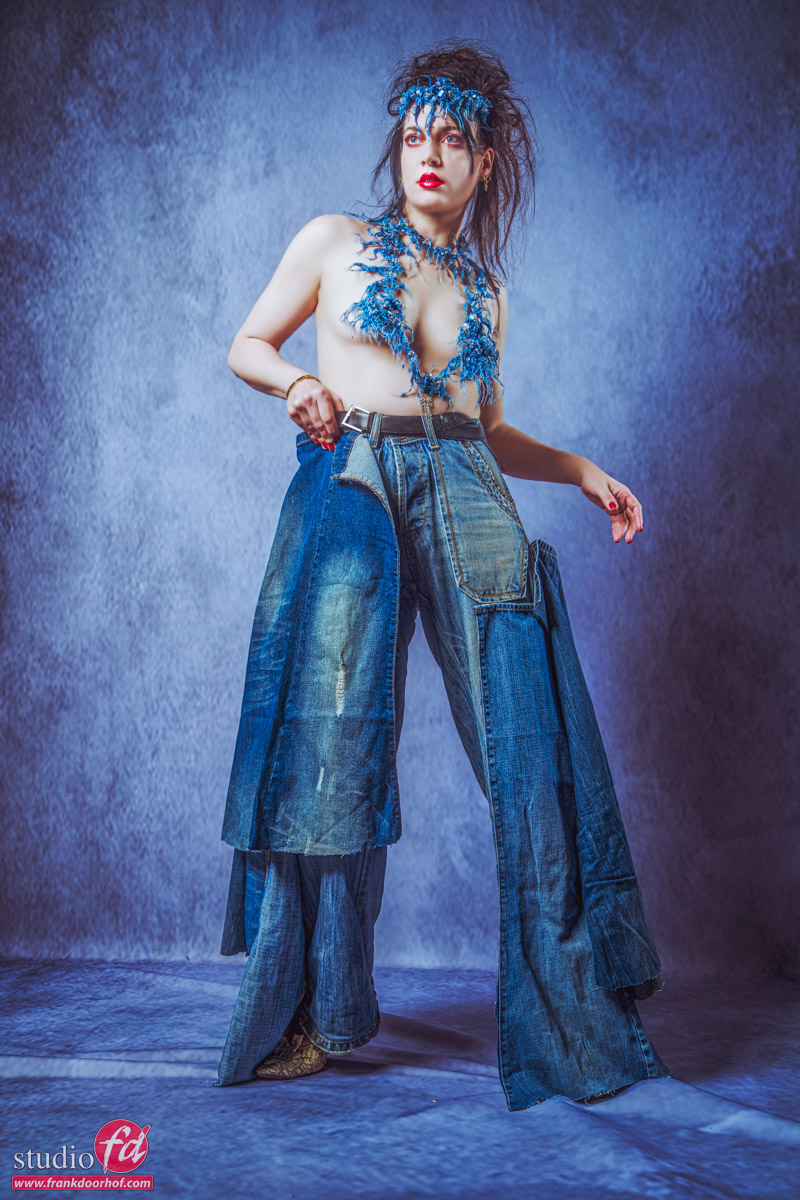
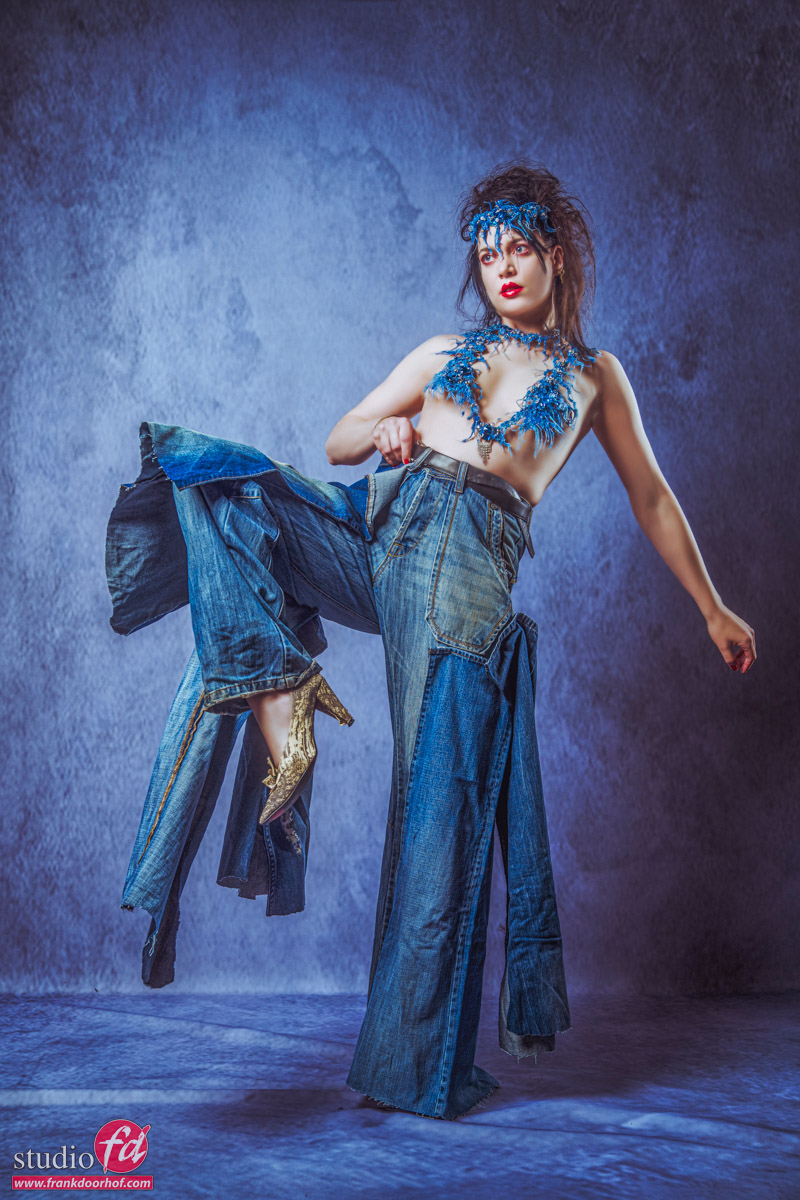
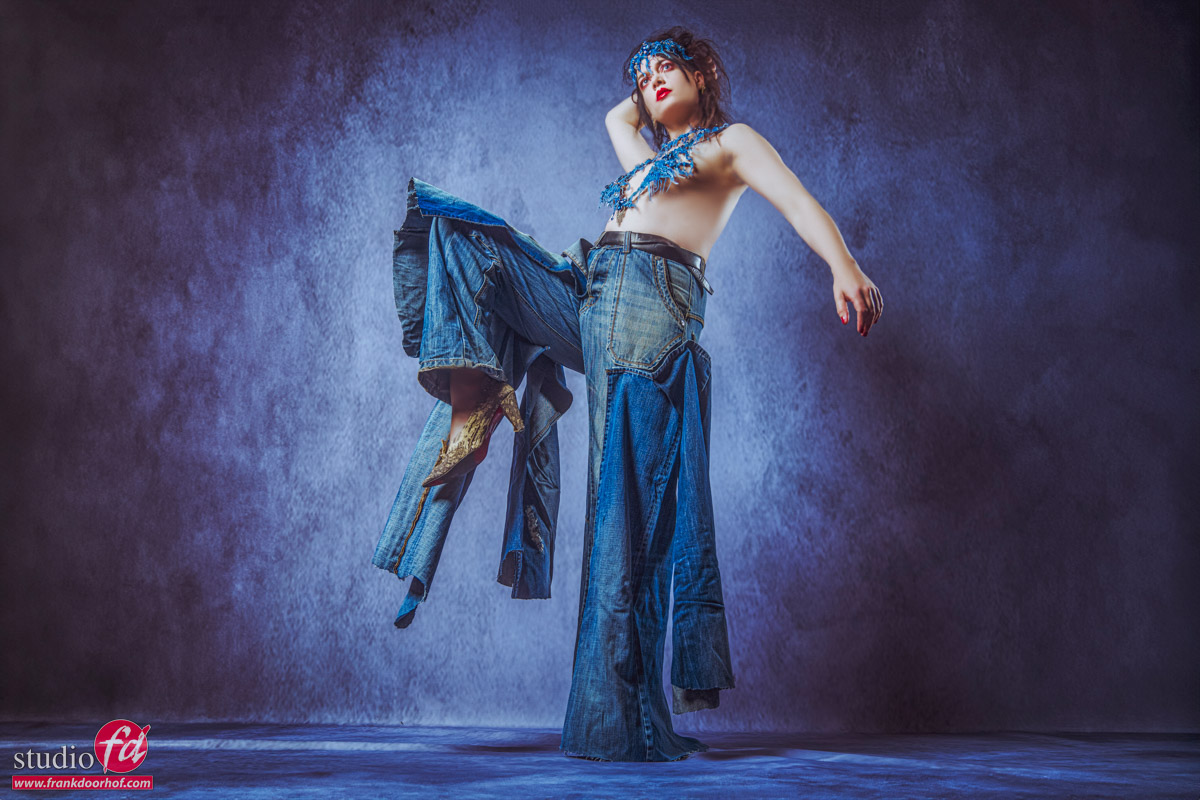
Set 1
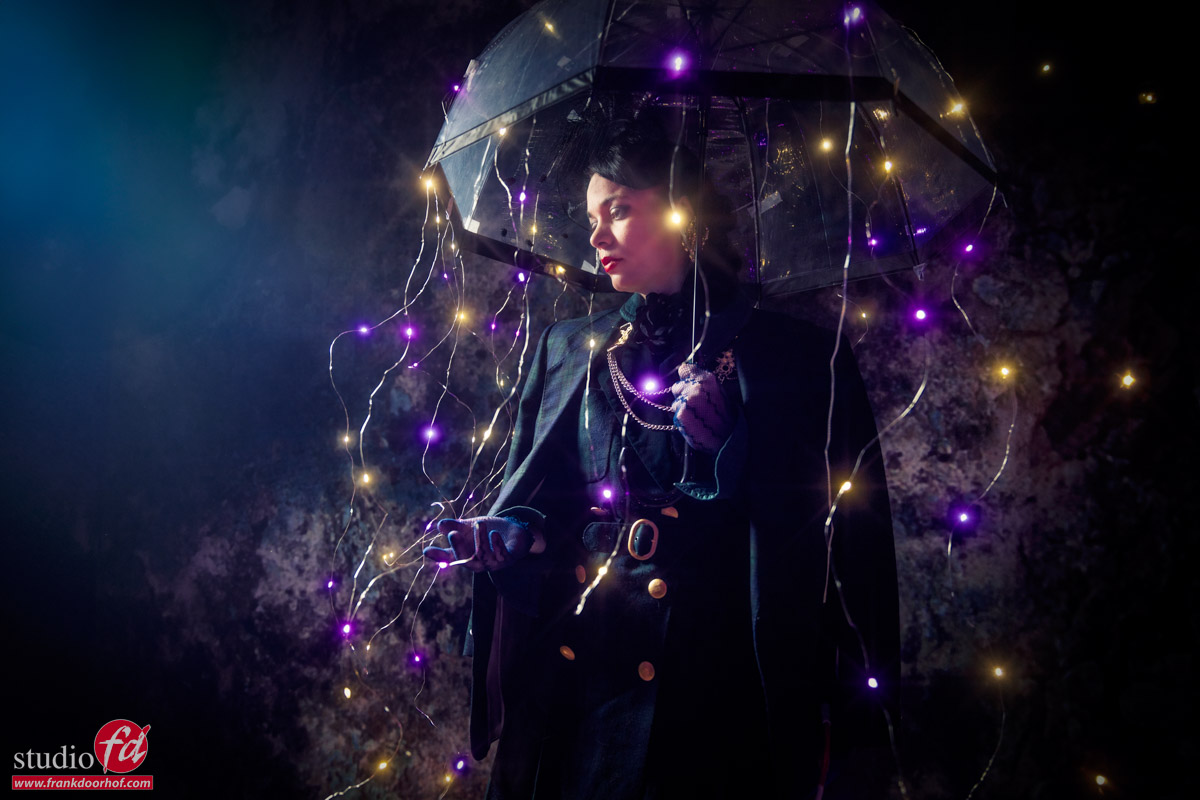
The model is lit by the strobe

the lights blink in different colors
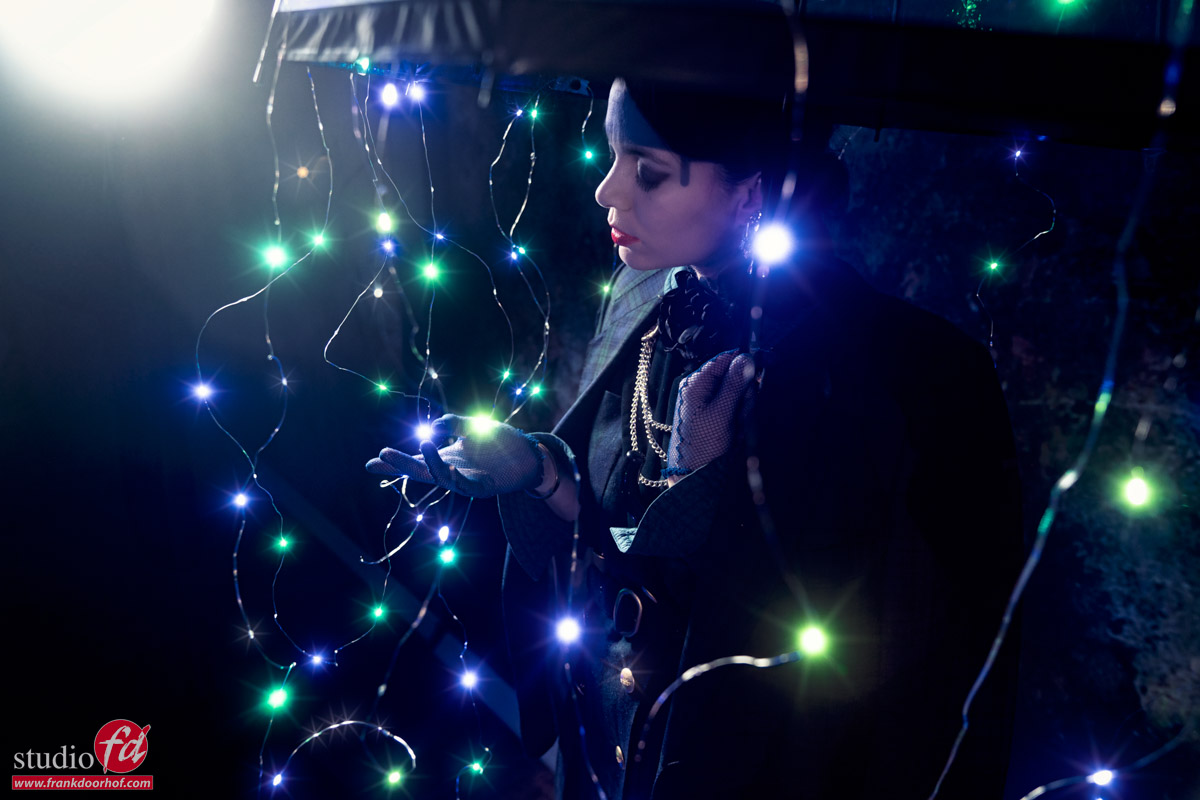
different angle
For the first set, we used some Christmas lights on an umbrella.
I’m using a small beauty dish with a grid as my main light source. I included it in some images for some added effect.

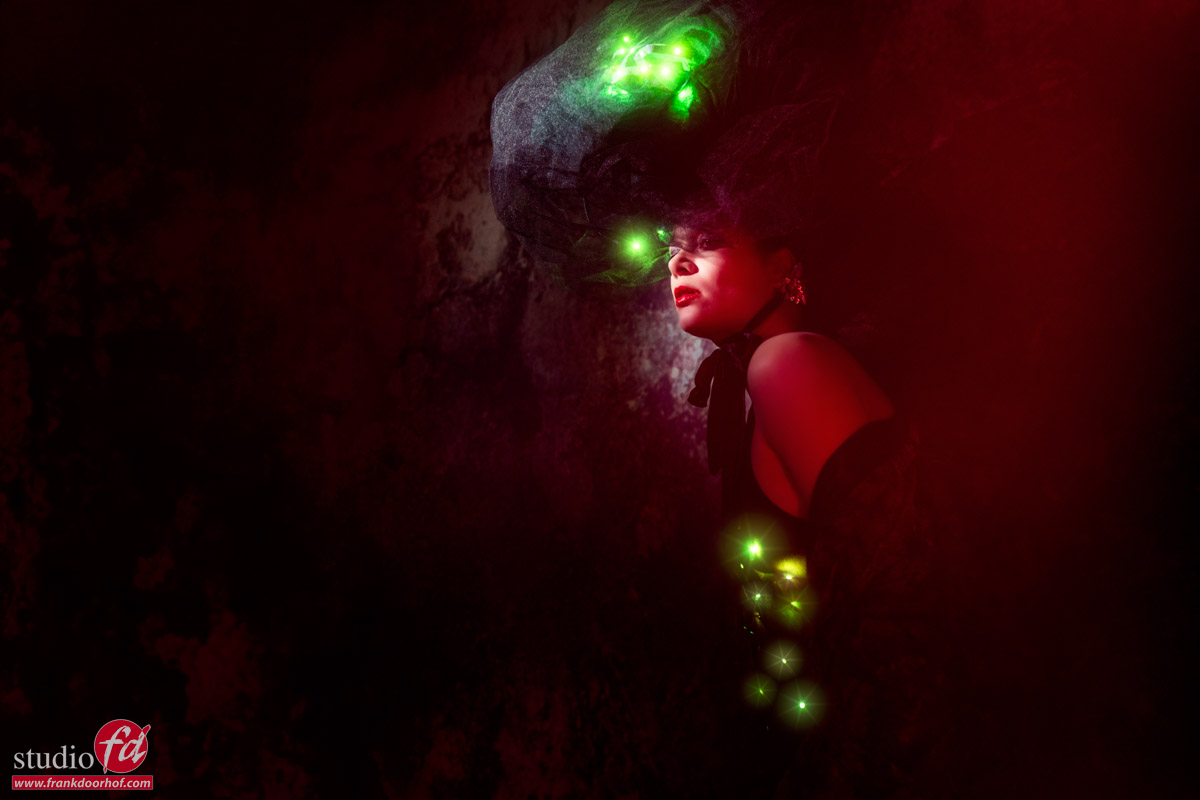
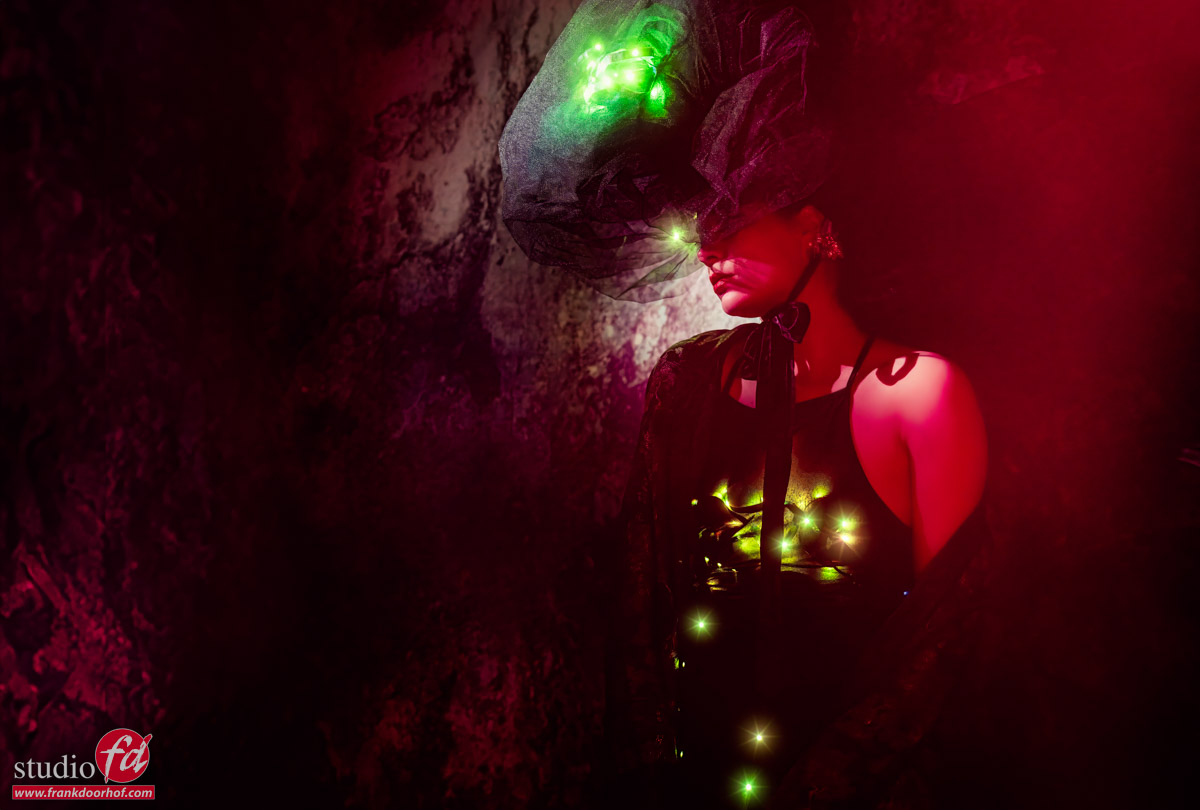
Set 2
In this set we had to push the ISO a bit further because there were fewer lights and the whole set was pretty dark.
Here I’m using our Rogue snoot on a Geekoto GT200 and our magnetic dome from Rogue with a red gel on a Geekoto GT250 for some added effect.
The red gel is placed away from the model and by moving the camera position slightly forward and backward I have total control over the amount of red entering the set. This can give some great “art” looking effects without using Photoshop. In fact, all the images in this blogpost are largely straight out of the camera.
We even used a red color gel from the side

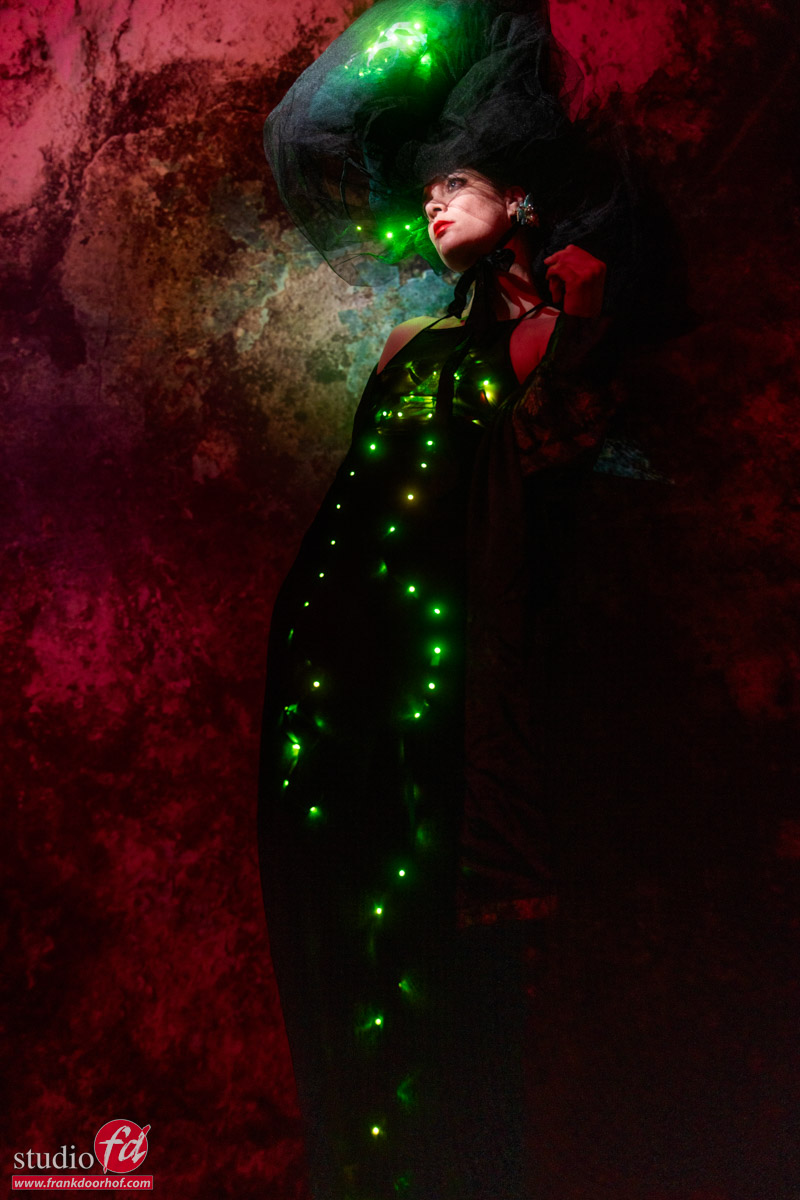
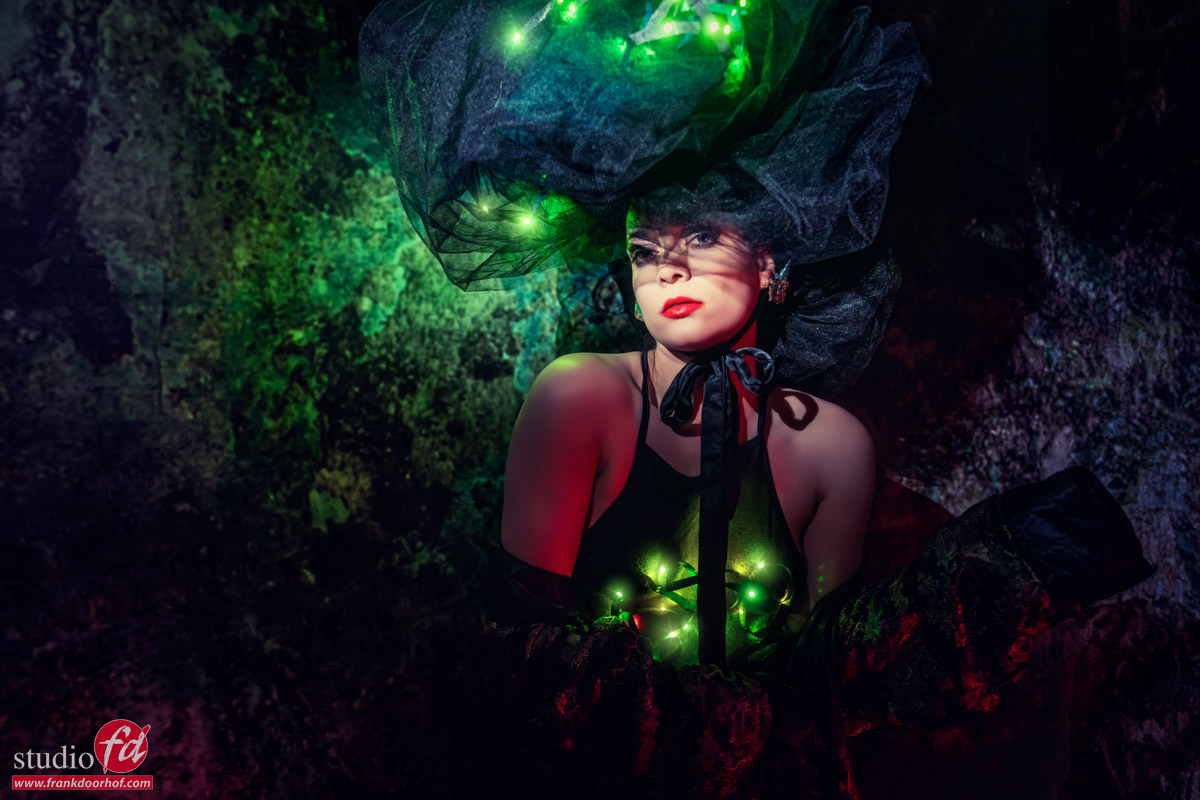
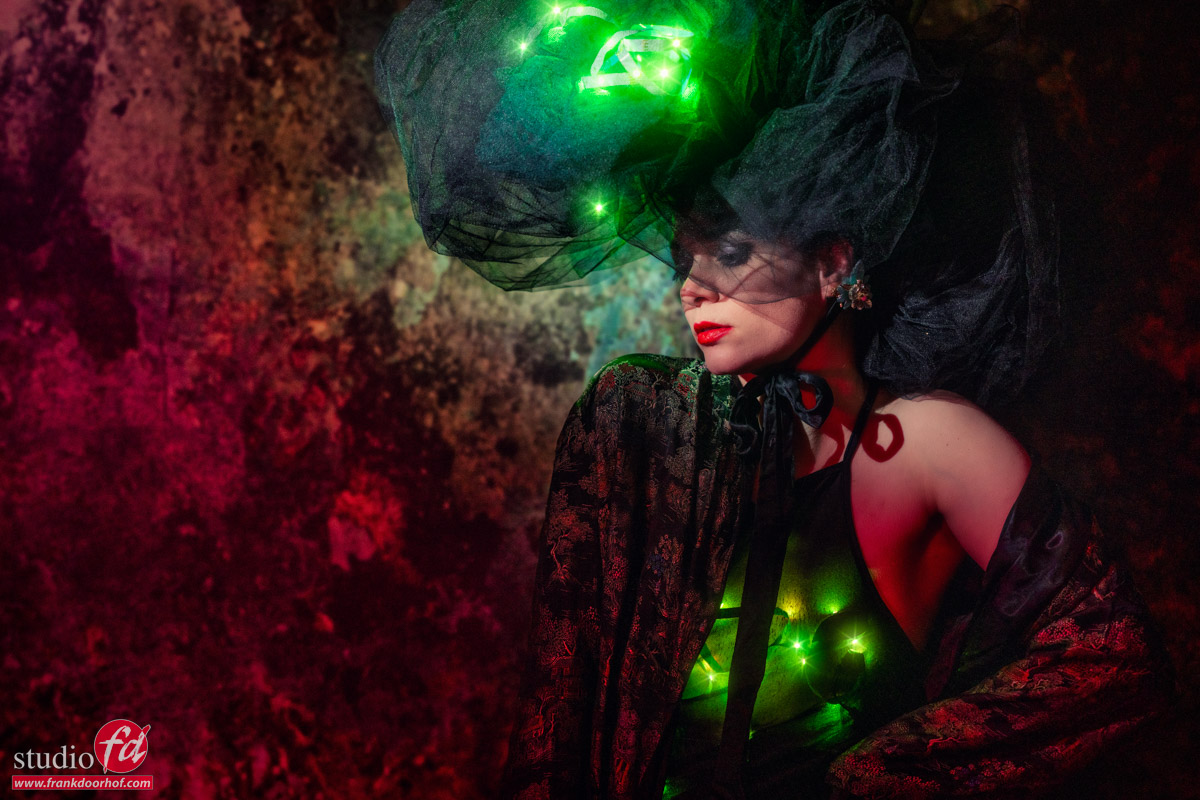
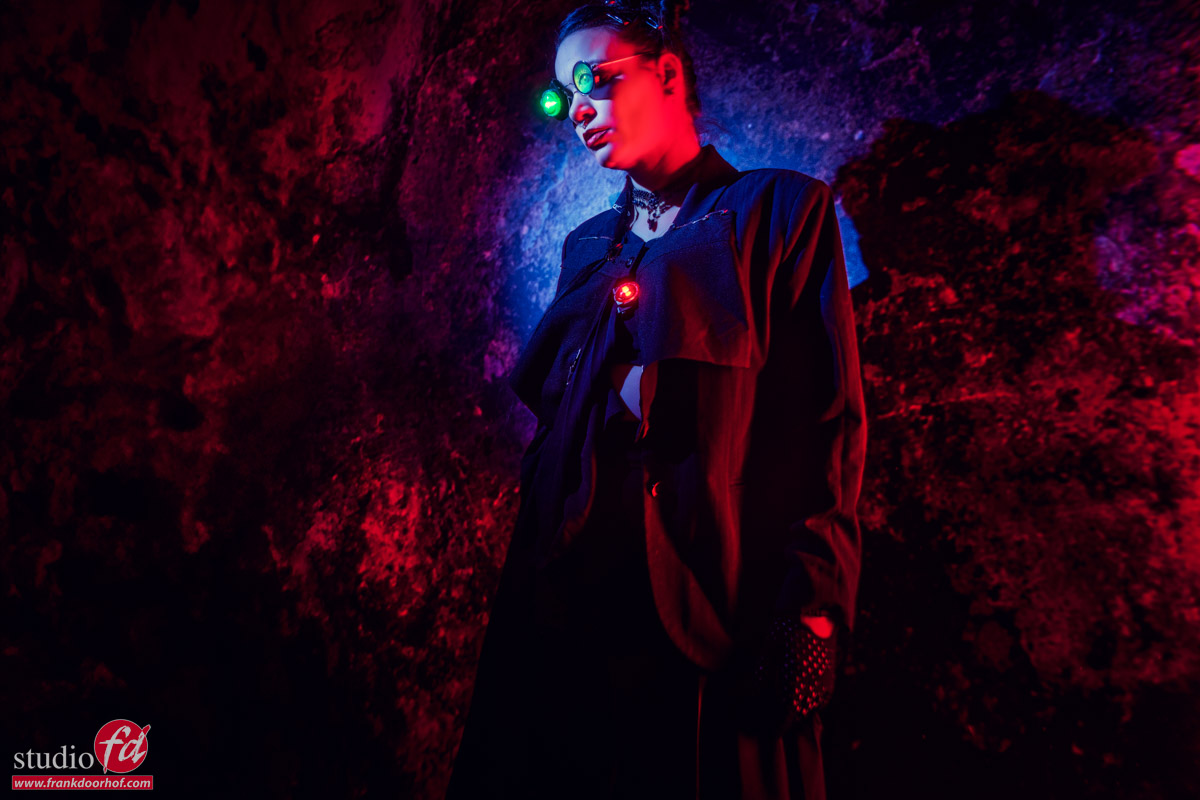
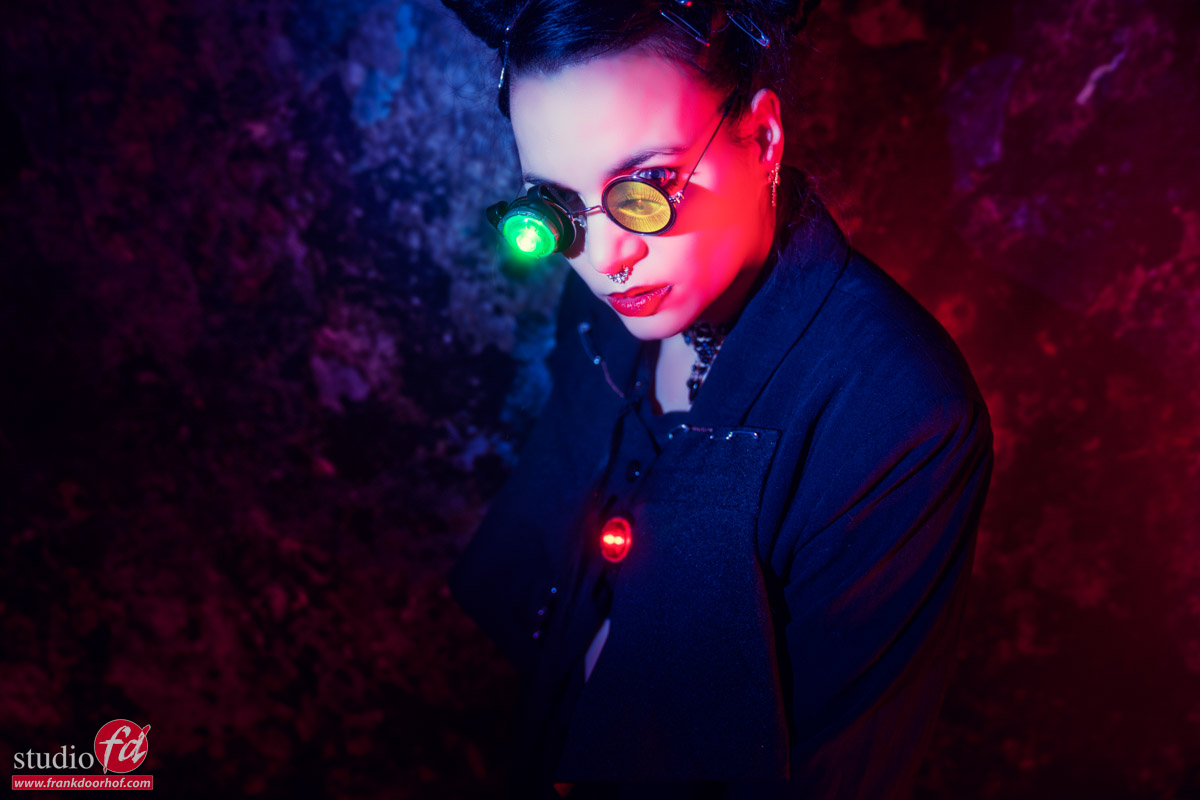
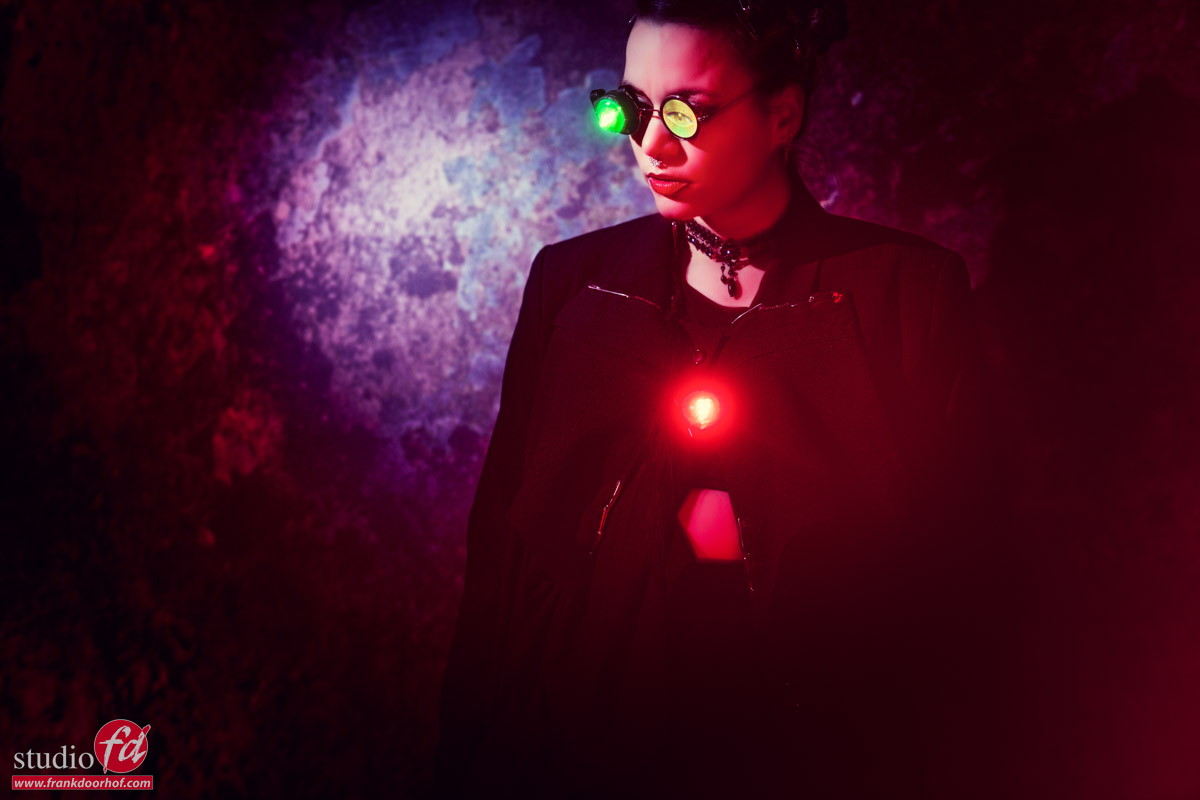
Set 3
For this set I’m using the same Rogue Snoot but on a slightly wider setting.
This snoot can be used in 4 different ways (and if you add the diffusion option 8 :D)
And our intern is holding a Nanlite Pavo tube on red, from the right.
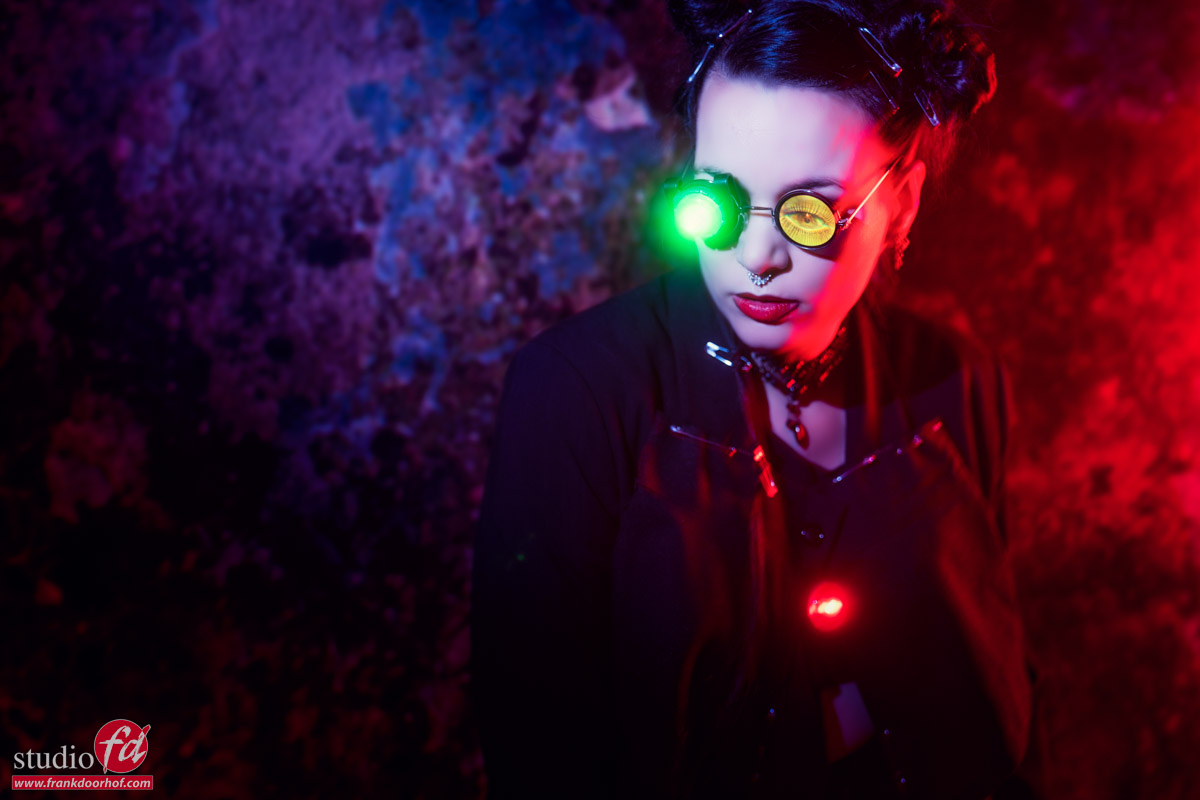
Using a red and green led light (used for running in the dark). A blue color gel on the snoot. And a big red LED tune from the right.
Mixing strobes with available light is not difficult
I hope this blog post helps you a bit when you have to mix light sources yourself. It’s not hard at all but you do have to realize that you are working with higher ISOs. On modern cameras that’s not a real problem. But in some cases, you will need some noise reduction.
Also, take into account that with slower shutter speeds the model has to be completely still. The flash will freeze the face but if she/he moves it will register as a weird shadow line, and the rest of the image will be soft. As you can see in some images you can use this creatively but you have to be aware that it can happen (to use it).
For more info on our products please visit
Geekoto.nl for our hybrid strobes and soft boxes that collapse very small
ClickBackdrops.nl for our awesome backgrounds and floors
IQwire.nl for our 5 and 10mtr tether cables
Rogueflash.nl for our Rogue products
Like this:
Like Loading...

 Phot
Phot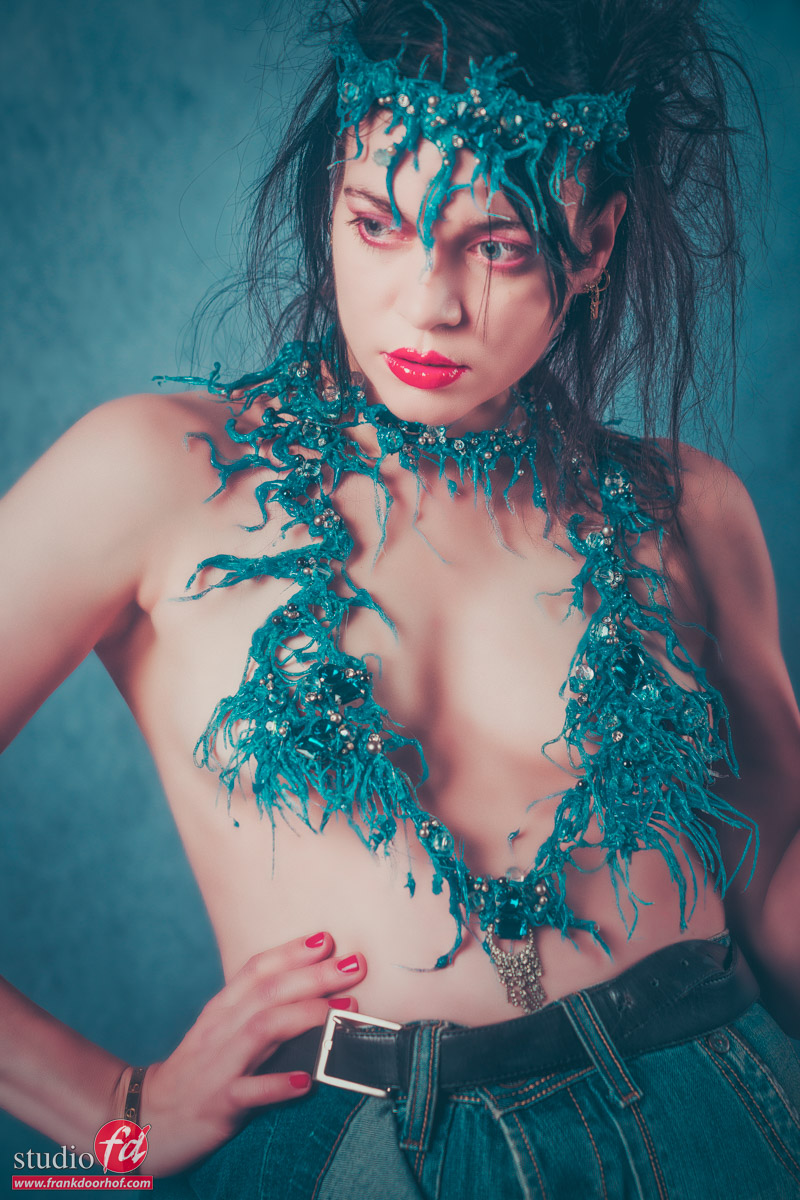

You must be logged in to post a comment.