Tag Archive for: doorhof

Digital Classroom July 1

Today we finished the second broadcast of our digital classroom project.
In this project I try to bridge the cap between the videos and the normal workshops.
In the videos you watch and learn but in workshops you can have a great interaction with our team to ask whatever questions you want and I will incorporate that into the workshop and because we work with smaller groups during the workshops that is an even greater learning experience, but there was absolutely nothing in between so… we created “Digital classroom”.


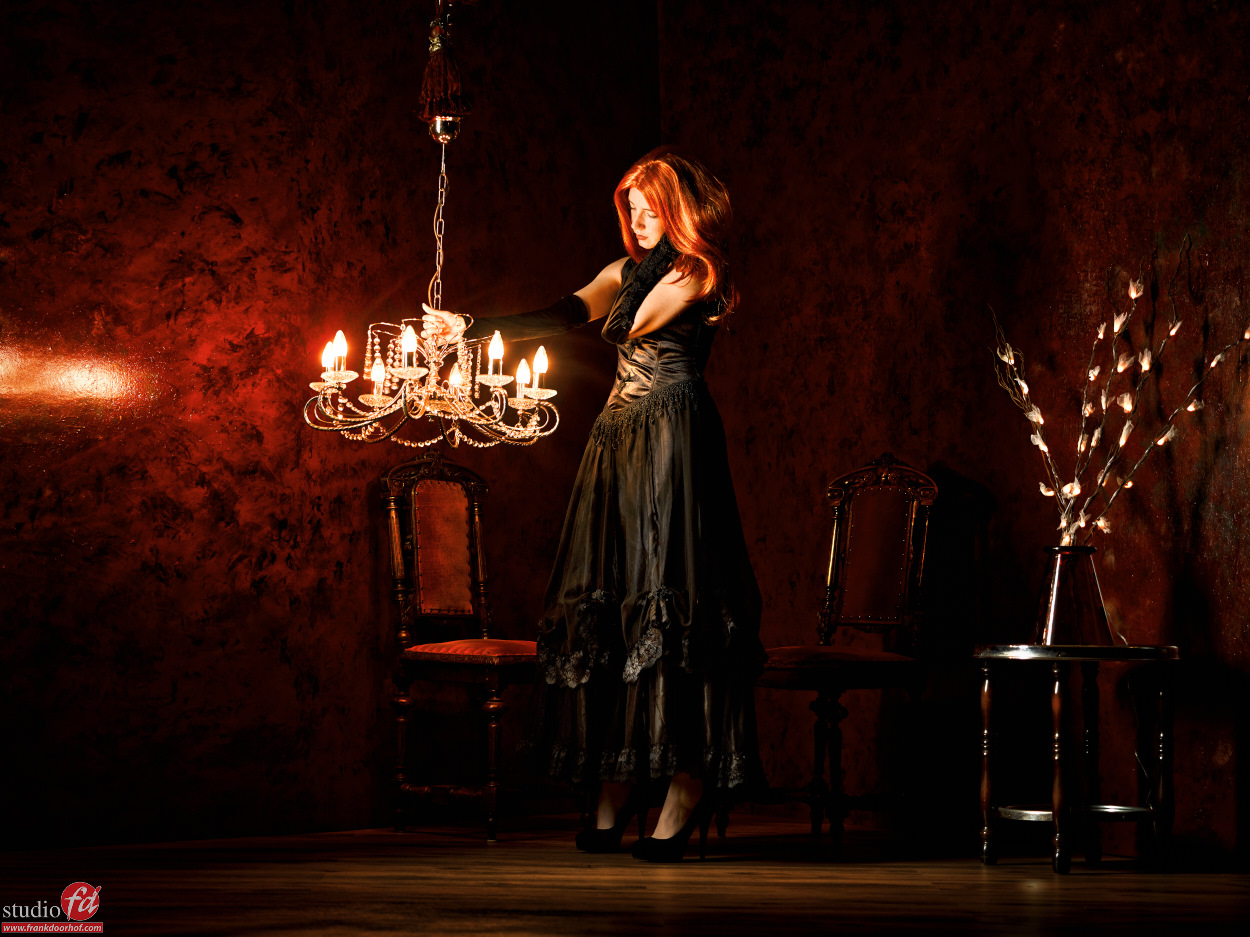
In “Digital classroom” we stream live from our studio and I show different techniques on both lighting, working with the model and of course retouching (and much more). Now setting something like this up takes a lot of time and costs a lot of money so we are incredibly grateful to have the support of BenQ and Rogue as our main sponsors to make this possible, but also thanks to CameraNu.nl and LedGo we now have proper lighting on set (also not unimportant).


Because we use Google+ for the broadcast people can ask questions during the broadcast which (if possible) will be answered on the spot, another advantage is that as soon as the broadcast stops it’s available for those who missed it….. so here you go enjoy the “Digital classroom” from July 1st.
The next one will be on August 26.

Digital classroom EP1 (the test)

Last week saw the release of a new series in our educational program.
I’ve done a lot of workshop and webinars and both are 100% different, a workshop is a real 1:1 experience (we always work with small groups), a webinar is more a “watch and learn” experience.


For a long time I wanted to do something in between and never had the chance to do it, setting this up costs a lot of money as you can imagine (different camera angles, assistants, fast internet etc) but thanks to our friends at BenQ, Rogue and of course Elinchrom we finally were able to pull it off.


We dubbed it the “try out episode” but as far as we could see everything went very smoothly and what we ended up doing was a 3 hour intense instructional video with interaction from you guys.


We did not promote it a lot because we didn’t want a lot of people online if it would go wrong 😀 but… don’t worry we recorded it and you see it via this blogpost (or on our YouTube channel of course).


Please feel free to share the link, watch it and comment on it here or on YouTube, the idea is to do these kind of sessions 10x a year and normally they will have a topic just like the workshops, so except some smoke, movement, masks, location work etc.


Is it the same as a workshop?
No of course not 😀
A workshop is much more intense and has way more interaction, but I think we bridged the gap between a webinar and a small group workshop.


Is it the same as your instructional videos?
No of course not 😀
The instructional videos and the KelbyOne videos I do are much more in depth and will have totally different topics. The idea of the digital classroom is to show you guys how we work, what we do to complete a photoshoot and you can interact and ask questions, it’s not meant to replace the instructional videos or our other videos like on KelbyOne, if this gives you the hunger for more…. there are actually those options… book a workshop or watch/buy the instructional videos.

Enjoy.

Many thanks to our friends at BenQ, Rogue and Elinchrom to make this possible.

Quite Frankly Ep 48 audio in video and review of the Rode NT-USB

When you start out with video the focus is often 100% on the video quality and of course that is understandable, but…. in fact the audio is maybe even more important and often forgotten when you start out.


In this video a comparison between the Rode NT-USB and the internal microphone of a MacBook Pro early 2015.
Especially when doing screen recordings often the internal microphone is used because it gives a pretty good sound recording (no denying that), however as you can see in this video it can be MUCH better, but also what happens when there is a lot of ambient noise?


Watch this episode of Quite Frankly and find out.

Workshop results smoke and props and tips for smoke machines

Today some of the results from the workshop “smoke and props” with Esther.
This was the first time we used a totally new set painted by our intern Angela.


For the workshops we always try to come up with new ideas and sets and I this time we decided to go for the color red, which is found back in the set, the clothing and of course the props used in the set. As you can also see building a set doesn’t have to be difficult, it’s important that you create a certain “look/Atmosphere” and it will transport the viewer to that place, while in fact…. well it’s just in your studio (or home).


Smoke for me is often the magic ingredient, adding it always transforms a set from OK to wow, but that’s very personal.
This workshop did proof by the way why I always advise to have two smoke machines at hand…. one of them broke down and because we always have two we could continue the workshop and luckily for us our neighbor rents also smoke machines so we could actually continue with two, seeing the price of most smoke machines (below $100.00) I think you should never ever run the risk of having to stop or cancel a session due to equipment failure.


Now which smoke machine should you buy?
Get the once that are WATER based, don’t go for the OIL based ones.
The oil ones do start up quicker but they can “kill” your strobes.


Except the tinting and sharpening these shots are pretty much straight out of the camera. We used several strobes to light the scene and the model and the shutter was used to let in the ambient light from the chandelier and the lights on the branches.

Esther Keuze May 16 2015   0221

Read more