Do we need remote triggers?
With modern day cameras there are so many options that one would think no… but do read on you might be surprised….
You guys know that my reviews are always a bit different, I don’t really like to just sum up some specs and add a link to them, to be honest you can find that on the manufacturers website :D, I always like to give you my personal opinion about a product, so read this review as my personal view on the MIOPS, your opinion may be different.
A while ago I got the MIOPS remote trigger and because I’m not really a landscape shooter it will always take some time to really dive into remotes. “so why get a remote in the first place?” Yeah I hear you, well it’s actually very simple. Although you might not use it all the time there are those moments where you go “OH MY I wish….” and those moments happend too often for me so I want a really good remote.
Now as you know I love the triggertrap device, it’s very handy, has a great app but… you have to be pretty close to your camera because the camera is connected to your iPhone, so the triggertrap is a different device (and a very good one), the thing I like about the MIOPS is that you don’t need to be connected to your iPhone, you just connect the MIOPS and from there it’s all up to the app inside the MIOPS or your iPhone.
Let’s first talk about the MIOPS itself
The case itself is very sturdy and just small/big enough to be fitted as “oh yeah I have to take one too” in almost any case. Meaning there is NO excuse not to bring it. Controls are very simple and feel a bit outdated with todays touch screens etc. BUT… this is actually a good thing because it also means the MIOPS is a very affordable device, now at $239.00 you might think it’s actually not that cheap but wait till you see what this baby can do….
Let’s look at the app and what it can do
The MIOPS can be controlled from the unit itself but via the app everything goes so much better and smoother, and I must admit it all looks very very complete.
There are several options which I will briefly discuss and give some examples of when to use them.
First up we look at scenarios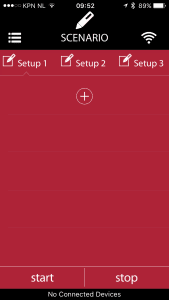
In scenarios you can “write” your own order of things, or in other words, what do you want to happen in which order. In total 5 “events” can happen and sensors can be used for this, sounds complicated? well it’s more a matter of just putting them in and you’re done. In total you can store 3 different scenarios. Now you just have to think of something creative to use them on….
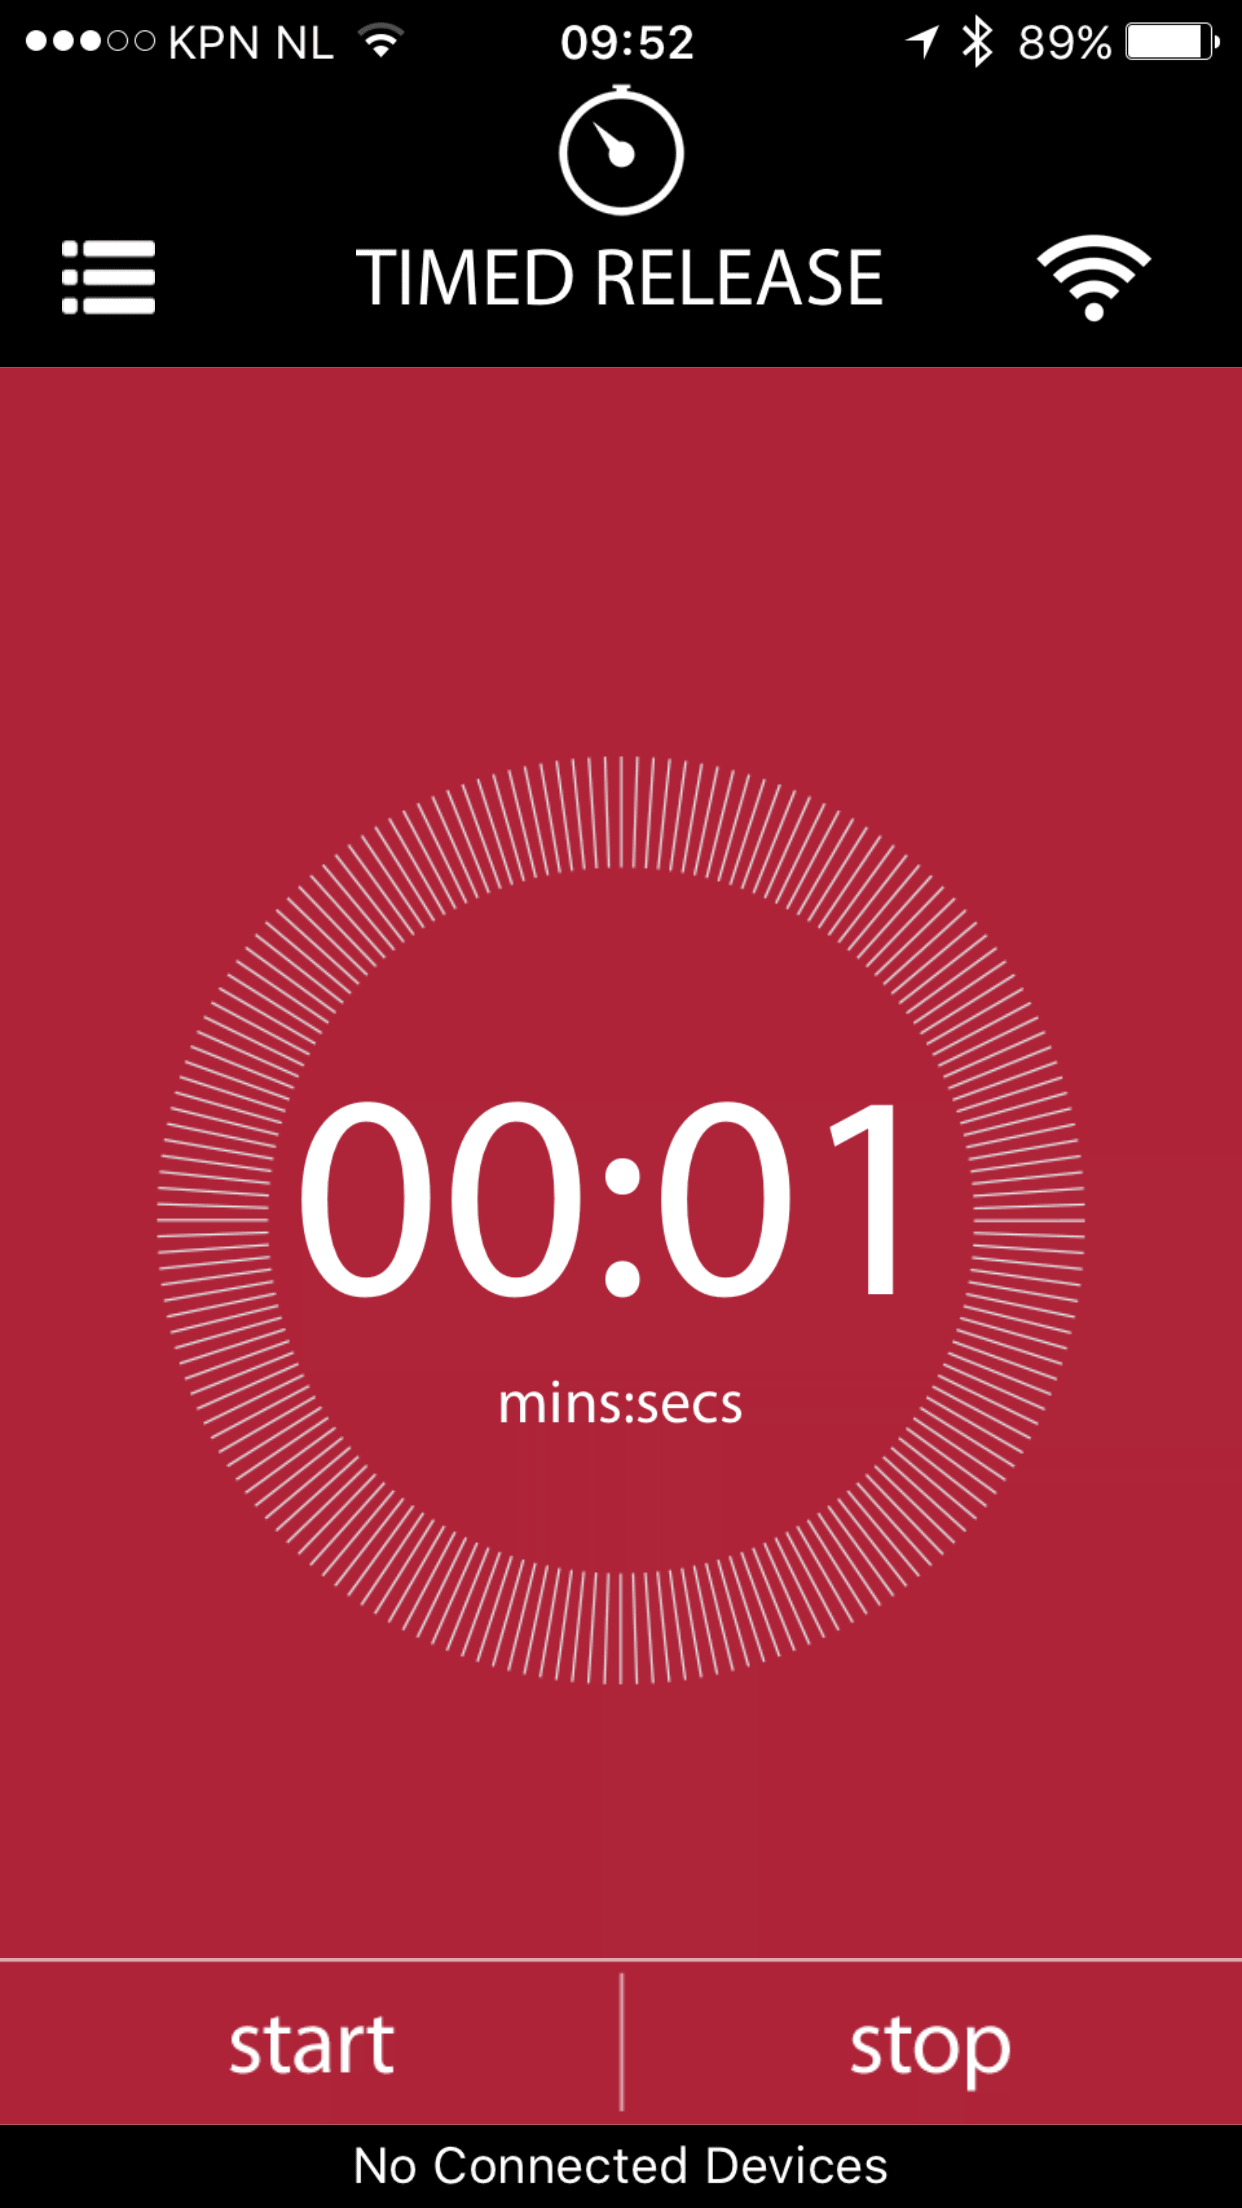
Second up is timed release
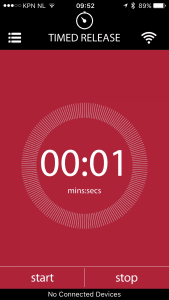
This one is pretty straight forward, just say WHEN you want to trigger the camera and it does it for you. You can use this for selfies (but there is a much better option for this), or just for any shot you want to take after a certain time.
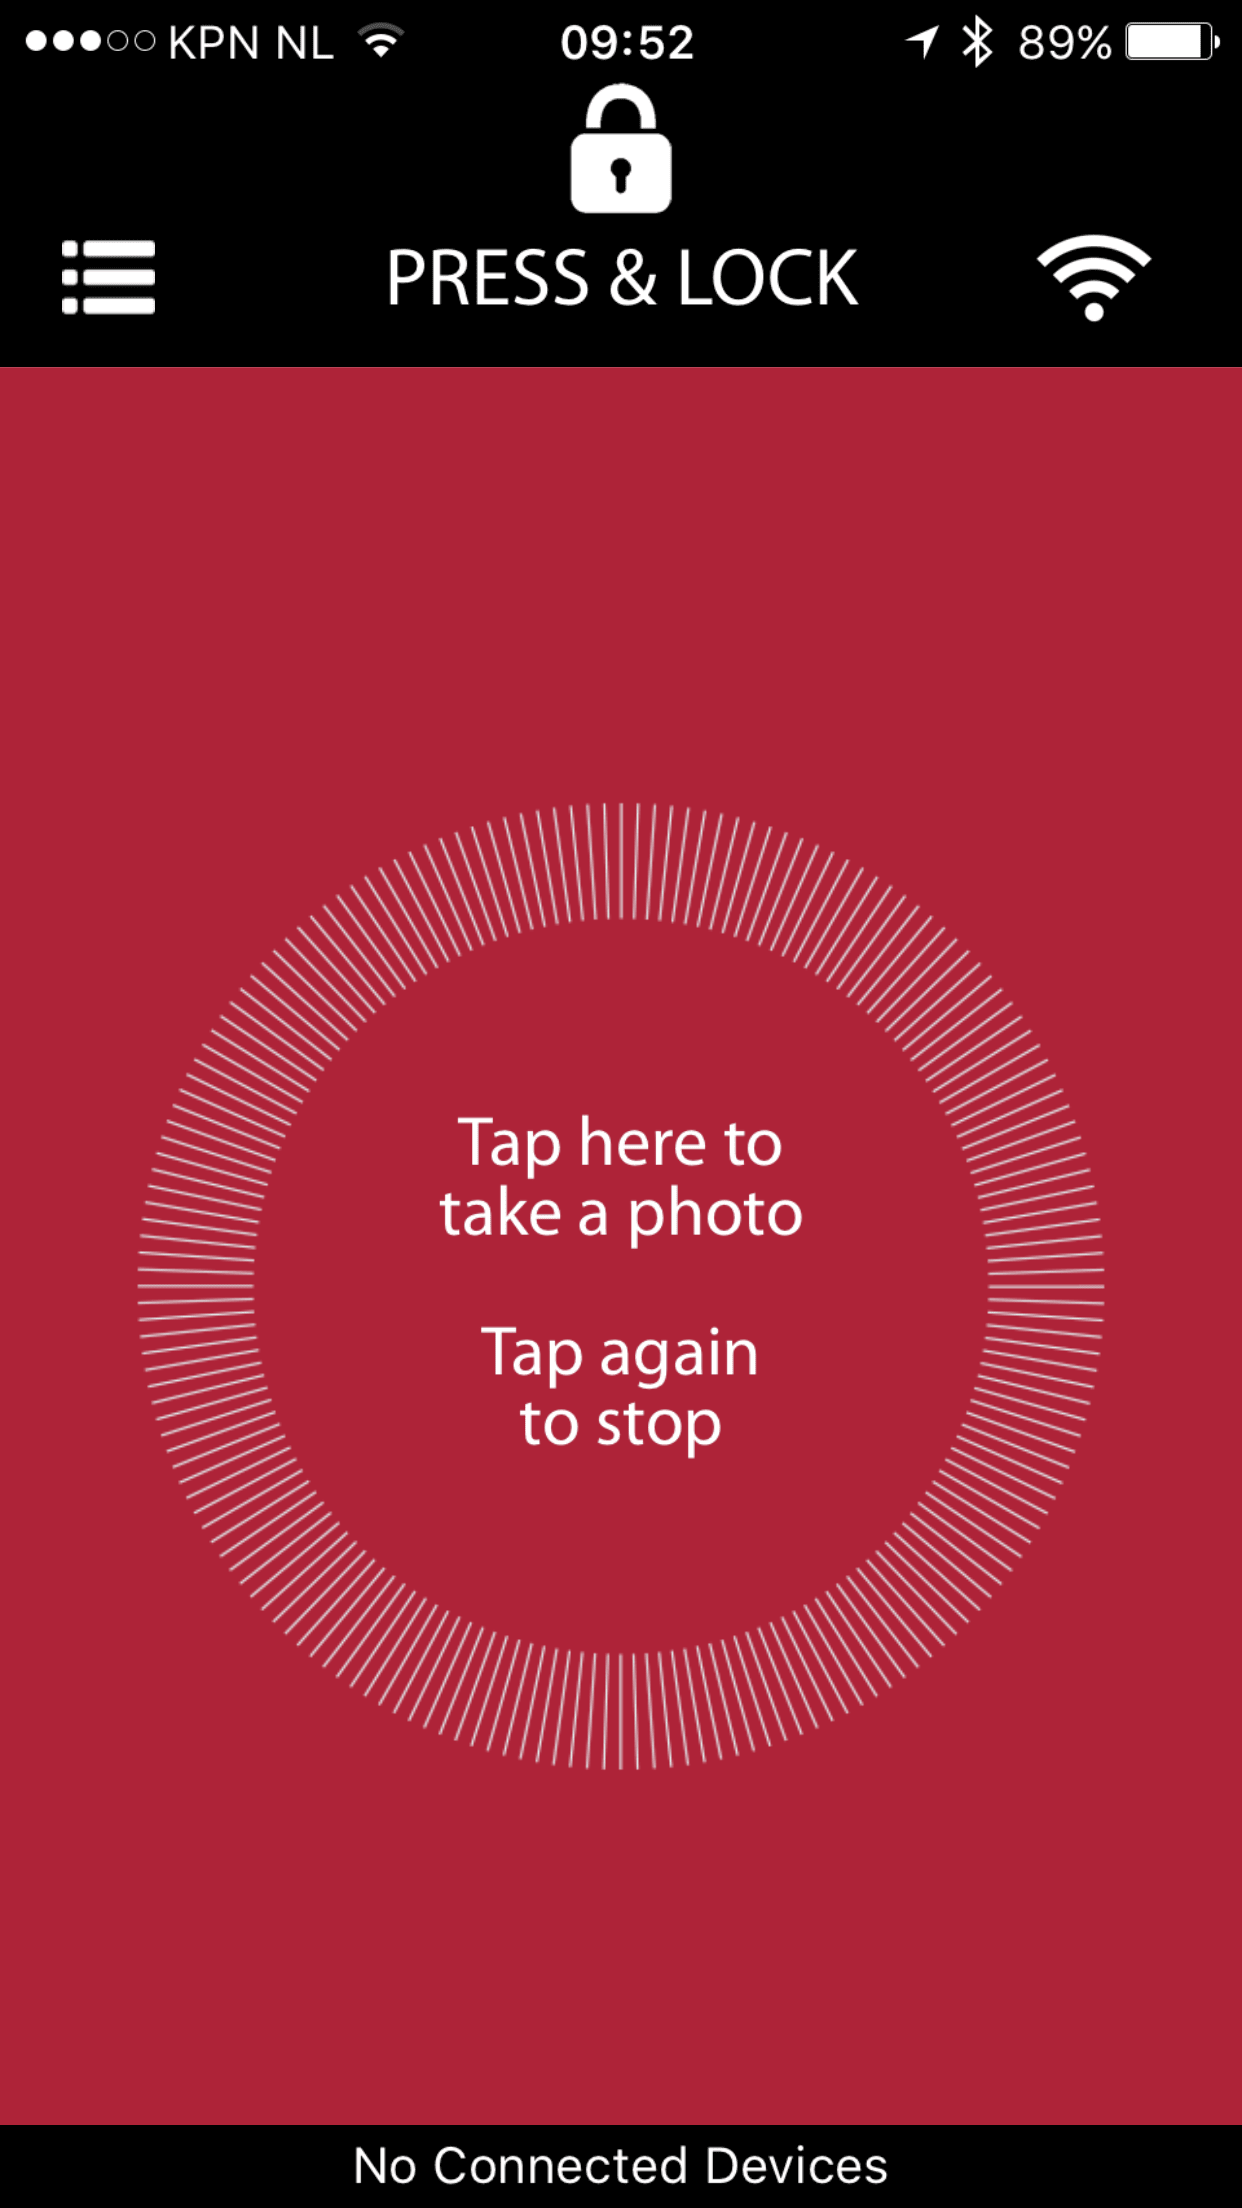
Third option is press and lock
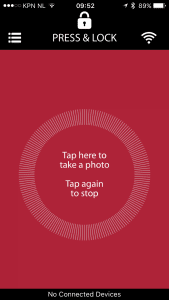
This is a very handy for those ENORMOUS time-lapse recordings, no need to keep the finger on the shutter, just press the button, the camera starts recording and locks, and it will stop as soon as you press it again. Of course the benefit of using it on a remote is that there is absolutely no camera shake, especially when using mirror lockup.
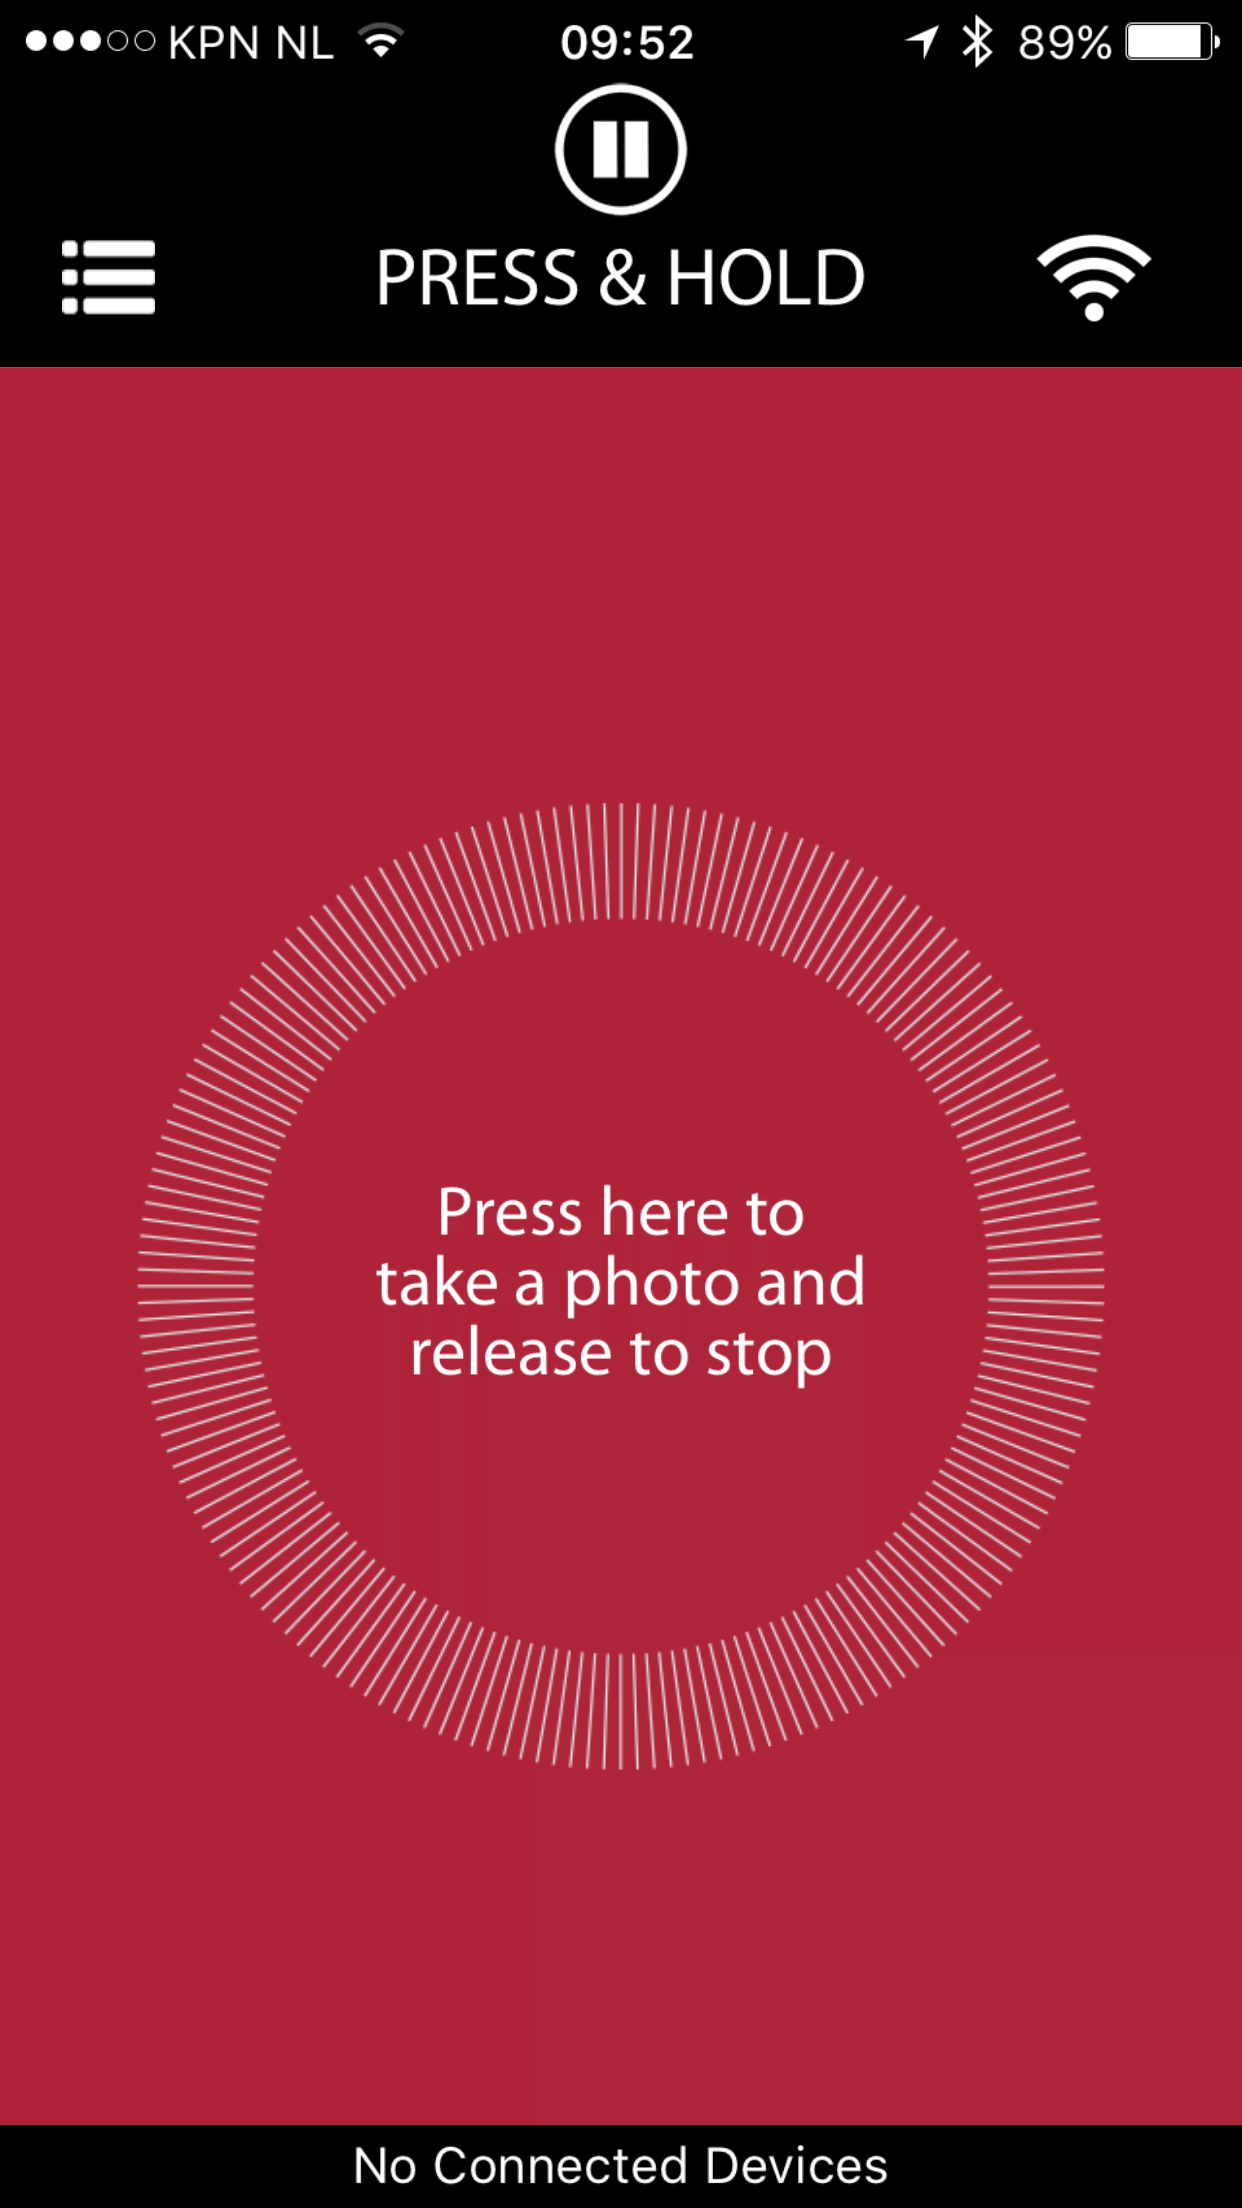
Fourth option is Press and hold

Pretty similar to the previous one but now you don’t need to lock you just keep your finger on the button and the camera will keep recording the image till you lift your finger.
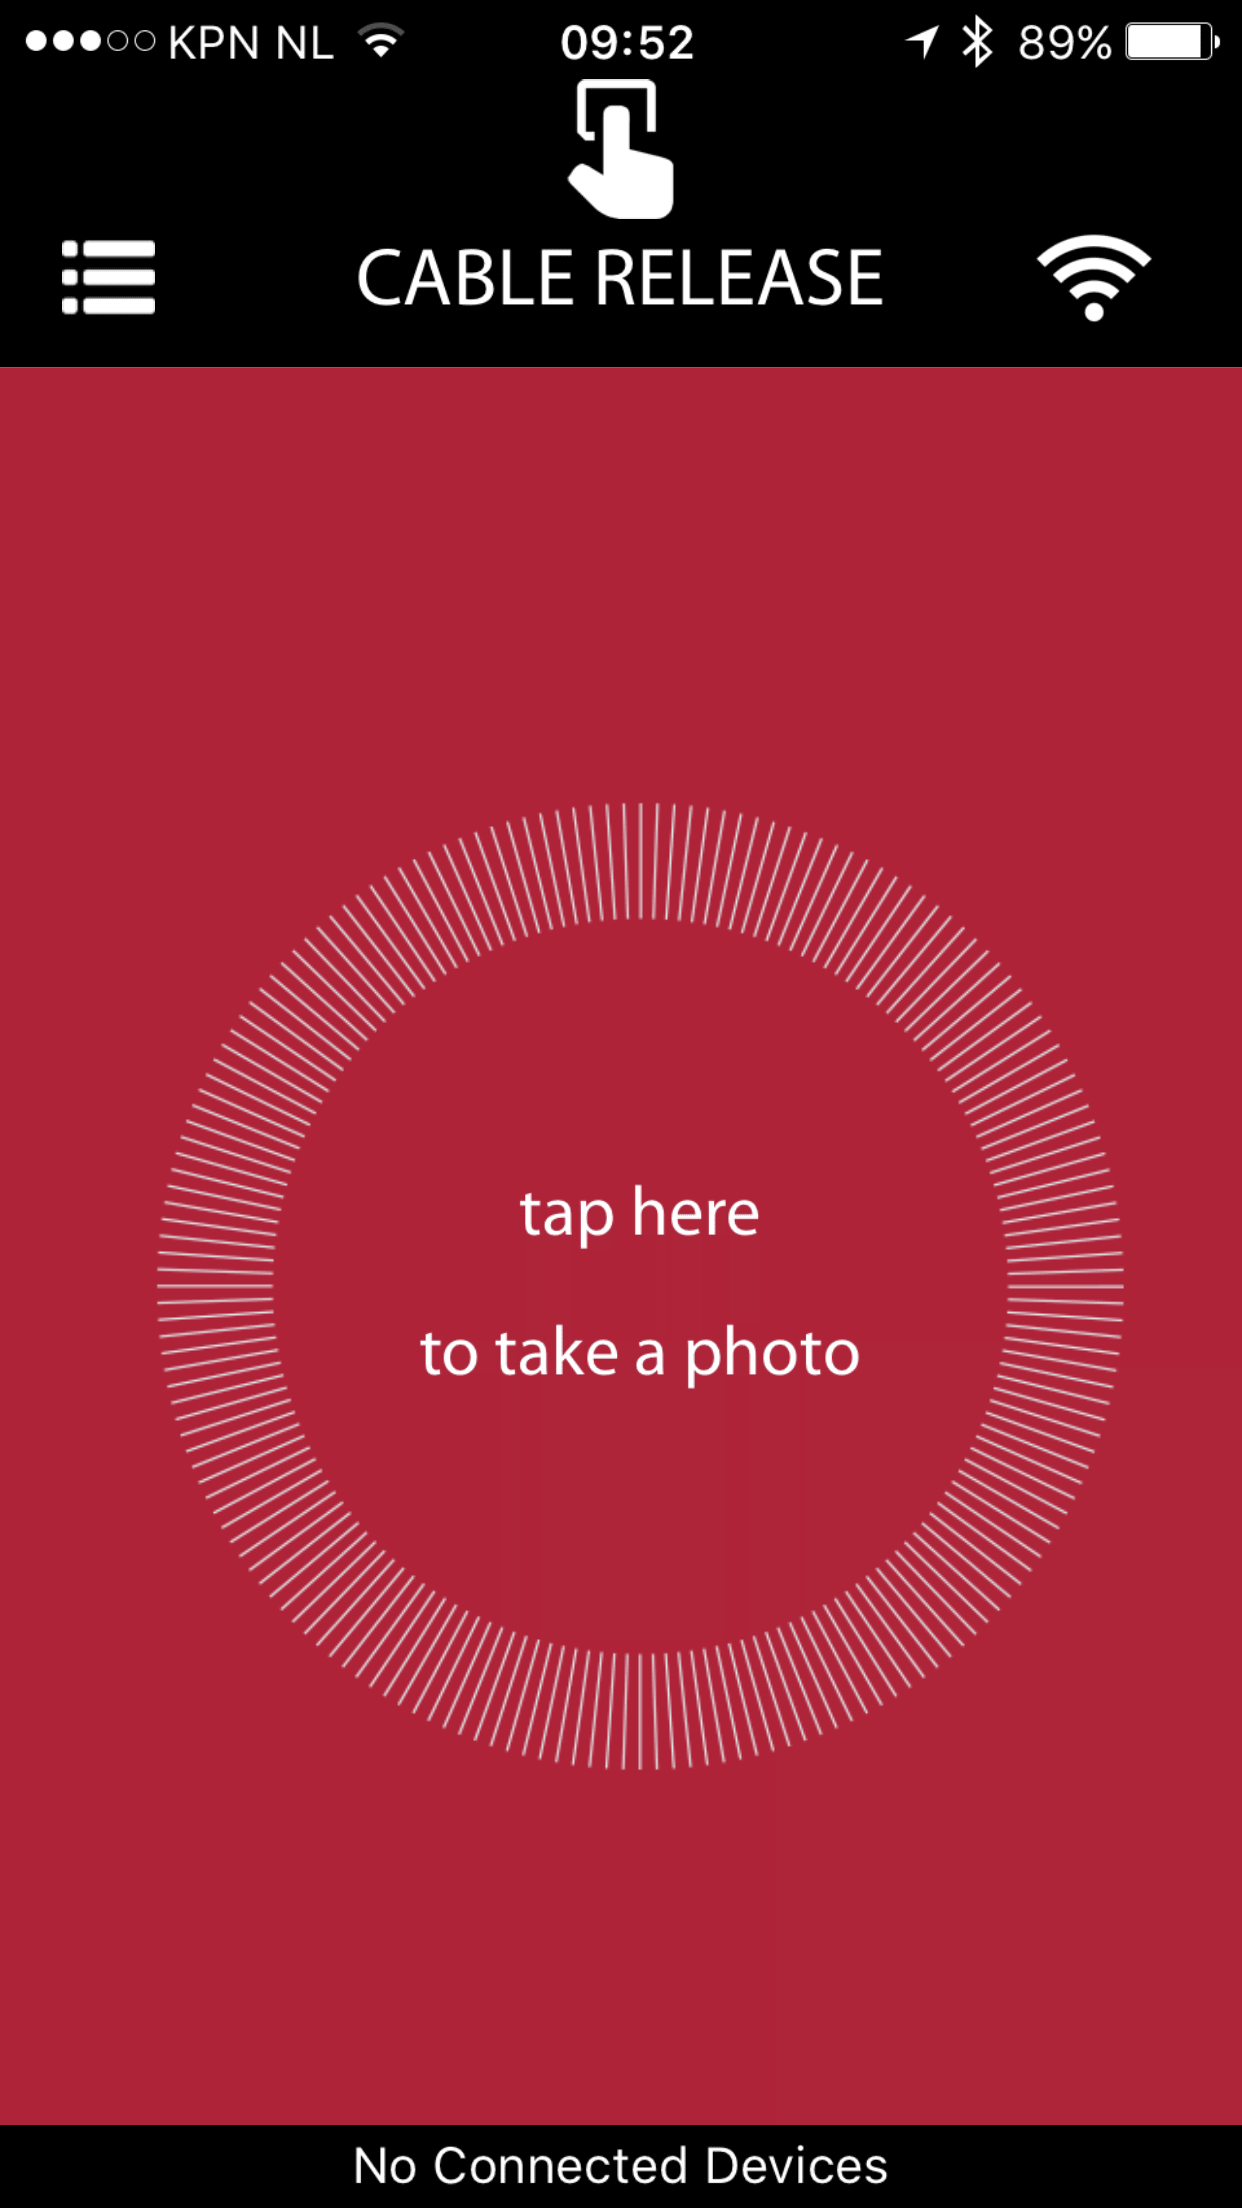
Fifth option is “cable” release
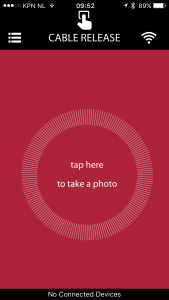
The old fashioned cable release, but now without a cable 😀
Just press the button and the camera will take the shot, very handy for when for example you have the camera behind a goal and want to take that killer shot just in time but you don’t want to be there in the goal with the camera, or if your camera is mounted higher up in a sports complex or other area, a very handy tool.
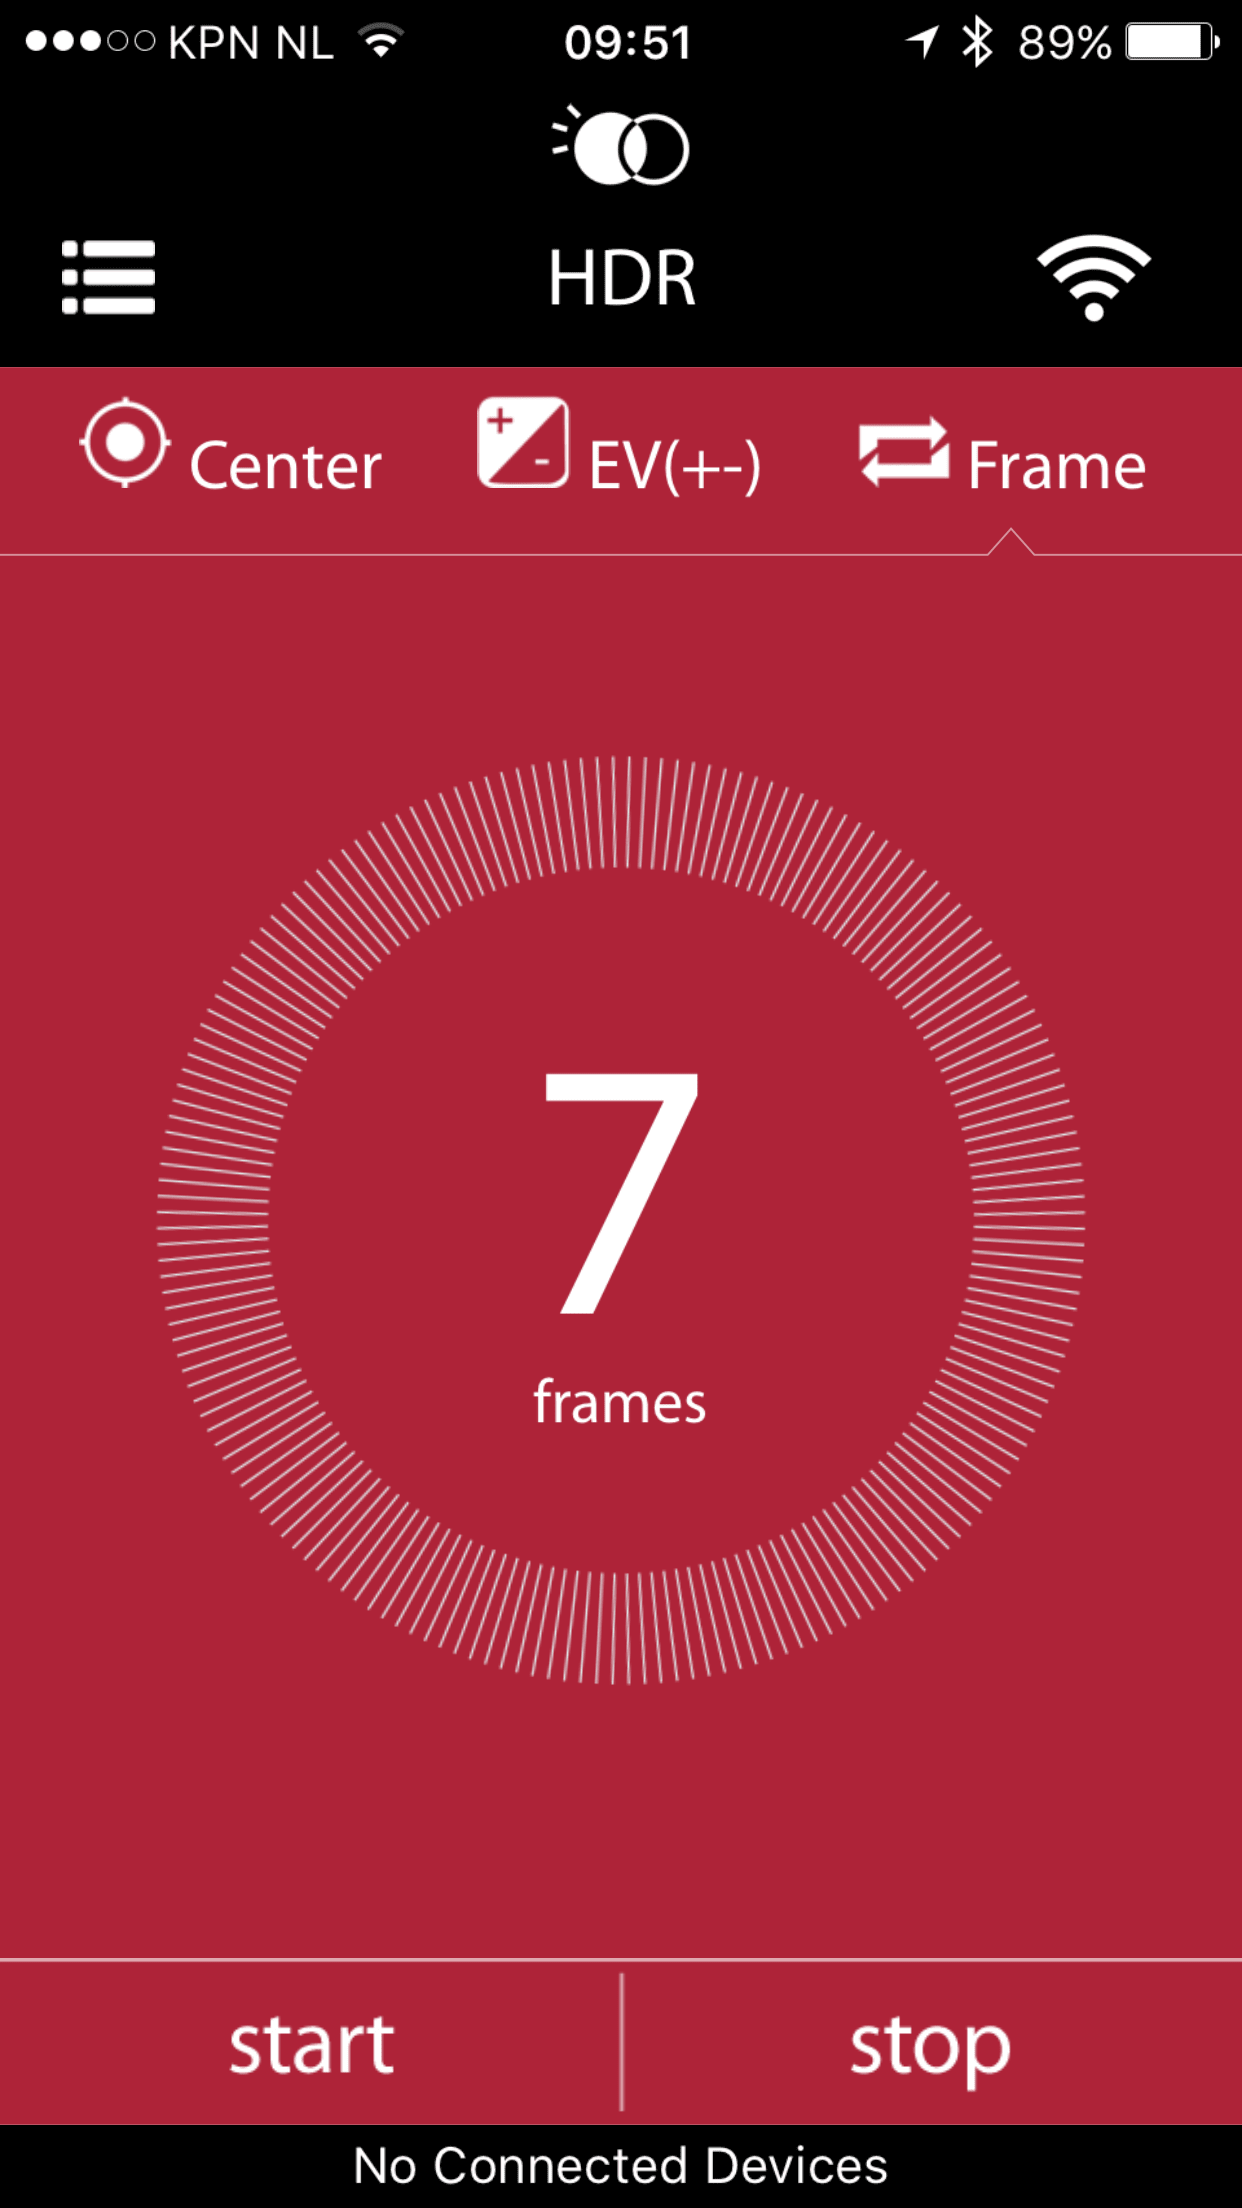
Sixth option is HDR
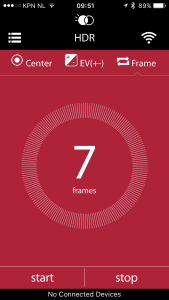
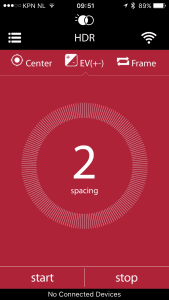
With modern day sensors the need for HDR is often not as necessary as it was in the past, so IF we use it it should better well be very interesting, and the MIOPS does not disappoint, with a range of 7 shots it should be possible to make dynamic shots that even the Sony sensors can’t record (pun intended), but please…… don’t use HDR as Highly Destructive Retouching 😀
Seventh option (and we’re not done yet) is Time-lapse
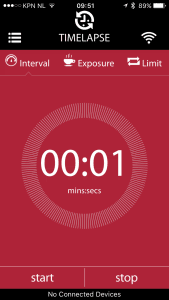
Now this is one I still want to play with a bit more because some of the results can be INCREDIBLE. You set the camera for a certain time period and a certain amount of images and you just walk away (although I would advise to always stay with the camera), at the end of the period you end up with a certain amount of images which you put into your favorite video editing software and voila you have an amazing overview of what happened during the time…. well of course it highly depends on what you record, I tried one on our living area and to be honest I could have captured it also with one shot :D… so this is one I’m sure I’m gonna test out this summer more when we are traveling with our RV again. We were planning on using it in New York but it was so cold that I was glad to just take one shot, let alone stand somewhere for a longer time.
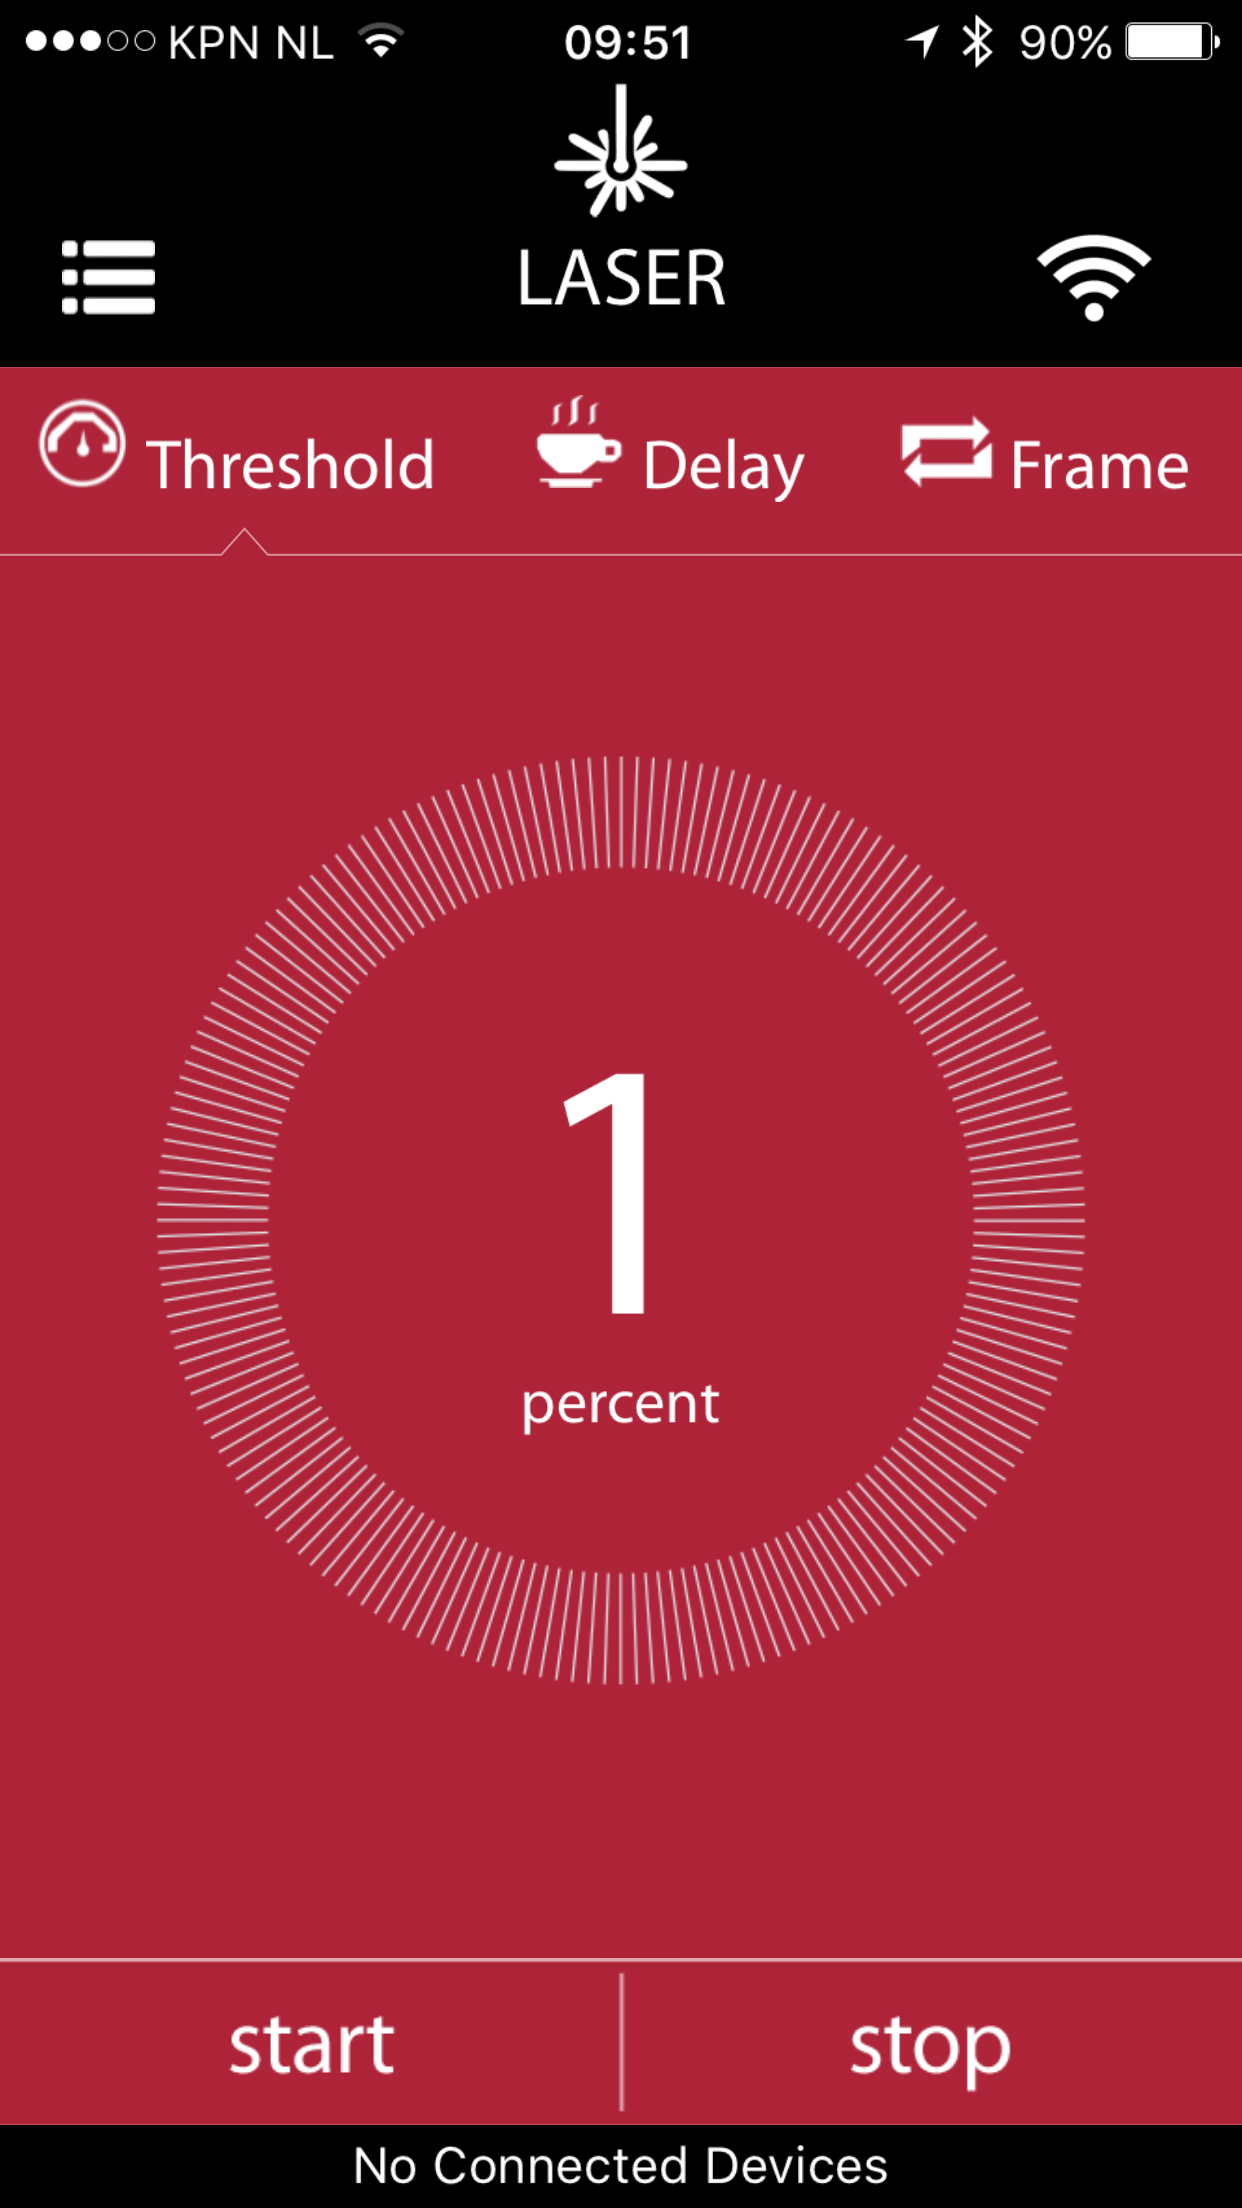
And we are already at number 8th which is LASER

Now don’t misread this, the MIOPS does NOT have a laser inside, so what is the laser option?
You can use any simple laser pointer (for example for presentations) and aim it at the MIOPS, now as soon as something passes the laser beam the camera will be triggered. This is amazing for shots of something flying through the air, something like security, a balloon that is shot by an arrow, an animal that sits somewhere or arrives, etc. etc. there are many different options you could use for this.
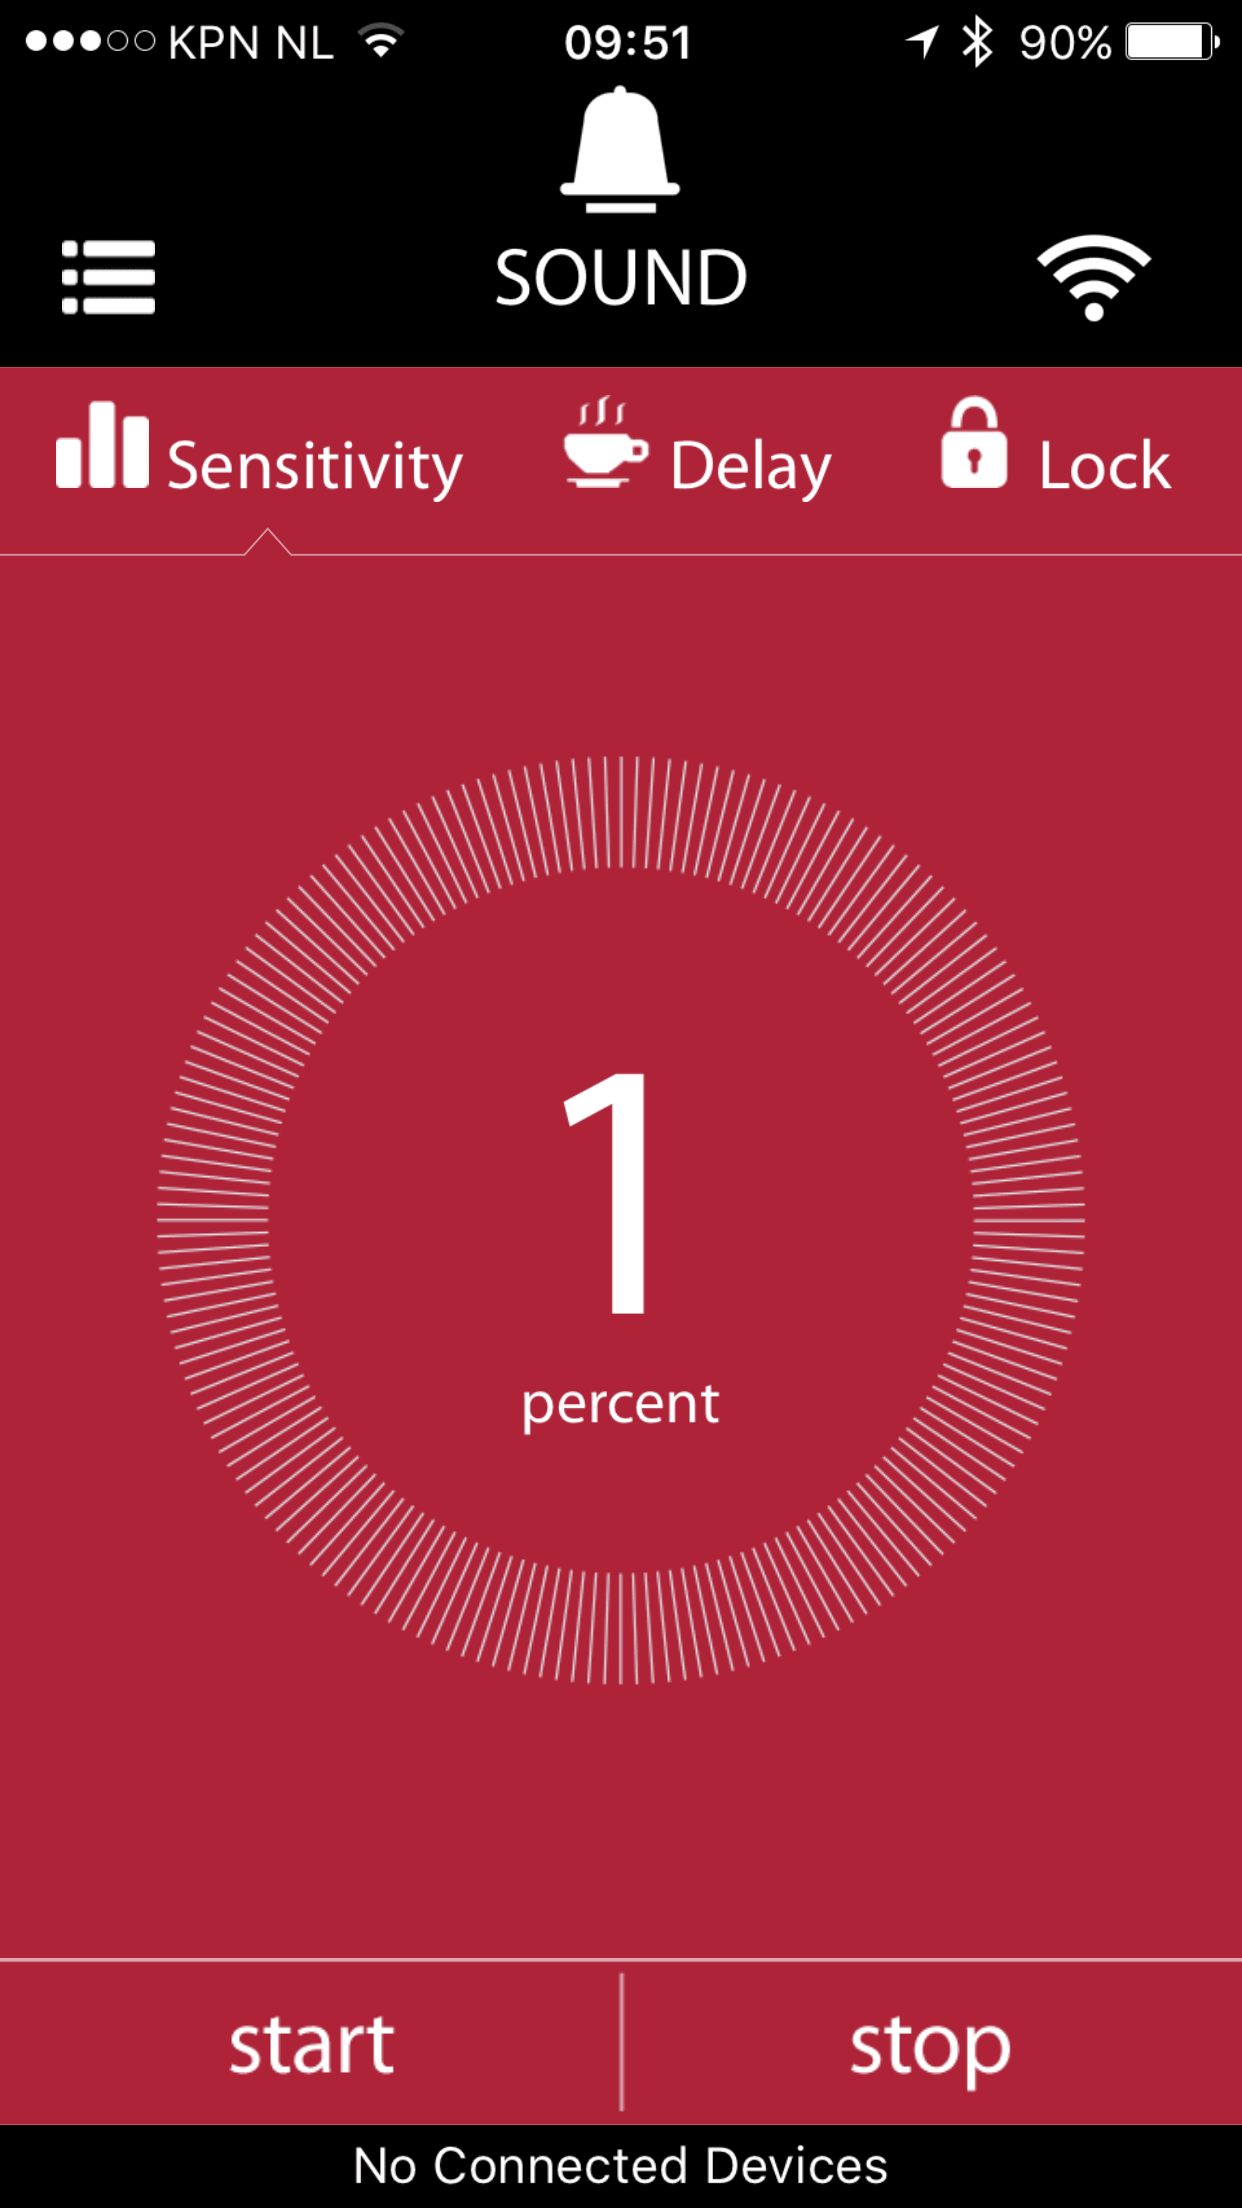
Number 9 in the row is even more interesting because it’s sound
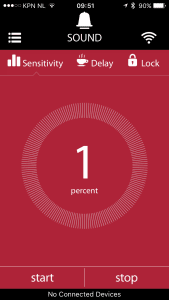
The laser option is great but also takes some planning and you need something that hits the beam, with sound you just need the sound. Great for those moments where you throw something through glass, hit a board, drops something on the ground (or on your model and she screams, yeah have to work on that one) but also for the ultimate selfie…. just set up the camera and shout “HEY” make sure you don’t add Siri because…. well Siri will ask you what she should do which makes taking the shot a bit more difficult. For groups shots this option is awesome, everyone is standing nicely and now just let them all shout, great shots 😀
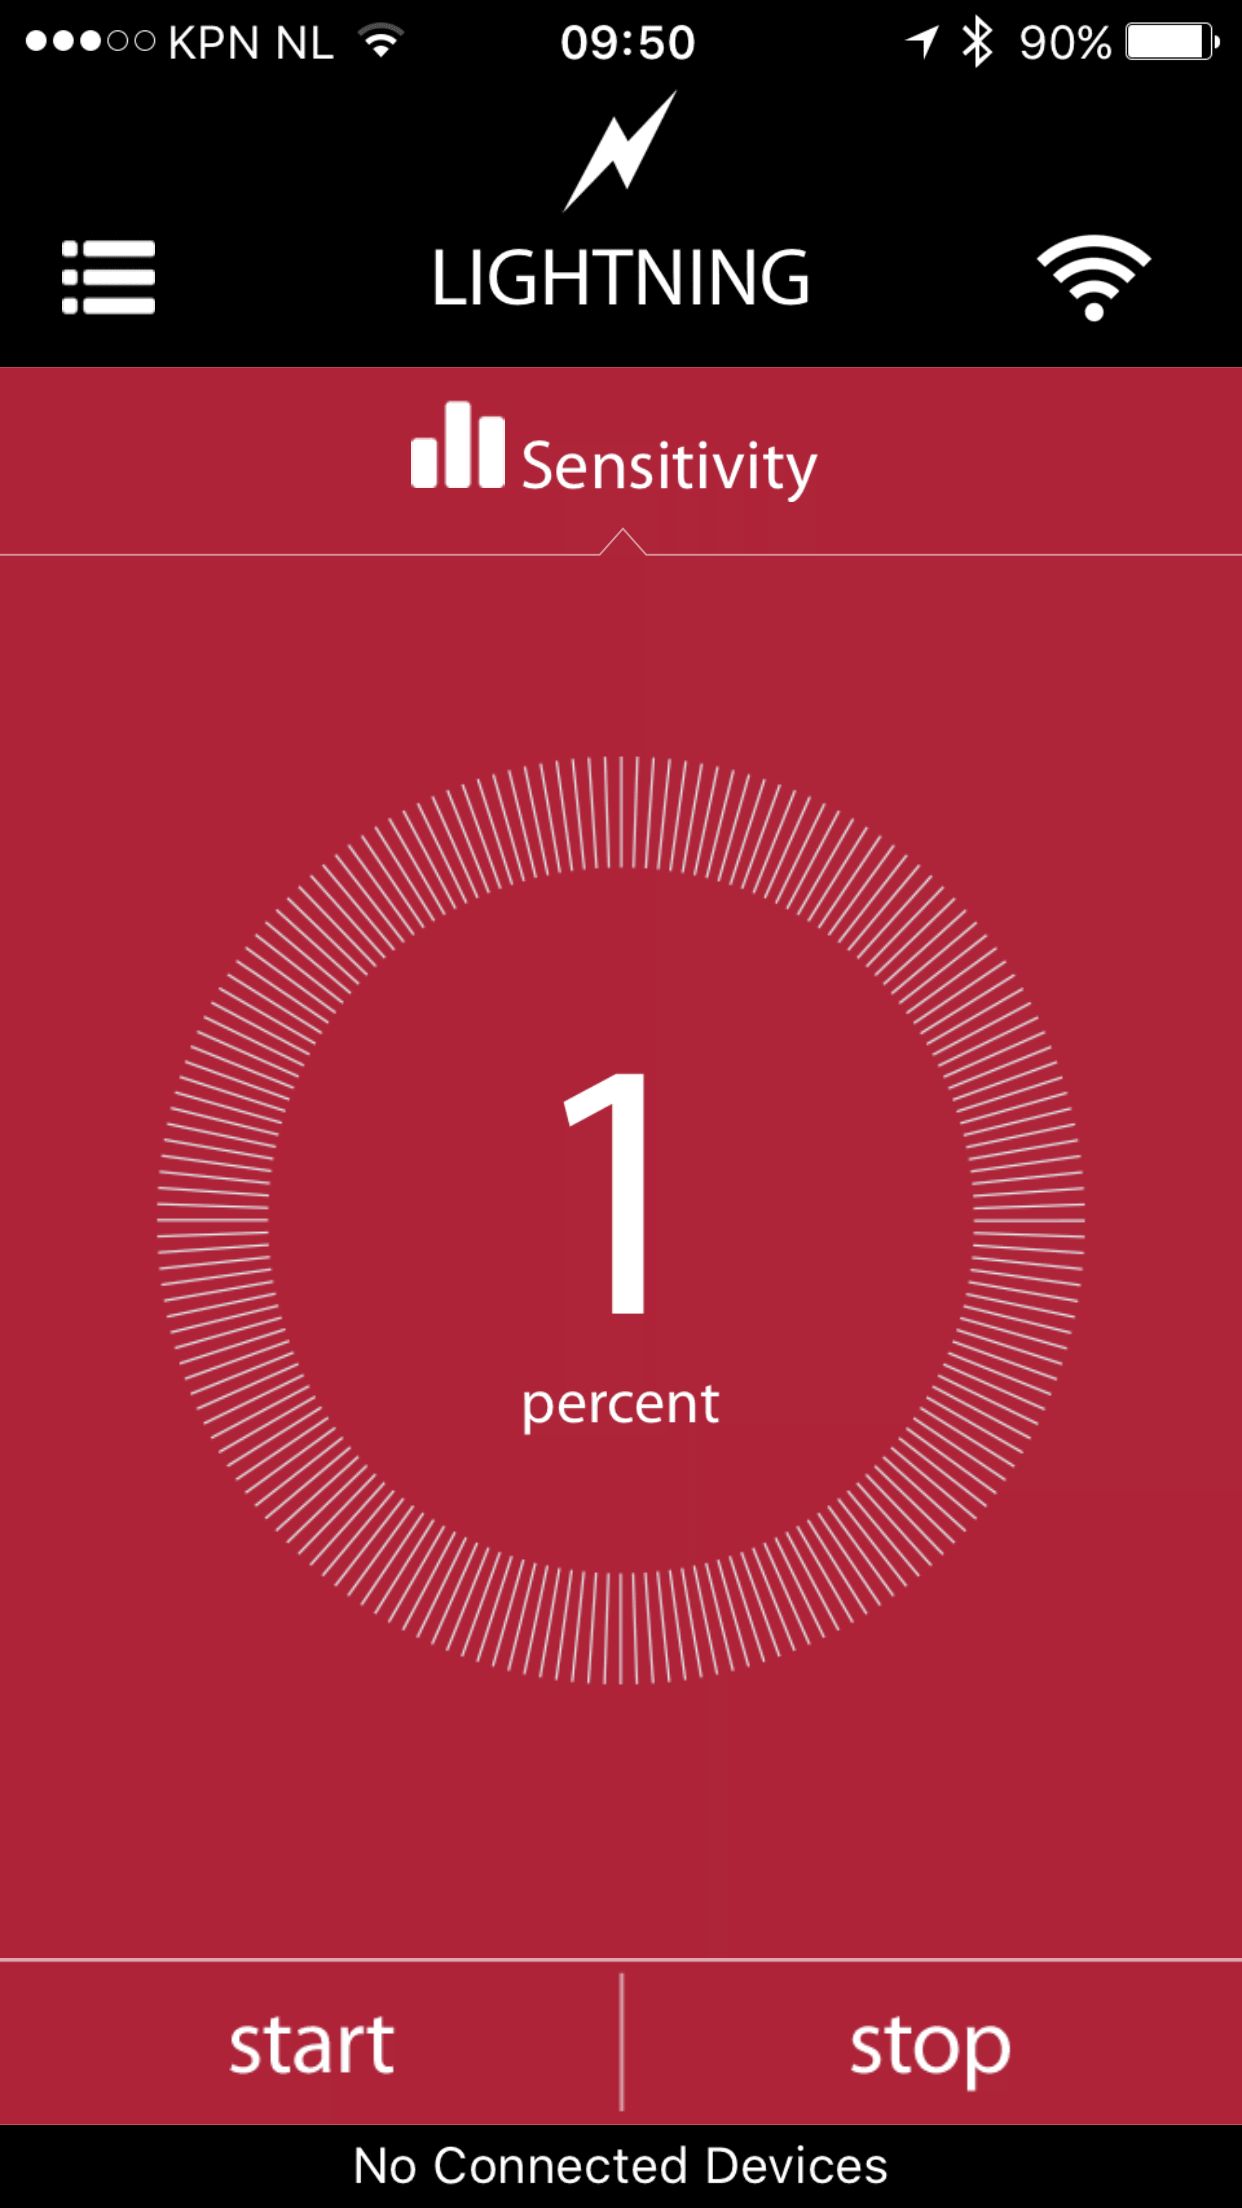
Now let’s look at number 10 already which is my personal favorite… lightning
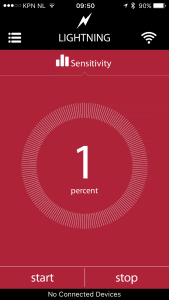 We all have seen those amazing lightning shots and wondered “how did they do this” and we all tried it…. well I know I did, and in all these tries I might have captured maybe one or two that were decent, now I have to add that we hardly have any lighting here, but I know that as soon as we have I’m gonna set up the MIOPS and capture some of those bolts…. I think besides all the other options this is probably one of my favorite options because I’ve been wanting to take a shot with lightning for some time now…. now only hope it will happen soon 😀
Finally we have one more option and that’s called DIY
Now I have to be honest, I didn’t play with this one yet, but when I read the description it makes the MIOPS I think one of the most complete triggers on the market. “The DIY mode is the mode where you can hook up external sensors to your MIOPS. Your options are endless: Temperature, Pressure, Humidity etc. The advanced modes are Scenario and four different Cable Release modes. These features are only available if you control your MIOPS with the IOS application.”
Conclusion
For some people remote controls are vital, some people claim they will never use them….. I think that last group is actually wrong. Of course an “old fashioned” cable release is not needed anymore, we have so many options in our cameras… however that is also the reason why many remote controls just end up in the closet with the dust, I also have some radio remotes that I never use any more for the simple reason that my camera has more options than the remote and thanks to the timer option I can literally do it “any” way I want.
So if you are a manufacturer and you want to release a remote that is a worthwhile investment, because let’s be honest $239.00 is not exactly a no brainer, you better step up your game and release something that is rocking… and in my opinion this is exactly what the MIOPS is, it’s compatible with most cameras, including the Sony series, and it works just as advertised, it’s fast, stable and has a overload on options and features, including a “build your own solution” which is of course great for people that want even more, think for example about people that work in labs or other industries and need very specific options, and I think for that group the MIOPS is actually very cheap.
For us “hobbyists” it’s an investment, but I think it’s an investment that is worth every single cent, the MIOPS is designed to stand a beating, it’s small and it’s loaded, I say “HIGHLY RECOMMENDED”. Find out more at MIOPS
Like this:
Like Loading...

 If you are not allowed to do this on the walls, make “small” (2.50×2.50 mtrs) panels and cover them.


 If you want more in depth tips and tricks check out my book “Mastering the model shoot” it’s not just on models but also has extensive parts on styling, your studio etc.


You must be logged in to post a comment.