Tag Archive for: Backlight

Wait before you throw something out

Don’t just throw stuff out. It can be awesome material to make clothing or accessories

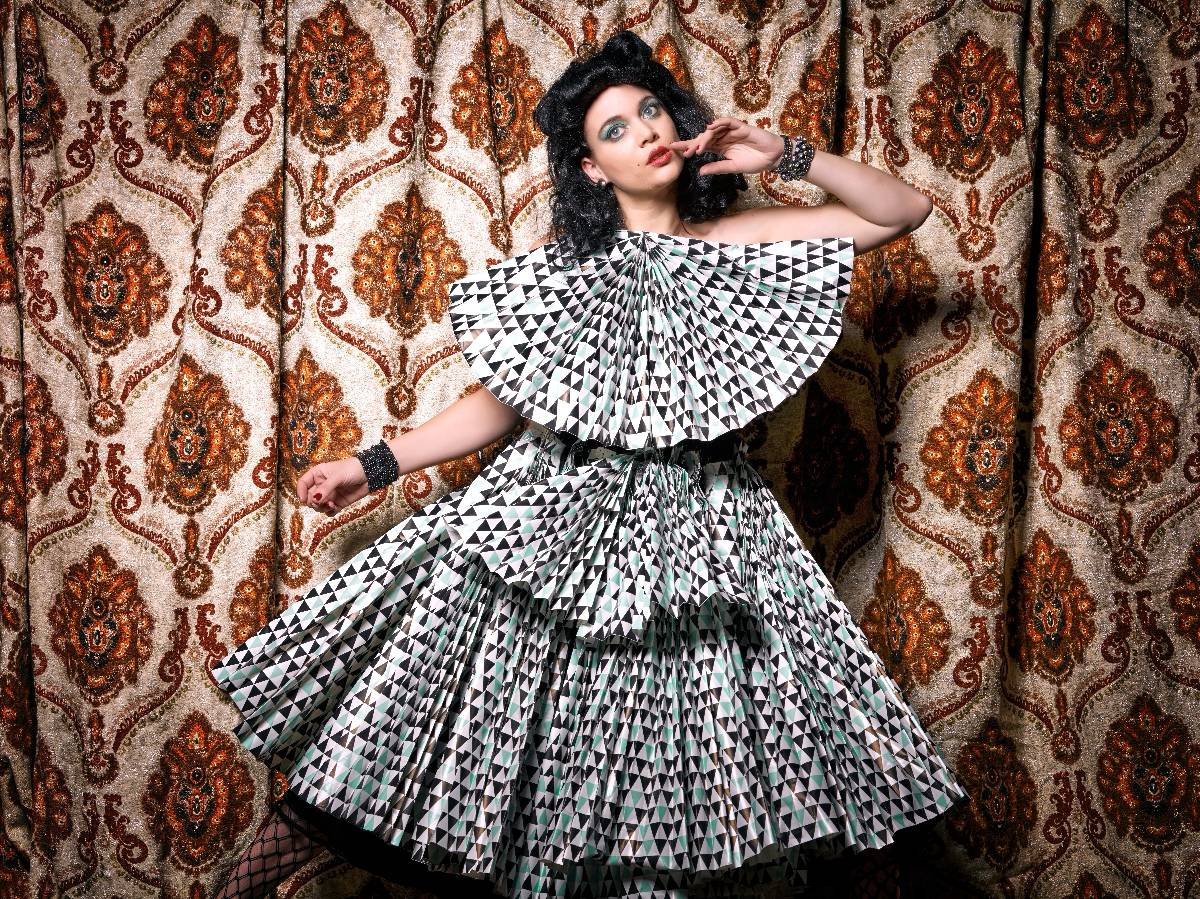
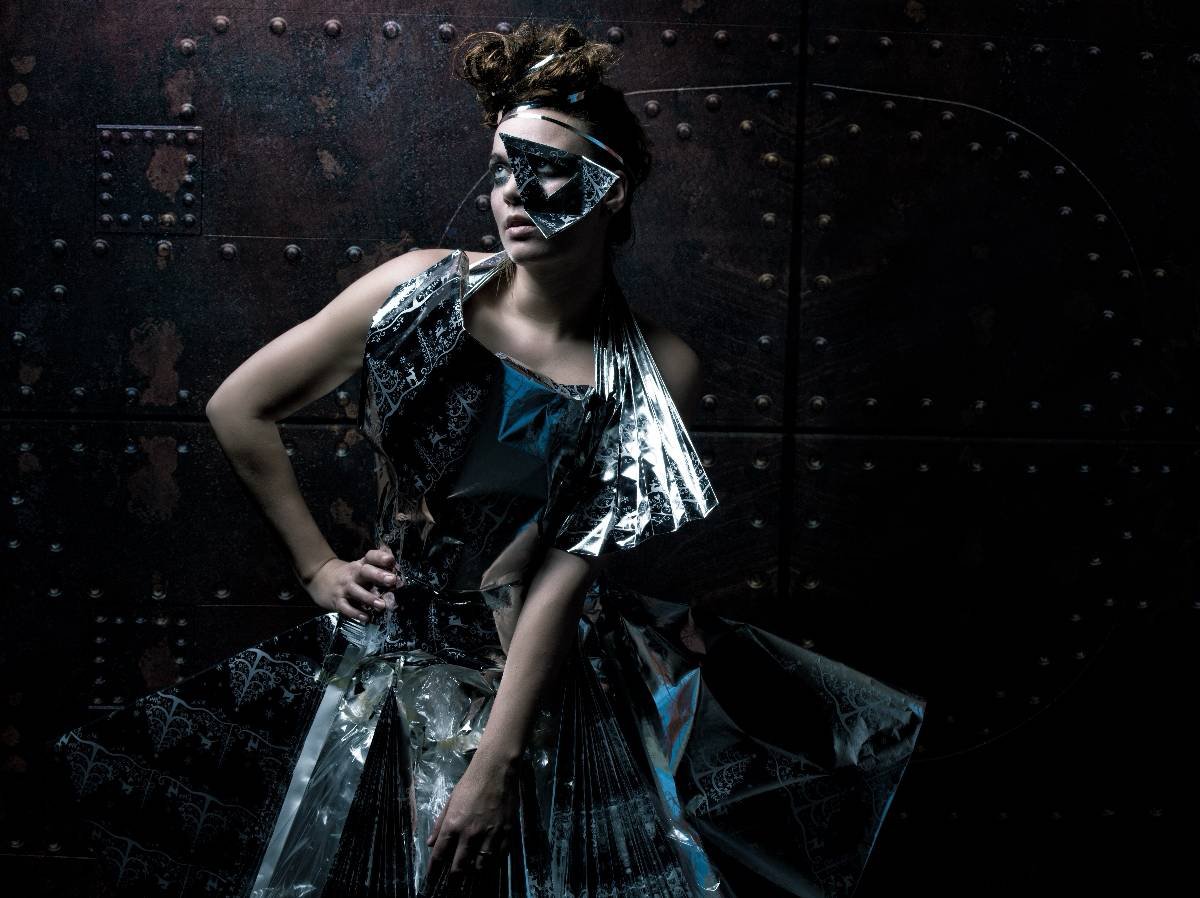
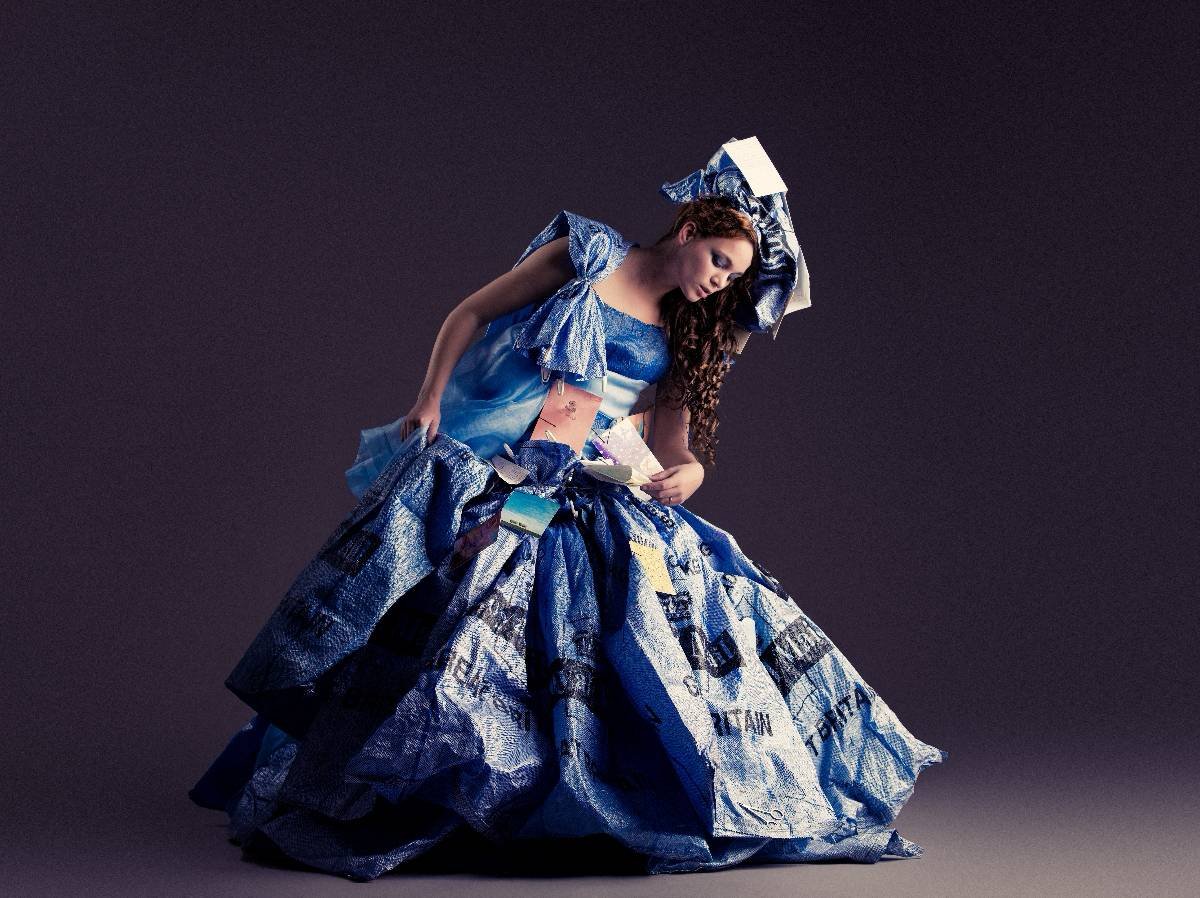
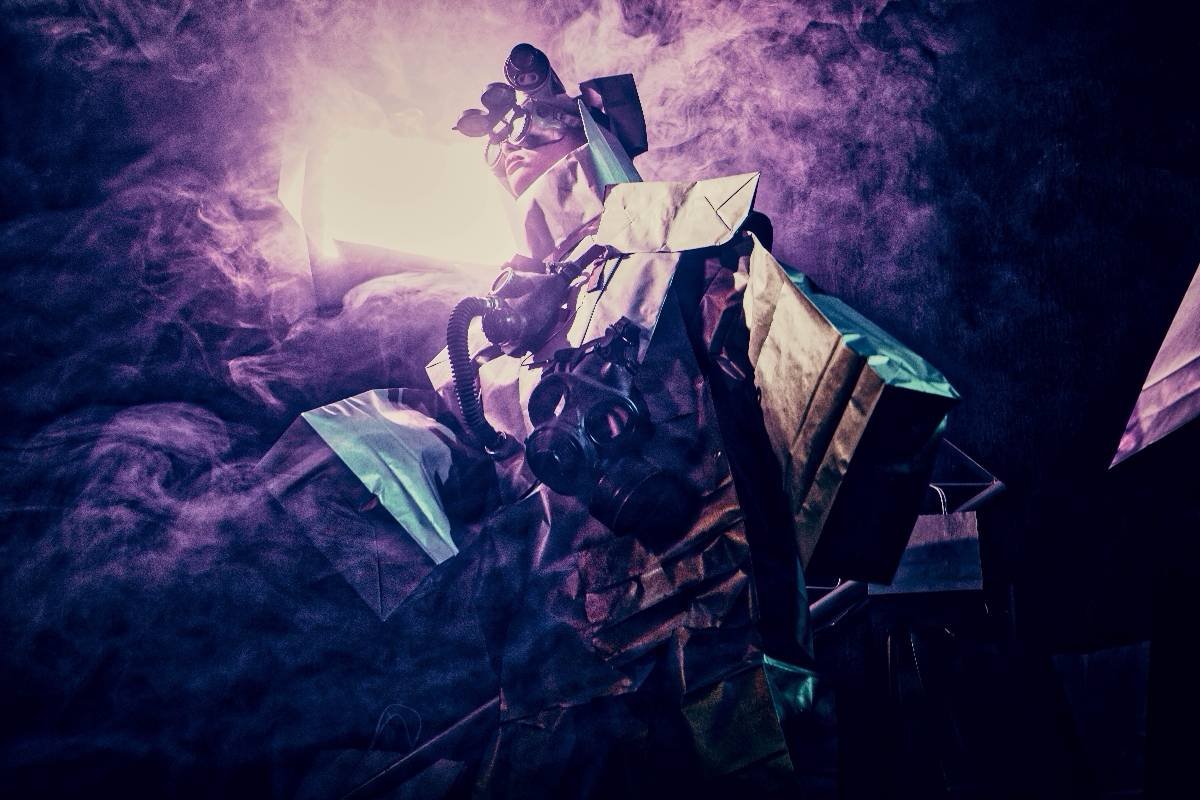
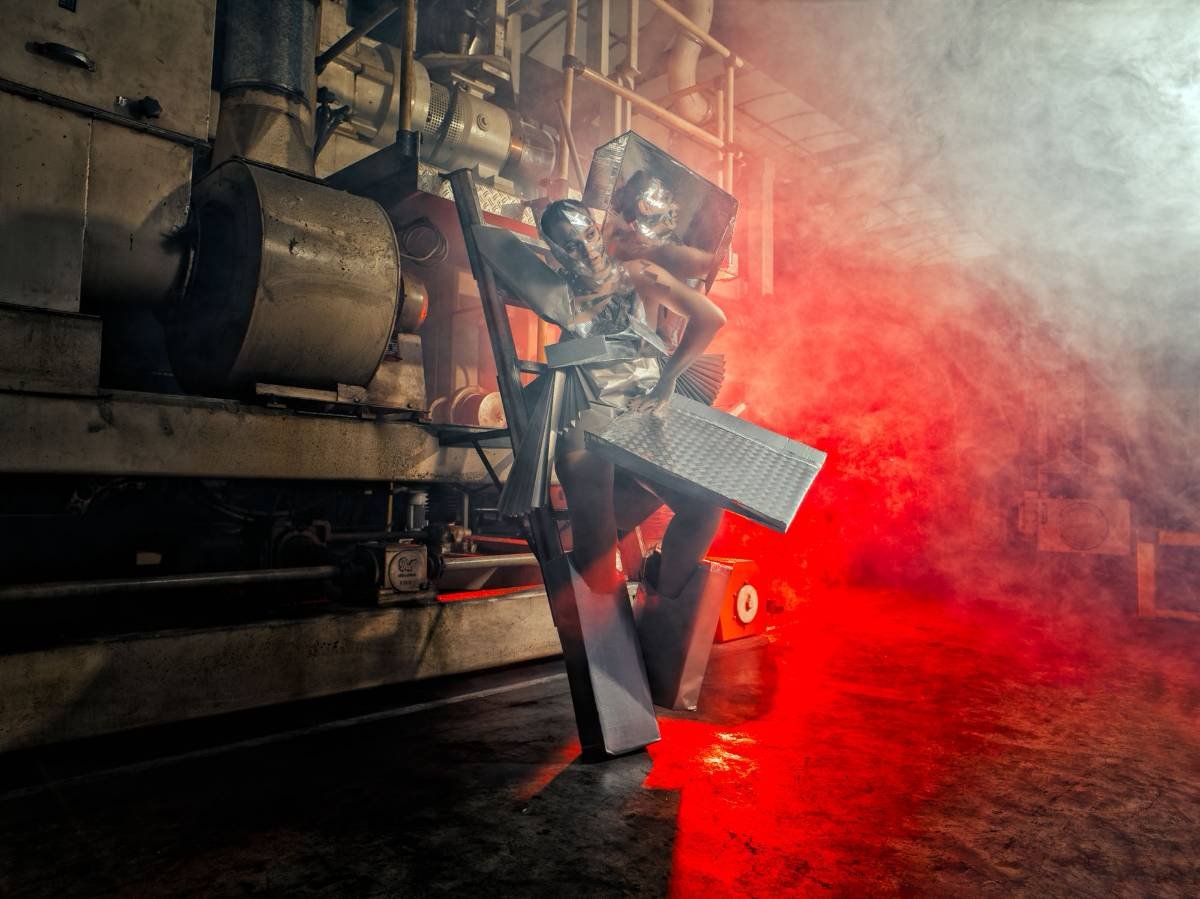
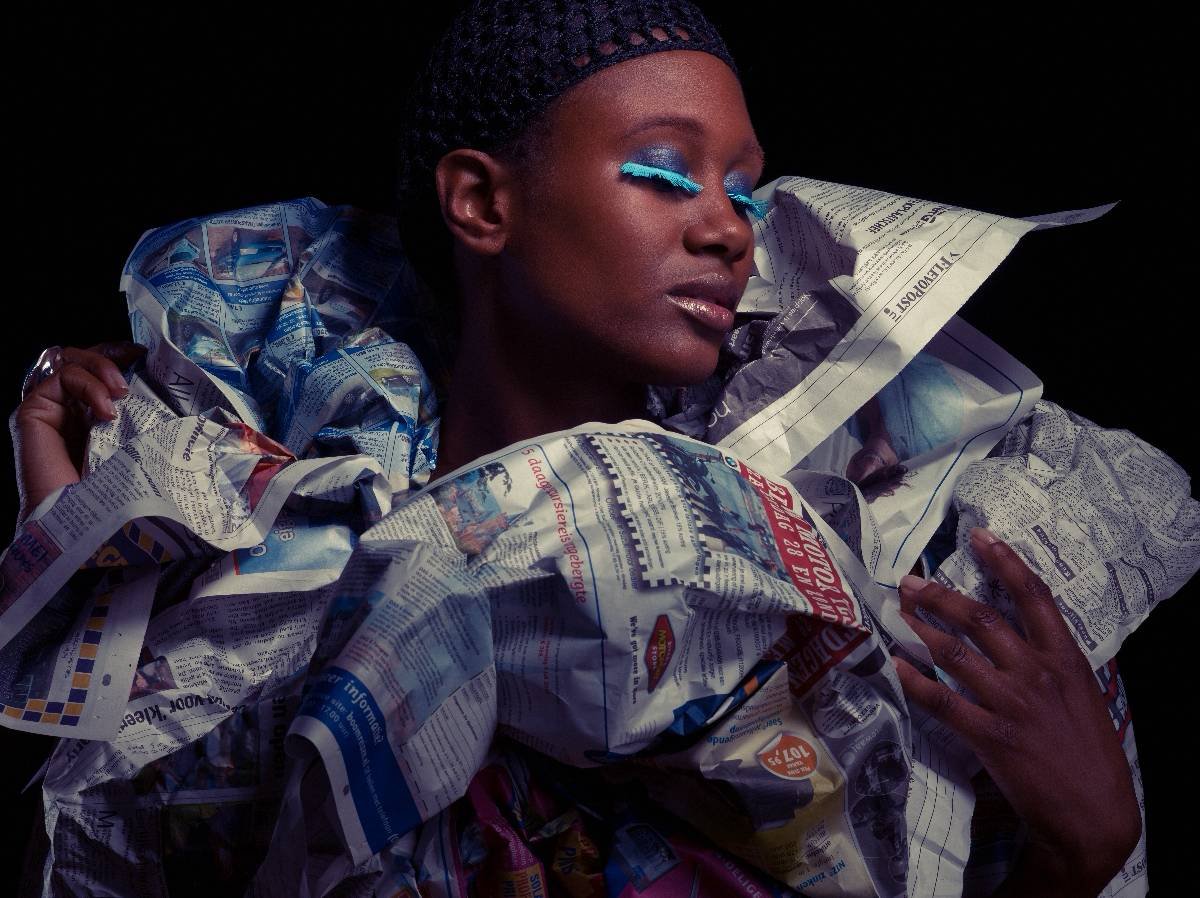
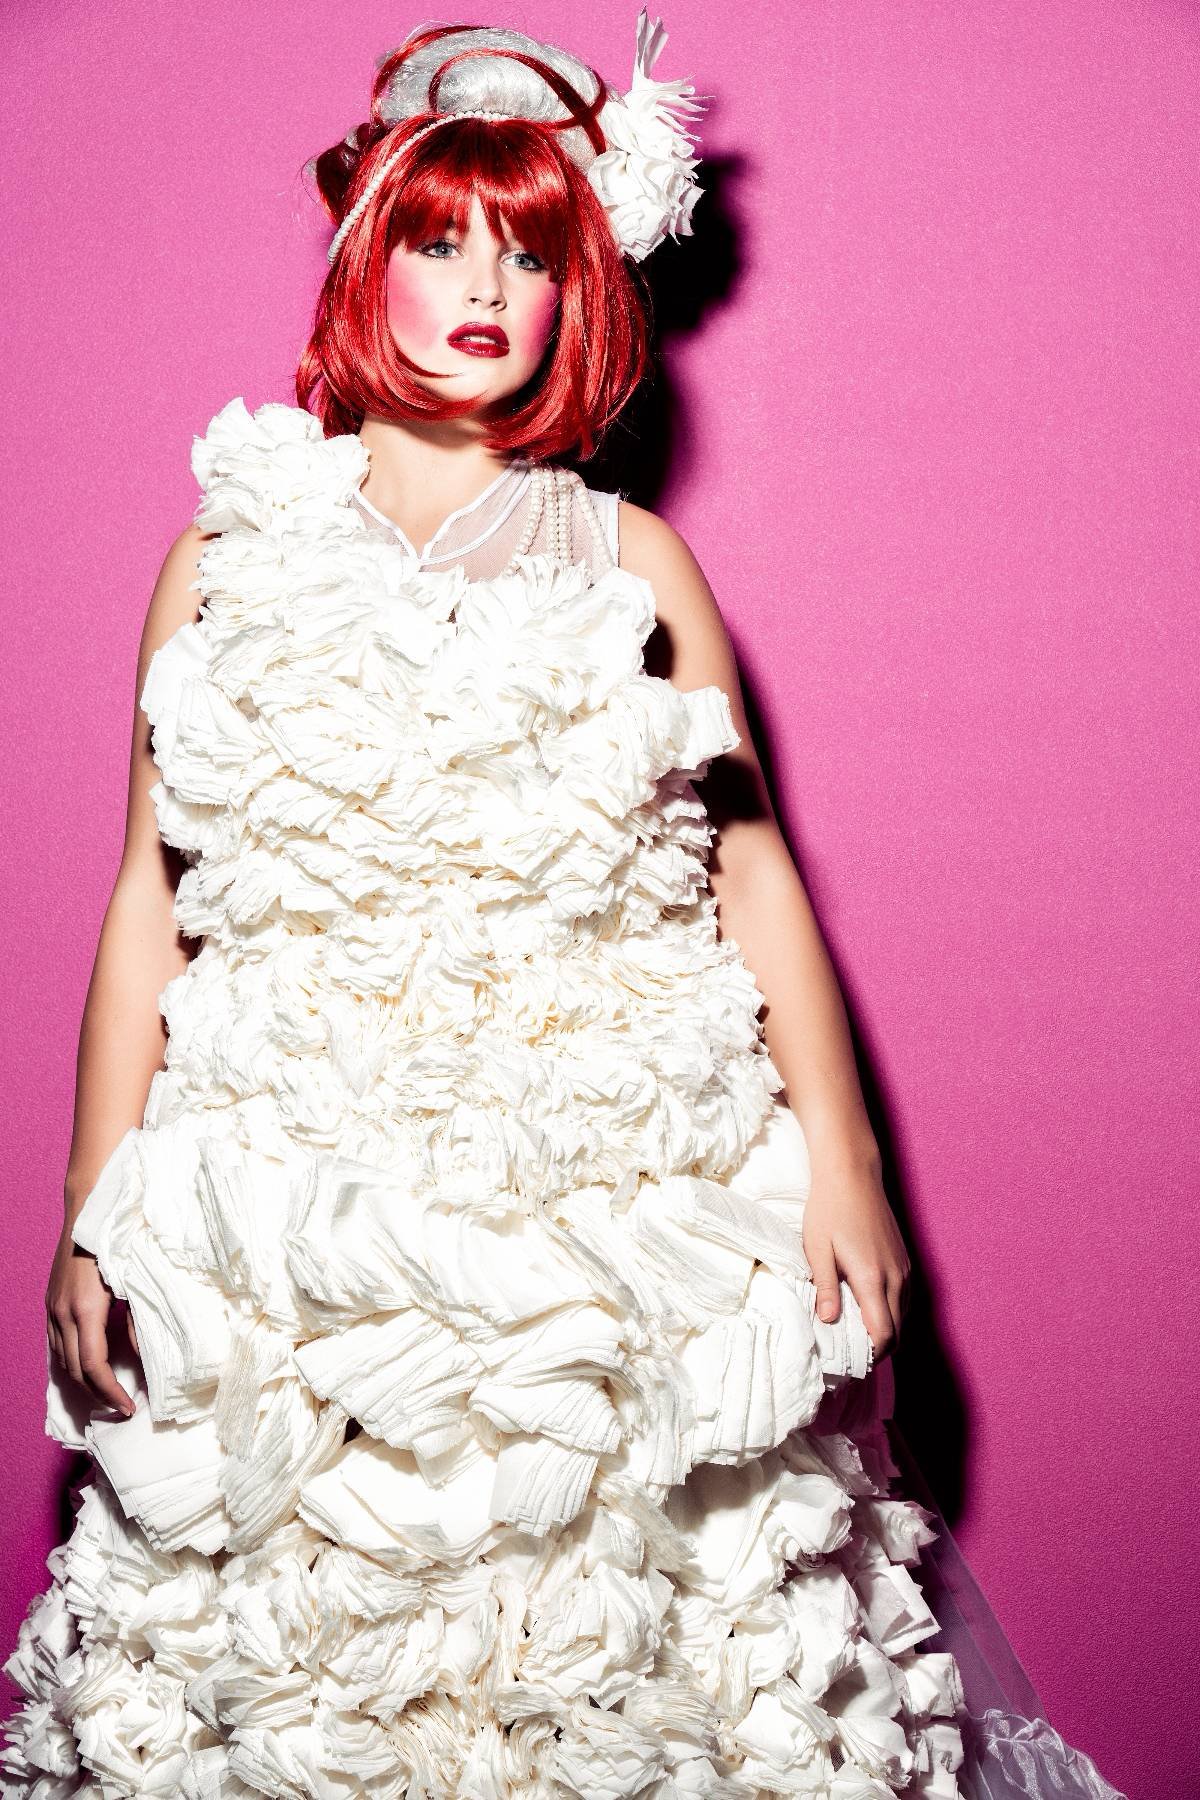
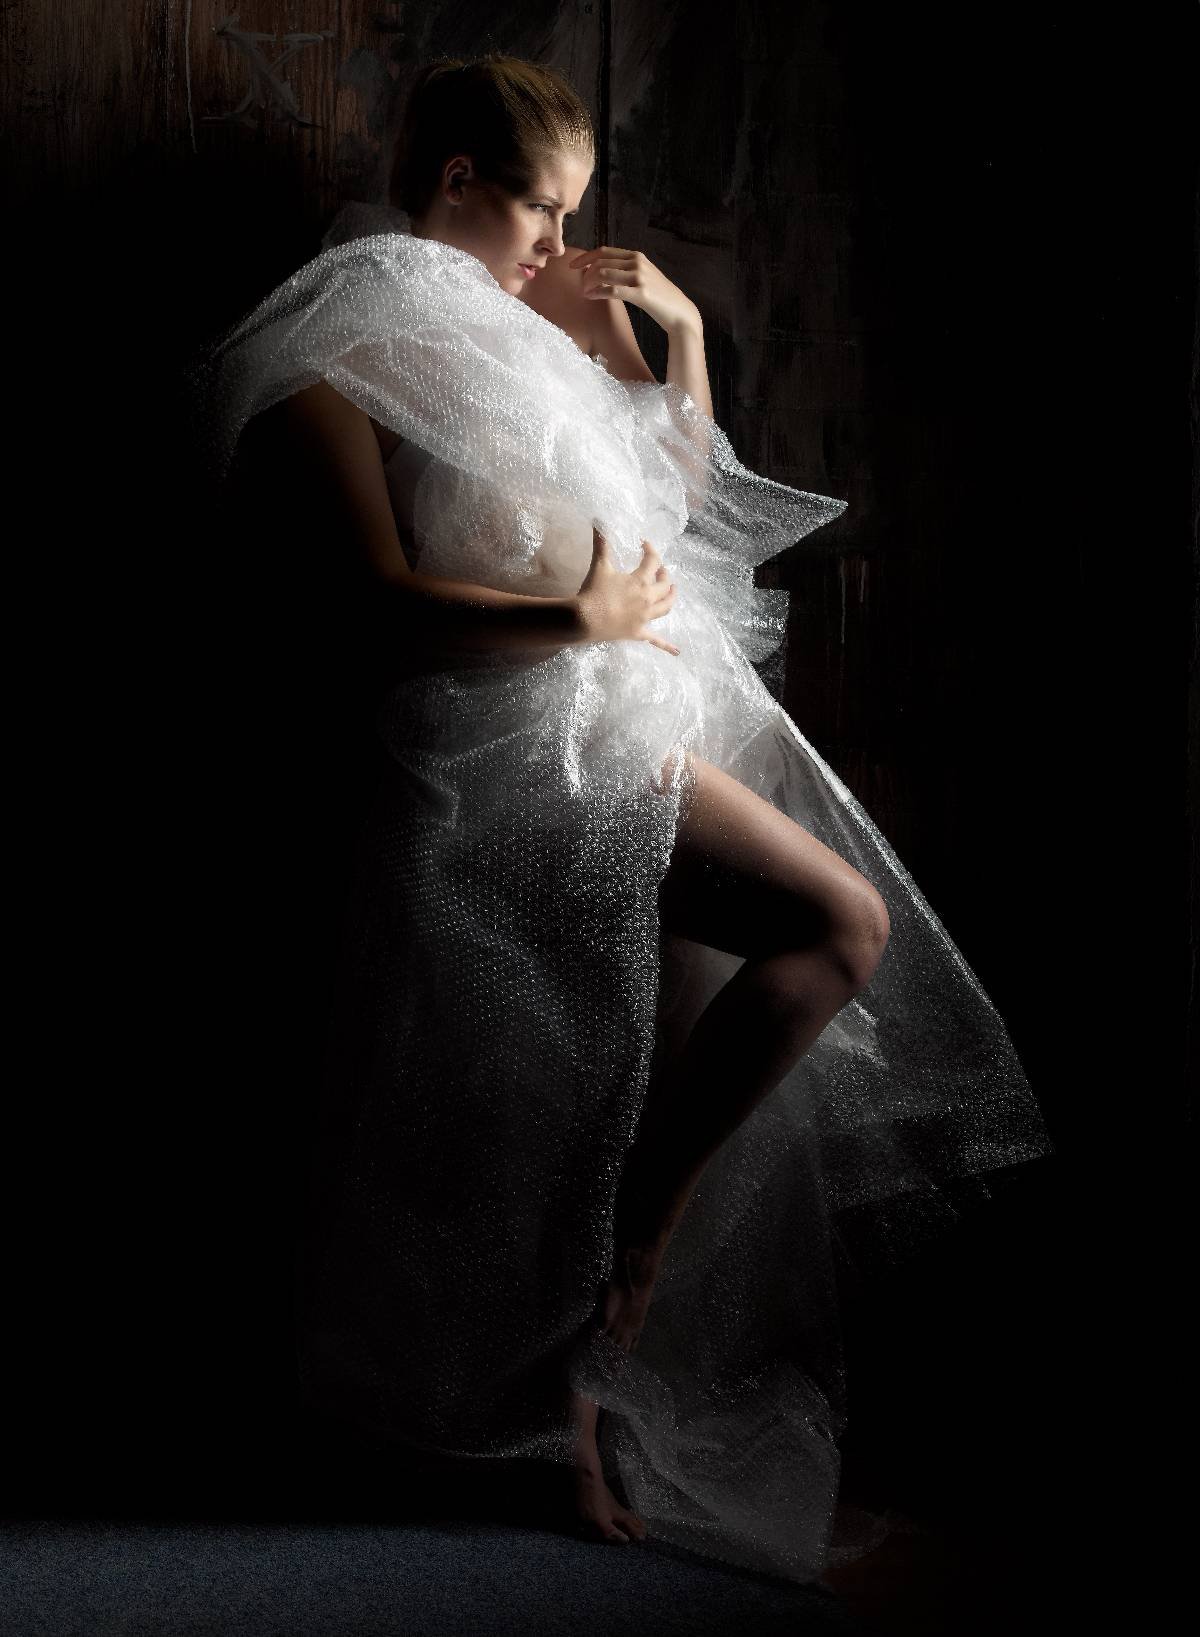
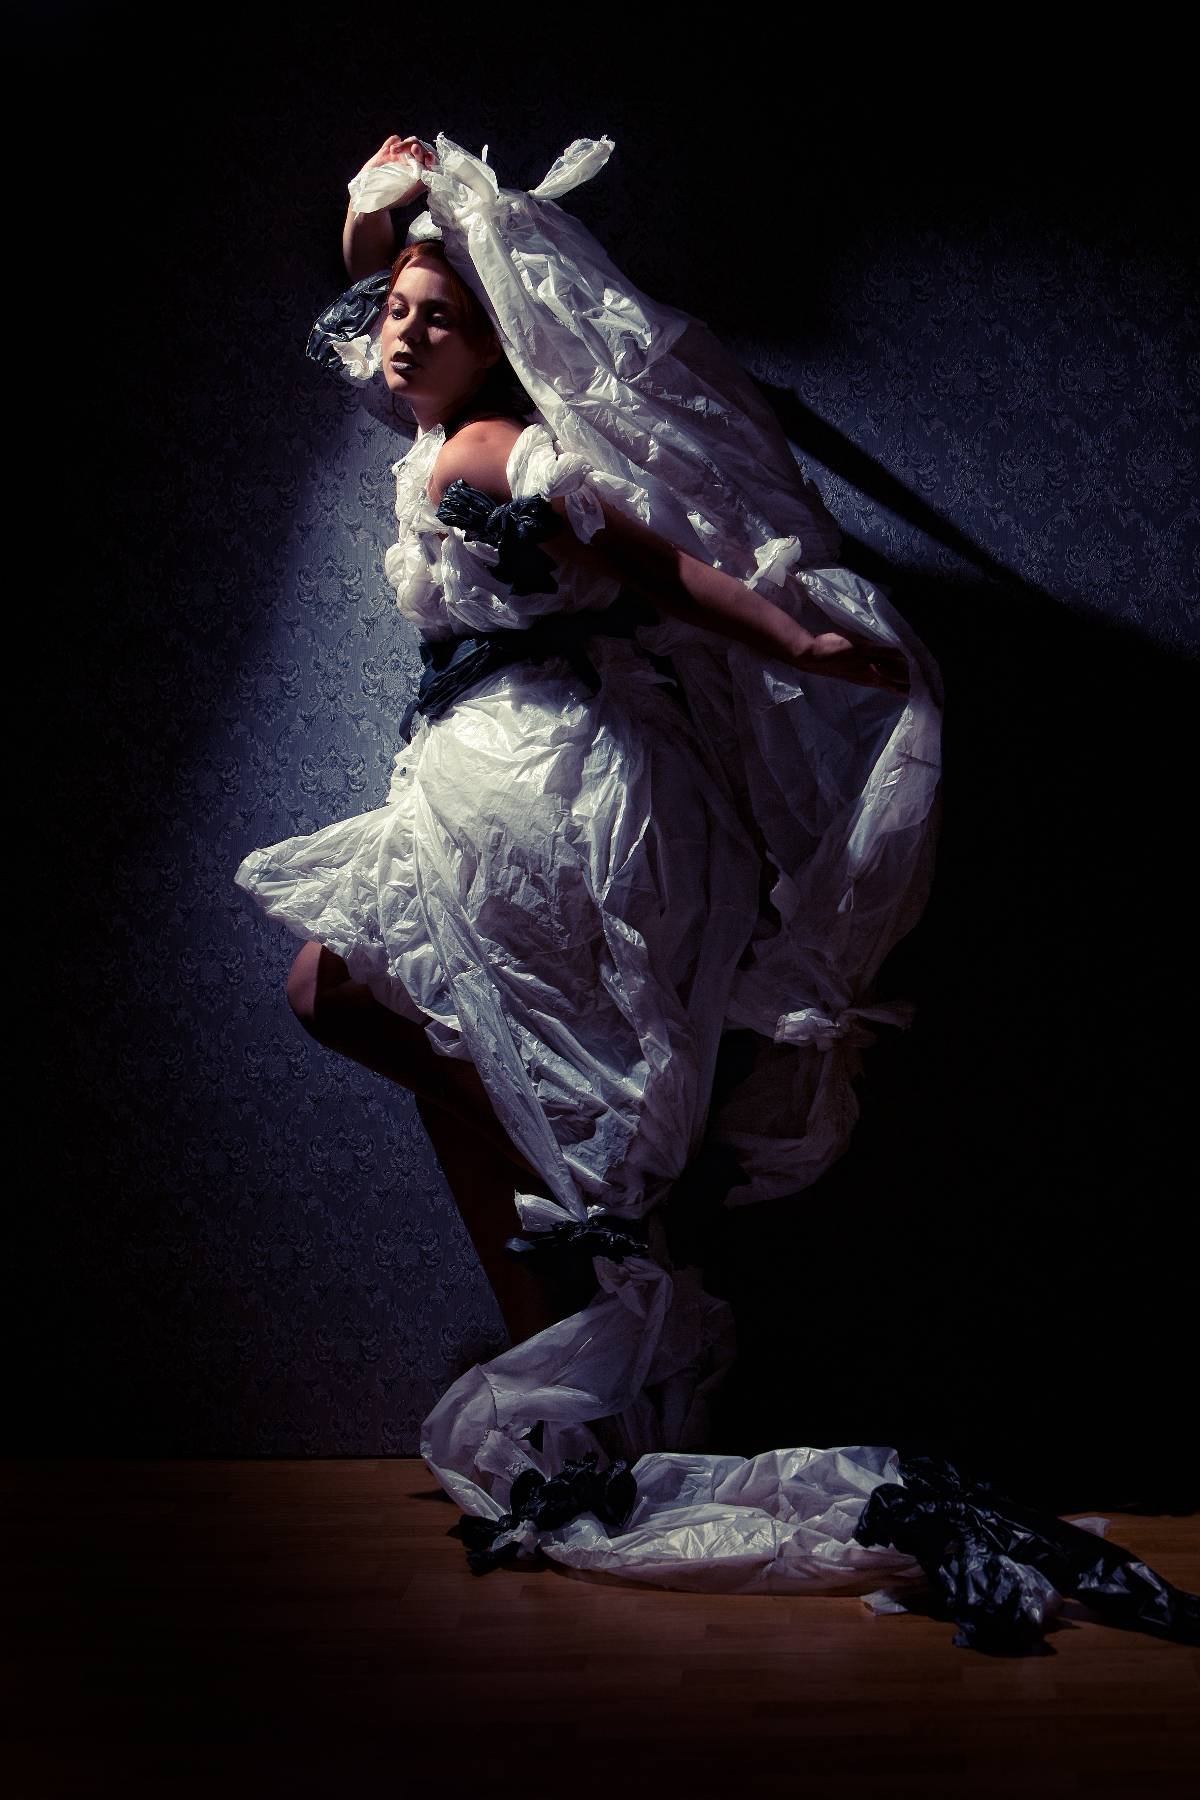
Over the years I’ve shot some bizarre clothes and accessories all made out of material that you would never expect in a photoshoot. Ofcourse it helps to have a crazy creative stylist and model like Nadine 🙂 the images in this blogpost are a mix of styling by myself and Nadine.

For example think about some packing paper and old curtains

Or for example some Christmas paper

But also postal bags work

But one of my favorite must be this heavily inspired by the 50s pulp SF movies shot which is almost completely build up from paper bags

Staying in SF what about a robot all made out of cardboard

But it can also work with a newspaper of course.

Or what about handkerchiefs

And when we are on that route… Some toilet paper ?

And sometimes a lot of fun after the shoot with bubble wrap

And staying in plastic, what about some thrashbags? Not possible? Oh yeah it is

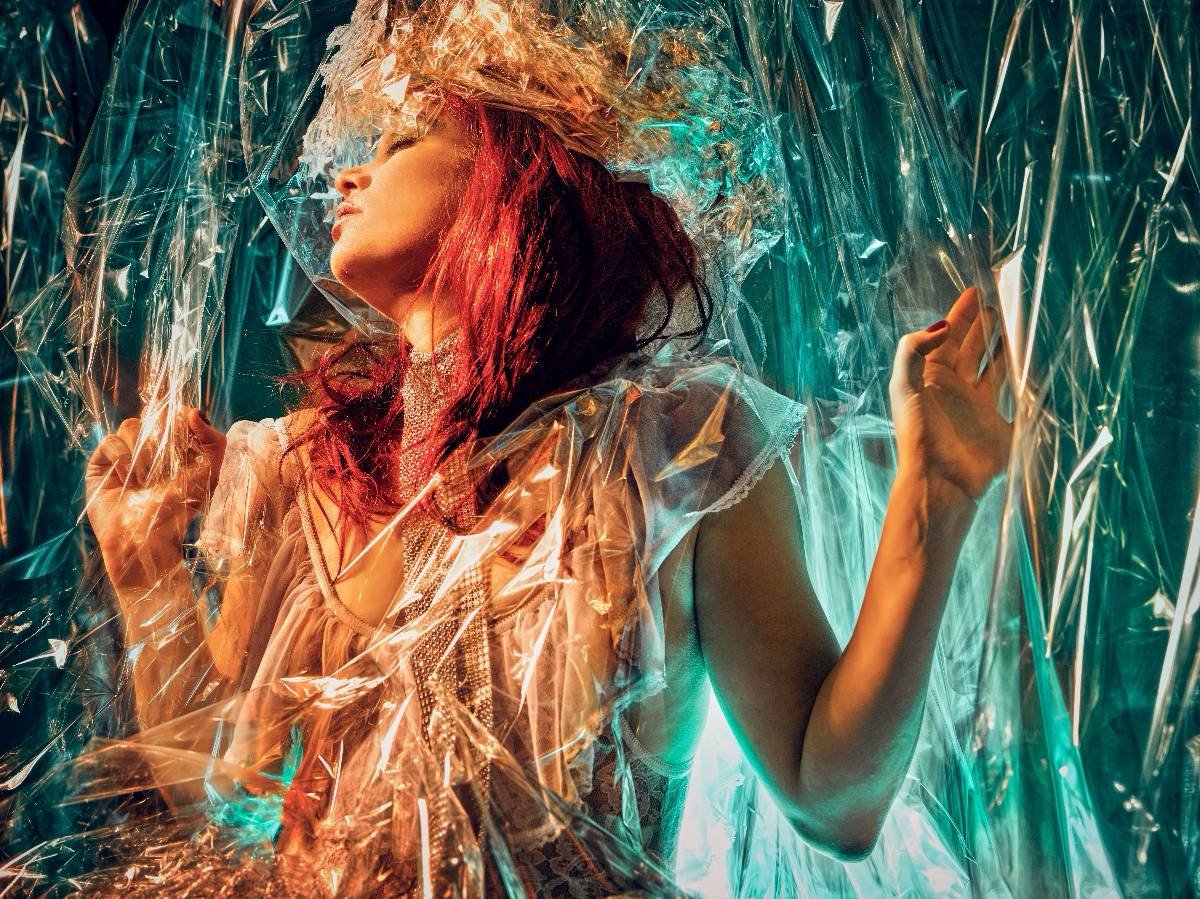
And finally (although I have loads more) what about using some plastic material and don’t use it as clothing but as background

What did you use as a creative solution?

Tip : Strong backlighting

In the 70’s they knew….
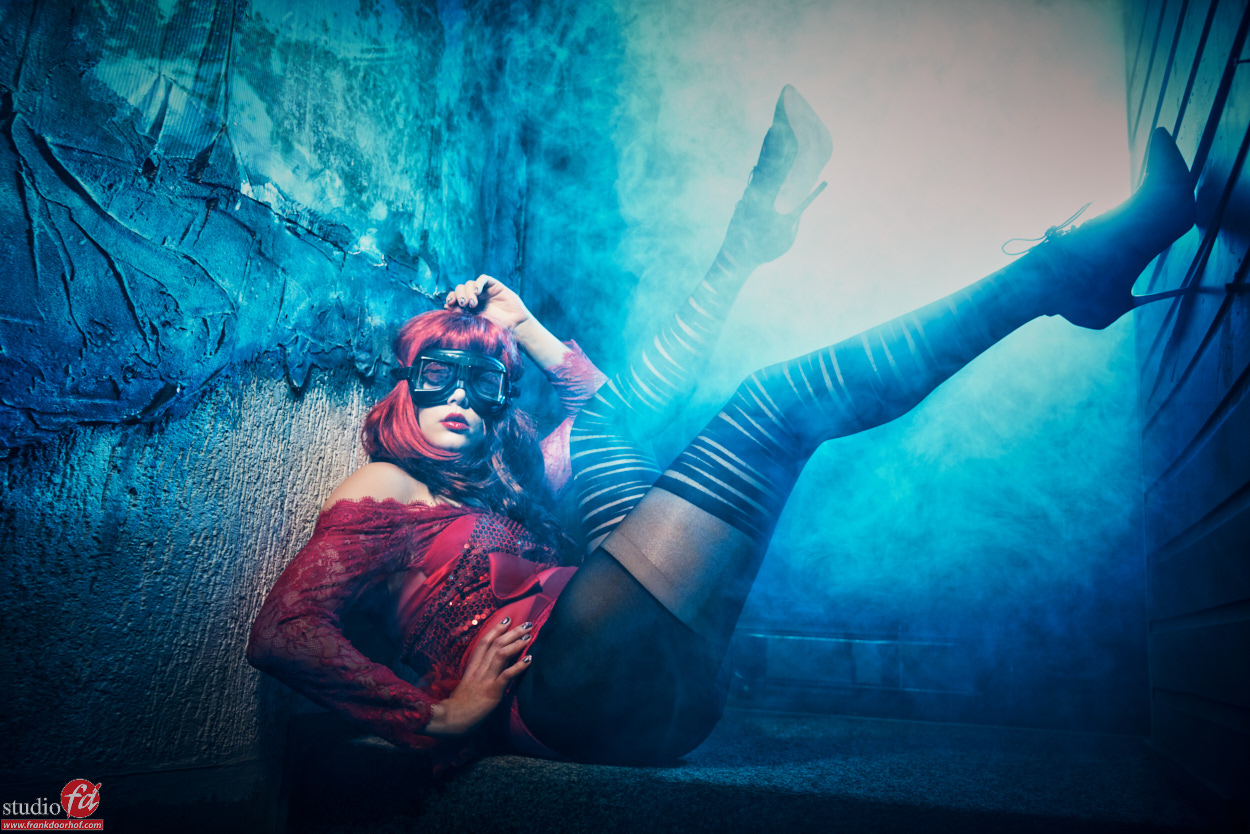
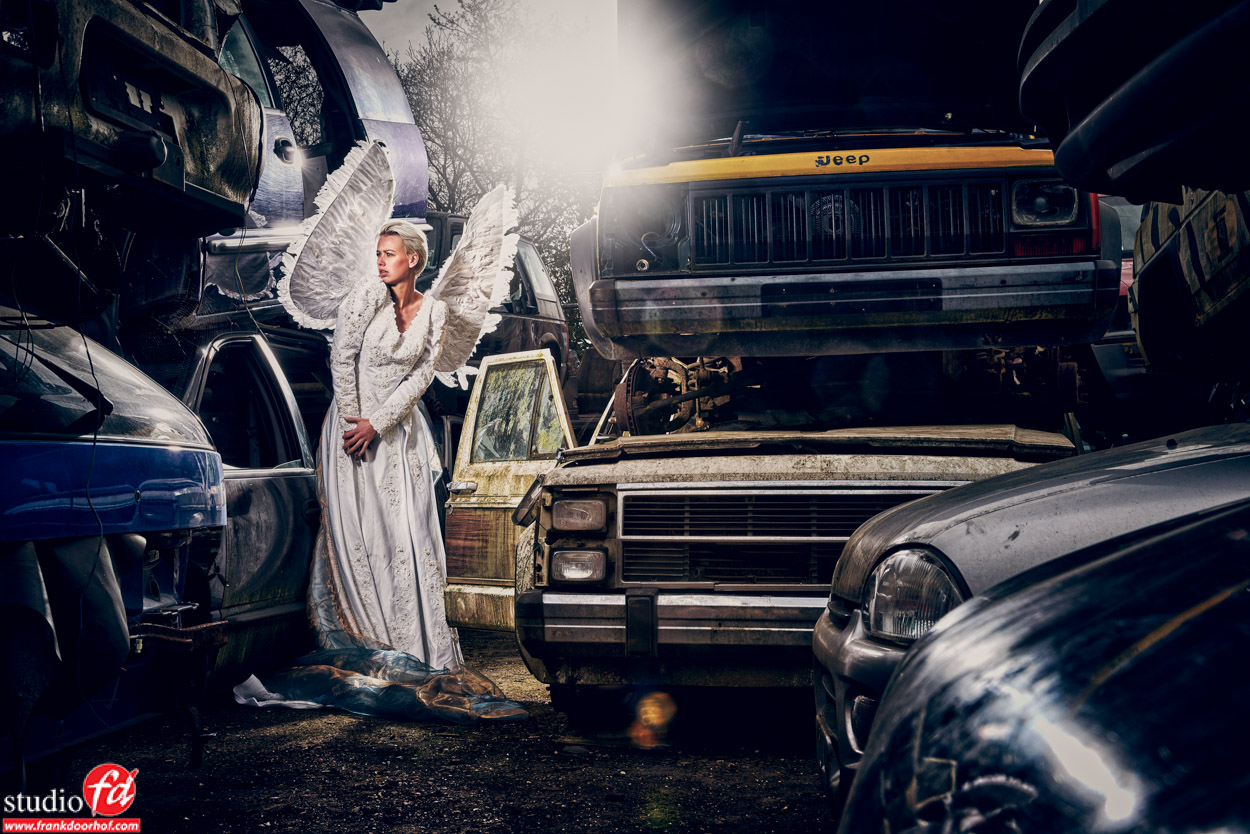
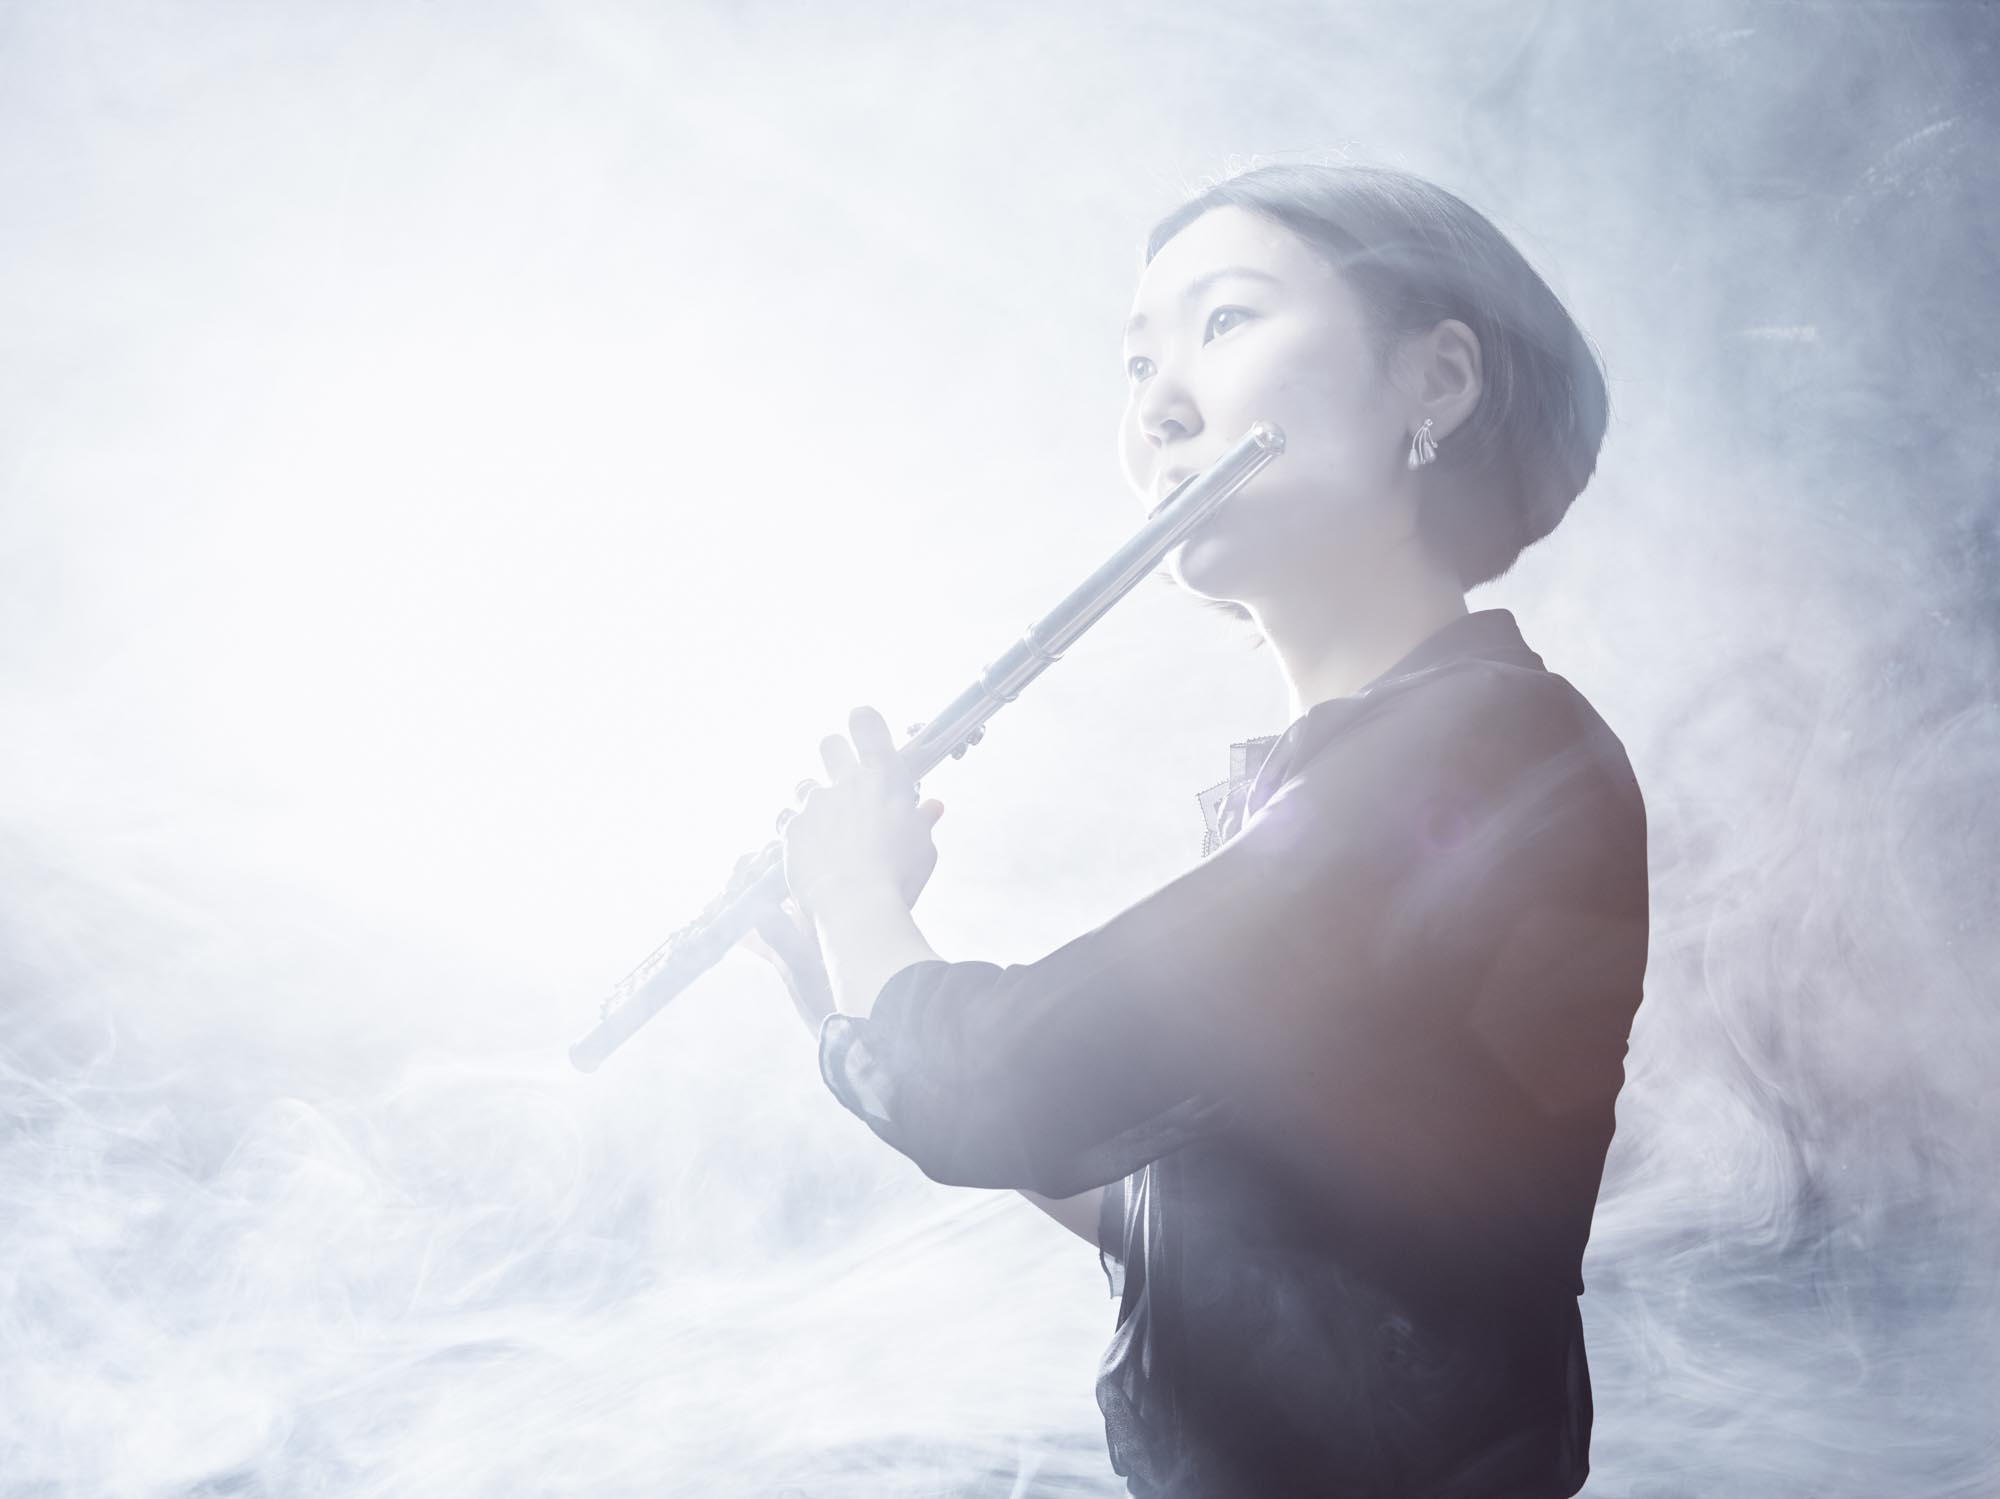
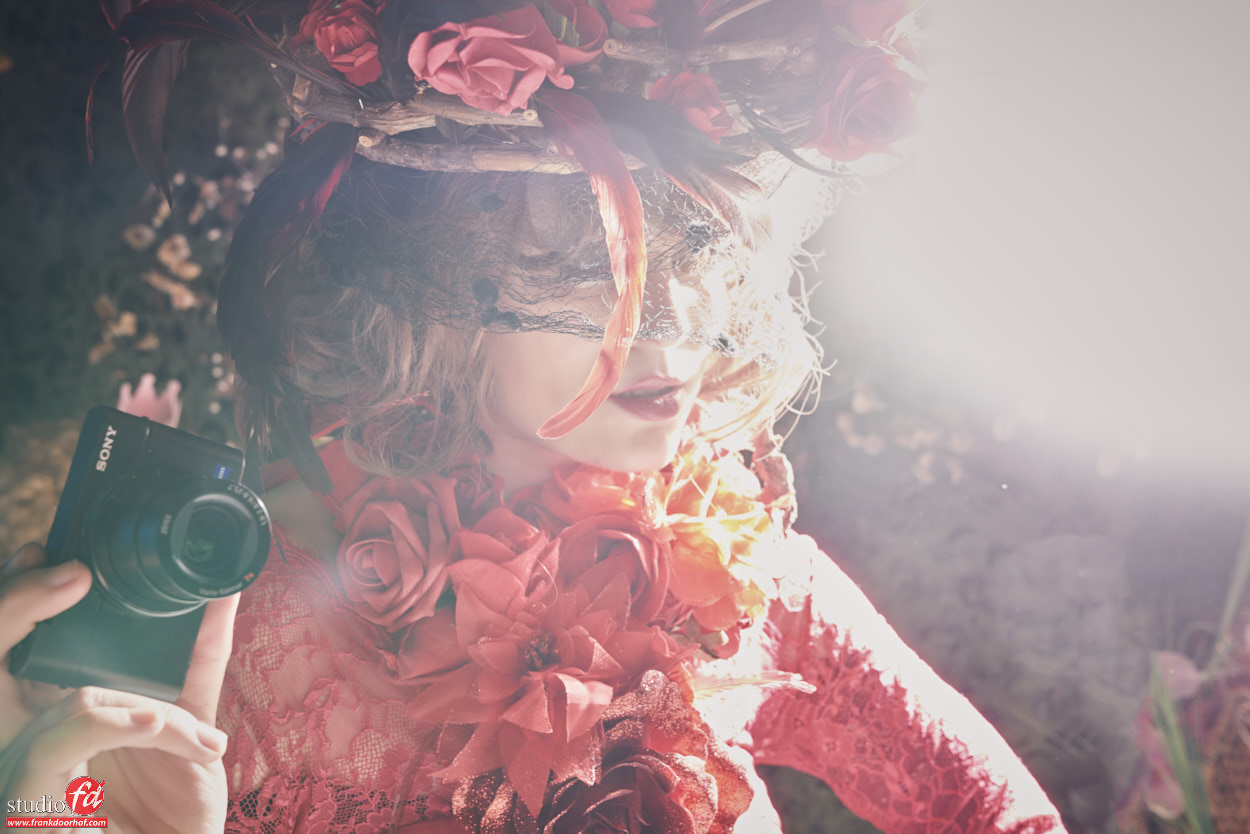
Using strong backlighting can be cool, it creates cool lens flares and it really spices up a shot, I won’t say that after the 70’s the photography went south and flat but in all honesty I sometimes am stunned by the questions I get during workshops about lens flare and backlighting, so I thought it would be cool to write a small blogpost about them.

Whenever I post an image with a strong backlight people ask me for the filter I used?
Now don’t get me wrong I do use filters… I love DxO filmpack and Alien Skin Exposure for tinting my images and I use a LOT of MacPhun intensify to spice up the pop of my images, but the lens flares are in 99% of the cases 100% real.

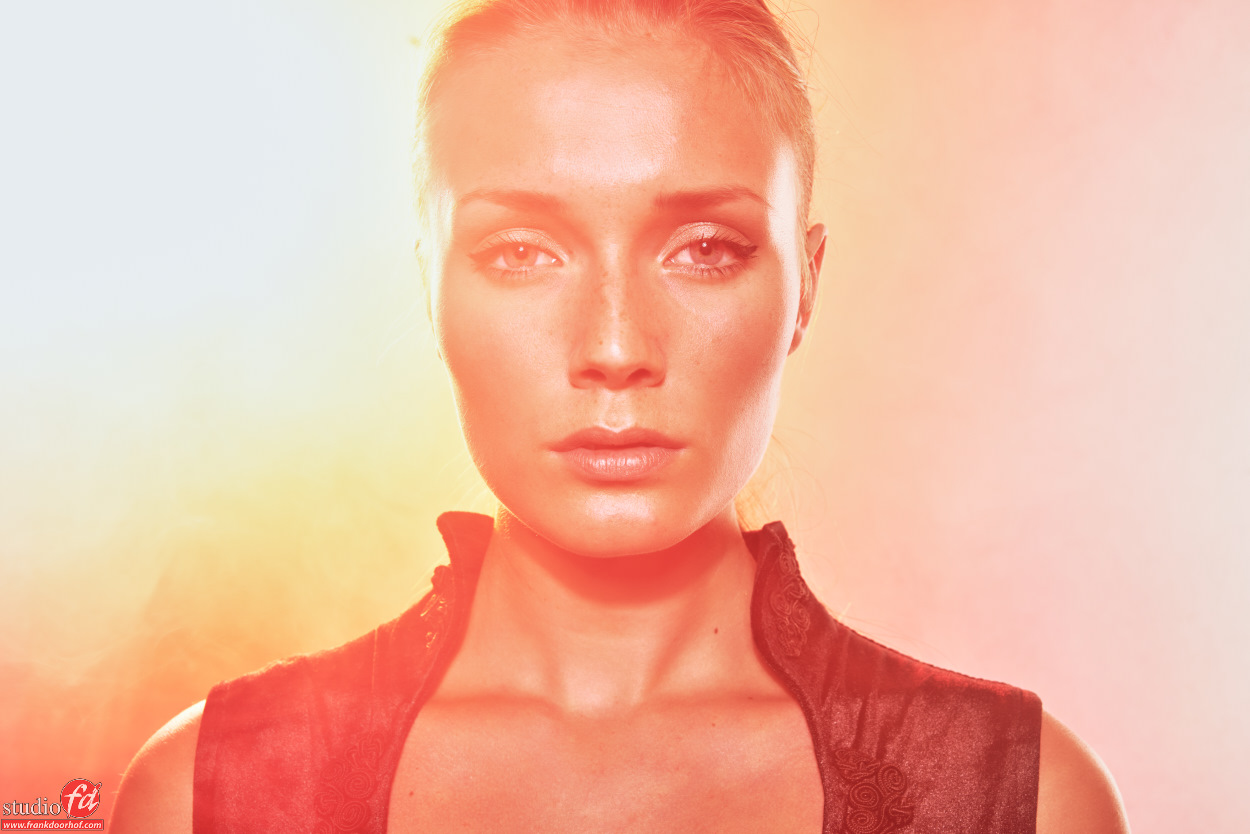
The shot on top we shot during last weeks workshop with iris and is just a strobe right behind our model without any modifier.
If you meter in front of the model (in this case pointing towards the camera) the exposure on her face will be correct, in fact it’s the scatter light from the studio lighting her face. This is also the cool thing about using an incident light meter (A sekonic in my case), if you hold it in front of the area you want correctly exposed you will get a proper exposure. Now it’s up to you to determine the look you want. In this case I only used one light so it COULD be that the backlight is way too strong, you can than do a few things. You can feather the light (turn it away from the model), or move it to the side of the model so not all light is hitting her (when using a reflector), or (when using a bare strobe) move it further back, or use a reflector in the front, all these techniques will do one thing, lower the contrast between the backlighting and front light.

In essence it looks like a very easy setup, but if you just throw in your lighting you will probably fail, or need a lot of Ps work, so make sure to meter correctly.
If you want to learn techniques about metering, check out our video on the light meter via Video downloads

When you want to do these kind of shots make sure to practice a lot with a mannequin or doll before doing it live with a model.

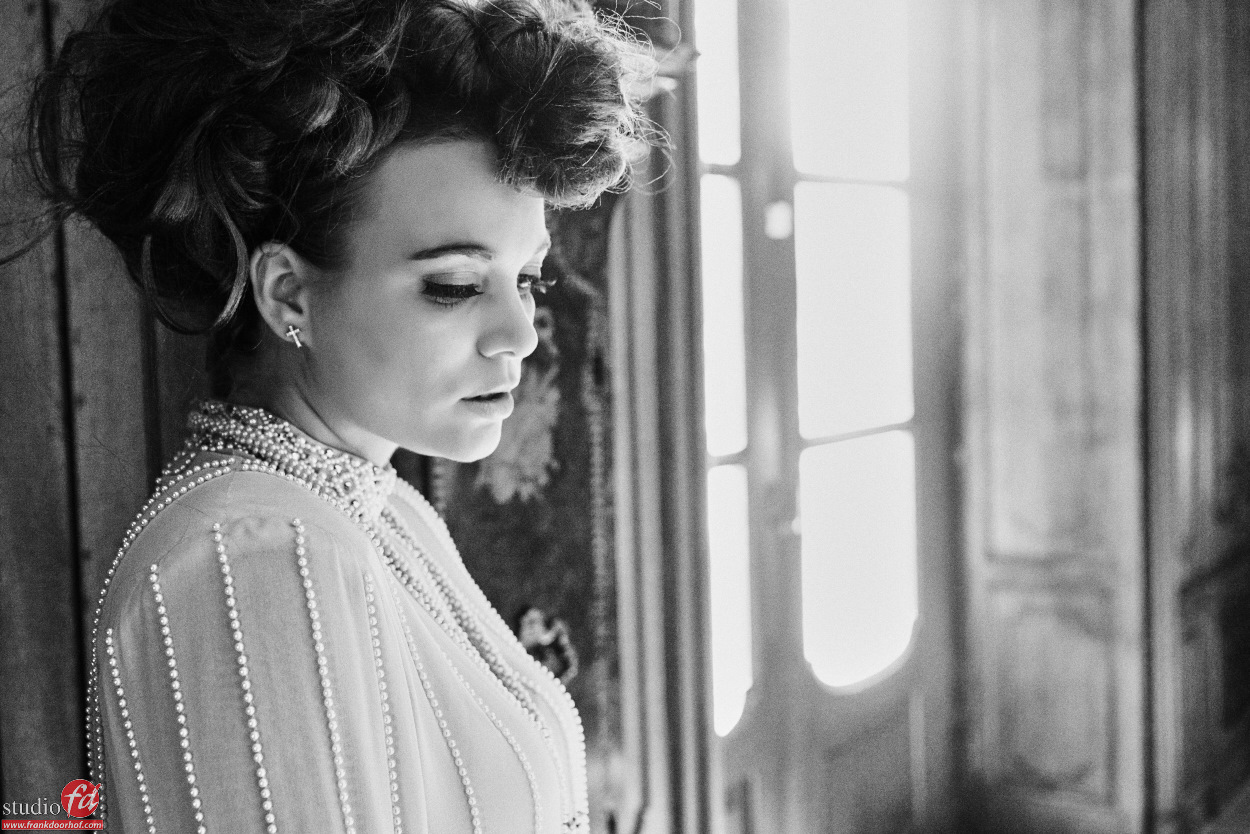
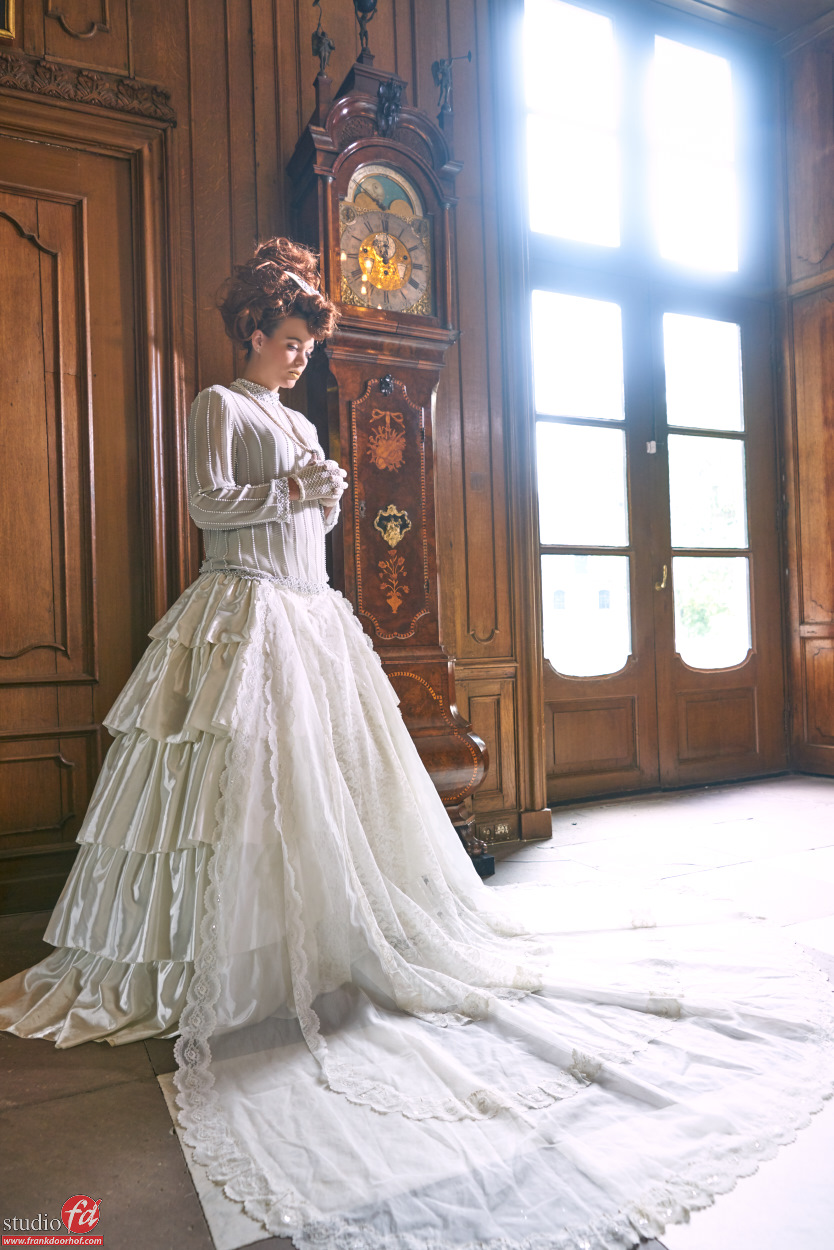
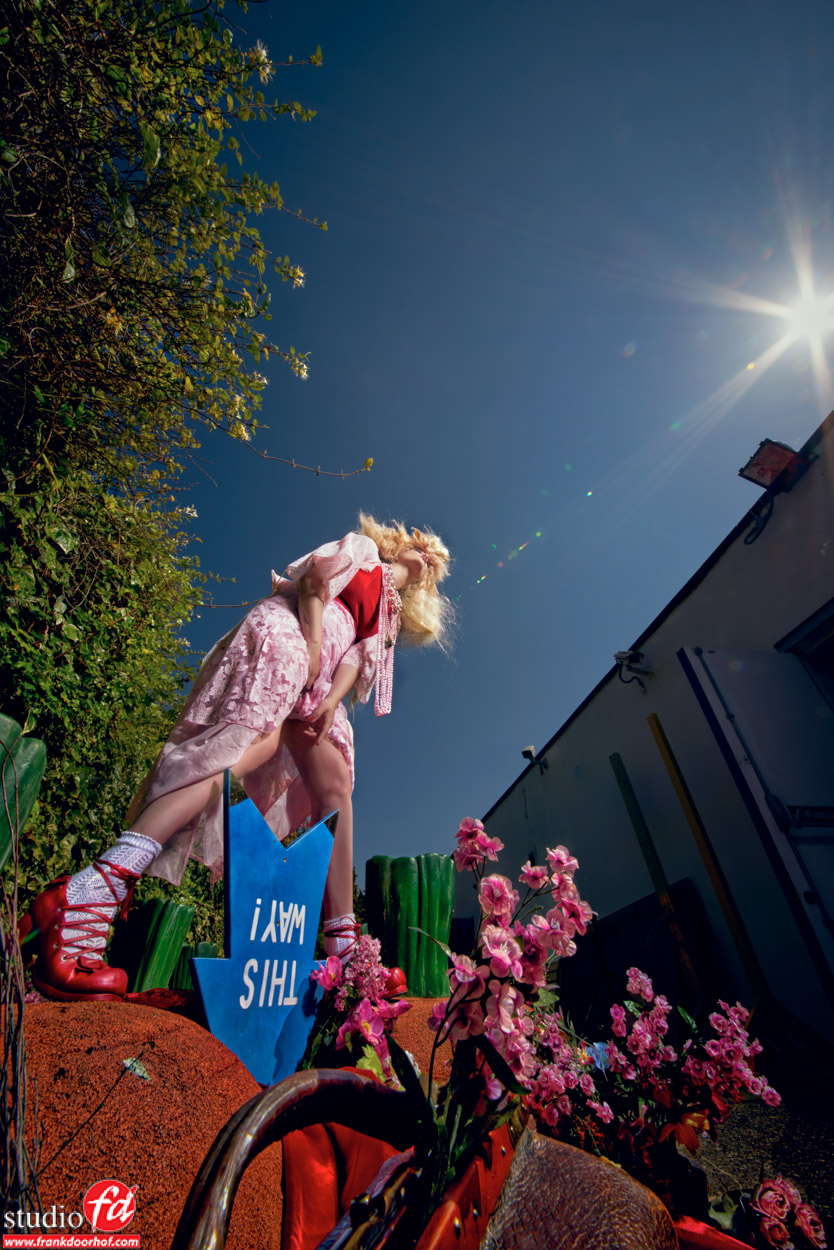
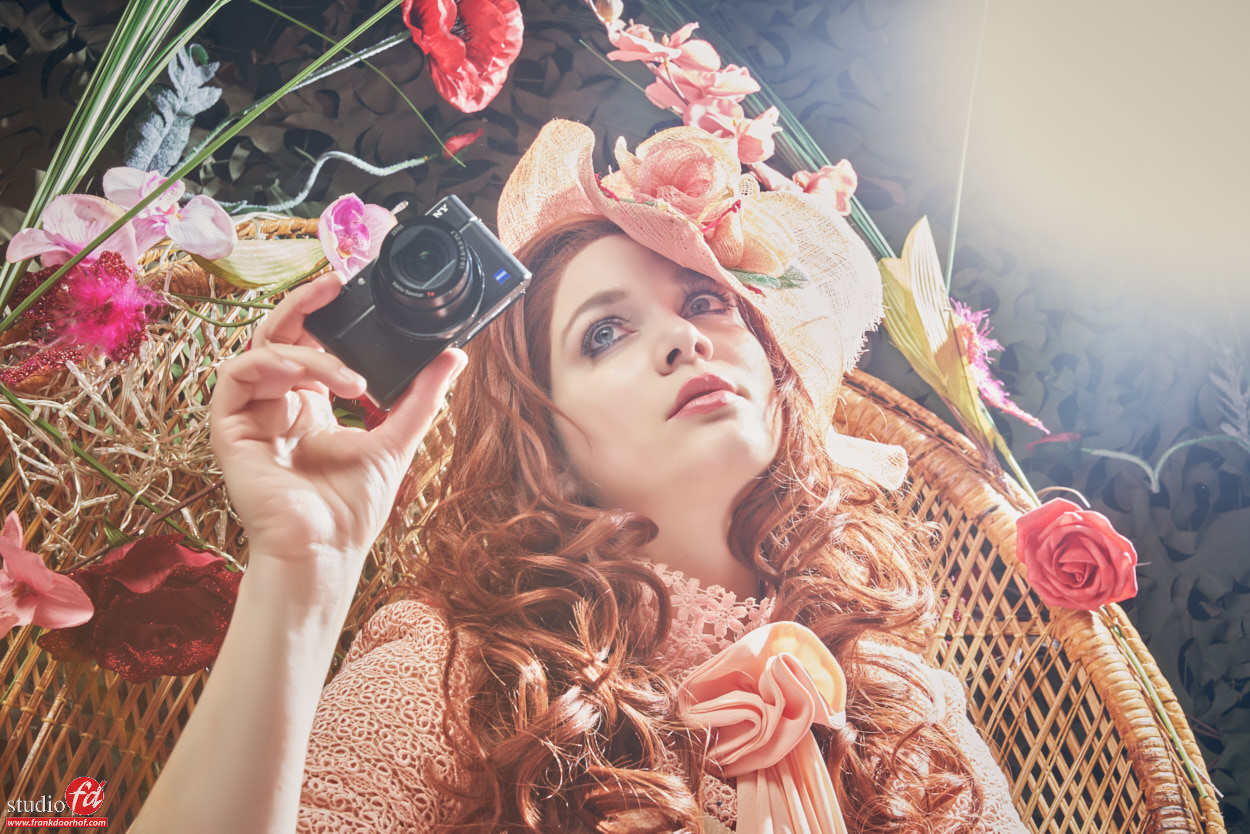
Some more samples where I used strong(er) backlighting from the sun and strobes.


Want more in-depth tips and techniques?
Check out my book “Mastering the model shoot” or get one of my instructional videos via Direct video downloads
Nadine Maart 2016 Imaging days Brussel Sony RETOUCH 0015

Nadine Maart 2016 Imaging days Brussel Sony RETOUCH 0002

Nadine Professional Imaging - 64 March 14, 2016


Nadine Januari 2 2016 0817

KelbyOne Day 3 Setup 2 82 - April 29 2015

Nadine Cannenburch 43 - September 06, 2015

Nadine Cannenburch 11 - September 06, 2015

Carre February 11 2015 27975 1

Rosa Augustus 26 DC 0038

Nadine Juli 9 2015 0065


Tip : Hiding backgrounds

While working on location you will sometimes find awesome backgrounds, and sometimes…. well less interesting (and that’s putting it mildly).
Now not in all locations it’s possible to use smoke or change the background, for example for the simple reason everything else is cool and interesting. So how do we solve this.

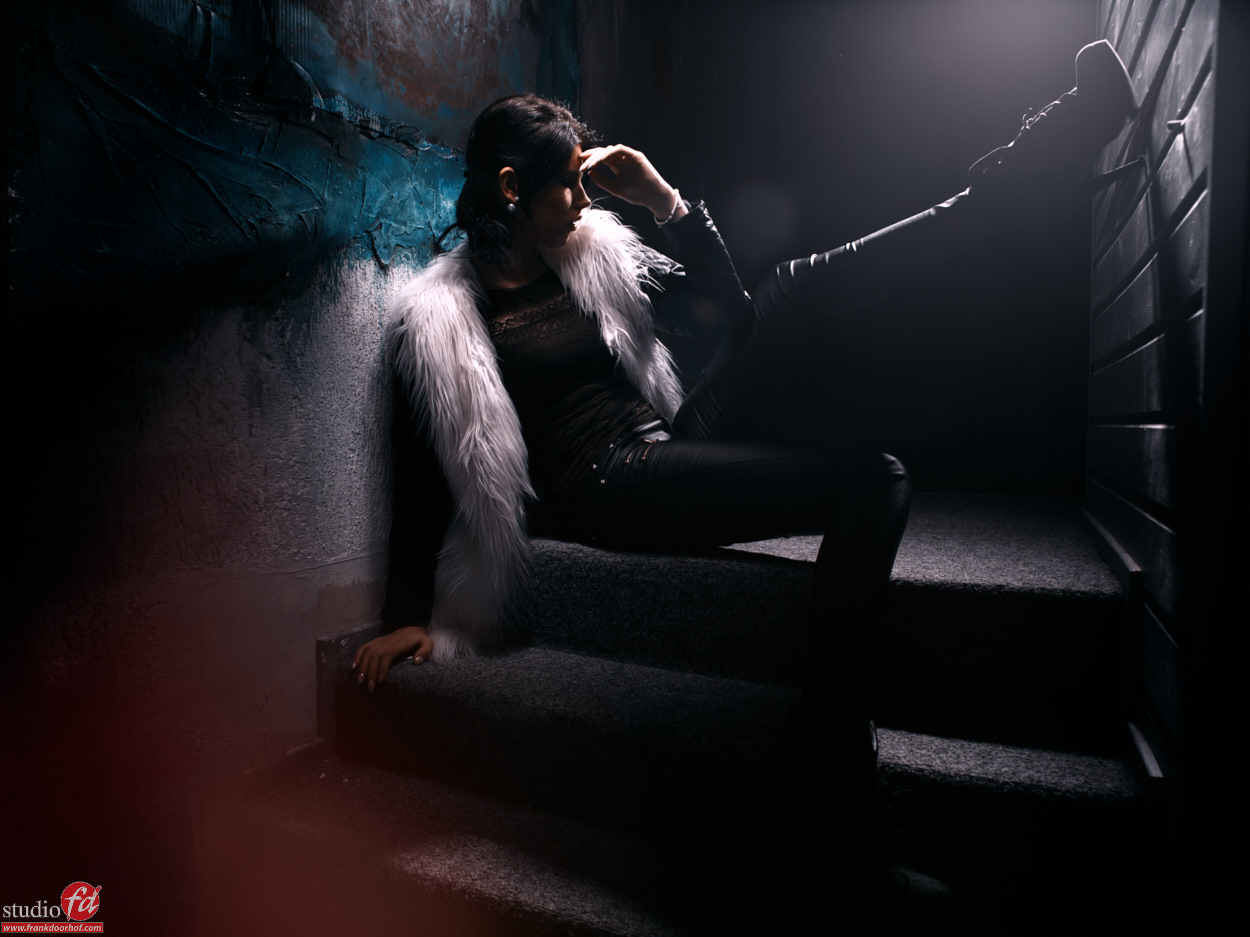
A very simple trick (and easy to do) is to use a very strong backlight, mimicking the sun, a window… or just a very strong backlight (whatever you want). This way we overpower the background and fill it with light but also “draw” more detail in (in this case) the staircase leading up to the light.

Setting this light up can be tricky, make sure you feather it so you don’t blow out detail, and if that’s not possible, maybe aim it more up so it blows out the ceiling but not the rest, and just crop that part of in your composition, it isn’t a matter of just “throwing” a light source somewhere and blast it with light, it does take some planning. But when it works it actually never really disappointed me.


For much more tips, techniques etc. check out my book “Mastering the model shoot” or our instructional videos (also available via this site).

Lens flare control can be very easy

Light is the language of photography.
Learning to understand and control lighting is in my opinion vital for a photographer, in essence you should be able to take a good shot in almost any situation. That’s also why in my workshops and instructional videos I always give a lot of attention to the more “cool” lighting tricks you can pull off when you are able to manipulate your light.

 
In this blogpost a very simple tip, but a very powerful one.
If you shoot with strong backlight there is a huge chance on lens flare, and although some think that is a bad thing, I actually love to play with it and also love the effect it has in a photo like this.


Now as you can see I show you two images, one with lens flare and one without… how did I do this?
It’s actually very simple.


Your lens hood has a certain “reach” and sometimes that’s just not enough to take away the lens flare if you want it out of the shot, the solution is however very simple… just use your hand to block off the lens flare, hold your hand above the lens hood and move it forward until (in the viewfinder) you see the lens flare go away. You can even spread your fingers and play with some cool effects 😀

Sharon Januari 8 2016 30840