About technique and more.

The new Elinchrom ELC the game changing strobes

Elinchrom meets a new dimension in lighting
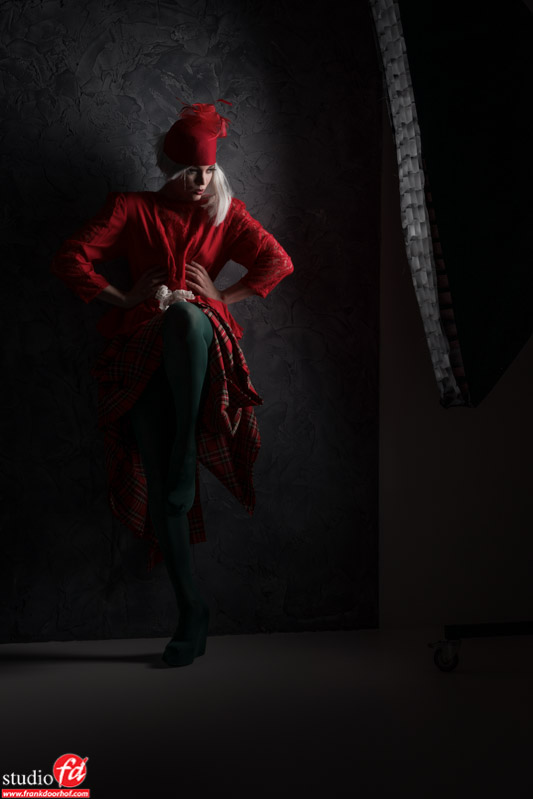
Photographers play with light, but above all we play with time. Actually for me photography is freezing a unique moment that will never happen again in the exact that same way.
In the studio we basically have two ways to use light. The first one is continuous light, the second is with strobes. You can also use both at the same time or mix them. Supporters of continuous light talk about: What you see is what you get.  The strobe supporters say: The power of strobes allows us to create stunning freezing action shots. I’m a supporter of the second group. Don’t get me wrong, I also often work with continuous light, but with continuous light I don’t have the possibility to do a day to night shot with the bright sun, freezing the moment and I cannot play with depth of field (especially creating a deep depth of field) when shooting my medium format camera.


One real disadvantage of strobes is that strobes often have to recharge after every flash, and that can sometimes can take the “flow” out of shoot.
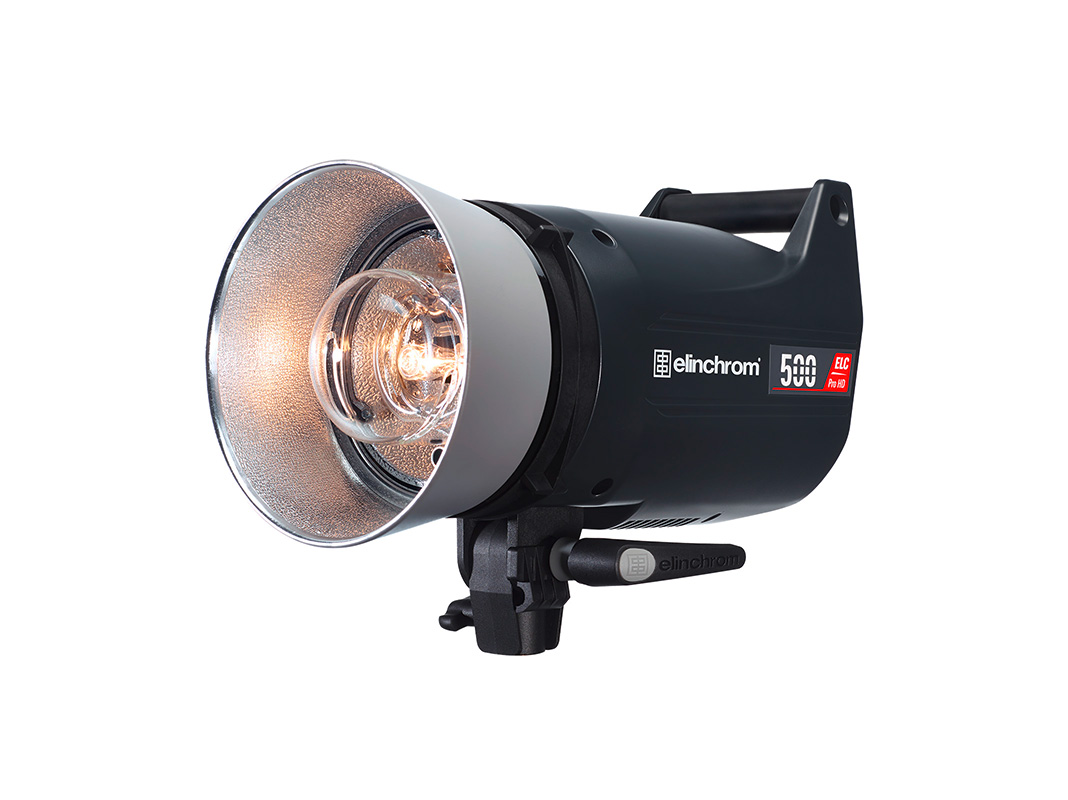
6c540d7cb22d4bb3e9c346418940ccb8Enter the ELC
Elinchrom strobes were already very fast in comparison with most other brands, but now they introduced one of the fastest strobe in the world. This is a new high end strobe  and will catch a lot of attention, not only because of it’s performance, but it will also push photographers to the next level of creativity. It will help  you to create pictures which weren’t possible before due to a load of features you will love and never saw in Elinchrom strobes before. Of course there is a lot of information in the manual and on the specsheets, but let me show you what I think are the biggest advantages of these strobes.


A few months ago Elinchrom send me the ELCs to test. It’s really exciting to test photography gadgets so long before their official release. But sometimes it’s also really really hard because, as you can understand, you canot tell anyone and trust me I’m REALLY enthusiastic about the ELCs.  And to keep it a secret and only share my experiense with a very small group… believe me it was very very hard.  I’m glad we can finally demonstrate the strobes in our workshops, on trade-shows and events.

Nadine Februari 7 2014 (222 of 297)-Edit

What is so special about ELC?
Basically the design of the units is like an ordinary Elinchrom strobe.  Only the 500 and 1000 watt are in the same housings now. This is easier for transport, and it just looks nicer in the studio when mixing strobes. The major difference however, which will make a lot of photographers very happy, is something that has actually nothing to do with the light itself 😀


The display
We all know this problem, you have to change something in your setup and…. Whoops where was that thingy again…. Is it this button in combination with that button? If you found it, than you have to search between codes like FB, FX, F1, F2 etc. and after that you have a lot more of menu options. To be honest, I love Elinchrom a lot and I work on a daily basis with it, but I need a cheat sheet when I have to change a setting that I don’t use weekly or monthly. Not a big deal of course, but sometimes in a stress full situation it can be…challenging.
Luckely this is a part of history. The new ELC units have a fantastic menu system. No cryptical desciptions, but a very clear display with full phrases and a great menu structure. In one word AMAZING!


In the menu you’ll find, of course the settings for the sky port, modelling lights, beeps etc…. but you’ll find way more than that. You can change the sound signals itself, the speed of recycling, set standby options, use the strobes in series, adjust the delays, adjust the…….. well let me put it this way……and much more.


I hear you think….. “Hey! I heard some settings that I haven’t seen before.” and yes… the ELC strobes can do a lot more than simple flash to freeze the movement. It will fill way too much space to explain everything, but I will show you some basics, which I use very often.

Sanne Januari 11 2014 -17-Edit

Read more

The BIG white one

I’ve talked about this technique before on the blog, but today a few more images shot with this technique (just because it’s a cool technique).


How to set it up?
The setup is really simple and everyone can do it at home or in their studio.
Find a large white wall (and if you want to shoot full body you also need a white floor, for example white seamless), add two (or one) strobe aimed towards the background and make sure the model is not hit by the light from these strobes.


Start on full power and meter towards the front of the model, in this case probably towards the camera.
The value you see on your light meter is the value you put into your camera and the base is there, the image you will get will often be nice but if you add maybe between 1-2 stops extra (open up the aperture) you are into the creative zone 😀


The next images are shot with 1 stop extra (metering for example F8 and shooting on F5.6).
BTW there are a lot of questions about “where to aim the light meter”, normally you will hear me tell you to meter towards the light source, and don’t worry that’s still true of course. However you have to realize the way the meter works. It will actually meter the light hitting the subject on the area you want correct. In this case that’s the front of the model, so we point the meter forward. In most setups in the studio you will place your light in such a position that it hits the part of the model you want to be rendered correctly so you point towards the light source. So don’t worry, I’m not telling you to meter towards the camera all of a sudden 😀


Nadine Februari 14 Eersel (72 of 99)-Edit

Read more

One simple light

Often I get the compliment that I only work with one light and get some “pretty cool images”, of course it’s nice to get compliments but…. well it’s not 100% true.
Let me put it differently.
I strongly believe that if you can pull something off with only one light… why use more?


It has nothing to do with the fact that there is only one sun, I never really supported that case, well ok I agree there is only one sun for us earthlings but if we look at the light around us there is much more than one light source, look at reflections, the ambient light etc. etc. actually we life in a world filled with light.


No the real reason I often only use one light is the simple fact that it just does the trick, I love the more darker looking images sometimes and let’s be honest when you use one light with for example a grid you are already half way there. The other reason is also a bit “because it’s easy” you don’t have to drag around a lot of lights, setups are very fast and the results are always great without the chance of double shadows etc. However… and I really want to make this clear, I’m not a 1 light kind of guy, on the contrary I love using multiple light sources to really add mood to a location, pin point the model with one and add the rest with a second (or third), add some accents where I want them, add a splash of color and sometimes…. well I bought a lot of lights and Annewiek wants me to use them at least sometimes (Ok that was a joke…. or was it).


Now most people somehow struggle with the use of one light, so today a small sample about how you can learn to master your one light.
For this setup I used one striplight with a grid (shot during the workshops in Eersel for Studio76 with Nadine as my model).

Nadine Februari 14 Eersel (24 of 99)-Edit

Read more

2 black and whites and some tips

During studio sessions it’s always difficult to find something new in let’s say a portrait.
Now let’s be honest… we all know the mom and pop images, just a standard portrait that you see almost every where on the wall, why? well simply put it’s the shot of a child/family member you know.


But why not just go a little bit further.
I hear you say… “well because I’m not working with a model”
Well I hear you, working with a model has it’s benefits of course, but the following two shots could have also been shot with a client that is not a model, actually even the light setups are very simple.


In the first shot I use a small beauty dish with grid as my main light and added the strong black and white effect in PS with Silverfx 2.
Manon Februari 15 Eersel (36 of 41)-Edit

Read more