About technique and more.

Tip: Directional lighting or character lighting

One of the first things people ask me when they visit our studio is why I use so many soft boxes with grids.
And I understand, in a lot of studios you will find plenty soft boxes but often without grids. Of course it depends greatly on what you do with your light and what your personal style is, that goes without saying.


I always explain it as follows
“Light is the paint you tell your story with, but it also dictates the character of your model/subject”


Now what do I mean with this.
I strongly believe that if you shoot a model in jeans and tanktop you have to be lighting wizard and have a great model to make something that’s really WOW because well… there’s not much going on. Now as soon as you throw in styling and a great location things get interesting and even with a huge softbox images can already look awesome, but you actually look at the styling and background “Only”.


Light can be manipulated and what photographers often don’t realize is that light can actually enhance a character of the model/subject. Think about Peter and the Wolf (Sergei Prokofiev) which in essence is a learning tool for children to learn the different instruments in an orchestra, but it’s so much more. Every instrument has it’s own “voice/character” you immediately hear if something is BAD, big, small, happy, old etc. it’s actually a stunning piece of work when you think about it. Now how do we translate this to lighting?


Very simple.
If you want something to be bright and friendly use large soft light sources.
If you want something eerie, aggressive or full of character use harder light sources.
Now you don’t hear me say you can’t shoot an elf with harsh light… but it doesn’t really make sense if you want something to be nice and free.


Hollywood uses this technique for… well for ever. They even add a lot of toning to this. Think about the Matrix with it’s distinct green and blue tones, or Titanic with it’s beautiful reds, but also Saving Private Ryan with the high shutter speed material and damaged almost BW material… the list goes on an on and on, and still for a lot of photographers light is …. well just light.


Try to image a story with every single shot and adjust your lighting to this.
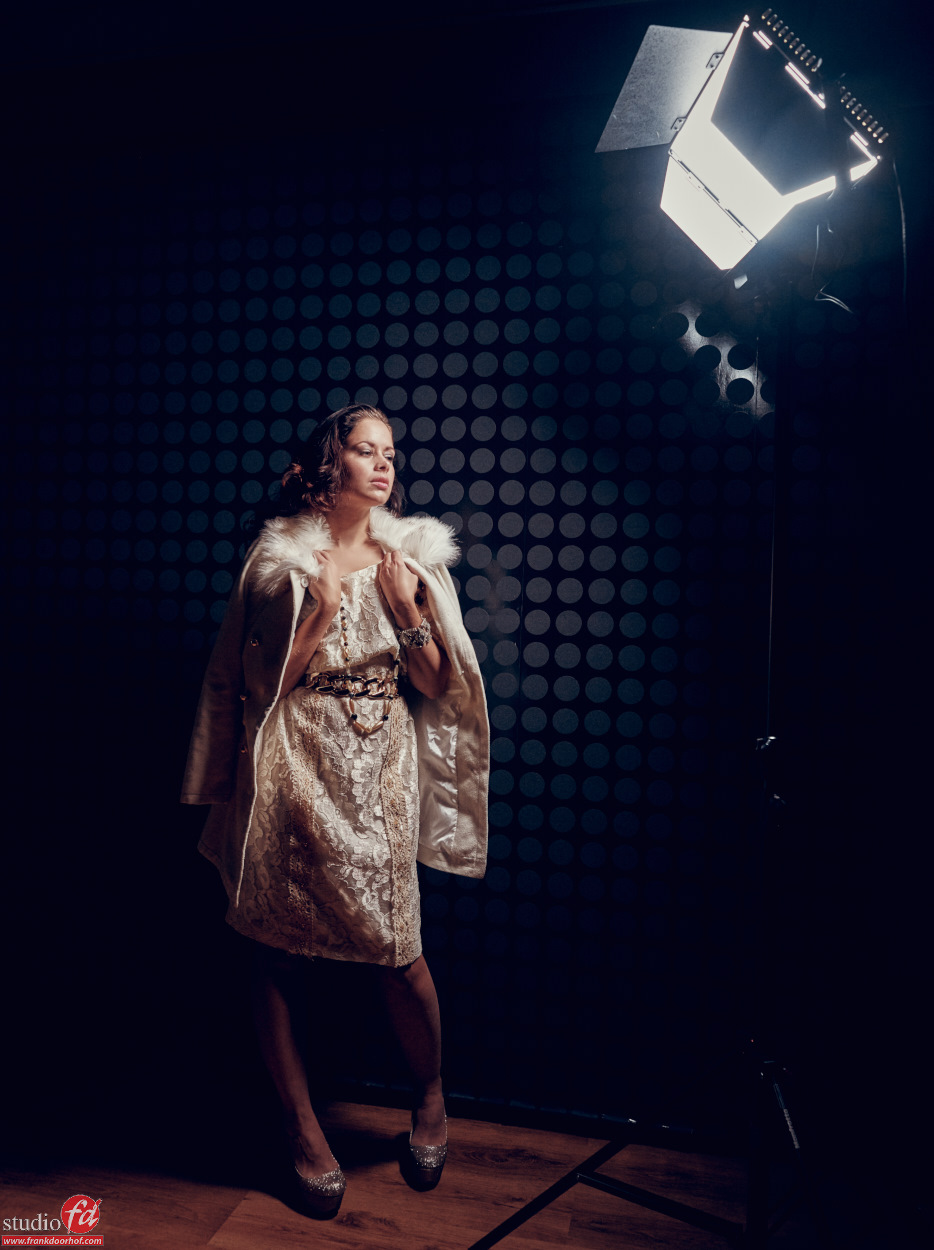
This is one of the reasons I love to be able to really steer my light (hence the grids), it opens up a lot of possibilities. But there are of course a lot more different sources you can use, for example the Westcott Ice Light (but make sure you use the barn doors), or what about led panels (we use LedGo), the possibilities are endless as soon as you start to see light as character.


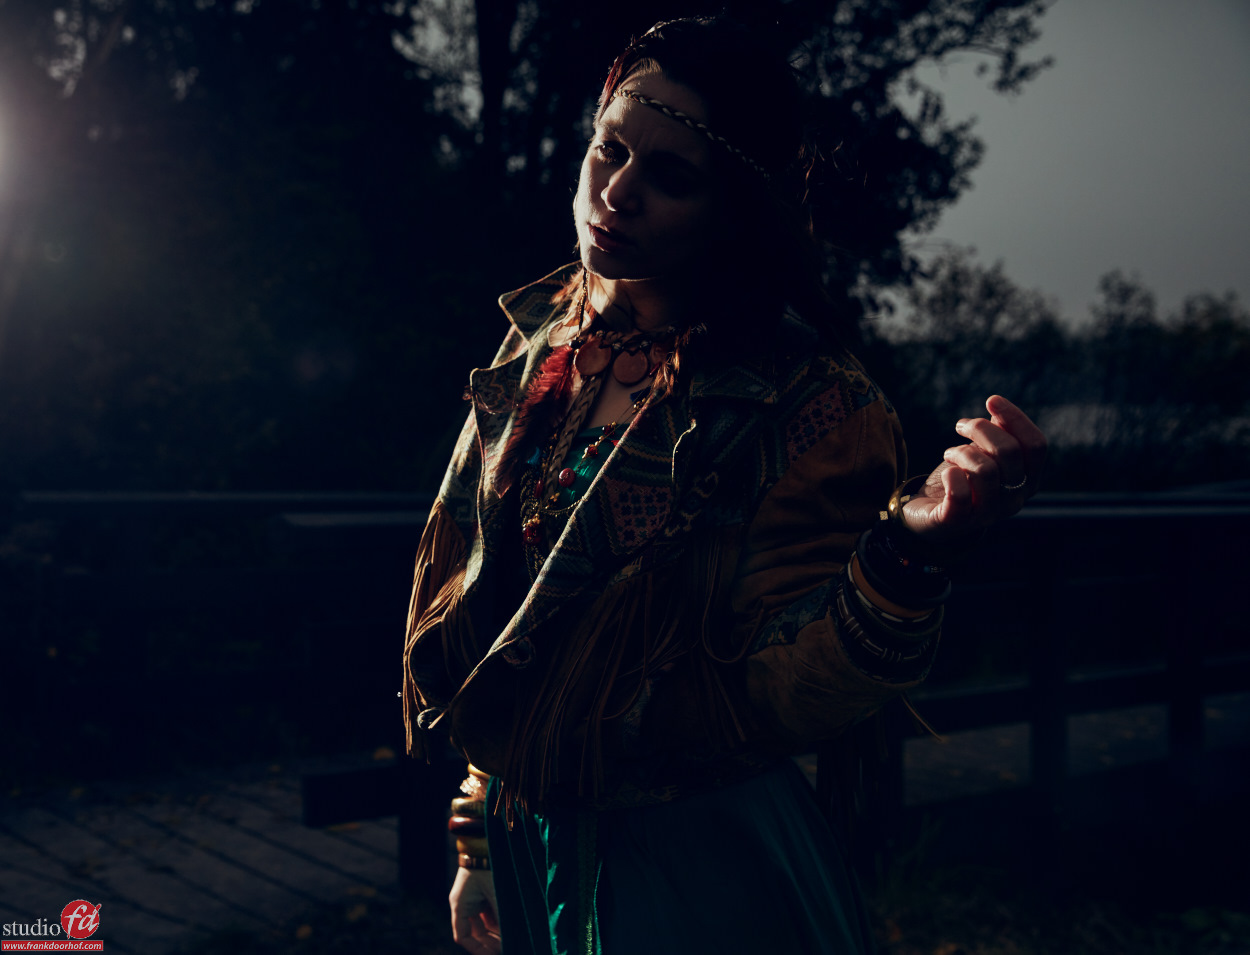
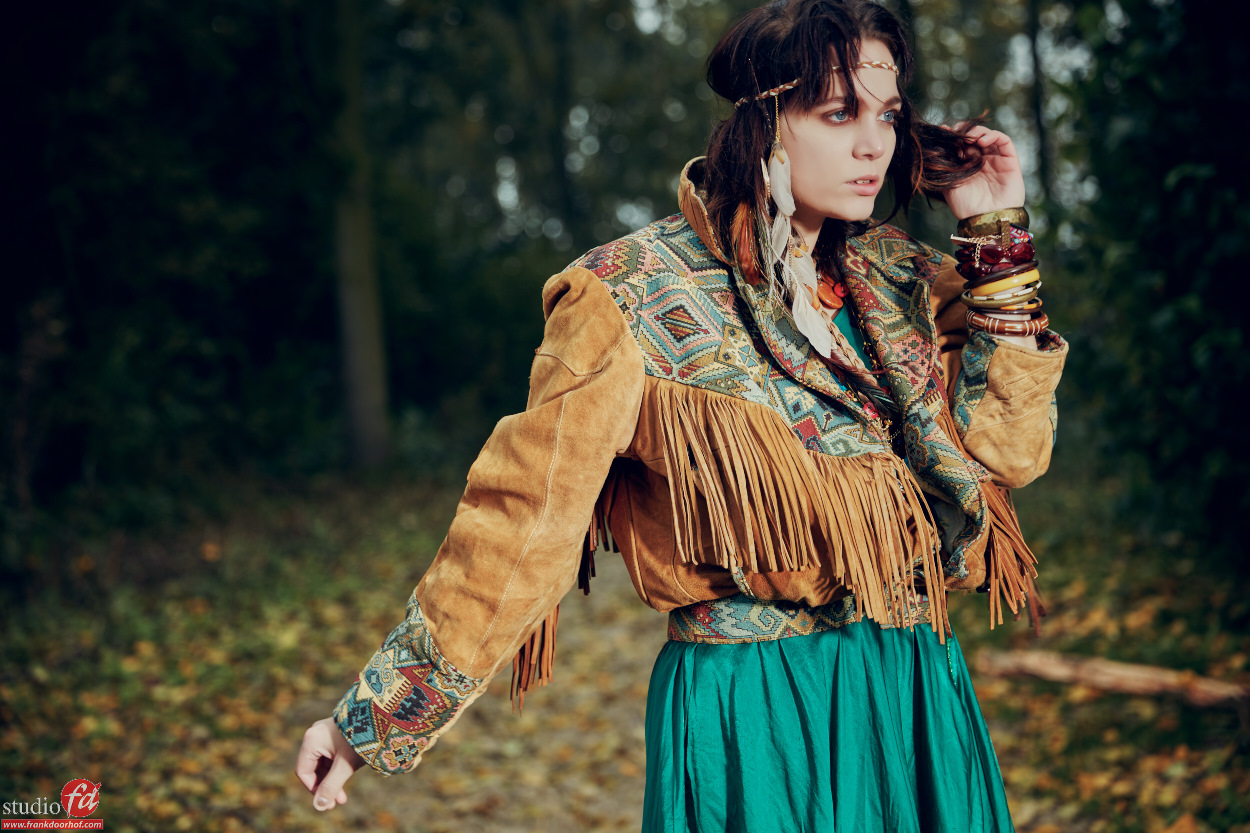
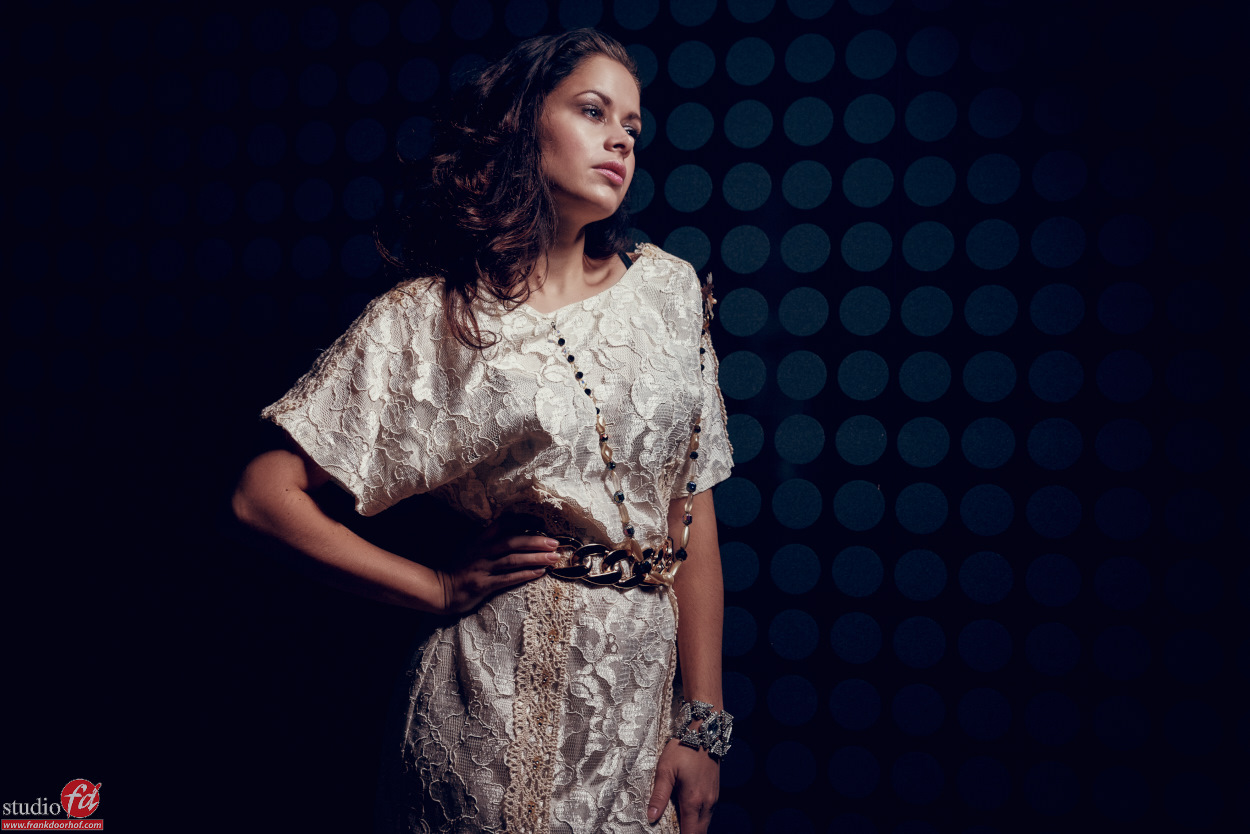
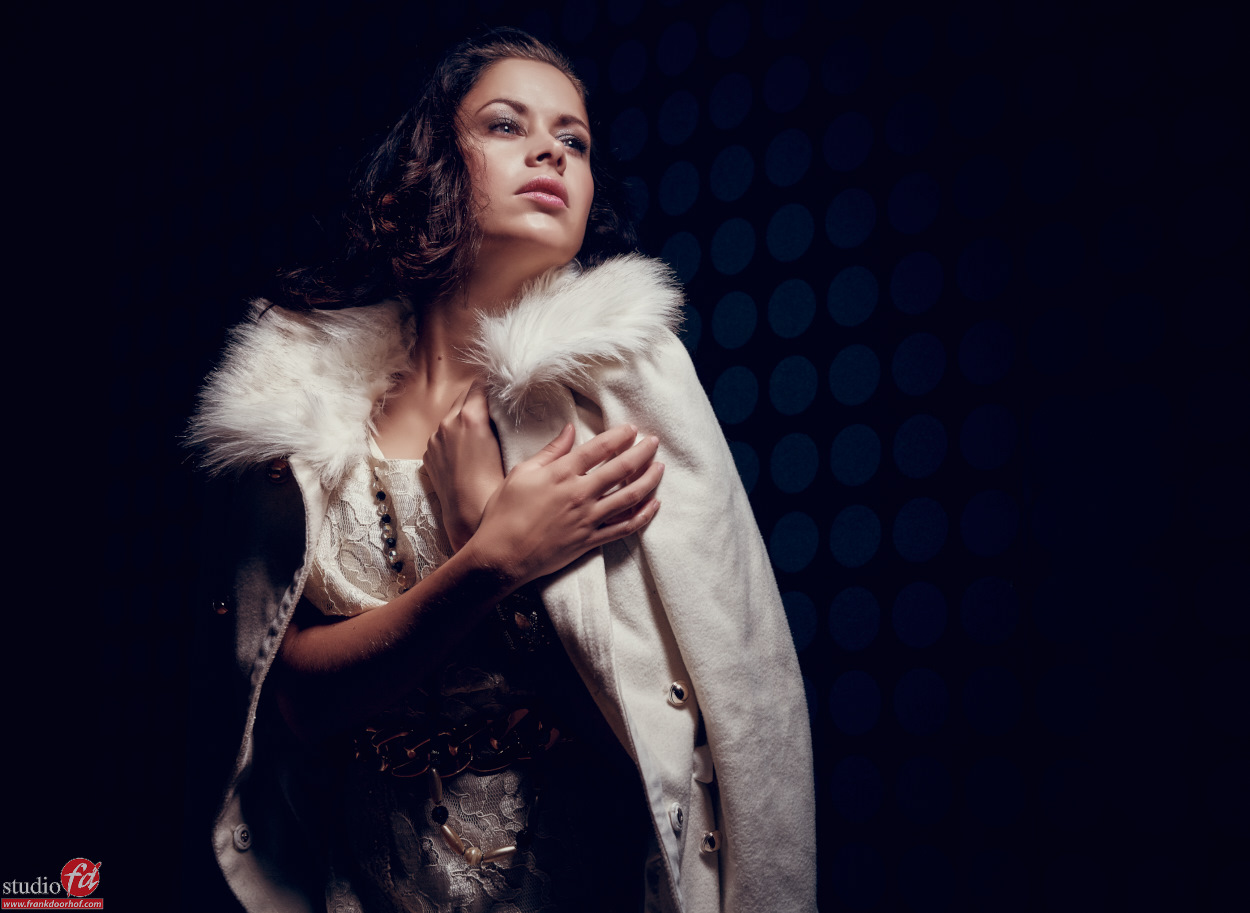
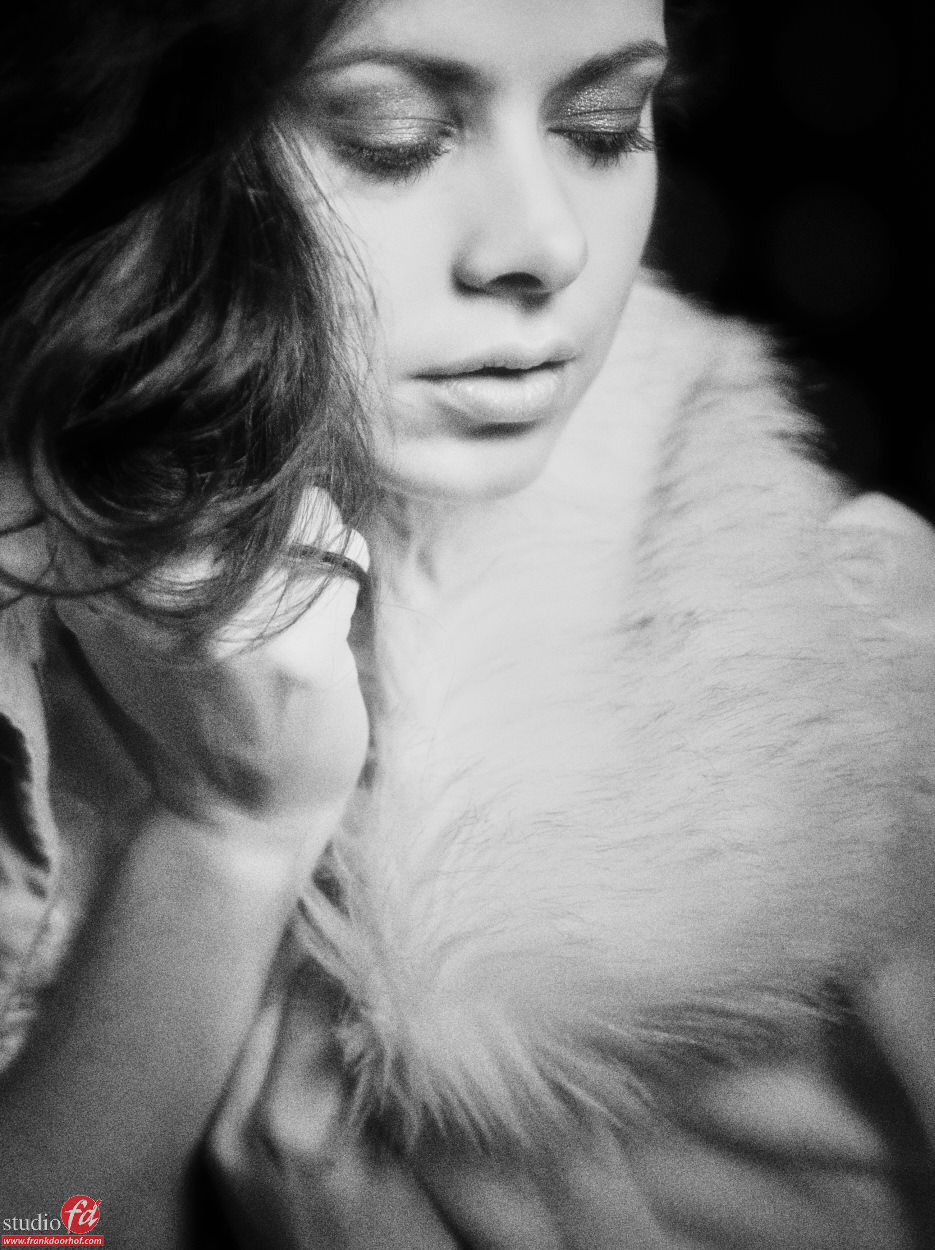
For example here two images from Nadine shot with VERY directional and aimed light.


Nadine Digital classroom September 23 2015 0347 BW

Nadine Digital classroom September 23 2015 0347

So the next time you shop for lighting make sure you are able to add grids later on, we love to work with a company called Honeycombgrids who makes grids for almost any modifier you will probably use, and they are pretty inexpensive (highly recommend them)
But most of all realize that light actually creates character, and shadows are the soul of a shot.
Good luck.


Want to learn more on model photography check out my book Mastering the model shoot and our instructional videos (via this site), or of course check out kelbyone.

Elinchrom HS system first tests

You probably already read some things about it, but Elinchrom recently released their new Skyport and that introduces a whole new way of shooting images outside (and inside). In case you didn’t let’s quickly tell you “all about it”


Skyport
The skyport is the system for triggering Elinchrom strobes (and they also have an universal version of course), main advantage of the system is that you can also change the output of your strobes and turn on/off the modeling lights, use groups and channels etc. A pretty cool system in a remarkable small package. Well you can skip the small in the new incarnation of the skyport, you could say it’s matured now.
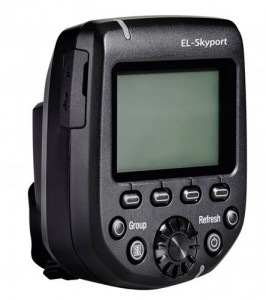
ELI19366

But as you can see it’s a good thing, because one of the first things you notice is the big LCD display, and that is awesome. You can now see which strobes are active, you can select the strobes and change settings, and of course you can still change the output of the strobes, switch between groups and much more.


In short the new system has the following new features.
1. Much stronger, so longer distances (something that was needed in my opinion)
2. ODS control, later more but very important for HS use
3. Focus assist beam (very handy in darker studios)
4. HS
5. USB for updates
6. Uses normal AA batteries (yeah)


But the biggest thing is of course: HS


What is this HS?
Well it’s actually quite easy to explain… it makes it possible to sync at higher shutter speeds.
Normally studio and location strobes (except small flash and some other brands) are limited to the so called X-sync which often means that you can shoot up to 1/125 or 1/160 without any problem but above that it’s hit and miss to let say 1/200 and after that you will start to see black bars (second shutter curtain).


Now when you’re used to this it’s not a real problem, but it does limit your creativity, you can’t fight the sun and shoot wide open, simply because the shutter speed would be way too high, you can of course use ND filters but then the camera has problems with focussing so perfect…. well far from.


The HS system from Elinchrom breaks this barrier and makes it possible (in certain configurations) to shoot all the way up to 1/8000 of a second. Which is pretty cool and something that was not possible yet on the Elinchrom system. They achieve this by very clever timing with the TL pre-flash and making sure everything is syncing as good as possible, and this way it “seems” like you have strobe power over the total range of shutter speed, and this is true but… there are some things you have to realize and that you probably don’t read in other reviews, so that’s why I wanted to give some attention to it.


What you need to know
In theory (and real life) the system works awesome, it doesn’t eat your battery (which a strobed system would do where the flash is repeated constantly, like speed lights) and the Quadra for example recycles very fast, just like you’re using it normally.


What happens is that the timing is so accurate that it seems the whole sensor is lit even with 1/8000 of second as shutter speed, but… this works only with SLOW strobes, for example the D-lite series (believe it or not) are perfect for this, but an ELC on the middle setting (clocking in at 1/5600 of a second) is not very good for this system (it actually cuts off at app 1/500 on a Canon 5Ds without fine tuning I have to add), but the BrX, D-Lite etc. all work surprisingly well, and this is very cool because this means you don’t need to buy new strobes. Then why did Elinchrom release new heads (the Quadra HS head for example), well that’s easy to explain, the HS head is a VERY slow head and this means it’s perfect to reach that 1/8000 of a second shutter speed without any problem. So in short, shorter duration strobe heads will not work that well, long duration heads will work perfectly.
The other thing you have to realize that (and it hurts to say this) you can forget about the light meter.
The reason for this is simple to explain but sometimes hard to understand (yeah it sounds funky I know).
To achieve the higher shutter speeds the camera cuts the strobe off earlier, with ODS you can tune this but, the effect is that the higher the shutter speed the LESS of the strobe duration is used.


If for example a strobe has F16 on 1/125 it’s not also F16 on 1/4000. In fact it could very well be F2.8 by that time. And no that’s not a bad thing, it’s simply how these systems work, and the same happens with speed lights, you loose light output the higher you set the shutter speed, ANY system on the market has this “problem”, but thanks to the digital polaroid on the back of the camera we can check.


We did some tests very quickly with the Elinchrom Quadra and the HS head in combination with a Canon 5Ds and it was easy to reach shutter speeds of 1/8000 f2.8 and get some stunning results that were not possible before during day time. It’s a bit getting used to for me to constantly check my digital polaroid, but within a few minutes it becomes second nature, and because the skyport is very easy to operate and give more and less light to the strobe it’s actually something you get used to very fast… and if you never  used a meter before… you will probably don’t even notice this.


In practice
It’s incredibly handy to be able to control your DOF on location, but most of all to control the ambient with the shutter speed over a MUCH greater range than from 1/125 to the minimum you can hand held. You do (again) have to take notice that if you change the shutter speed to let in more ambient light you have to adjust the strobe, but already after one hour of use I found myself doing it almost automatically and nailing the exposure almost spot on every shot I took. And let’s be honest I rather be able to break the barrier of 1/125 and not being able to meter than to meter and be stuck on 1/125. For your creativity this is a HUGE step forward. Plus you can now do almost everything with just the Quadra, add a maxi light and you’re in lighting heaven so the say 😀


Canon and Nikon
At the moment the system only works on Canon and Nikon, Sony will follow soon (I hope very soon), you can of course use the new skyport already on Sony, Fuji, MF etc. but it will do actually everything EXCEPT the HS option.

One could say that Elinchrom is late in the game with their HS system, but I have to be honest the product I see now (and worked with) is superieur to what I’ve used before (note : I don’t really care for ETTL on these systems) and I rather wait a bit longer and have something that works like this than cut corners.


I’m very excited about the system and can’t wait for the Sony version.

We filmed two small videos for the HS system, and today I share some images from the video with Nadine, videos will follow later.


Let’s start with just natural light, everything else is strobed.

Nadine (2 of 79) October 28 2015
Nadine (15 of 79) October 28 2015

Nadine (68 of 79) October 28 2015

Nadine (62 of 79) October 28 2015

Nadine (52 of 79) October 28 2015

Nadine (46 of 79) October 28 2015


Nadine (40 of 79) October 28 2015

Nadine (28 of 79) October 28 2015

Nadine (28 of 79) October 28 2015 1

Nadine (20 of 79) October 28 2015


Feathering the light

One of the most powerful things you can do with light is actually something that is often not used by most photographers.
Every light source has a similar behavior (some more some less), the middle is pretty harsh and bright and the more you go to the edges the softer but also dimmer the light gets. With some light sources this is less obvious and with some it’s very obvious but the following trick works for all.


When we “normally” light a model we are used to aim the light source directly at the model, meaning the model is in the hotspot, however this also means that the light falls off near the model in all directions. In other words the model is in a sort of “bubble” of light. Normally this is not really a problem, but if you place your model next to a wall and you want less light on the wall this is often not so perfect. This is where feathering comes into play.


If you feather your light you actually aim your light away from the model and in essence you light the model with the sides of the light, meaning less power but also in almost all cases a nicer light quality (softer).


In this example you can see the effect with our model Sanne and a LedGo led panel we normally use for video.
The wall is highly reflective and when you light your model in the hotspot the image will not be pretty (to say the least), by feathering you can create some very nice vignetting on the wall, get some nice light on the model and the end result is much more pleasing. Of course you can still walk around the model for less or more contrast as you can see in the examples.


Sanne October 16 2015 0023

the setupSanne October 16 2015 0054

Sanne October 16 2015 0070

Sanne October 16 2015 0084

Sanne October 16 2015 0097


A little bit about the light meter

Todays fact :
How to make Frank sad….

Sometimes we work together with a company that sells some of our videos, and don’t get me wrong we love those guys and we have had a great relation, so this is not to bash them in any way but it does EXACTLY show what’s “wrong” with photography today.

Recently I recorded a new instructional video on the use of the light meter called “Mastering the model shoot : the light meter” this video explains not only how to read and use the meter but also shows examples of light setups that are normally really difficult to figure out and take a lot of test/trial and error shots while with the meter they can be set up in seconds. The video literally shows everything a photographer should need to know about the meter.

The responses on this video has been incredibly well so I thought why not offer them this video also for a nice action, right?

Imagine my surprise when I got this response this morning:

—————————————————–
Actually we were reviewing this Lightmeter video and it looks great, no doubt but its just that we feel the light meter nowadays is only used by very few photographers. It was mostly used in the early 2000s and before.

So we may not get good sales for this deal. Can you refer us some other product of Frank which is doing great now a days?
Would love to know more details if there is any.
——————————————————-

Excuse me?
The fun thing is, and really mean this… this is one of the things I hear A LOT…. and it’s just very short sighted.


Let me give you an example
You go the doctor and you have to have surgery.
You are on the bed and just before you close your eyes you hear this Doctor :”Hummmm nurse where is the appendix again?”
Nurse :”Pfff I don’t know, why don’t you just start cutting and if it’s not there you can always close it up”
Doctor :”good idea, but with my experience I will probably be close enough”

Sounds ridiculous right?
Well it’s about how photographers perceive photography today, we will just take some test shots, compare it on the “digital polaroid” on the back and we will correct the rest in Photoshop. Or even better… I can guess it very good… I’m normally about a stop off… (Yeah that’s double the amount of light so pretty close dude)

Or how about this one, a real story:
“I never ever use a light meter…. it just doesn’t make any sense…. you know why?… I love to overexpose all my shots by about 0.5 stops to get my signature look, so a light meter….. (scuffs) not for me”

Yeah “dumbo” so how do you know to over expose by 0.5 stops if you don’t know the correct setting.

And don’t even get me started about videos online that get thousands of views where photographers claim they don’t use a light meter because models are not 18% gray…. that’s reflective metering smartypants not incident, in fact that’s why you SHOULD use a meter because your camera tries to make everything 18% gray…. and I can go on and on and on and on.


In Essence…
The light meter is a tool, it’s just like a ruler a carpenter uses it’s not an old fashioned tool it’s hypermodern, there are versions with touch displays, there are apps on your phone that can do it. The light meter is not a vampire that will sucks all the creativity out of you at night when you leave it too close to you on your nightstand (btw don’t think I sleep with my light meter).


The light meter is a device that meters your light
In photography light is our language.
If people would take the time to LEARN that language they would find that they don’t need a meter to take photographs but that the meter is a tool that will help them to INCREDIBLY speed up their workflow, get CONSISTENT results and cut down their time in Photoshop and Lightroom AT LEAST in half, and on set probably tenfold.

People discarding the meter as pre 2000 are still thinking light changed when we switched to digital, but in essence it didn’t, we still need an Aperture and shutter speed and ISO, that didn’t change… I don’t tell you you NEED a light meter to take the photos you see from professionals, heck even a lot of pro’s don’t use a meter, what I do tell you is that if you want to make those (or your) photos QUICKER and more CONSISTENT you should really try a light meter.

In all these years I teach I have converted more people to a light meter than you can count (and I can remember), NONE of them came to my workshop with the idea they were missing it, MOST (if not 99% of them) leave the workshop with they idea they actually need a light meter for the simple and pure speed I set up my lights.

And that’s all it is… a very simple tool to help you with that.
And to be honest if you take the 70 minutes to watch the video you will actually know the meter by heart, because in essence it’s incredibly easy to use and to operate (despite of what some people tell you online)

So to make a long story short :
Head over to https://frankdoorhof.com/web/shop-videos-etc/direct-video-downloads/ and select the light meter video and use the code “light” and get a 20% discount (about the same the other offer would have been).

But I do ask you, and I normally don’t do this that much…. feel free to retweet, repost and tell people about this little rant… because I really do feel sad that a tool that is so handy for photography is put into such a bad light (no pun intended).

I will keep this code active for the next 1-2 weeks.
And if you try it on all our other videos… well it might work too 😀

Here is also the trailer we shot for this video :

Again this blogpost was not made to bash the company which we consider as dear friends (we really do) but to actually point out a “prejudice” I encounter all the time and to be honest I don’t know how it ever was created but I really wish people would think before they take their position against the light meter.