My blog, although I don’t see myself as a blogger but as a Photographer I will try to blog some interesting material during the weeks.
Expect at least 2 updates a week.

A quick tip about stacking filters

In todays blogpost a quick tip about stacking filters.
I’m using the Frank Doorhof K&F Concept kit which contains the 1/4 and 1/8 Black Diffusion filters with a magnetic connector for super fast and easy switching, but you can of course also…. well combine filters this way, so let’s take a look at how that looks.

you can order the kit from frankdoorhof.com/shop or in your favourite camera store that sells K&F concept.

The Rogue snoot in action

In todays post some images I shot with our model Claudia testing out the new Rogue snoot on Nissin speedlights.
On these images I used the Rogue snoot bare, so without the diffusion panel in the gel holder.

When you use the snoot on a speedlight you actually have 8 different ways to use the snoot.
The first 4 are of course the different settings for the size of the area covered with the snoot, but the other 4 are actually when you don’t use the diffusion material in the gel holder. With speedlights you “need” the diffusion material to create a round bundle of light, but when you take it off you actually see the rectangular size of the strobe, which gives some interesting effects 😀

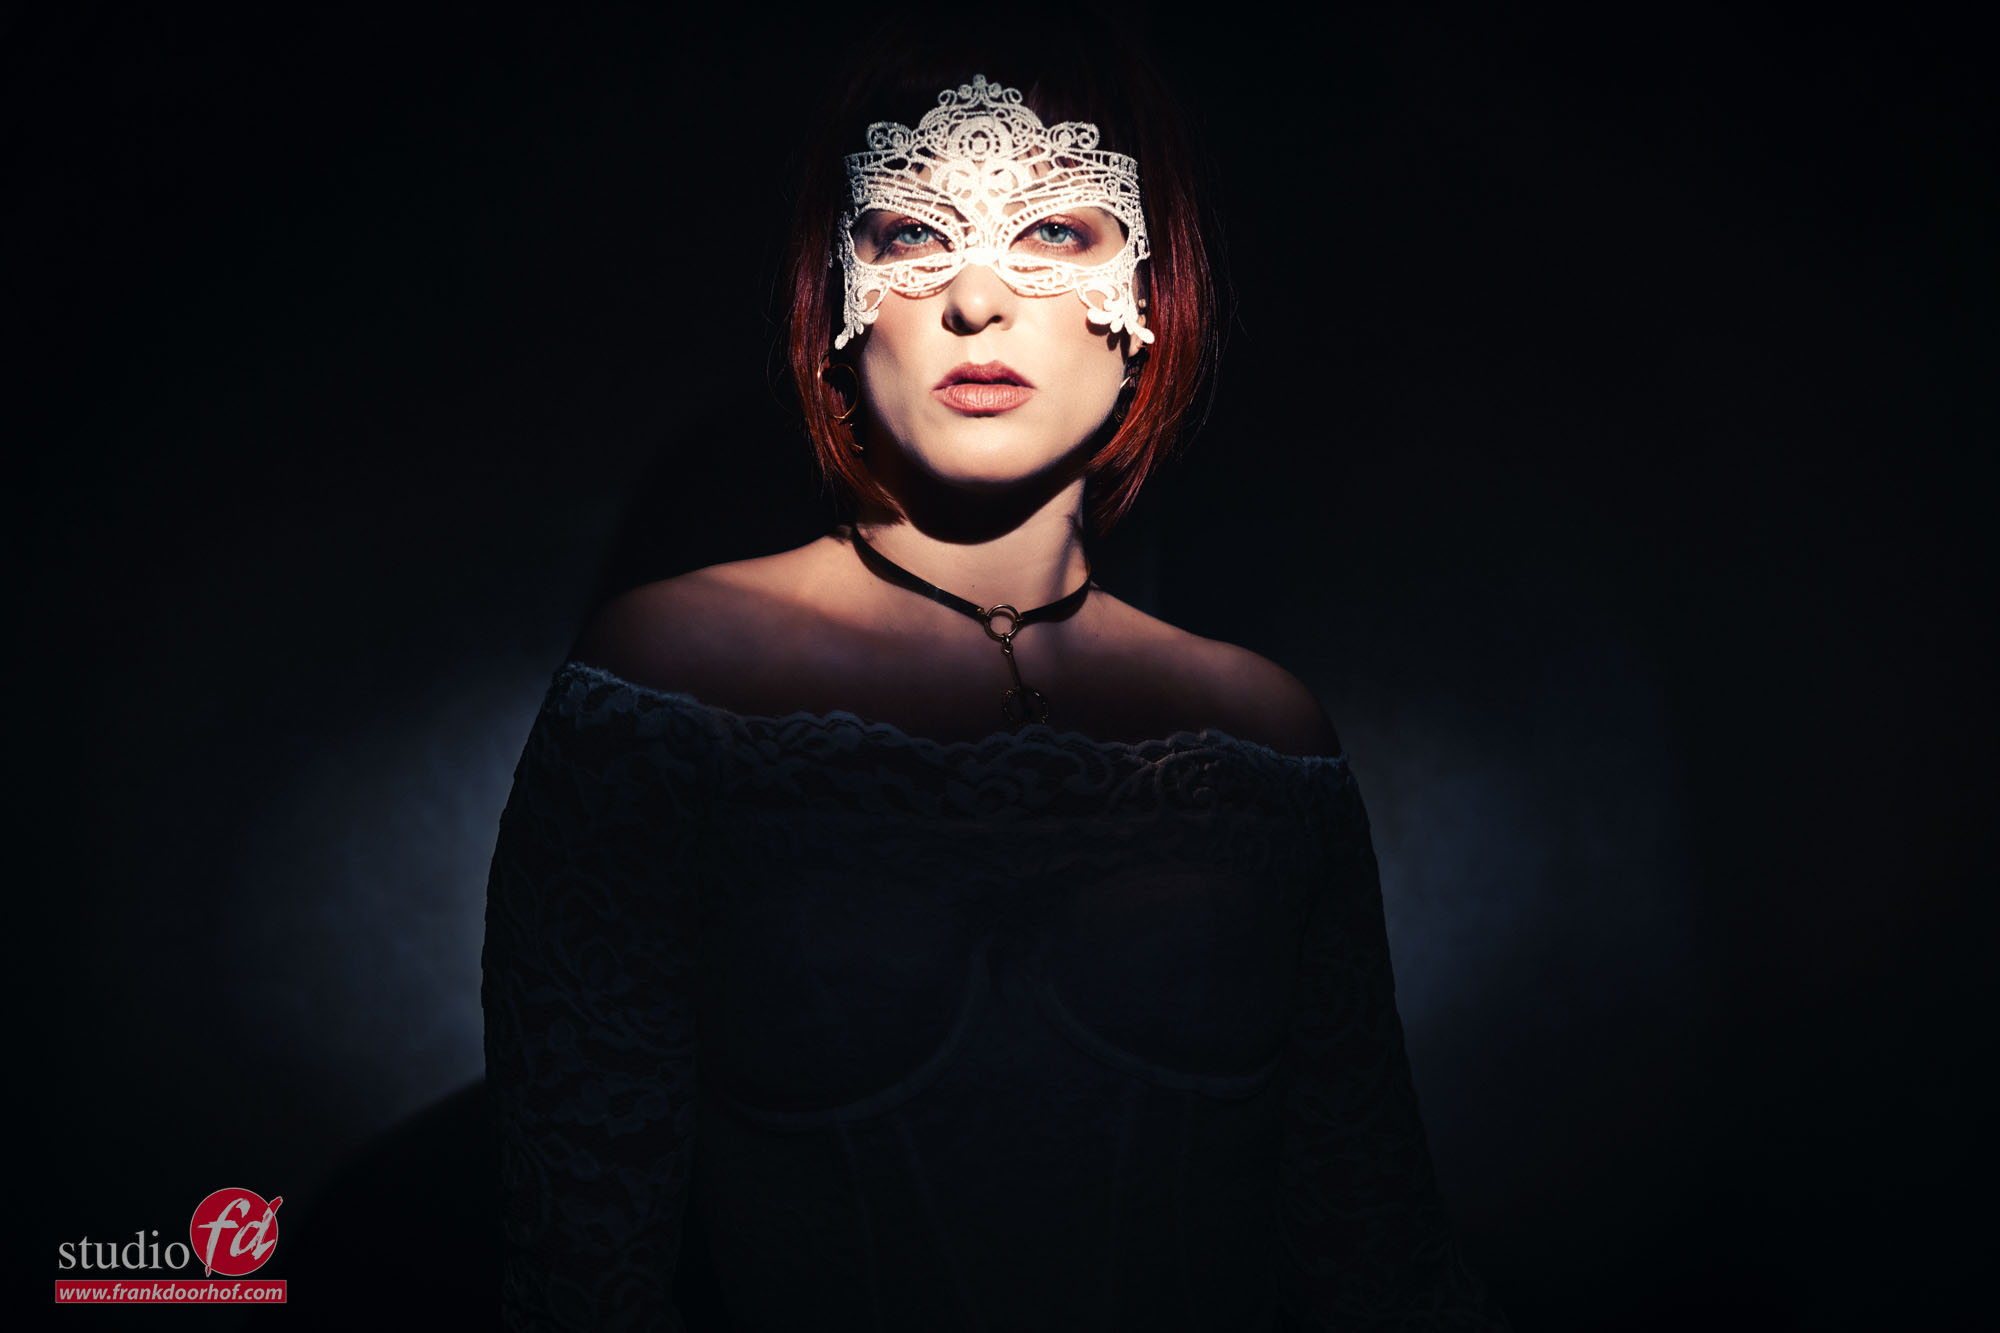
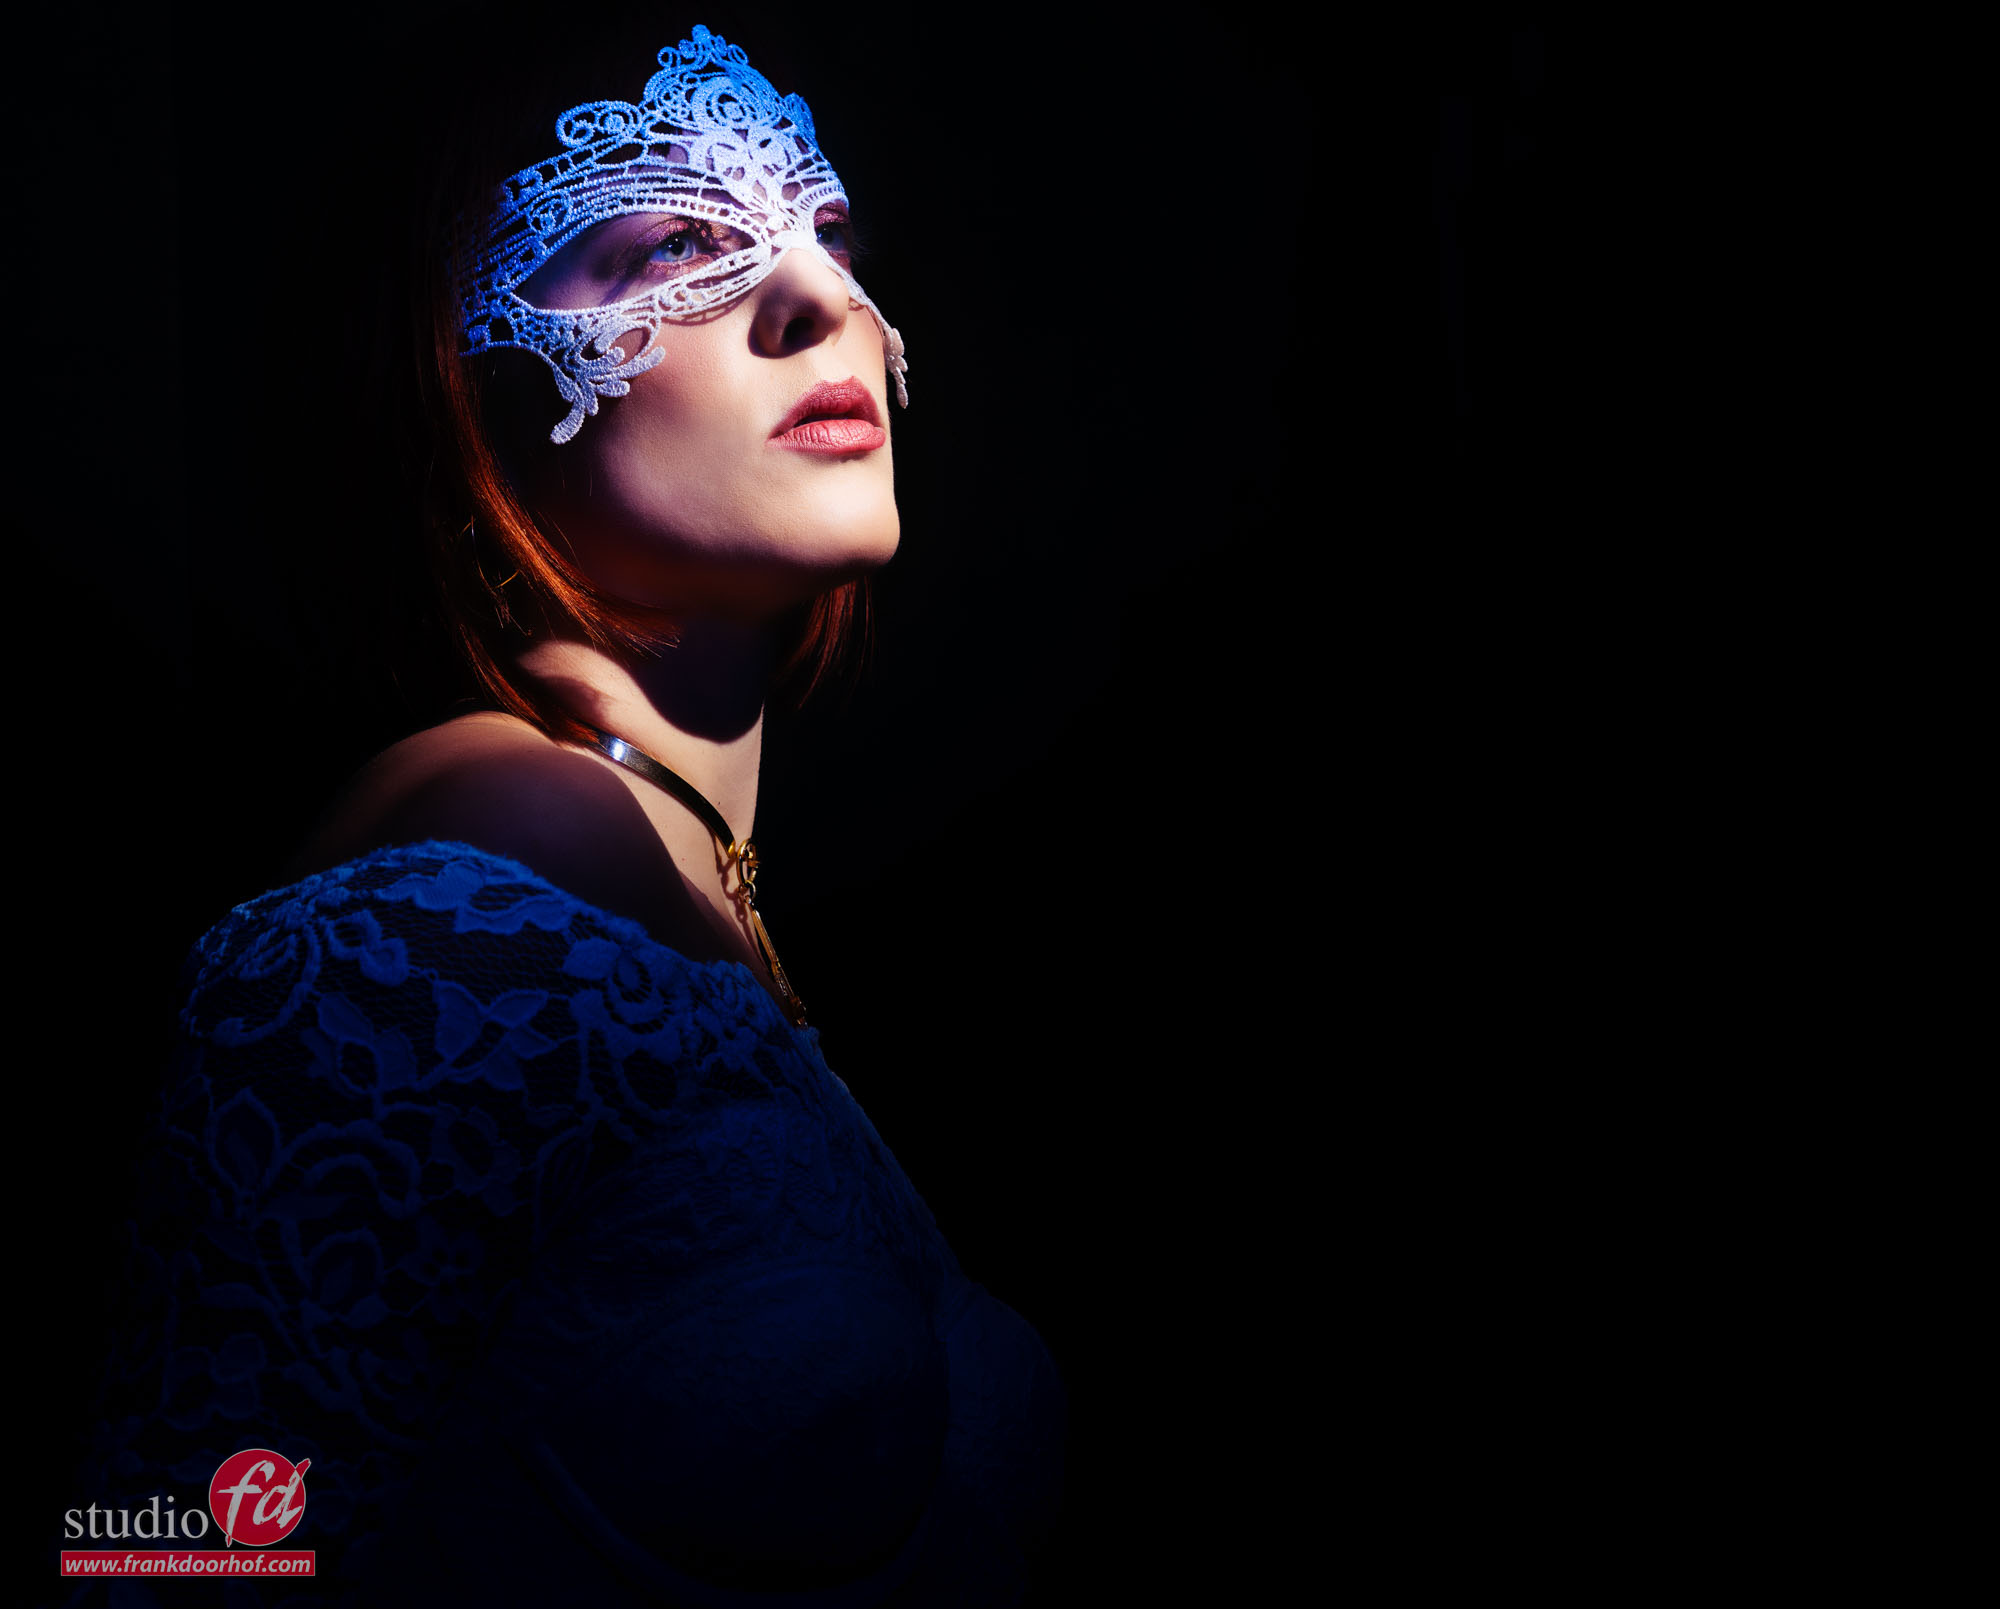
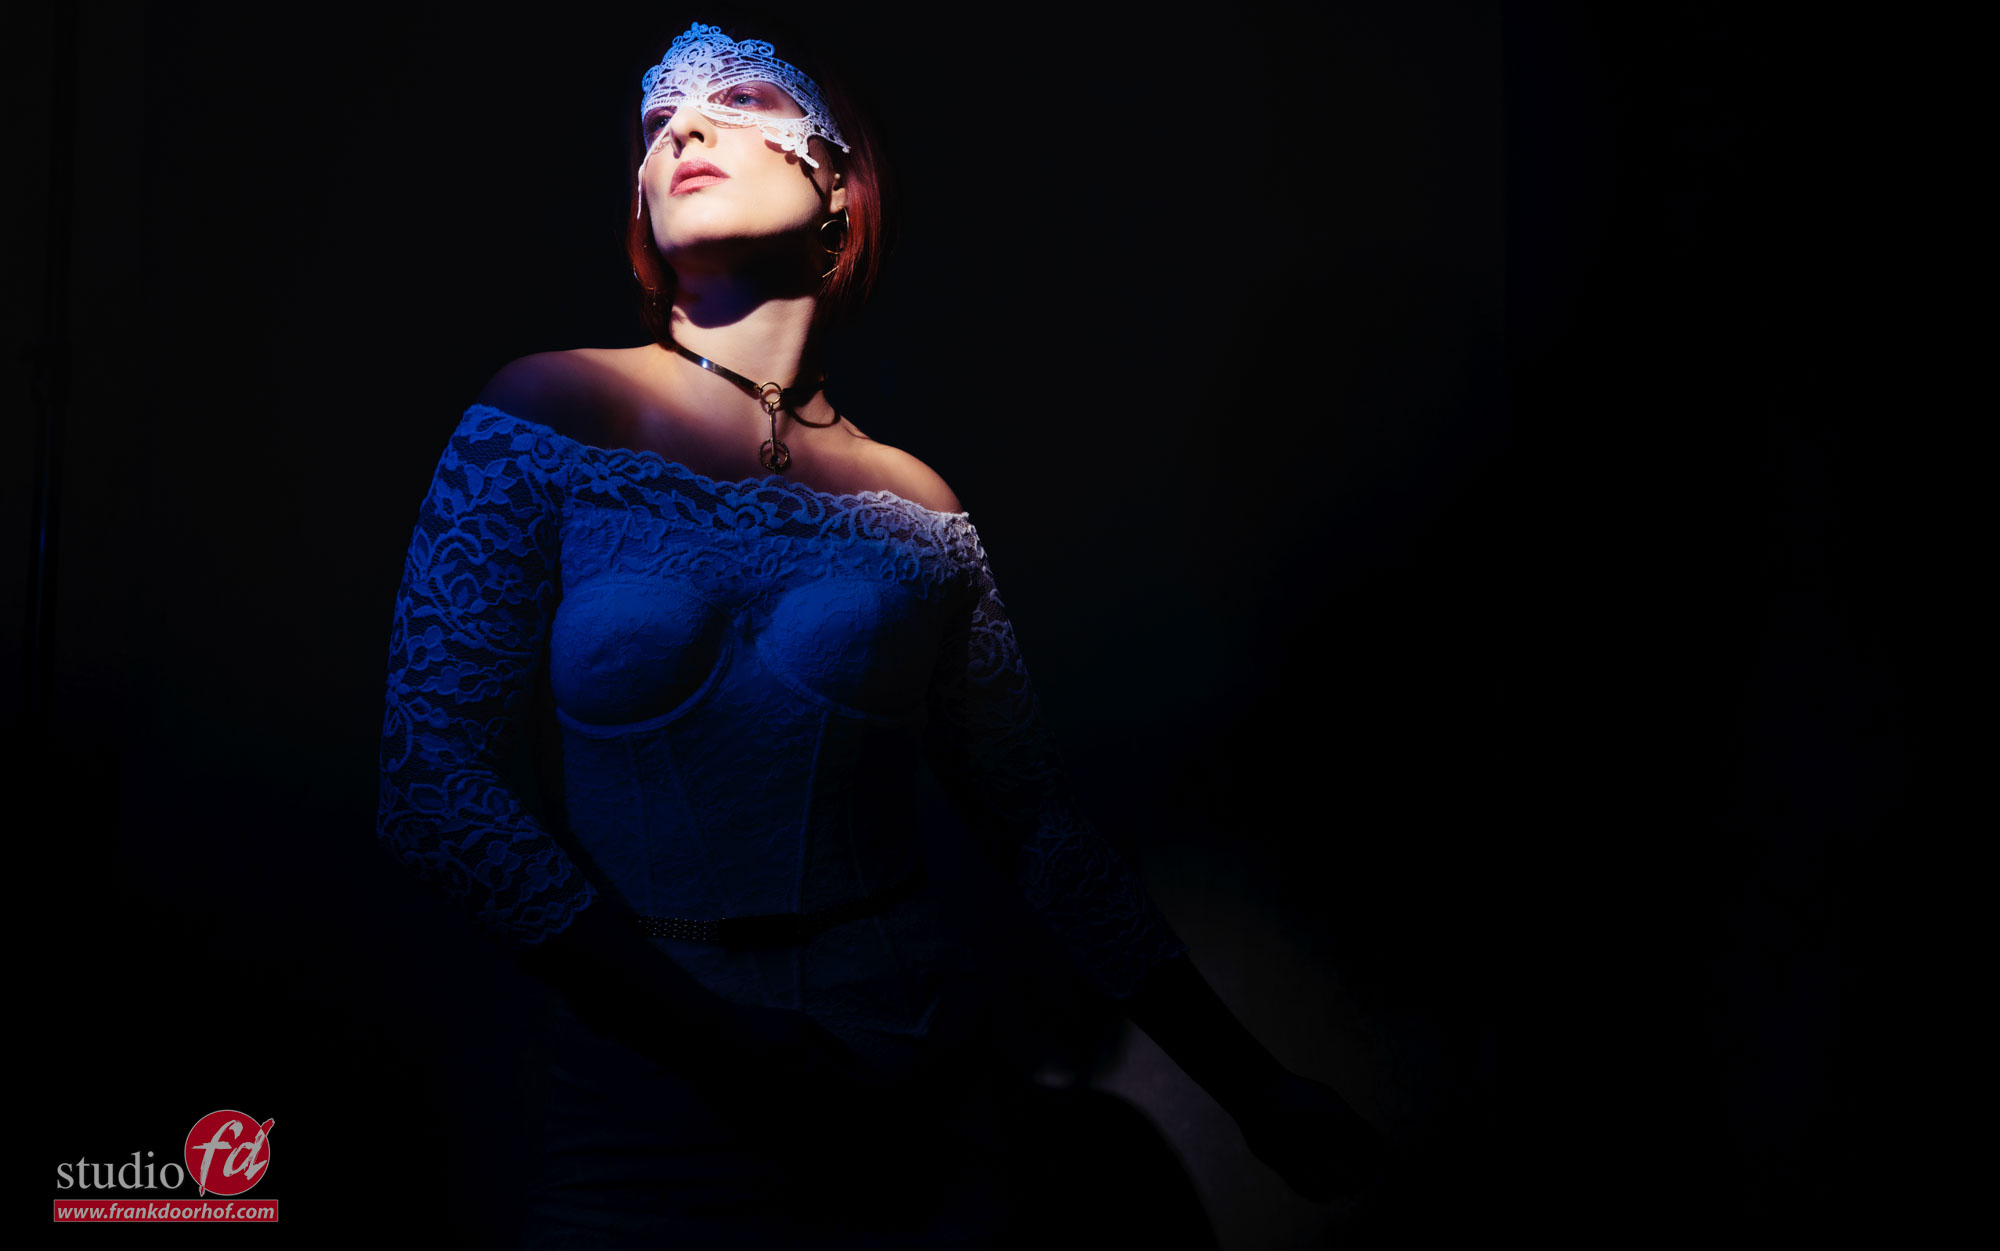
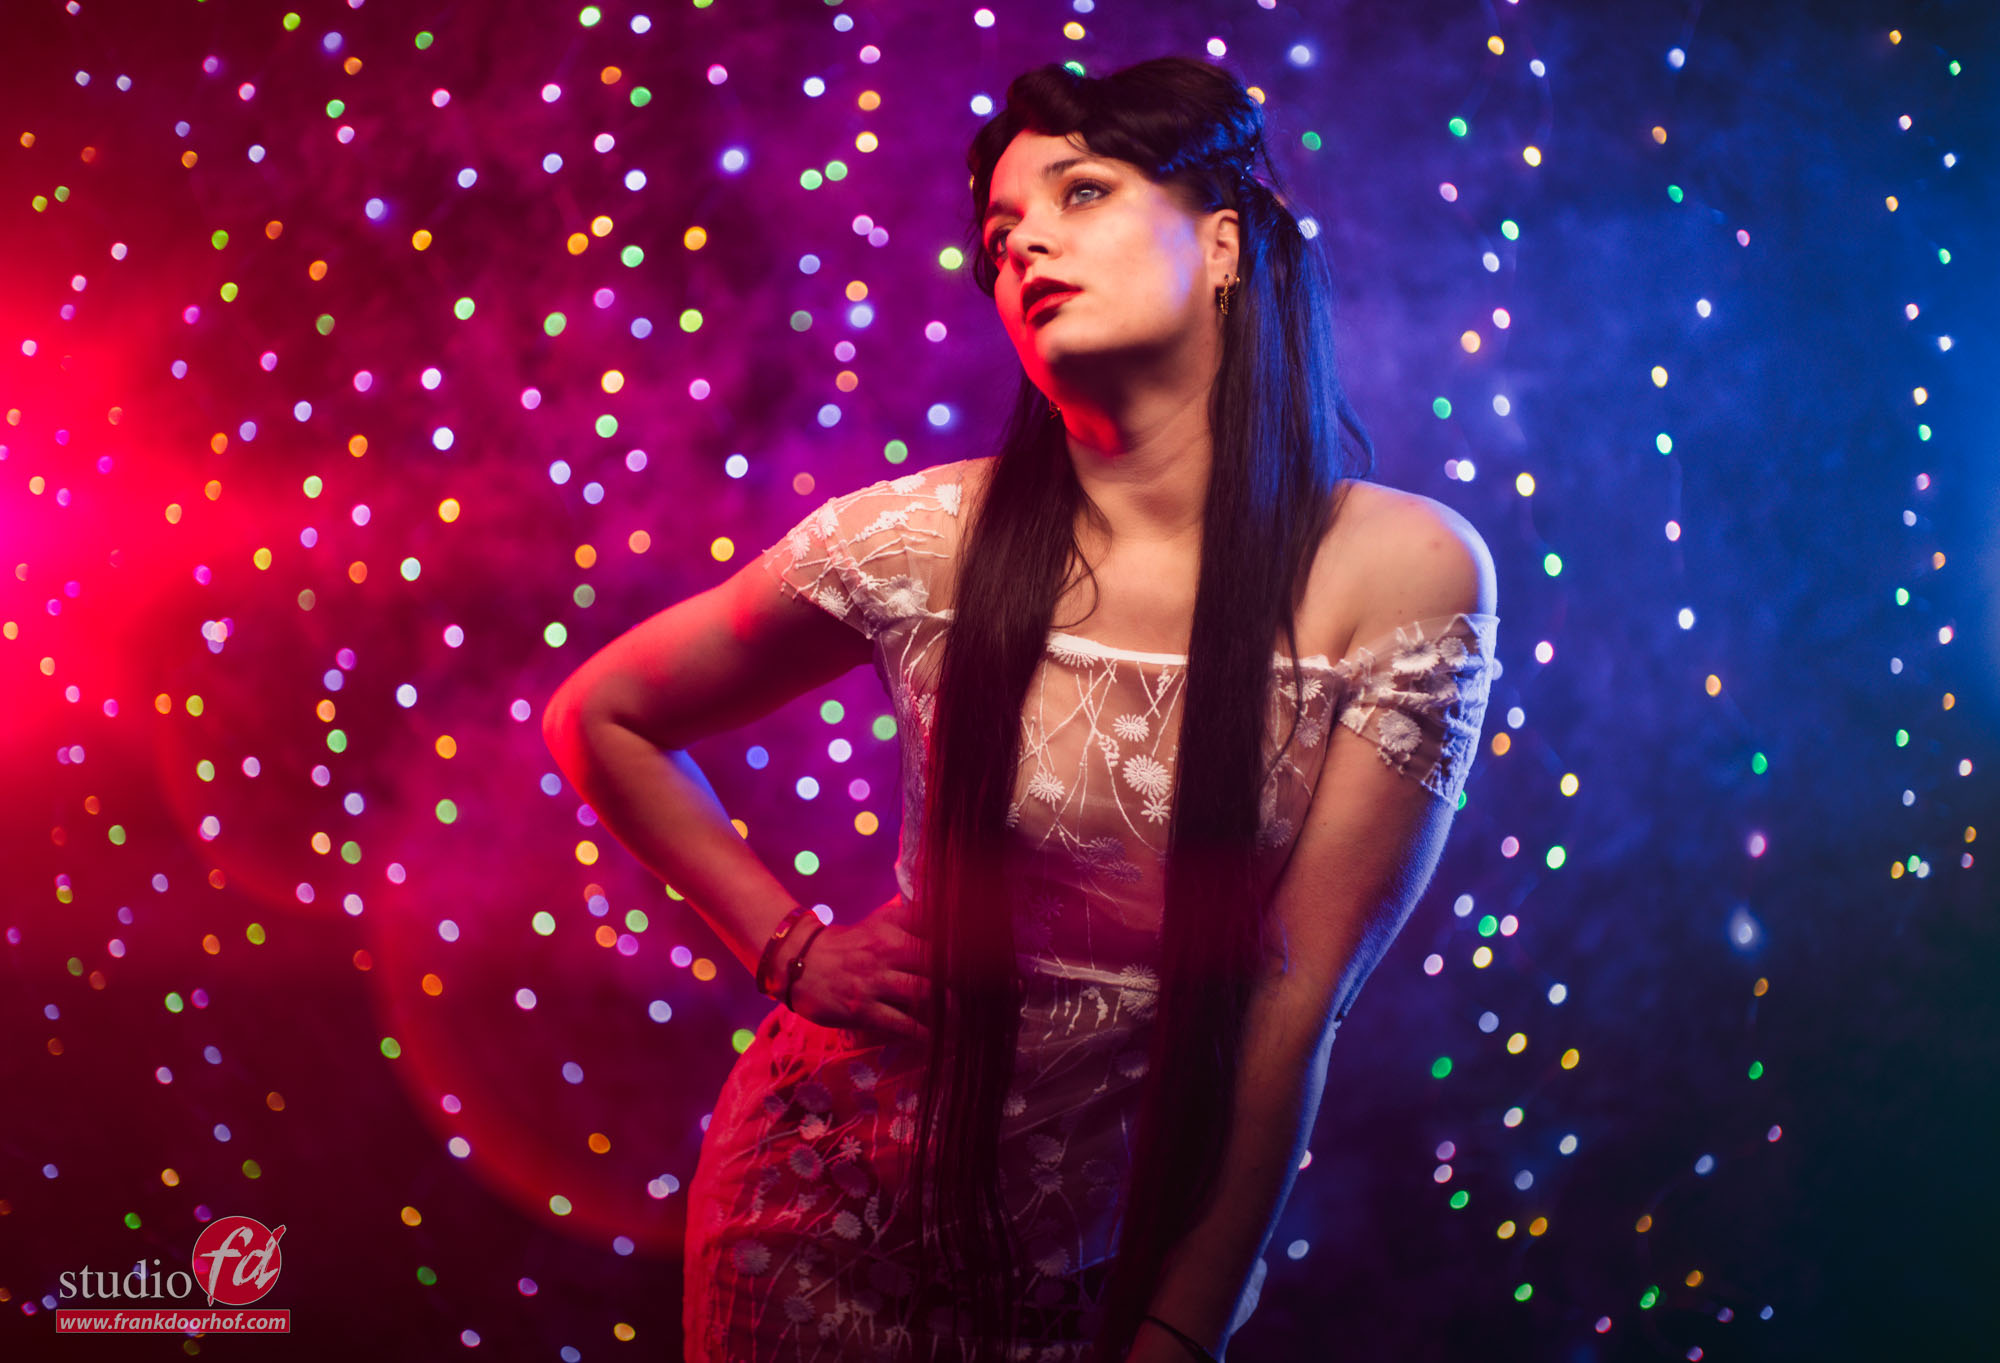
In this image I’m using just the snoot. As you can see the model really jumps out, but the shadows are really dark and hardly any detail is visible. So for the next image I’m using a second strobe with the omnidirectional dome from the magnetic system and a blue gel to open up the shadows. This is super easy to do. Just make sure the dome is placed somewhere in the line of the main light source and meter it a few stops below the main light source. Or use the flash exposure compensation when you really dare to shoot ETTL in these setups 😀

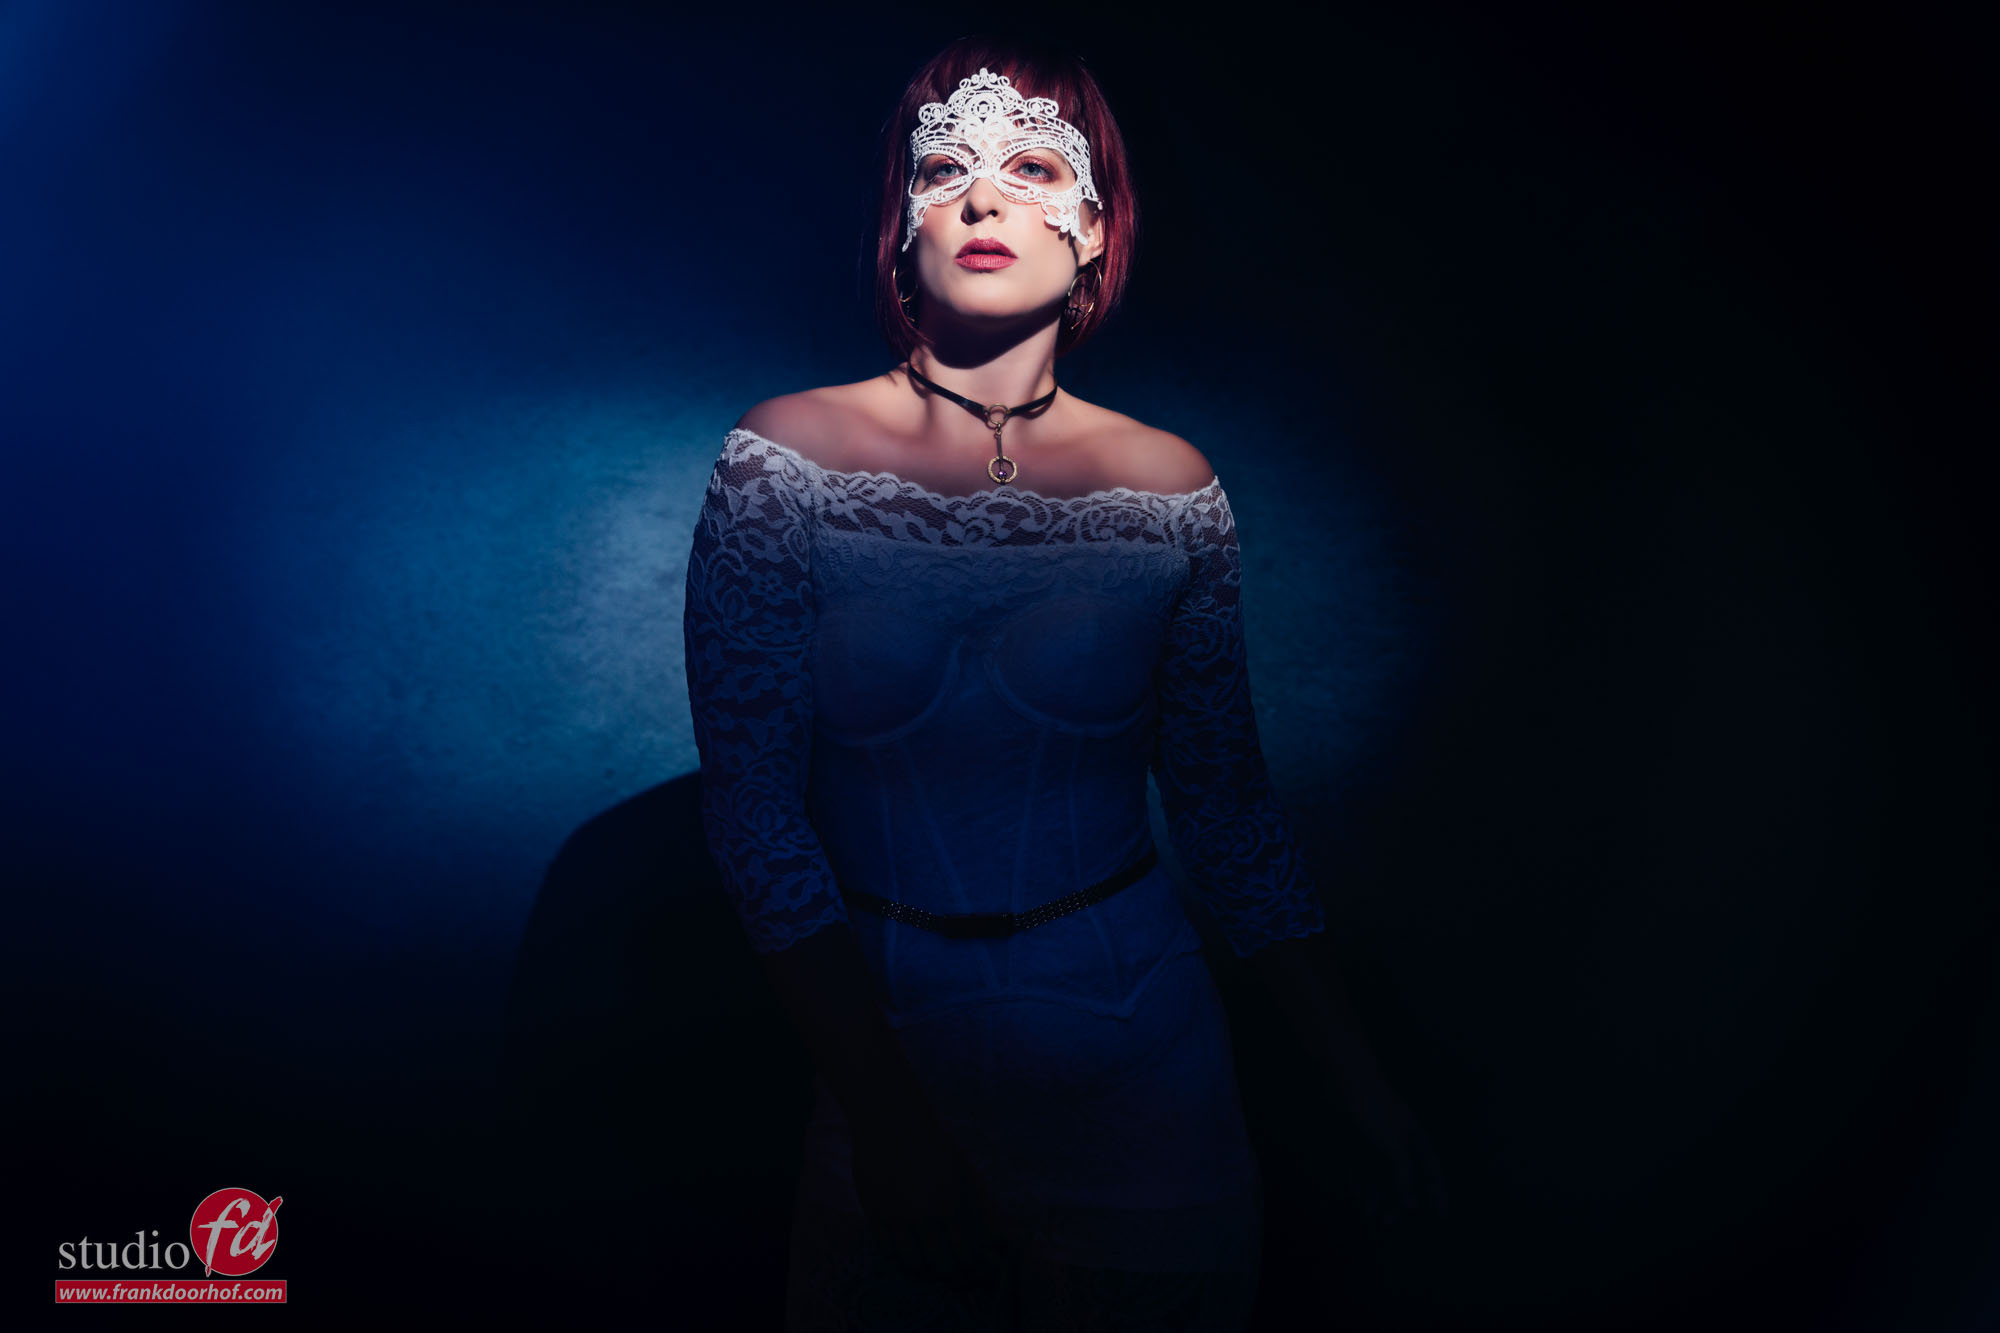
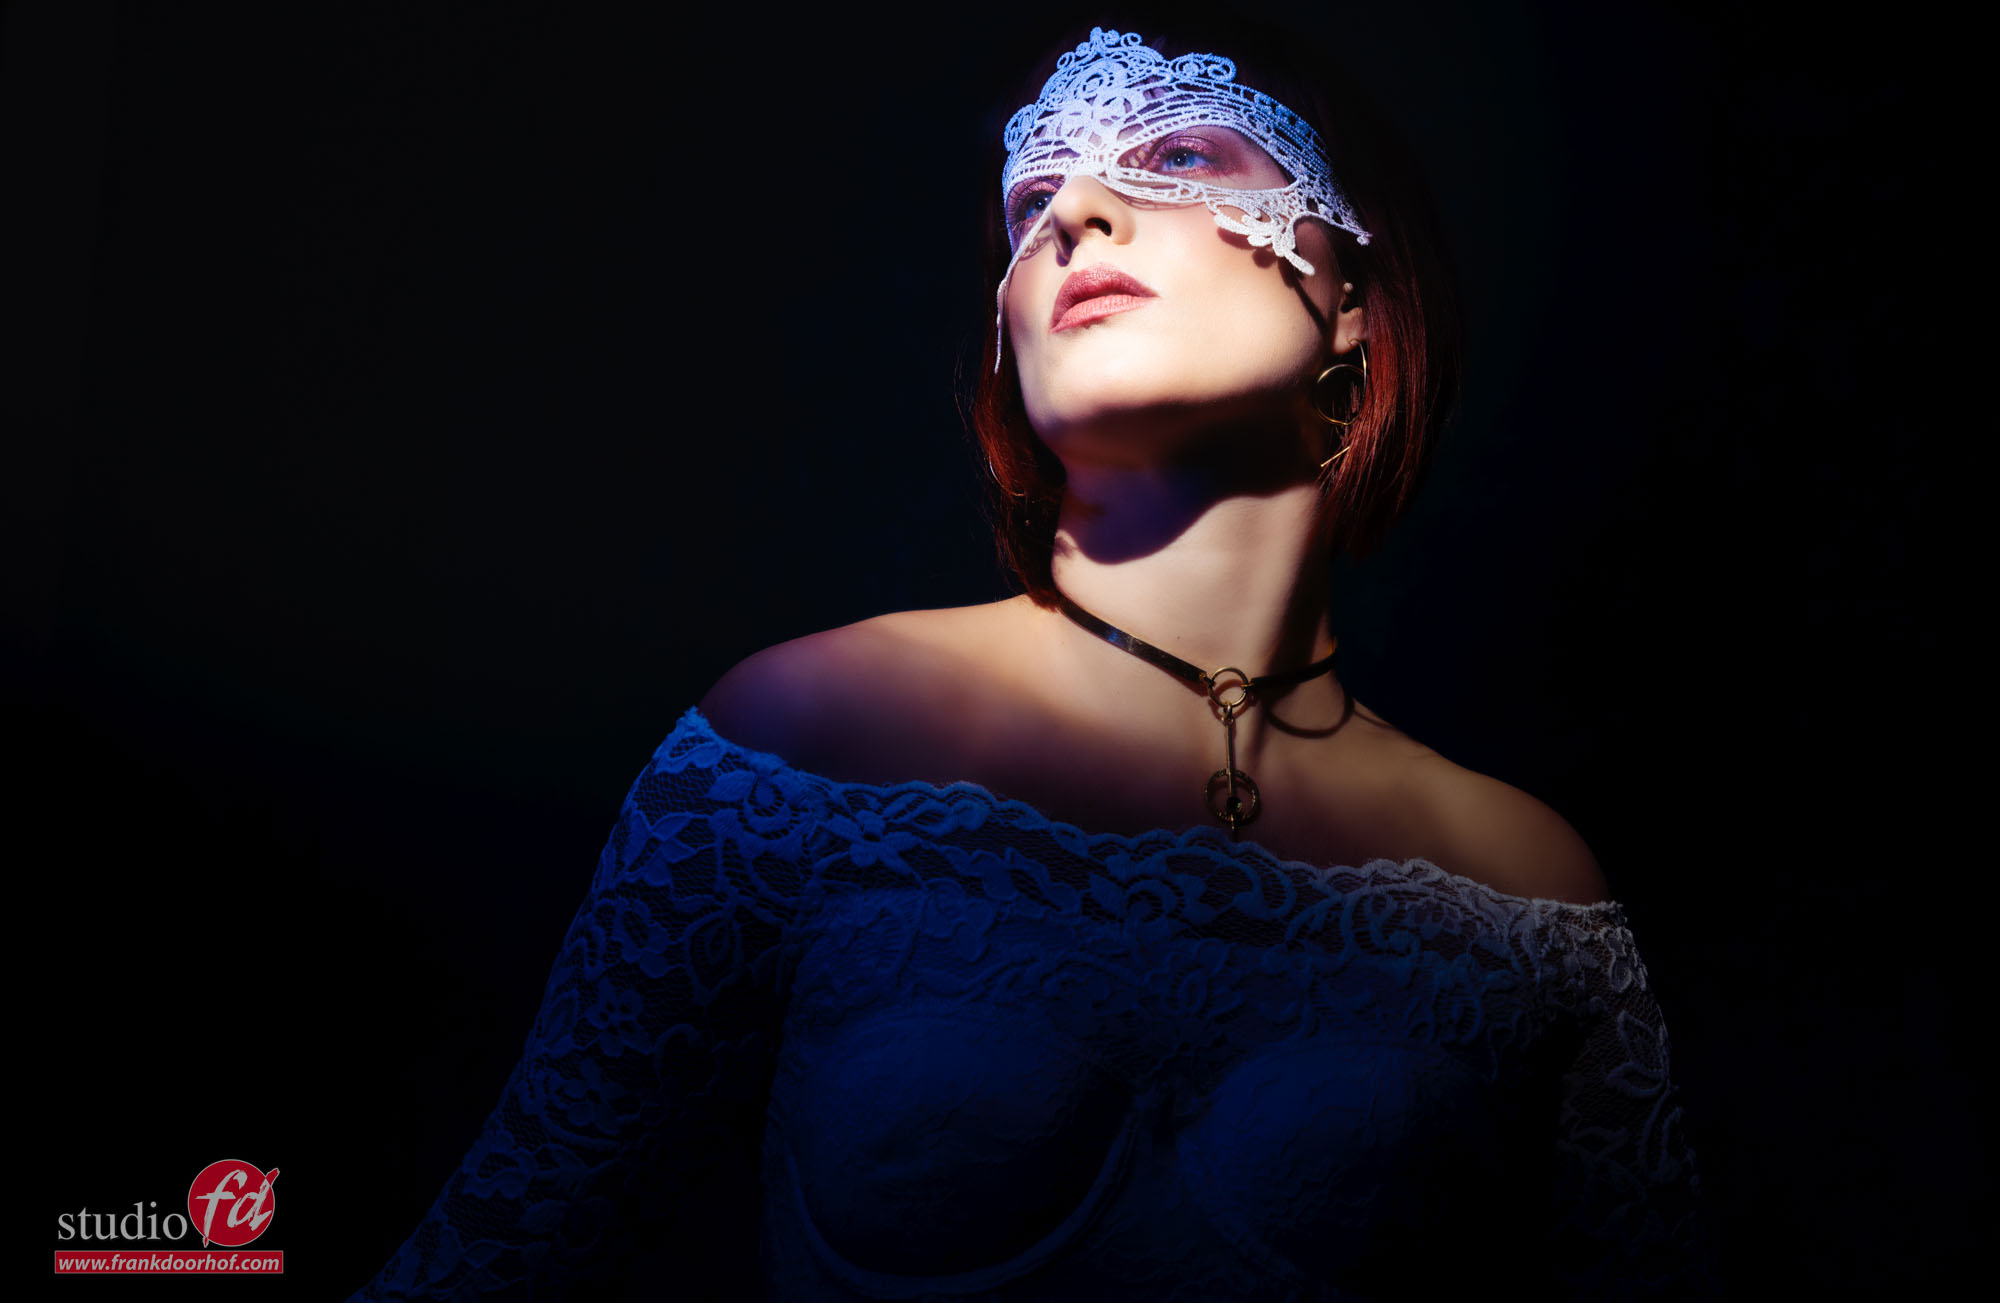
It’s actually placed just outside the frame and thanks to the dome you can light both the front of the model, the background and get a nice lens flare. The dome is without a doubt one of my favourite modifiers for the speedlight when using creative lighting setups (or for beauty portraits).

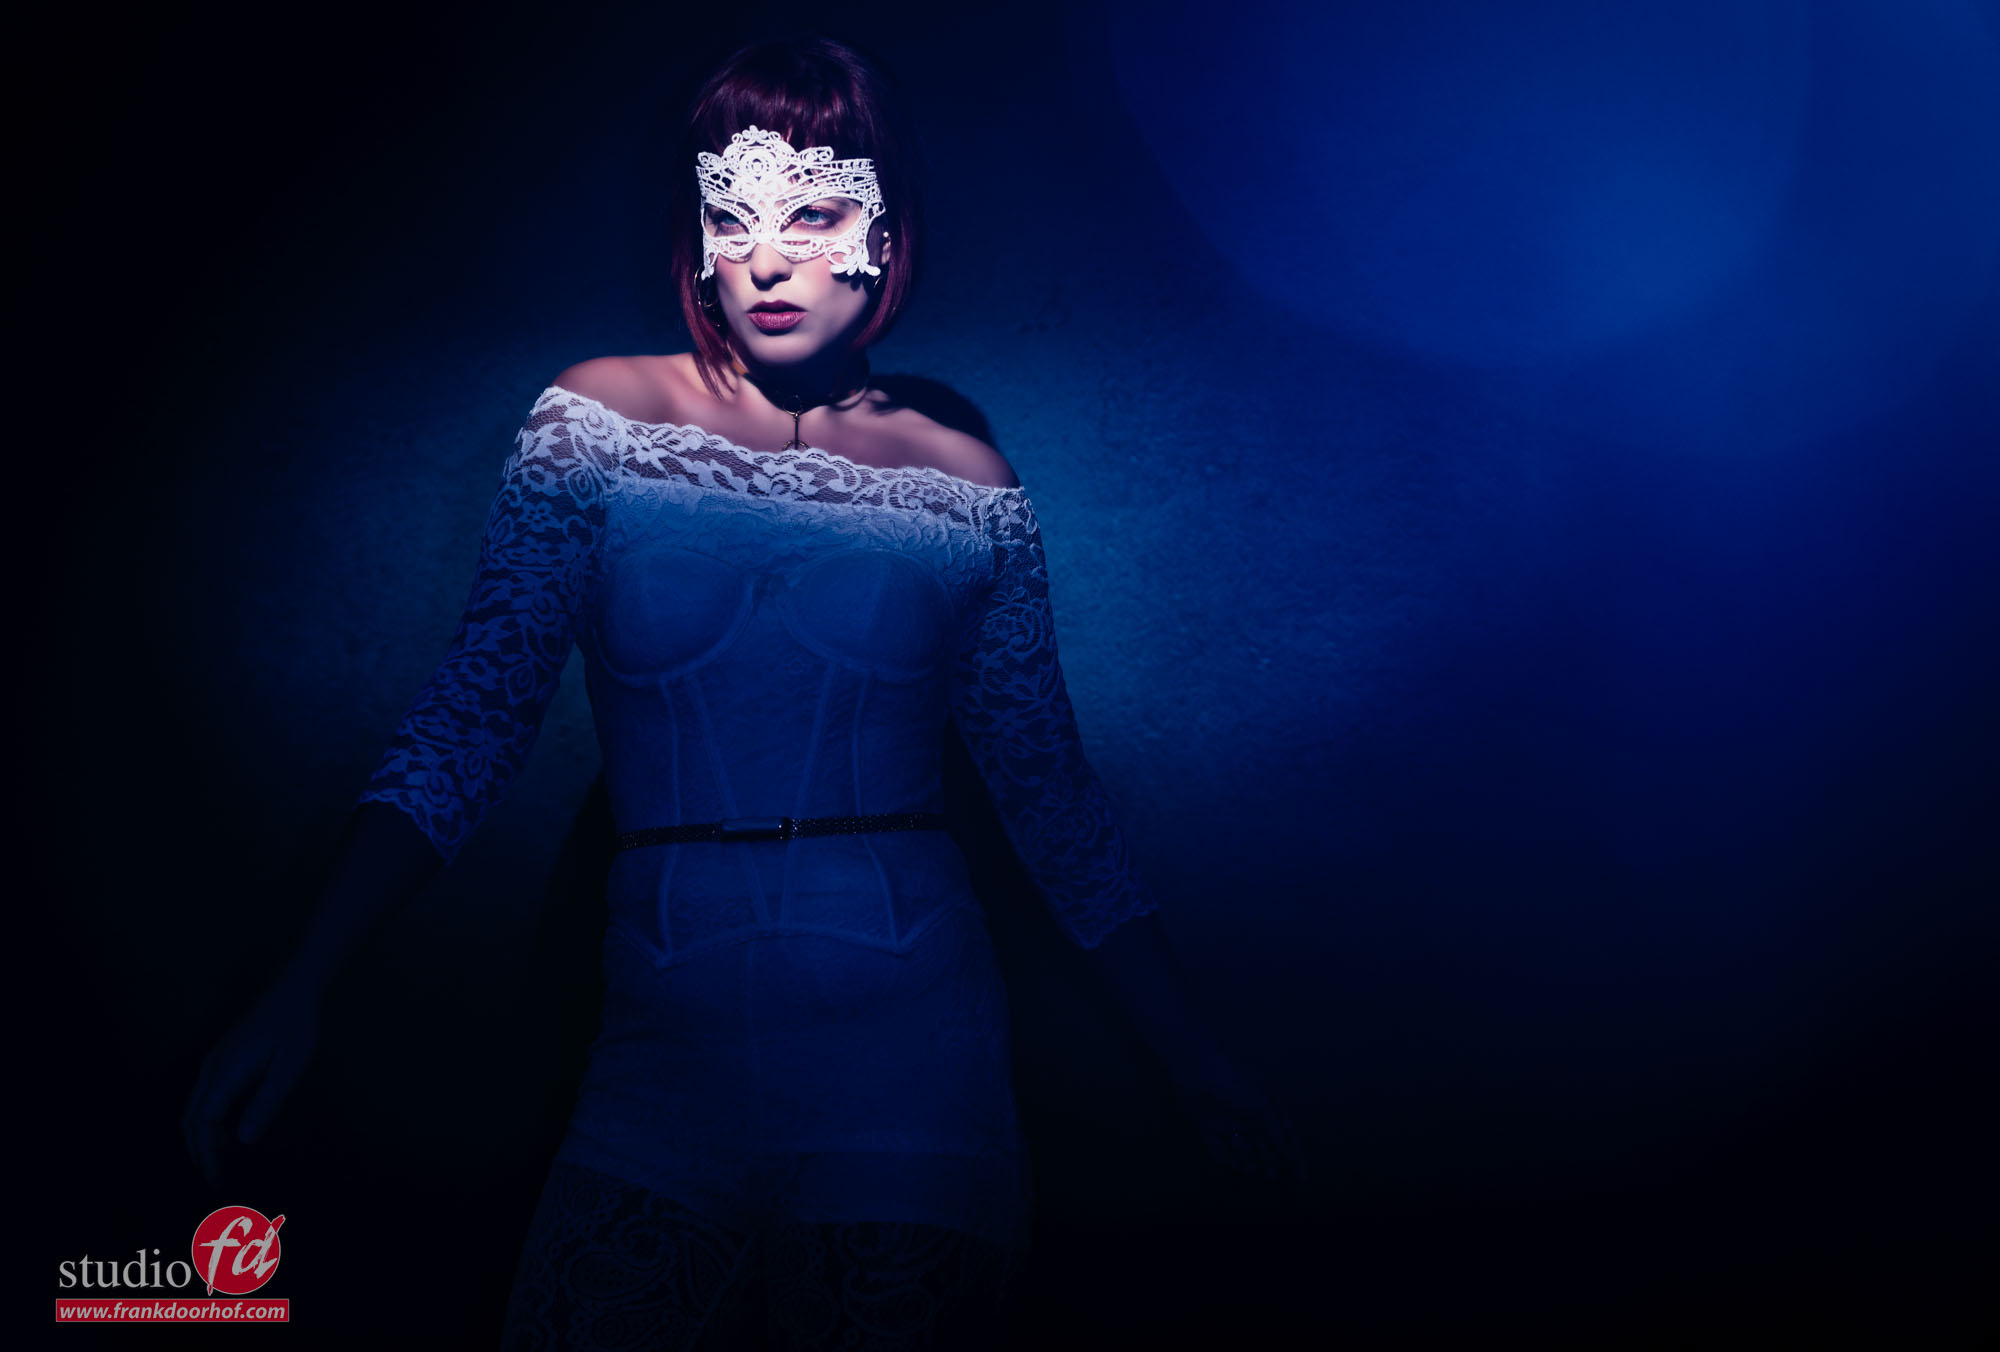
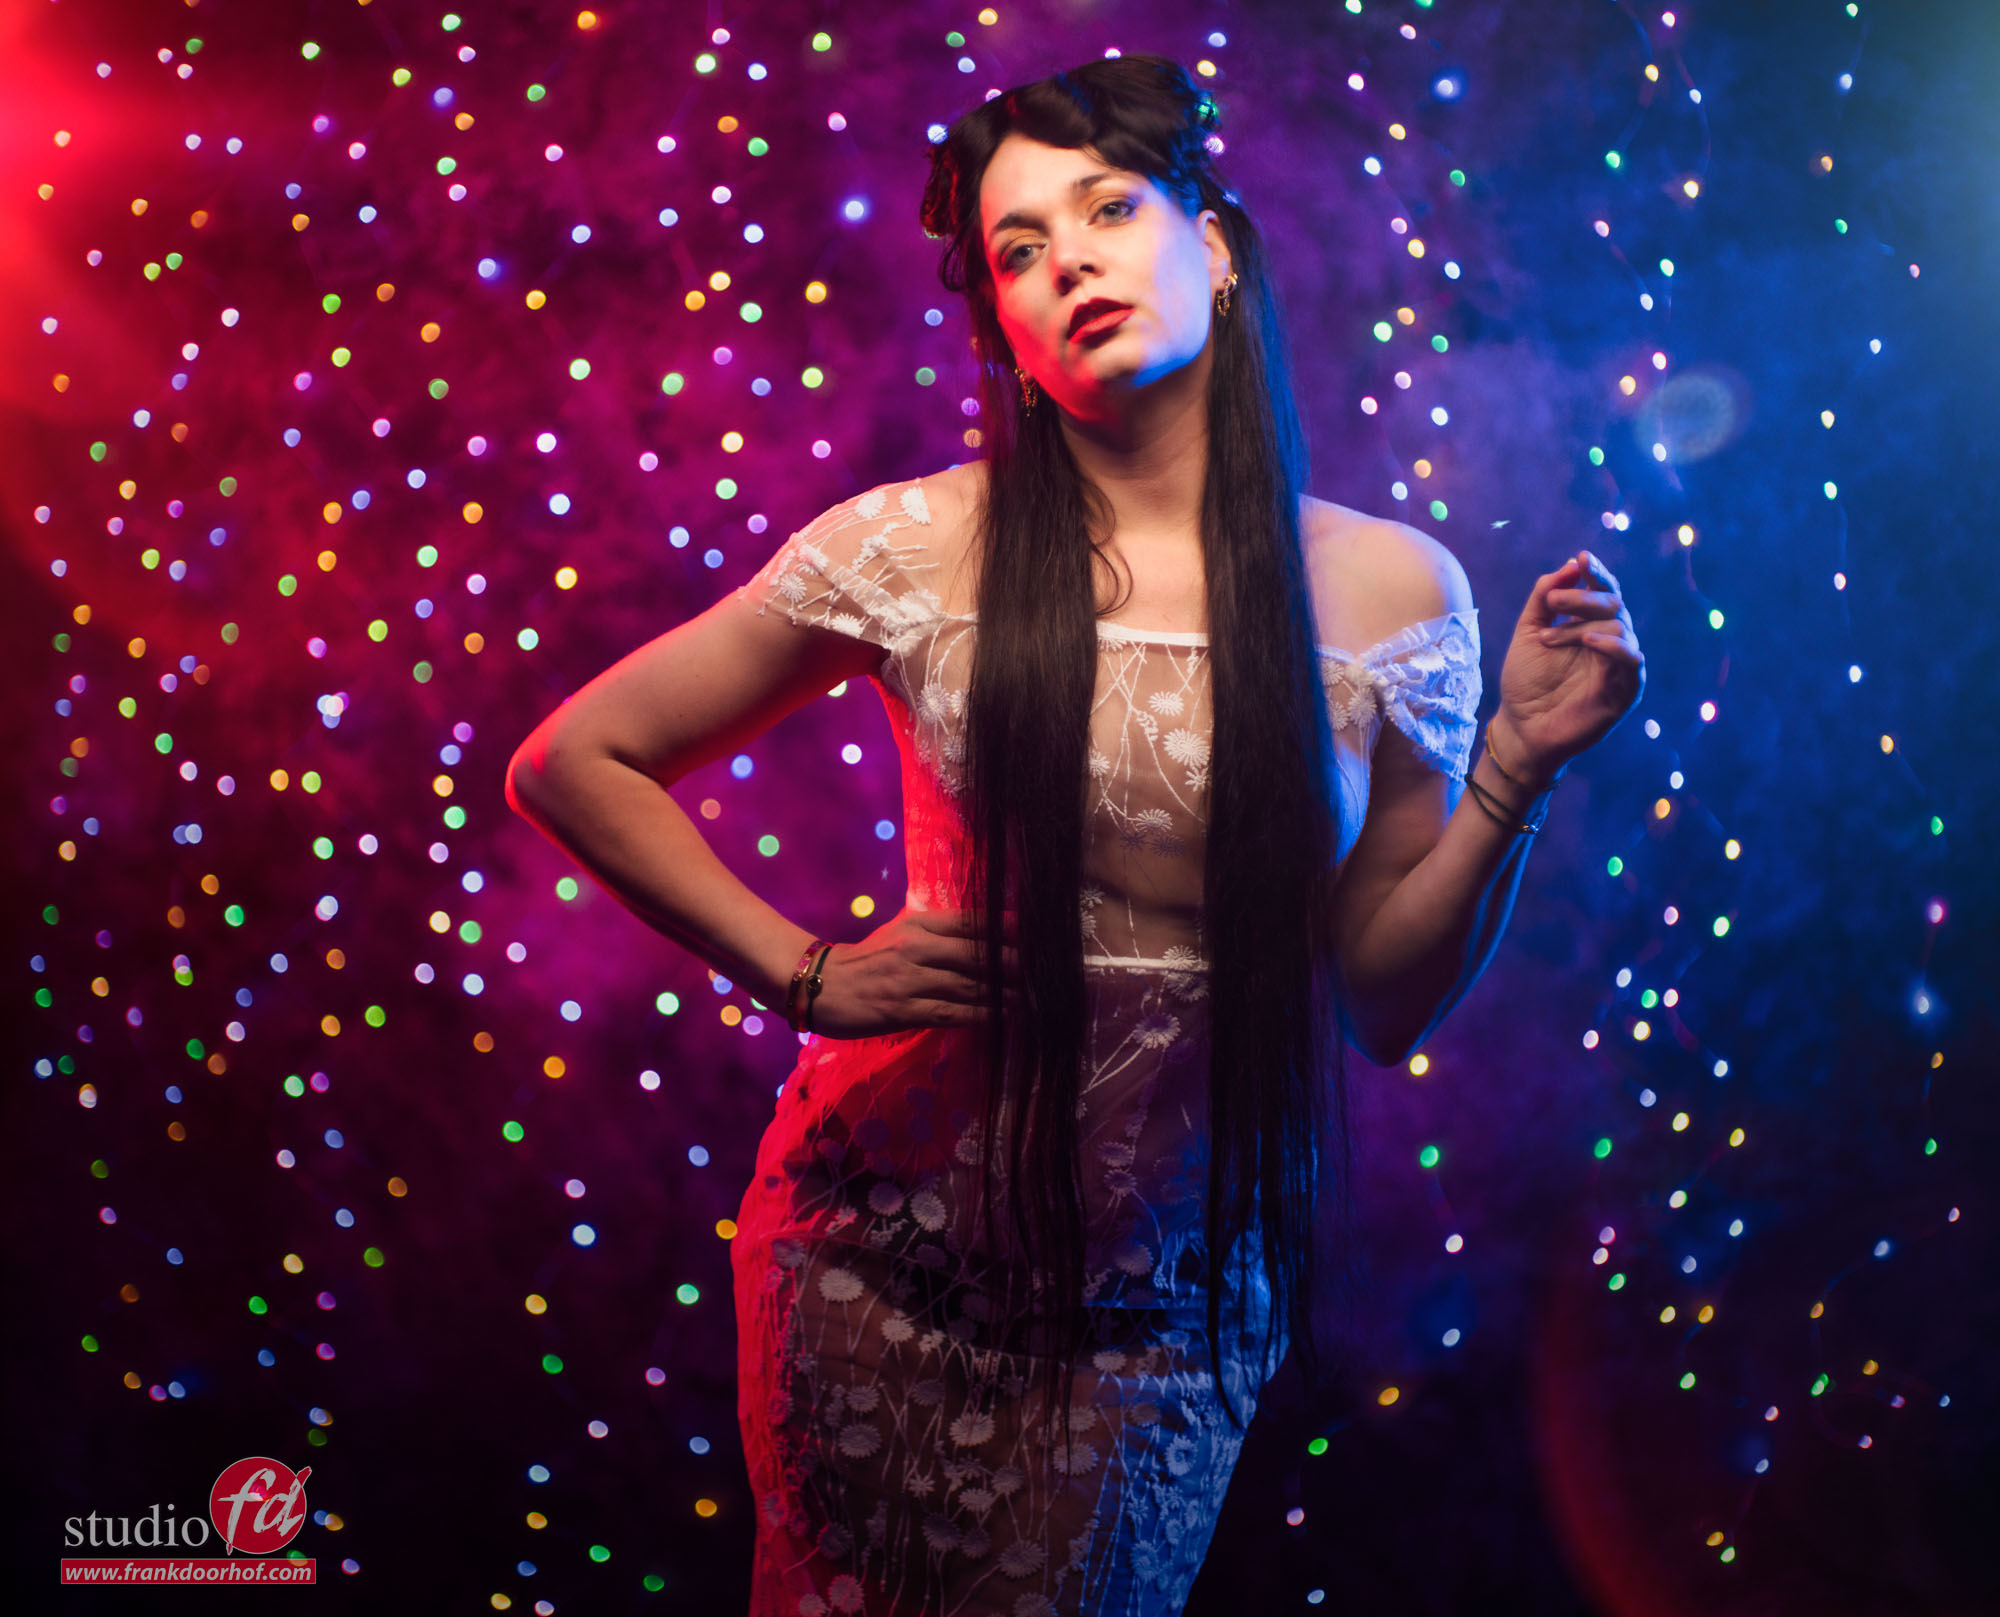
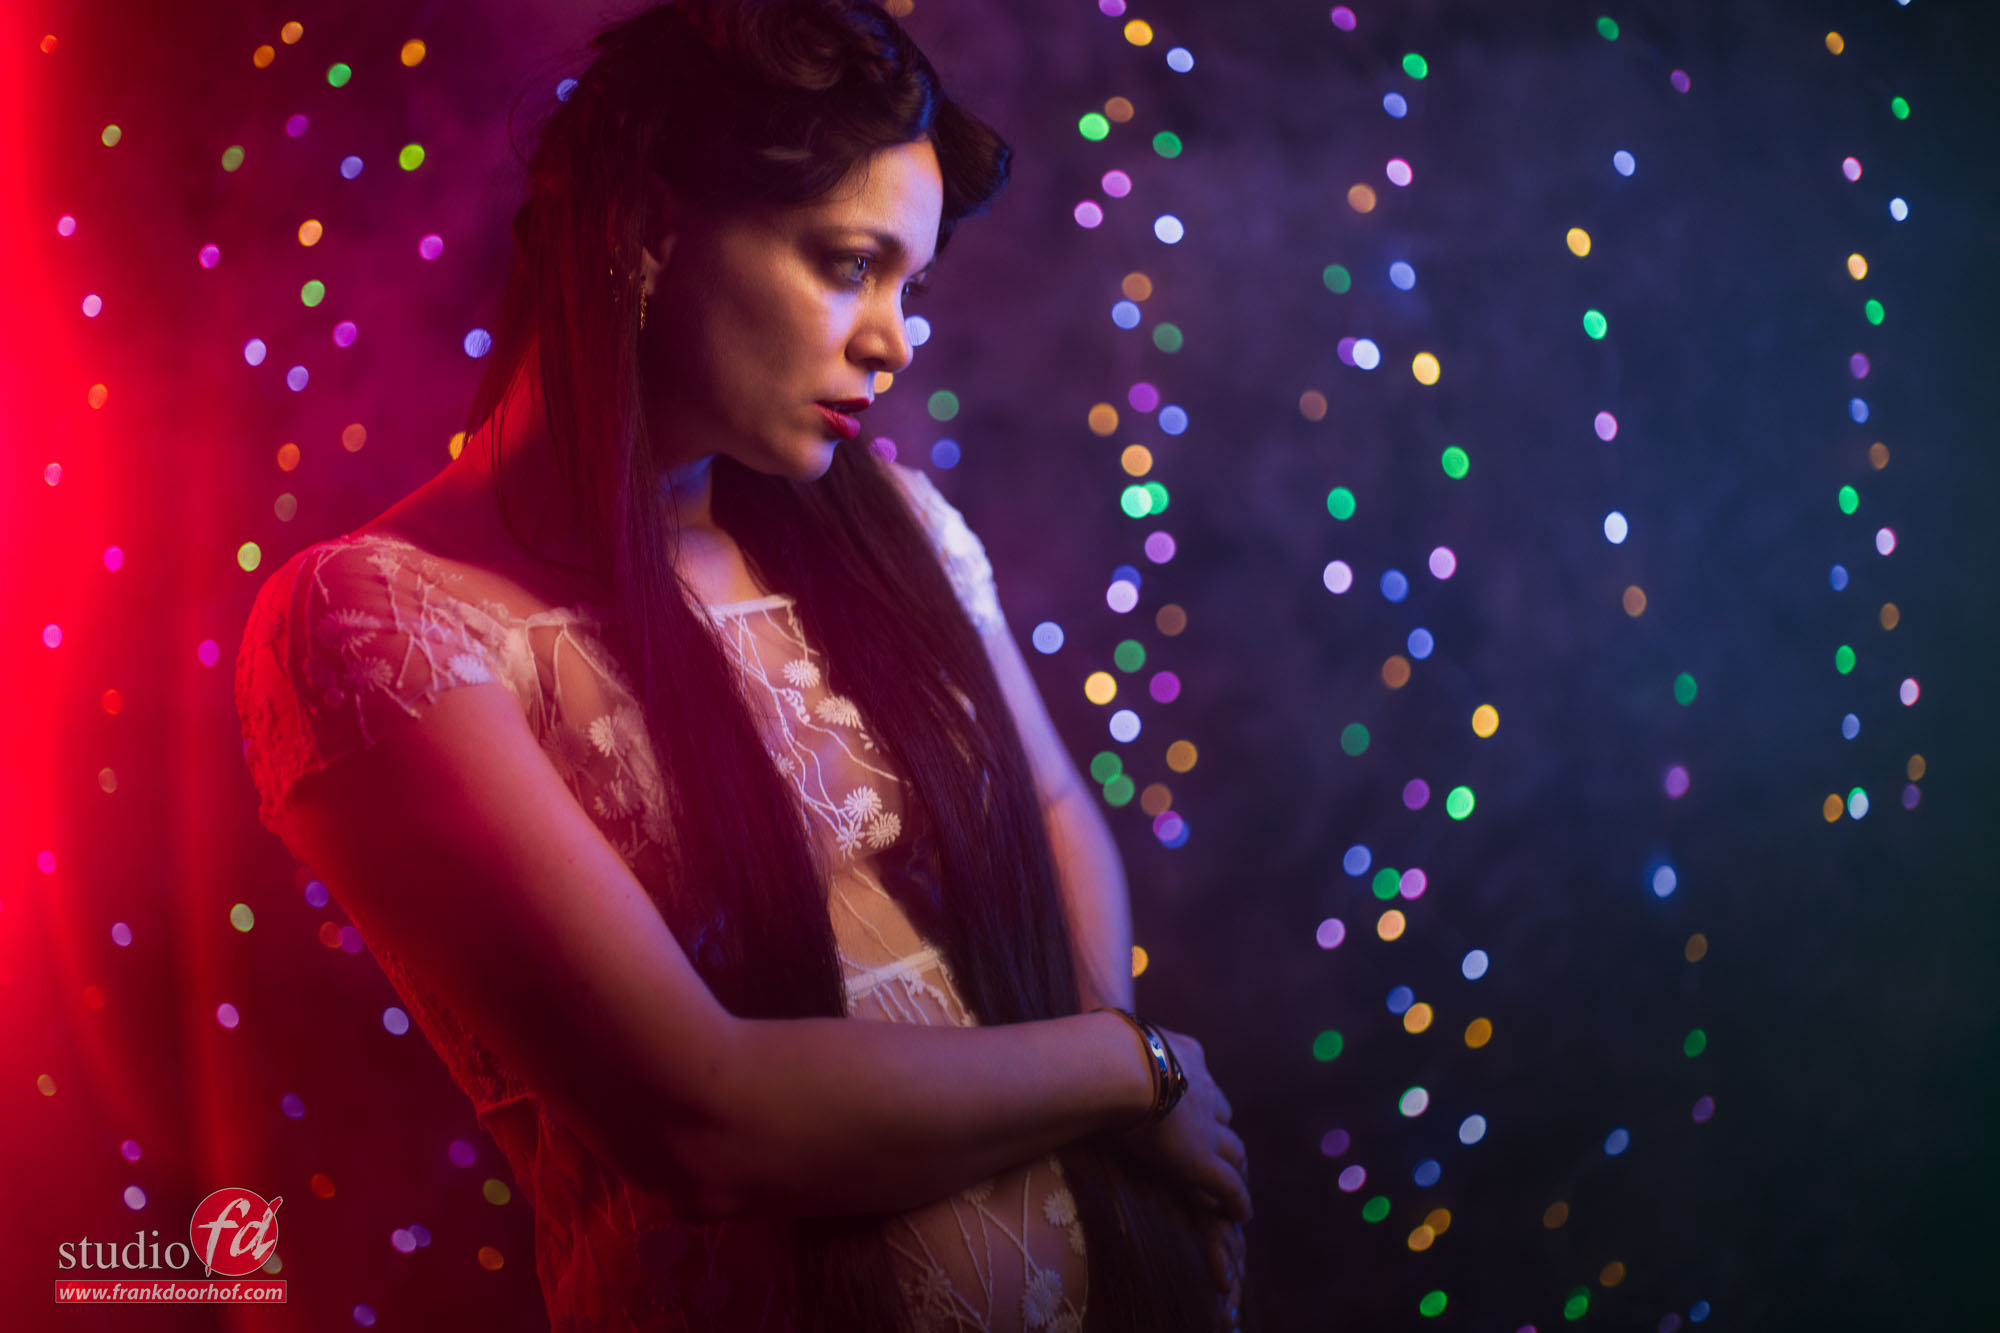
Now of course we would like a bit more lens flare.
Here I moved the position and aimed it slightly more forward.

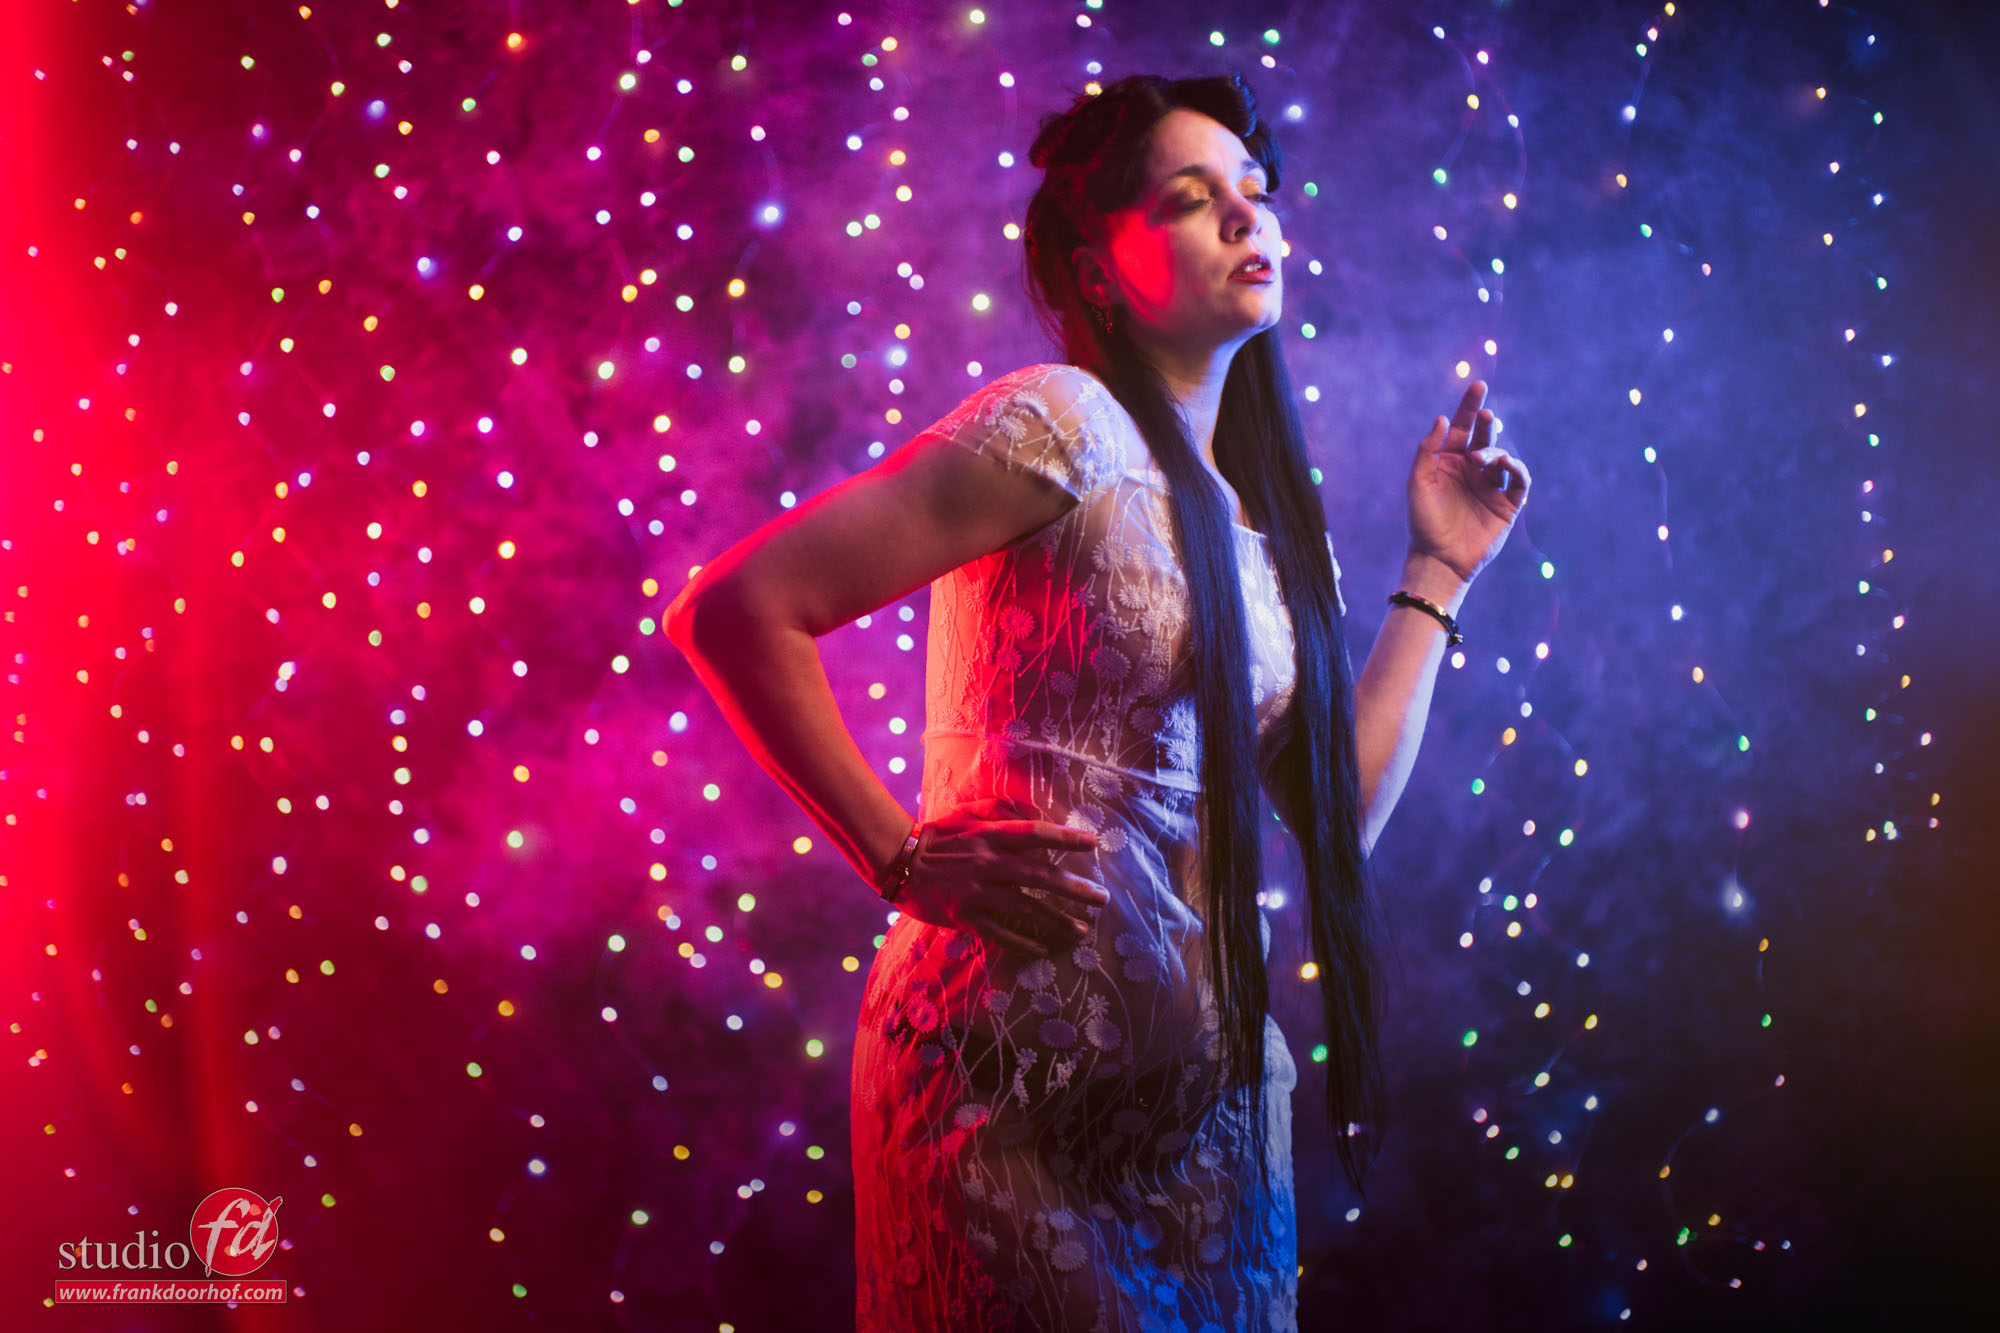
After this it was just a matter of walking around the model to get some stunning effects.

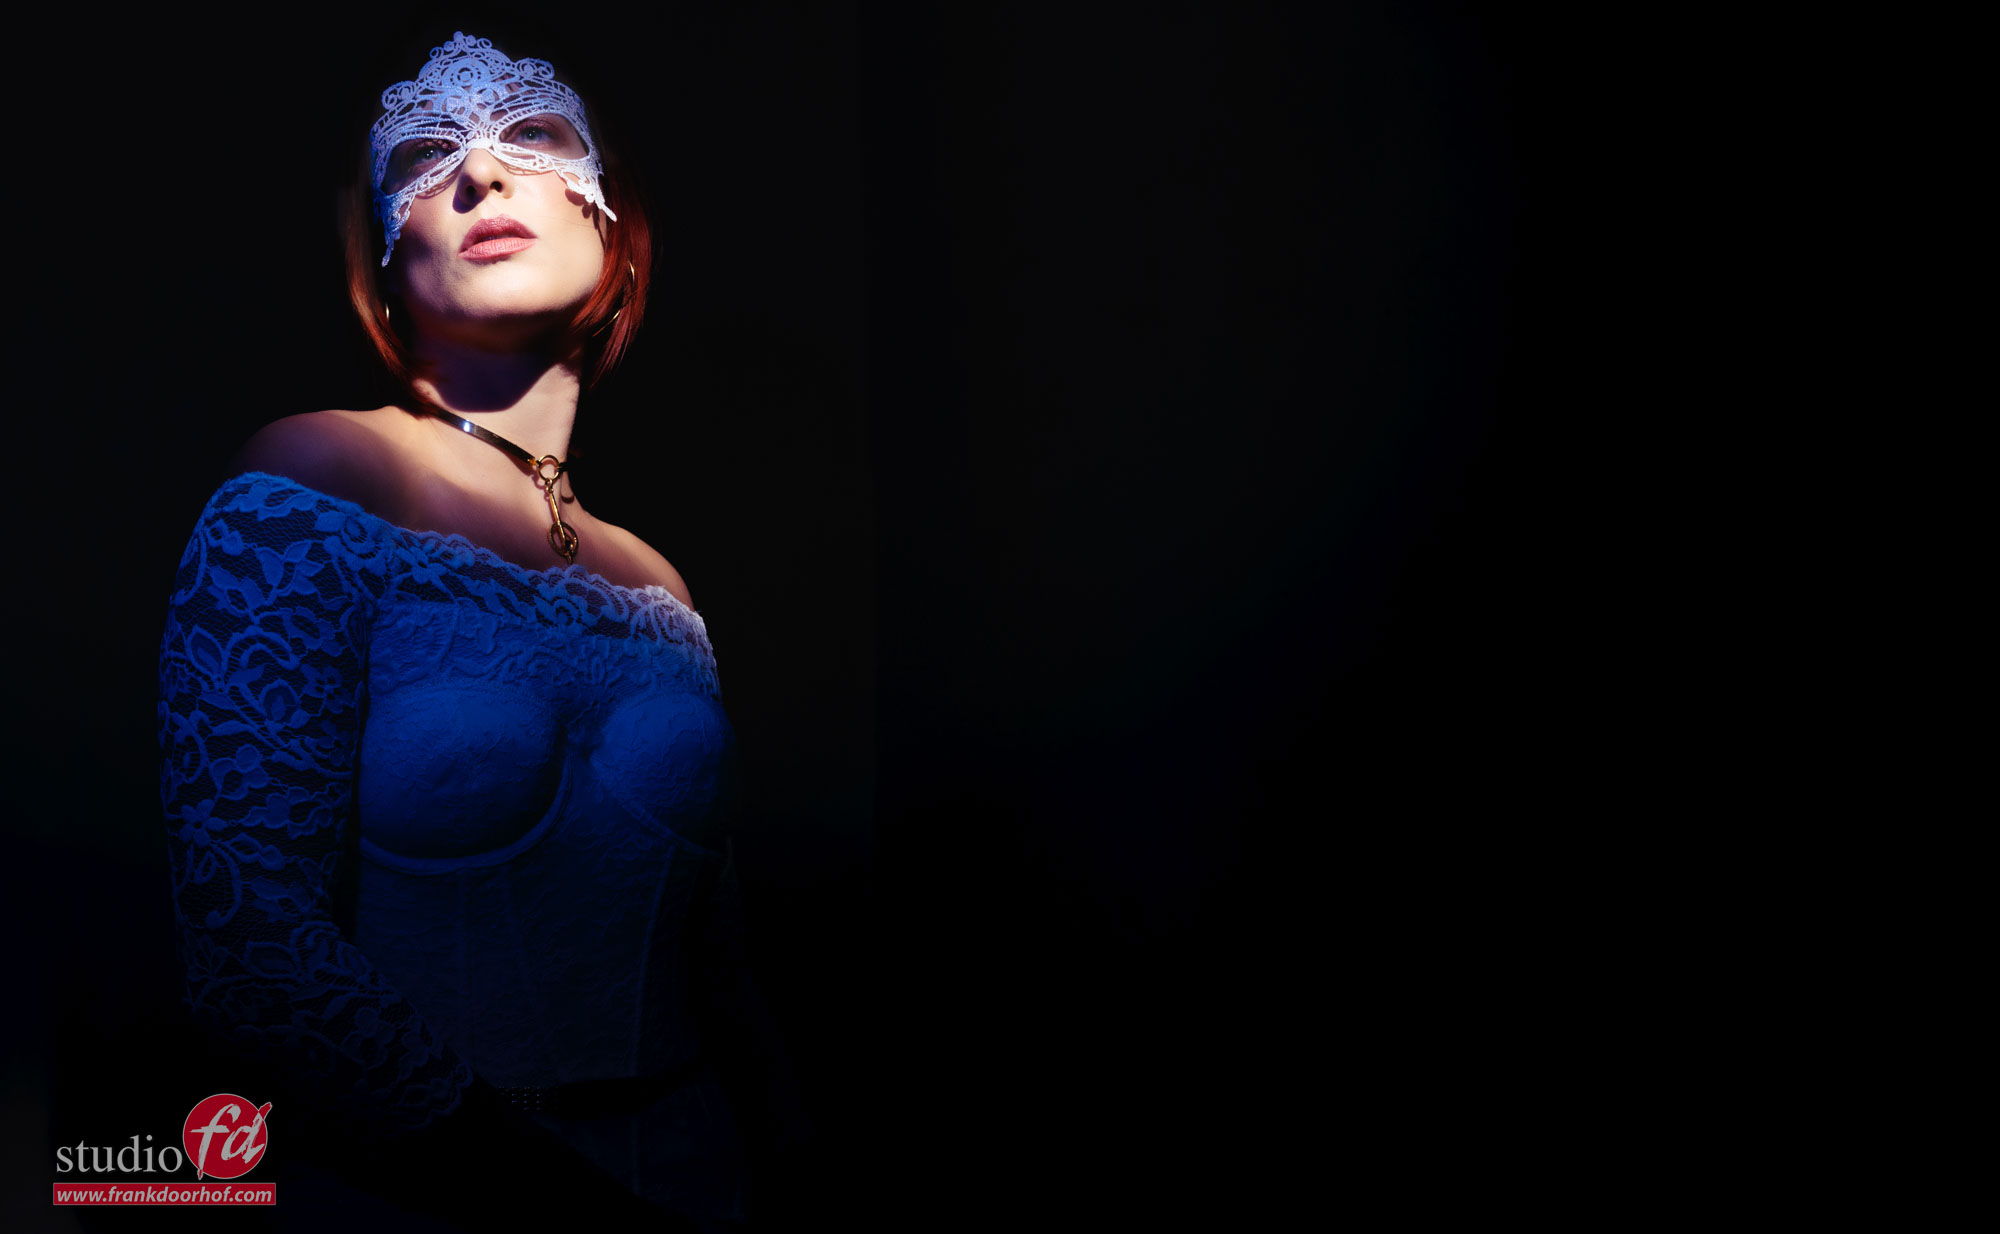
I’m always amazed by how easy it is to use speedlights in these kind of more creative setups.
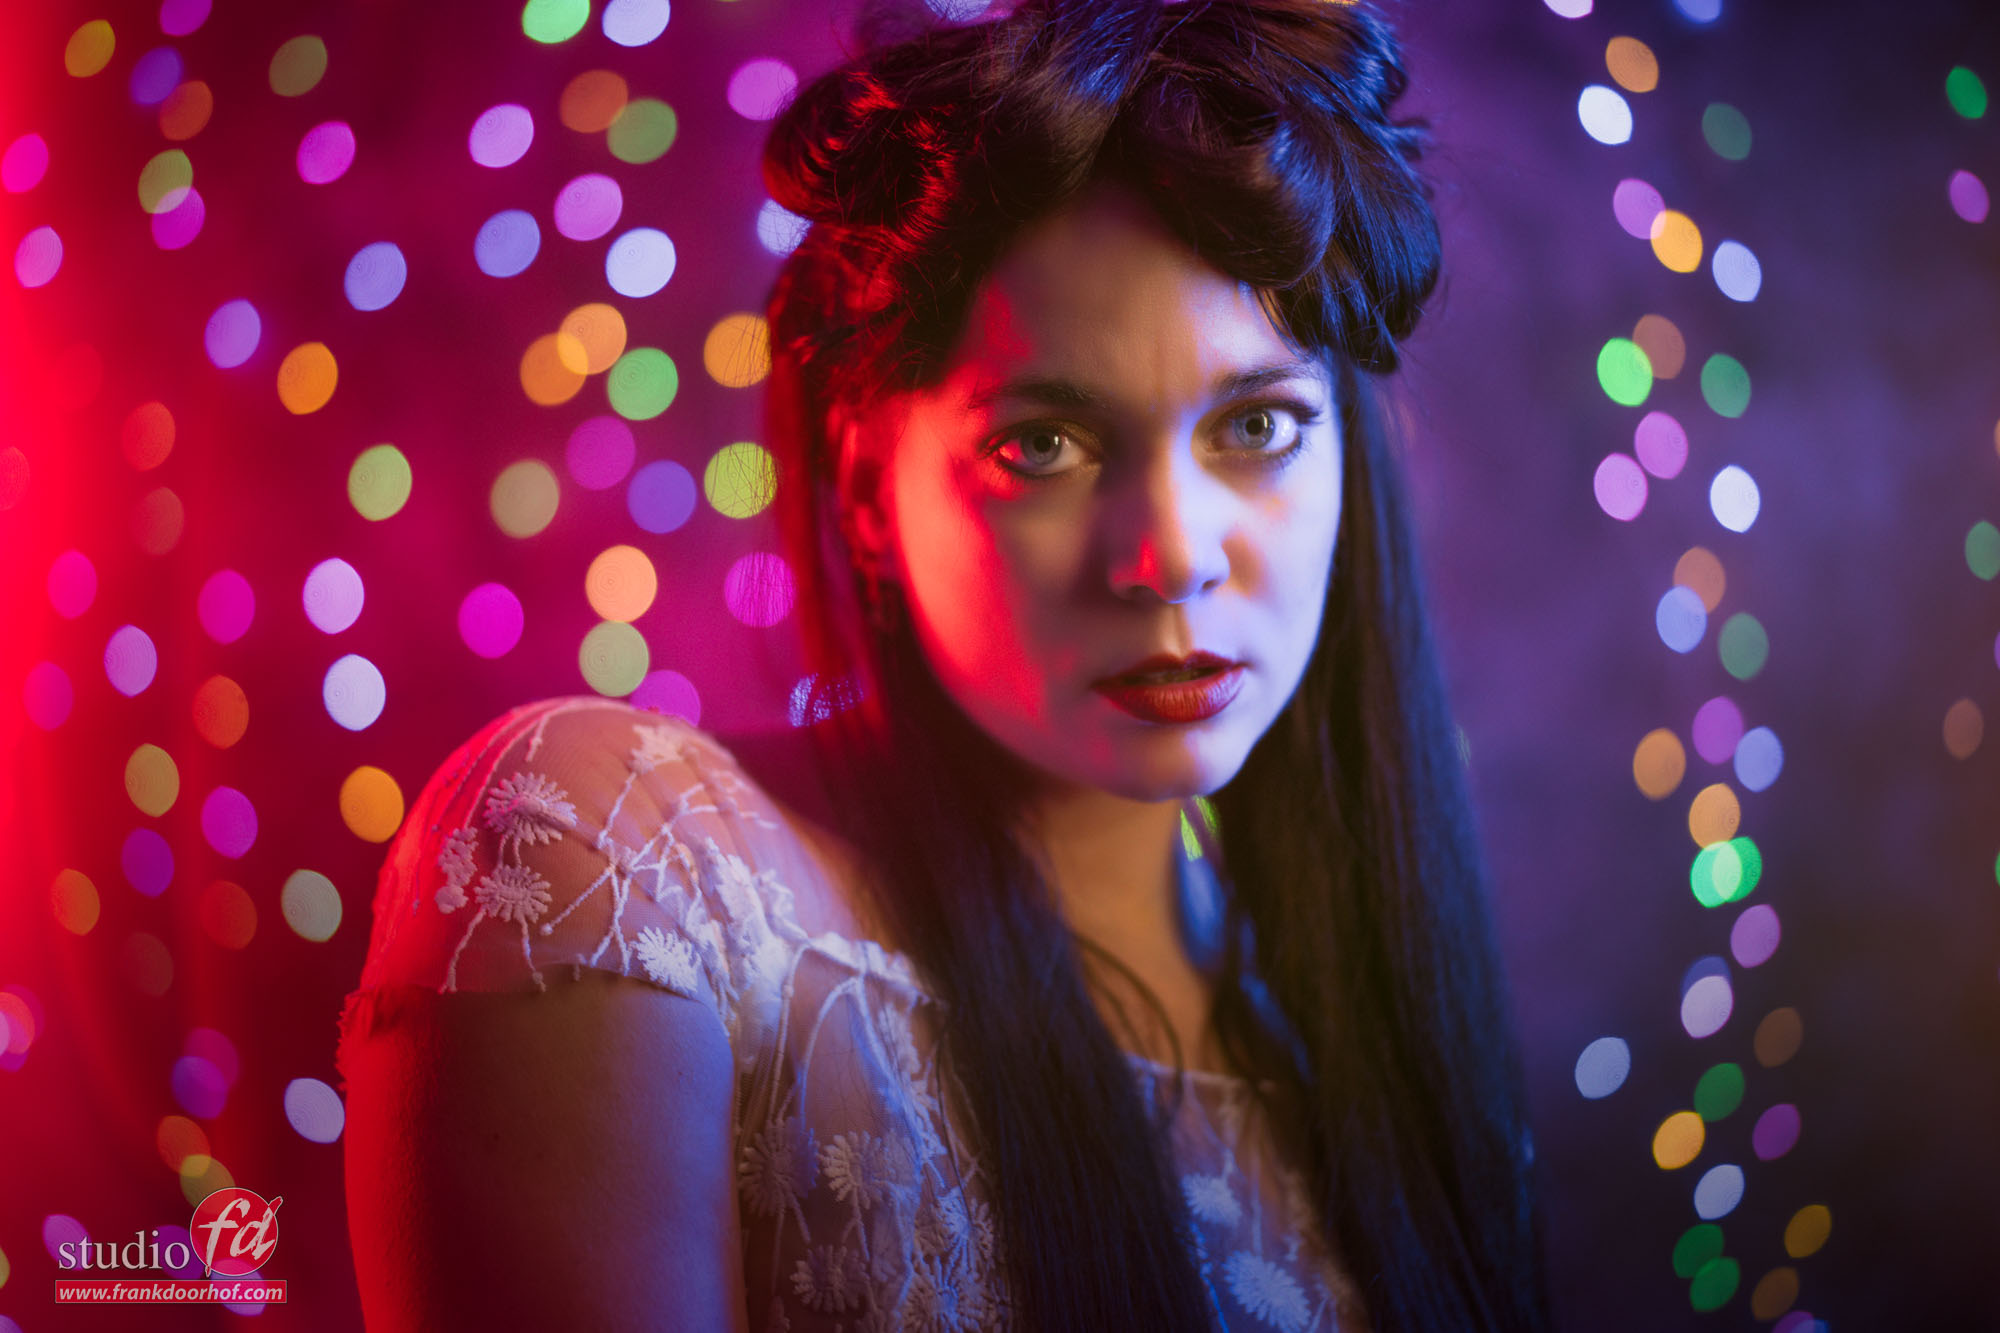
With our Hensel studio strobes it’s all expected to work easily, but thanks to the right light shapers it’s now possible to really create what you want without any limitations.


The Rogue products can be bought via www.frankdoorhof.com/shop or in your favourite camera store selling Rogue.

The new Rogue Flash Snoot will blow you away…

You might think “why so enthusiastic about the Rogue Flash Snoot, Frank?”
Let me explain.

I love using my Hensel strobes in the studio or on location. But sometimes there are situations where it’s not feasible to bring larger strobes, but luckily there is the speedlight. Or the new (very popular) round strobes. When using speedlights I also want modifiers that are lightweight and don’t take up a lot of space in my bag (preferably it should fit my back pocket). Check out the video about the Rogue Flash Snoot below.


In 2022 Rogue released their brand new magnetic system.

When I first looked at the system it contained an omnidirectional dome, a gel holder, and grids. It was already a very flexible set, but in the video below, I show you their latest addition to the magnetic system… the Rogue Flash Snoot.

A snoot makes it possible to really pinpoint your model. Especially with speedlights that are placed further away from a subject a snoot is essential and makes a huge difference. But Rogue didn’t just release a snoot, they actually made it possible to use the snoot in 4 different ways. And when you’re using speedlights even 8 different ways, which makes this snoot incredibly flexible.

You might wonder why you need 4 settings in the Rogue Flash Snoot.

The reason is pretty simple. When we work on location it’s not always possible to place the lights exactly where we want. With the zoom function on your strobe, you can focus the light slightly but in most cases, you need a lot more focus. And that’s where the snoot comes in. The reason you can use it in 4 different ways is that with each setting you create a slightly smaller circle, meaning you can focus the light very flexibly. In most situations, this makes the Rogue snoot a really valuable asset in your kit which makes it possible to really fine-tune your light if you can’t move the light as flexibly as you would like. Combine the snoot with a gel and you can use it for a really nice accent light on the background or a very small part of your subject.

You can order the snoot on www.frankdoorhof.com/shop or in your favorite store that sells Rogue products.

Here are some other images I took with the Rogue Flash Snoot

and here.


Being creative with led tubes

It’s no secret I absolutely love to find creative ways to use my lighting.
One of the things I love to add in a scene is color, but also continuous lighting.

So when Nanlite asked me to take a look at their new Pavo Tube I knew I wanted to combine it with some Christmas lighting we bought recently for the studio (we always look for cool lighting solutions, it’s always fun to use them and it triggers your creativity).

Here are some of the results from the session we did with Nadine.
Using the TT artisan lens on my Sony A7RIV with the FotoDiox adaptor to use the lens as an auto focus lens, love those convertors, it really makes it so much fun using vintage lenses.

In the video I also explain the setups.