Guestblog Pegasus by Anthon Cauper
Today in our guestblog posts it’s time for Anthon Cauper.
He will share his technique for a great shot I loved of him, so enjoy this guestblog post.
Feel free to comment and share.
About myself:
I’ve been interested in arts since I was a child, I stated in painting and drawing, there’s where I learned some things about compositions, specially with landscapes, because most of my paintings where landscapes, I could say photography was a big interest since I was a child but I couldn’t really do photography till I got my very first digital camera about 5 or 6 years ago, just a point and shoot camera, then I was a time without a camera and after a long time got another point and shoots camera, I got my first DSLR Camera in September 2009, a Sony Alpha 330 camera, and I’m still using my Sony camera, so I am into the professional field since December 2009 =), I love proving people I can do it even though they say I won’t get it, I always like going beyond my own traces, and beyond what people believe I cannot do, I’m determined to be one of the best photographers on the Globe, I consider the paths to success are persistence, sacrifice, hard work, believe, hope, and the most important, to have dreams, I’m still in process to learning more and more everyday, my only tools are my camera, my imagination, and my laptop, to me every step is important and when I reach a new level I am happy I get it.
the Pegasus how to:
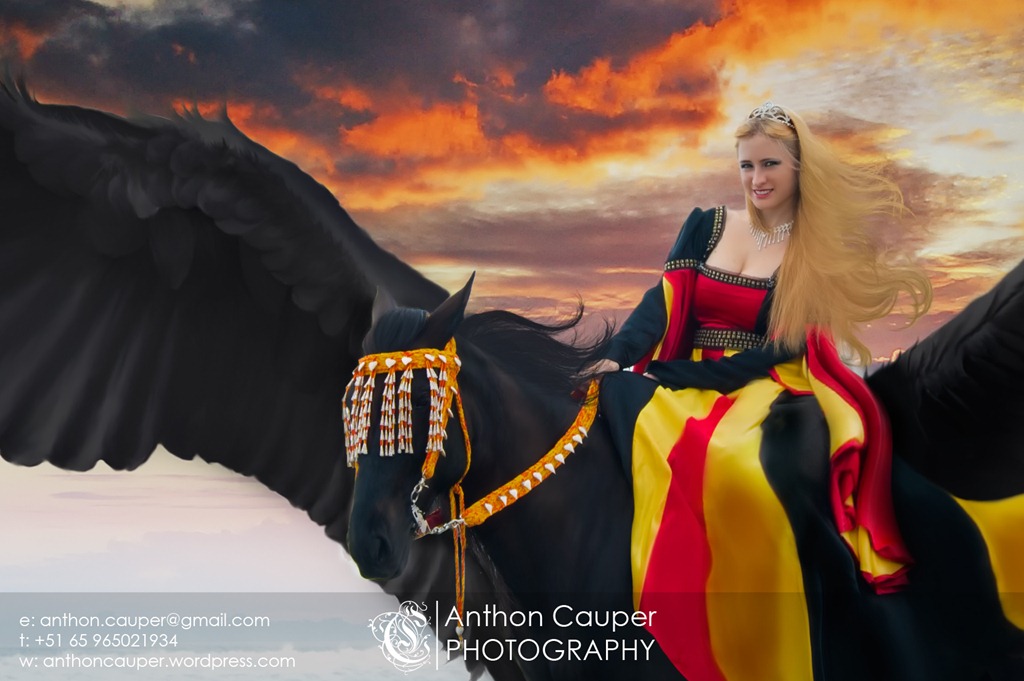
My Client always dreamed with a Pegasus and she asked me to do the shot for her, I made her dream real. Of course I will tell you just some things but very important, there some other things I have decided not to show not because they are not going here because they are part of another topic, like digital painting. Like every commercial or fine art photography there’s a process the photos have to go to have the final image, in these case I am going to teach a bit how to get this technique, just some important steps you need to get something like this.
first:
it is very important to remember that how you took the photo it makes the final image, that means you have to care for lightning, colors, details and all of those stuffs for your final image; you have to shoot like you want your final image to be.
second:
your final image is a composite of different pictures merged together, or you can make one only picture but I believe is better doing it through different pictures so you can have every detail in high definition. What I usually do is take different pictures of the same subject in different positions, angles, and zooming, the closer you are to your subject the more detail you will accomplish, it is better and important to have your sensor and lens clean, using a zoom lens will help you a lot.
third:
Have criteria, make your own work, and NEVER copy the work or idea of anyone. It is odd when someone tries to copy the work of someone else because they don’t have imagination, come on guys you can do it, what I usually do is I read books, listen to music, go for walk, watch fantasy movies, animes and things like that, turn off the news, that will kill your brain.
well let’s start.
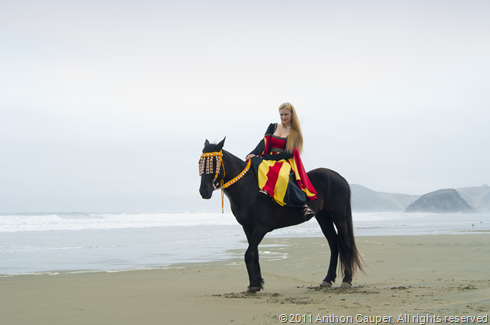
My place for the shoot was a beach called Ancon at the north coasts of Lima in Peru, well it was winter time so the time was cold and really cloudy, but I don’t believe in bad weather. My only equipment was my camera a Sony Alpha 330, telephoto lens 55-200, 4-5.6 Sony Alpha, circular polarizer, and my brain :D.
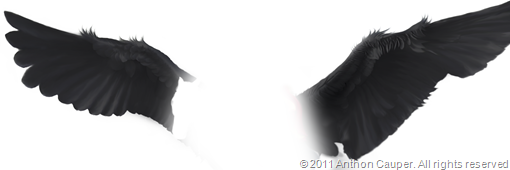
probably the original image for so many people doesn’t look like the final image, well I’ll show how with little changes you can make your photo into a High End Image. In this case I had to paint the wings digitally by hand because I wouldn’t be able to find any similar wing and using someone else wings photo wouldn’t be nice so I made my own wings for the horse.
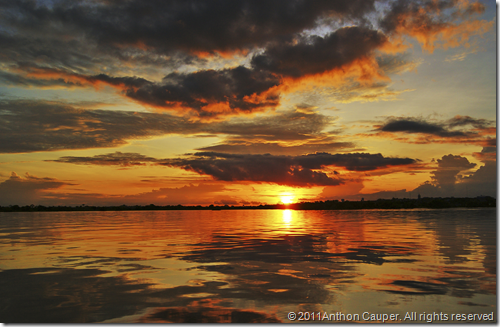
I had to erase some areas to show you, I cannot find the original I must have left it somewhere. Once I had the wings I had to change that dead plain sky to make it epic. so well I use to take a lot of photos of skies, clouds, and a lot of stuffs that I am always using later.
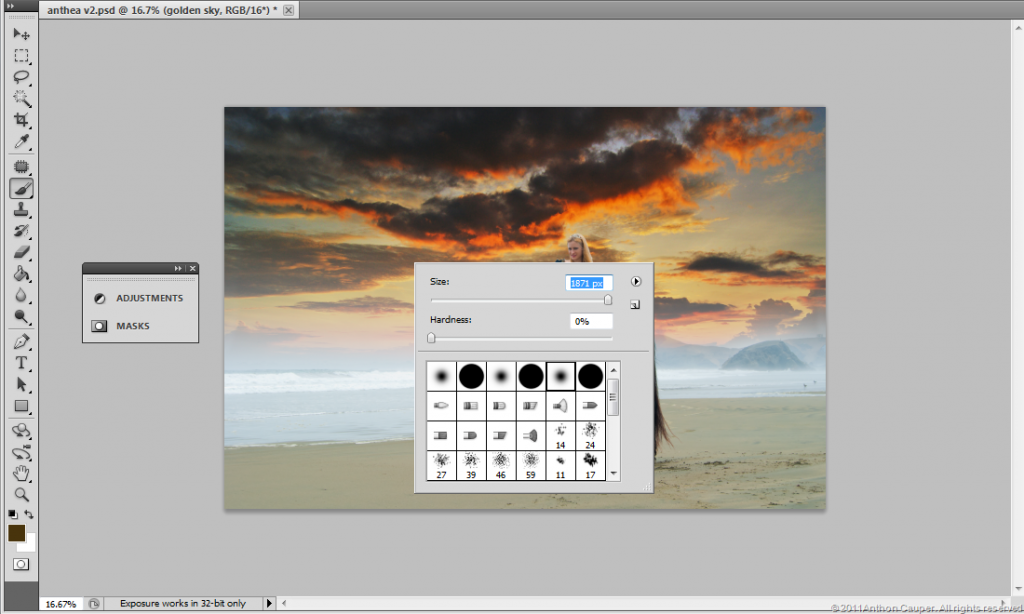
I love sunsets they are so magic, well lets continue, I applied a shadow highlight to my picture to reveal the shadows and also applied color correction to give it a better look for the Pegasus. Now after having all these things I also digitally painted hair and part of the dress. Well that’s a longer process. now, to do this is very simple you can swap skies.
Erasing the areas that won’t be on the picture.
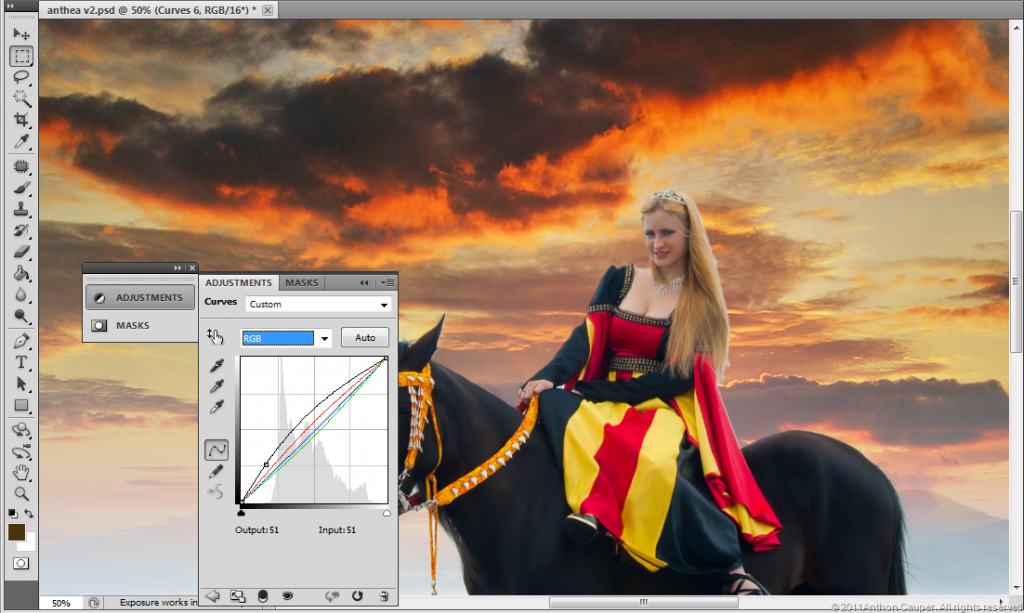
Subject you can adjust color curves according to what you want you can see the modifications I made to different channels. Also with color curves I revealed much more the shadows of the skies.
skies because they were too orange and I needed the sky to be similar to the environment of the beach
then with color curves again I added some detail to the sea and the hills on the horizon
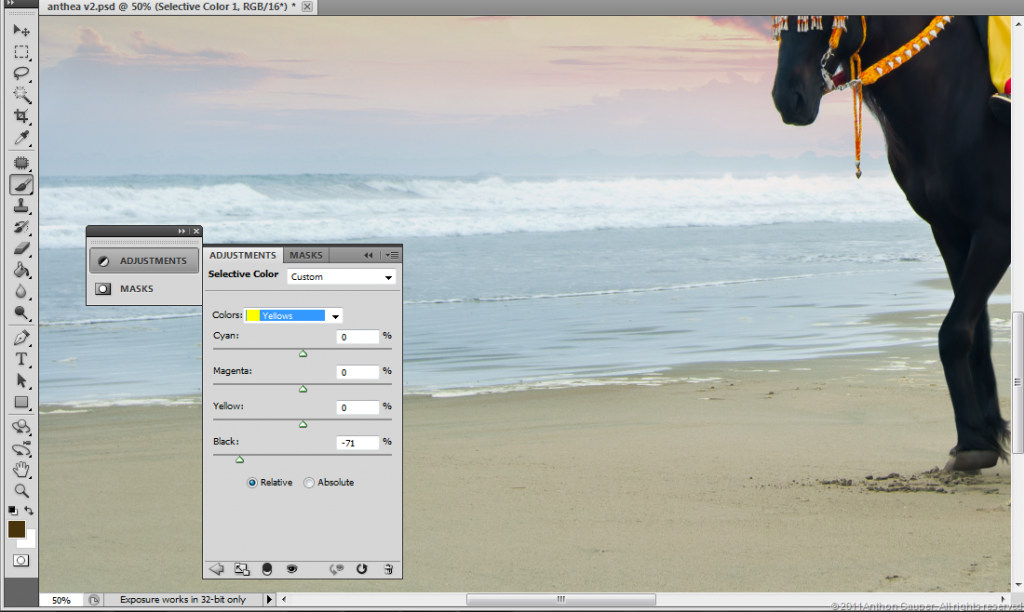
bit red so I used selective color to increase the light to the sand without having the need to go painting the whole image just the low part of the picture.
correct I just increased the light of yellows here. Now after all that I need the hair to be blown by the wind but there was no stronger wind when I took the photo so I made some hair digitally painted.
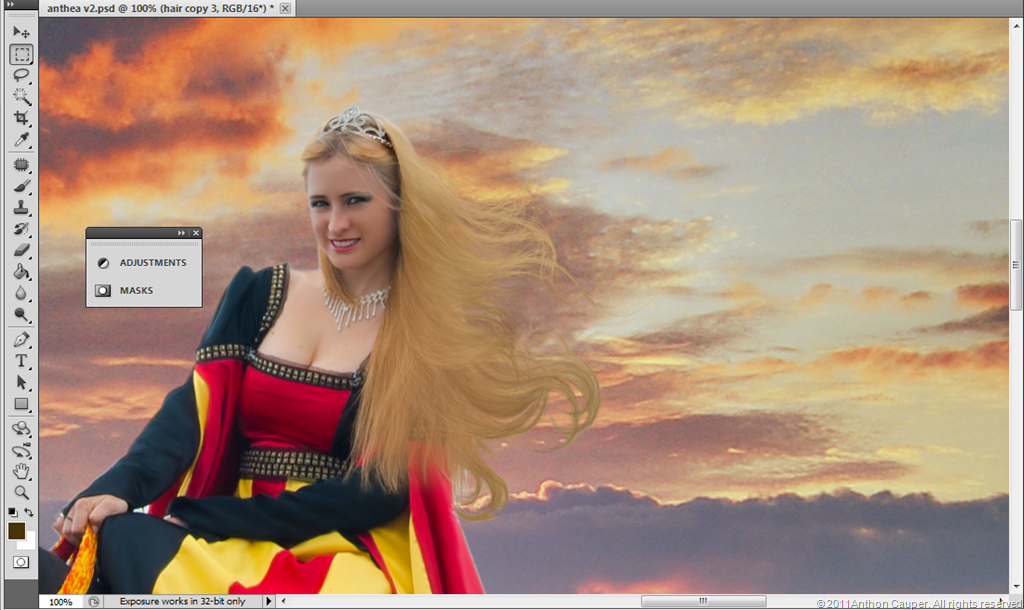
after a lot of work, I would recommend using a Wacom tablet, in my case I use only a mouse, I hope sometime I can buy my own Wacom table to get better results.
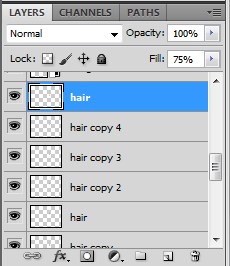
As you can see above the hair is composed by different layers that make it realistic. obviously it doesn’t have to be perfect. once done that you proceed to place the wings on the horse and then carefully start erasing the areas you don’t want to show, use a layer mask better in case you may loose some areas you can recover them, in this process you have to care for details, otherwise your final image will look fake and odd.
the wings, of course part of the dress have been painted digitally too.
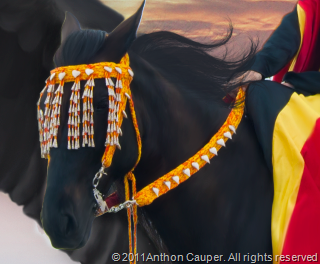
also the the horse needs some hair on his neck, do not forget that.
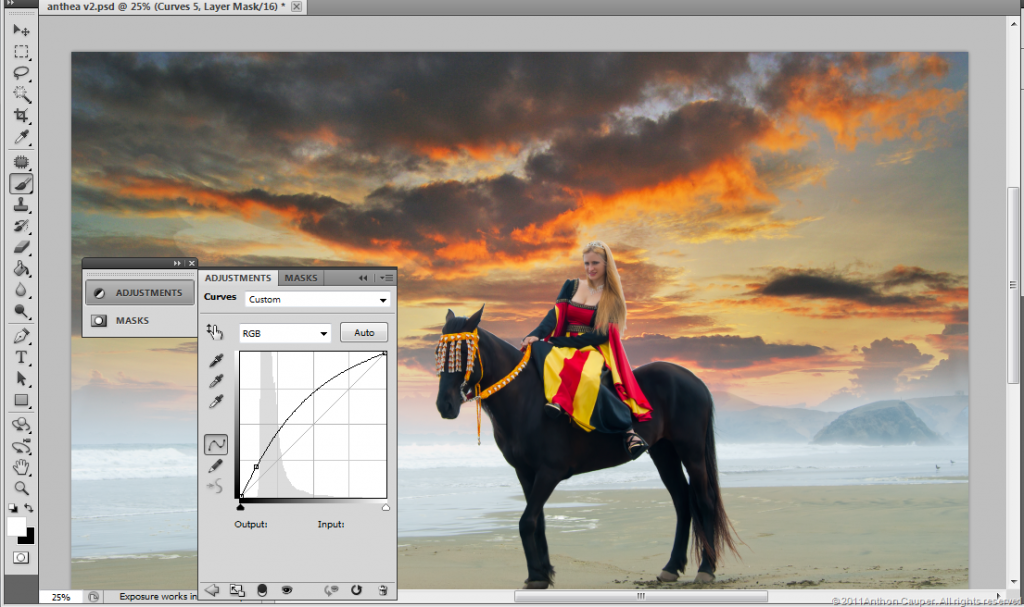
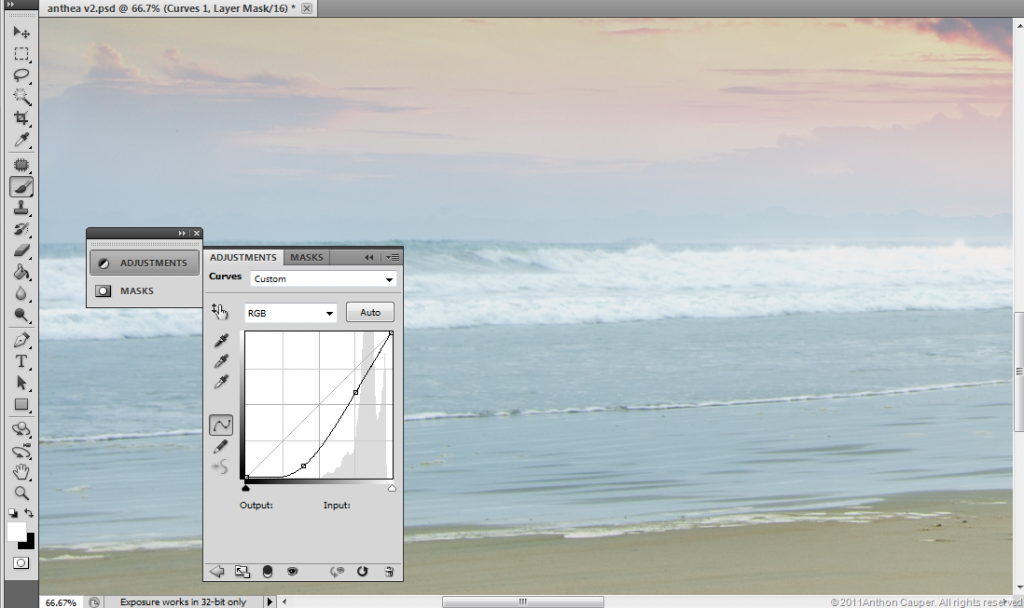
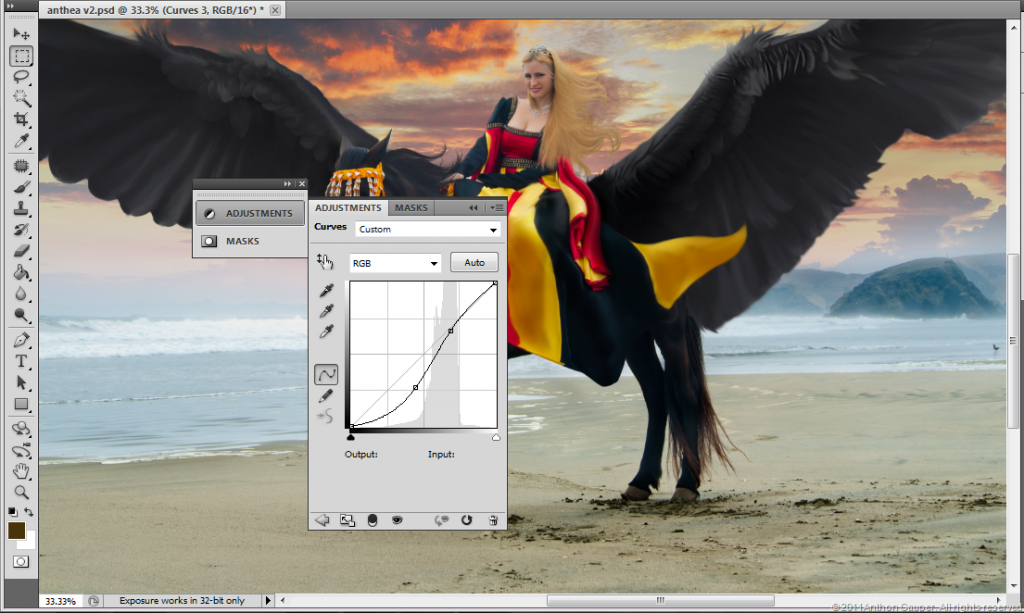
now with color curves again you need to add some dramatic effect to the sand here is how.
made a curve to control the contrast of the sand and give it a dramatic effect.
my moon was painted digitally, this is how it looks
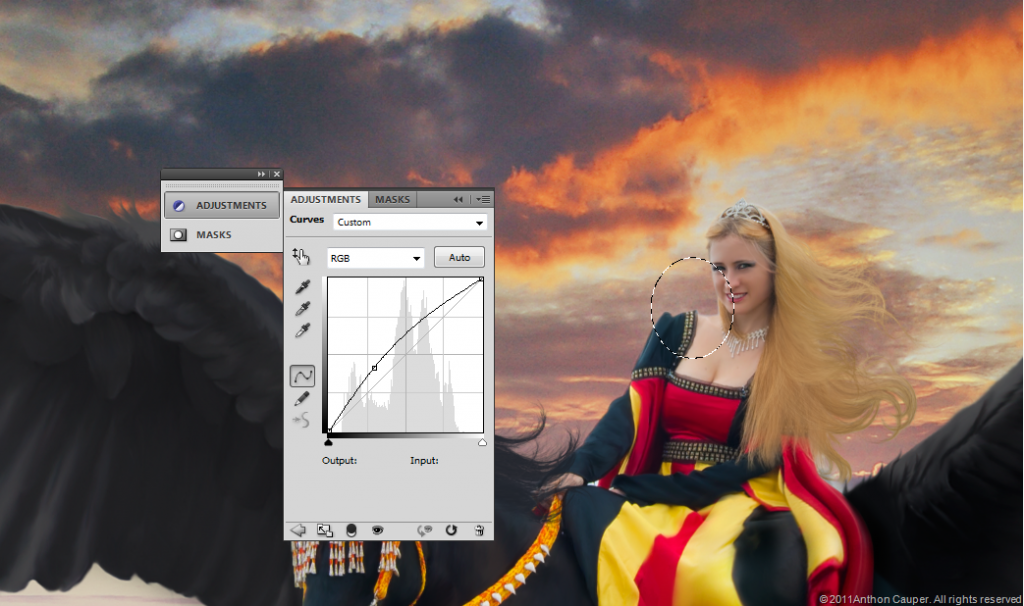
than, tone. color curves again, I made a circle nearby hear face and then applied Gaussian blur to not to be so drastic.
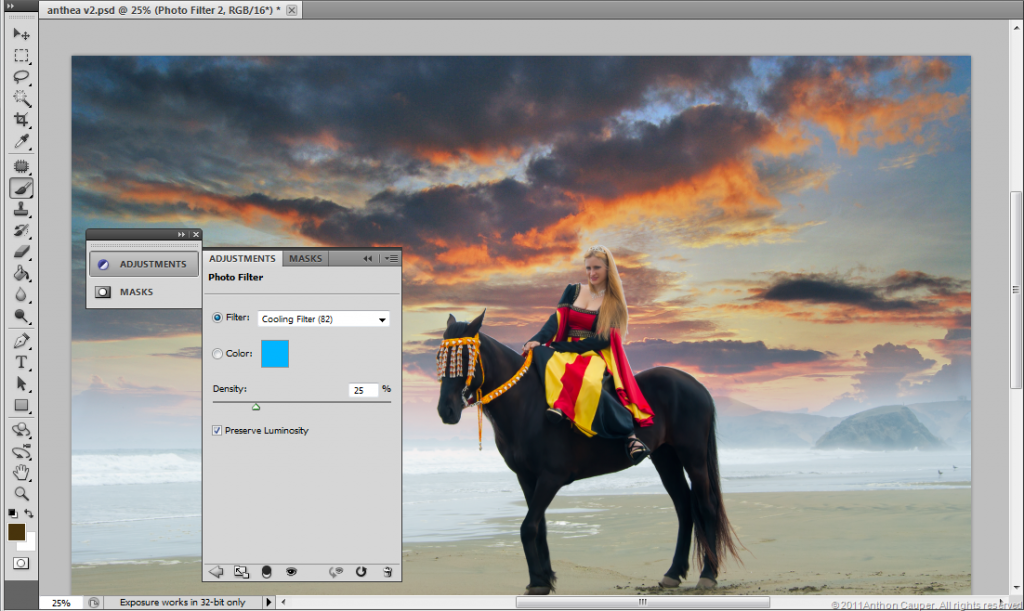
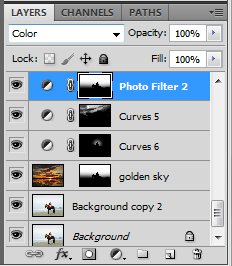
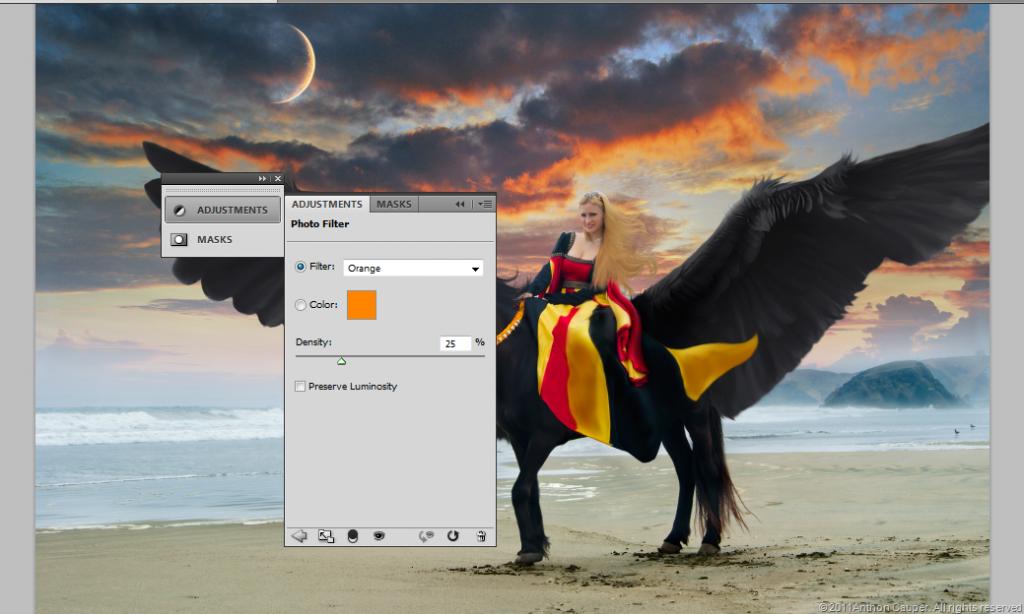
you can set the Gaussian blur the amount you want but preferable set a big amount of blur. now after you’ve finished that you need to add some tone to the picture. add a photo filter in these case a warming filter
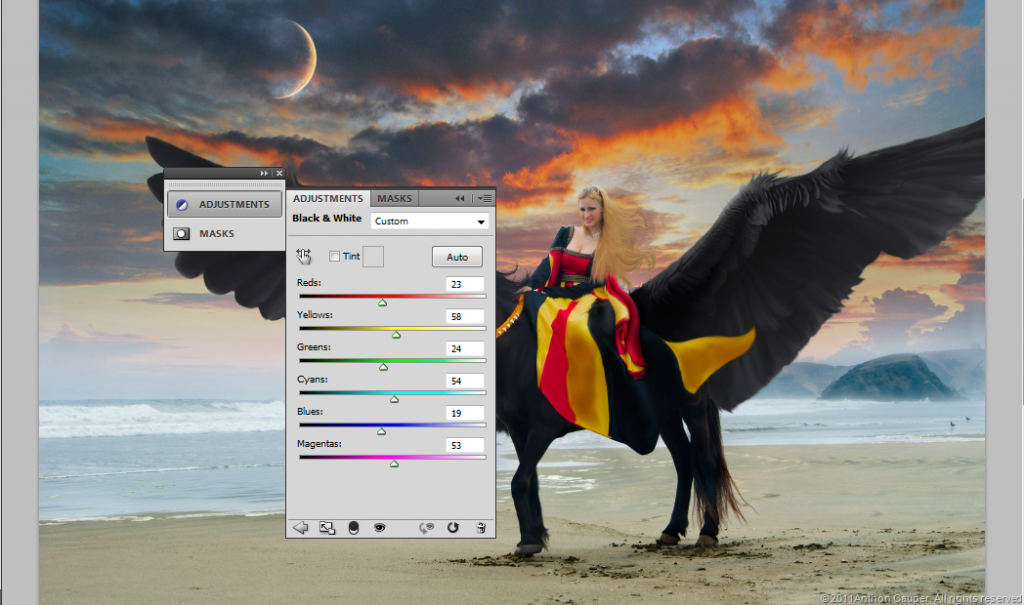
lowest level, I did in 12 of opacity. well probably so many of you guys are going to wonder why I am using black and white adjustment layer here.
change the color values according to what you like to recover the highlights.
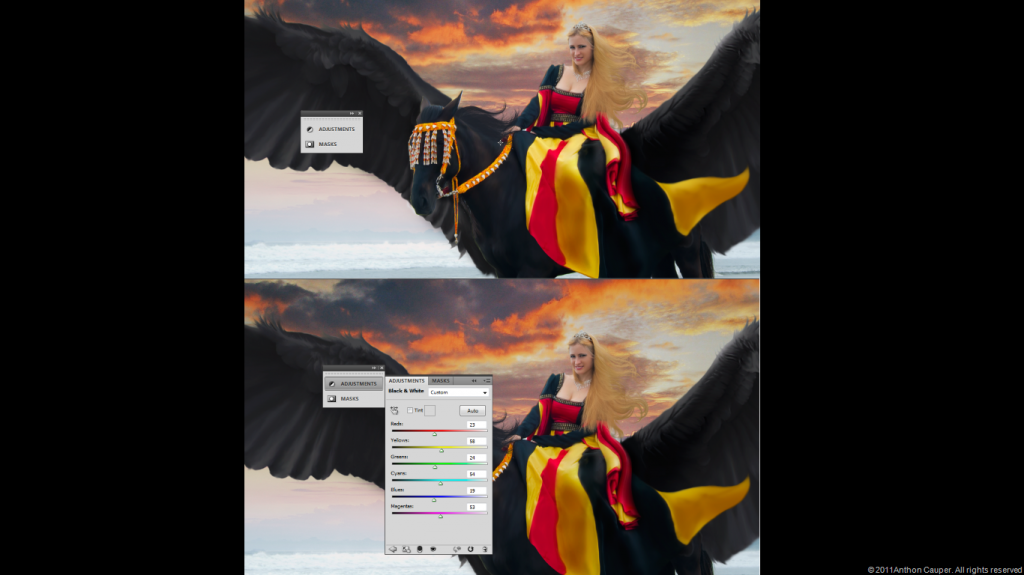
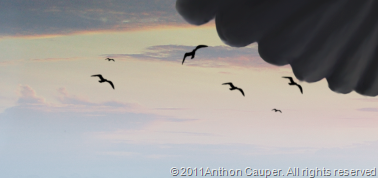
Here you can see the before and after using the black and white adjustment layer set to luminosity. Finally I just painted some birds on the skies to give it some details to the picture.
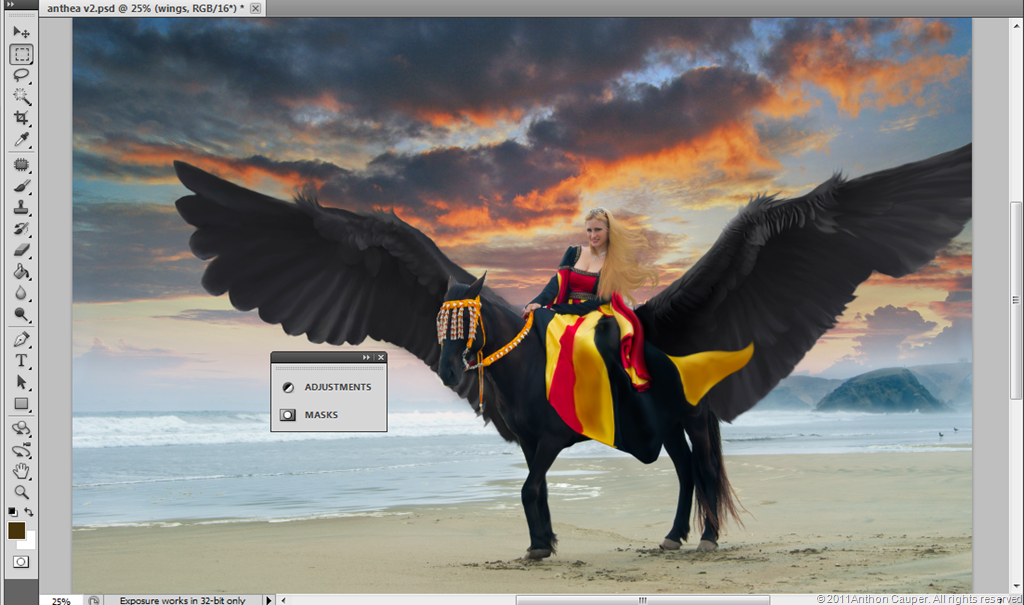
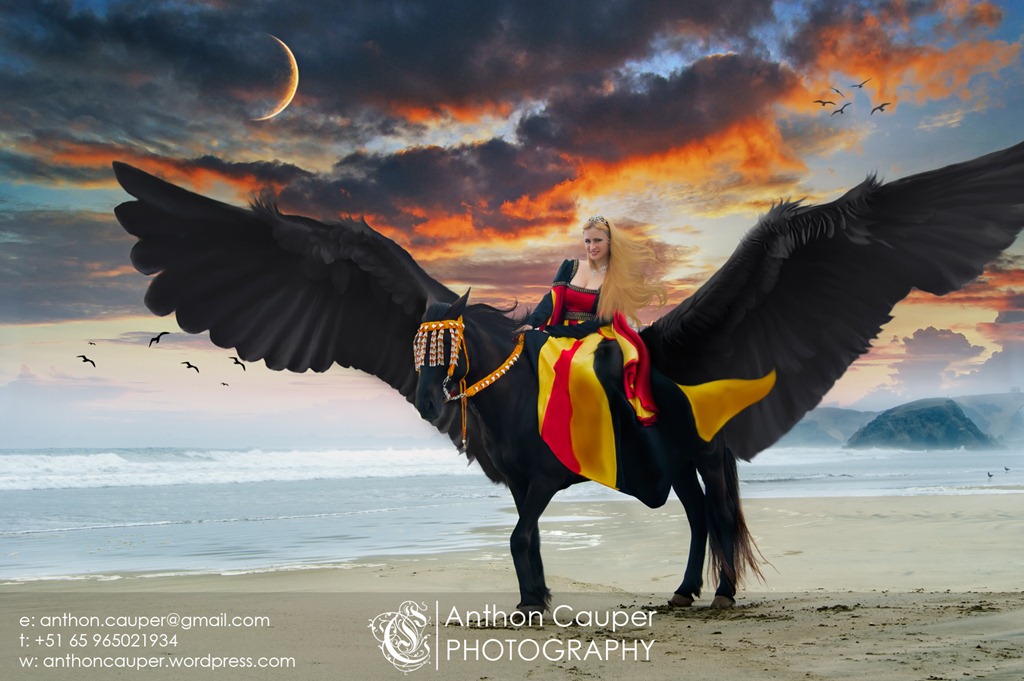
finally we have our final image.
the hardest part of all this is painting digitally, specially when you do it with a mouse. but you can see the results. any questions, just let me know. I hope you have enjoyed and learned from this tutorial.
www.anthoncauper.wordpress.com


Anthon keep up the good job! Me gustaron mucho tus composiciones saludos desde México