Leaf AptusII 12 and Professional Imaging
As you can read in the previous posts the last few days have been spend on the Professional Imaging.
During those days I taught several workshops on the Elinchrom booth and during those workshops (and the rest of the day) I used the new Leaf Aptus12 digital back, read in this blog post a few things about the shots and also a small review on this remarkable back.
Shooting during a trade show
In a studio or on location we can shoot what we want, you often have more than enough time and you can in most cases move around. Change the scene to a trade show and all the rules change. The studio at the booth is very small (think about 3x3mtrs), there is a lot of light so you can’t see your modeling lights, every workshop there are at least 20-40 people standing close to you and in between I also have to teach…. so actually it’s always a surprise that I come home with usable images. This year the challenge was even greater because I was shooting with the new Aptus12 digital back from Leaf so the tension was unbearable…. (yeah I love to overact)
Leaf Aptus12
Let’s first look at this piece of hardware.
As many of you might know I’m mainly shooting with a Medium format camera, in my case the Phase One DF body with Vgrip.
For the Professional Imaging I used the Mamiya 70-210 lens for all shots which I love for this kind of work.
I started out with the Leaf Aptus22 digital back as my first digital back (after testing some other options), which got upgraded to the Leaf AptusII 7 after I was part of the beta test team of the Afi7II were I got to know the AptusII7 back and fell in love with it. My own back shoots on 33MPs which I think is a really nice sweet spot for the work that I do, it has plenty resolution and great quality of the images/color.
Recently however Leaf released the Aptus12 which uses a stunning resolution of 80MPs, to be totally honest for me that’s overkill but I was dying to shoot some shots with the back and during the Professional Imaging it was my turn to testdrive this monster.
I choose the AptusII7 because the size of the sensor which measures 48x36mm which is close to the 645 system. I don’t want to invest in the crop sensors for a MF camera because I often also use the back on my RZ67ProII, the AptusII12 measures a stunning 53.7×40.3mm which makes it a “pretty” big sensor.
I would love to have a sensor with this size and a little bit less pixels for my own personal work, although……..
Speed and quality
The main thing I need is speed, well actually not speed like with a DSLR, I don’t need 9.5fps for fashion, but the capture rate of my AptusII7 (1.1 sec per frame) is pretty perfect for the workflow I’m used to. The AptusII12 clocks in at 1.5 sec per frame which sound incredibly slower but I can honestly say that in real life this is not the feeling you get while shooting. During the demos I tried several shoots on continues shooting and the models never had the idea to wait for the next shot, the flow between flash, repose, flash, repose, flash, repose etc. worked actually really nice (a model can’t change pose 9.5x per second, well at least not the models I work with).
So that was the first worry that was removed.
Now how about those 80MPs ?
Well what can I say except that this must be the dream of architecture and nature photographers. The images you get out of this back are very very detailed and incredibly sharp, I expected my lens to fall down because let’s be honest the 105-210 is not designed to work with a 80mp back, but to be honest the lens grew in my appreciation. Next week I will do some tests with the 80mm Schneider to see if that performs even better during a free work fashion shoot.
Zooming in on the images from the Leaf AptusII12 is a real joy and you keep feeling that if we go even higher in detail we can almost see the DNA from the sheep that her sweater was made off.
I remember my first camera that was 0.5MP and the switch from the 10D to the 20D were for the first time I found the detail in a 3/4 body enough when looking at the eyes, man we have come a long way.
80MPs for fashion is crazy
Yeah I heard this a lot and I agree but I disagree.
I agree that with beauty shots there simply is too much information with 80MPs and at first I thought I would never ever switch to this kind of backs. However with fashion we do a lot more than just plain beauty. Think about a model in a beautiful street environment were she is placed in a small area and the scene taking up the rest of the space. I think it will be stunning to see how the files can be pushed in the more advantaged workflows like tonal contrast from NIK software which I love to use. Also think about moire, the more pixels you have available the less you will be confronted with moire. I have to be honest that most of the time moire is no problem with the 33MP AptusII7 but there are situations were I will see it a lot and in some RARE occasions it ruins a shot, with 80MPs the chance of this happening will be eliminated even more.
Maybe I’m a strange kind of photographer but I always try to push myself to new levels and I can really see an option for the use of this back in my own personal work, not for printing big but I do see some options in other areas like making better extractions, more pixels to push in more photoshoped images etc. so I will not say I will never switch but at the moment I’m not thinking about it (too much).
Downsides
Not really a downside but the files are HUGE.
My retouched files, flattened 16 bits TIFFs weigh in at a scary 480MB (yeah 2 images will be 1GB).
The RAWs are manageable with 68-107MB.
At the moment Aperture doesn’t support the RAW leaf files but often this will take a few weeks and it will be updated. Talking about that issue I really hope that Phase One will remove the crippling of the Leaf files in a future release, it’s getting really annoying to shoot tethered in one of the best tethered solutions and after that being forced to convert all your files to be able to open them up in Photoshop or Aperture. But that’s a different story and I won’t bother you with this now.
The look of the back and what to use
I’m afraid that with an older laptop to shoot tethered you will run into some problems. I tested the back on my MacBookPro 2011 quadcore Sandy Bridge with 8GB ram, this notebook is twice as fast as the 2010 MacBookPro and on that notebook it was no problem to shoot with the AptusII12 there were no crashes and the previews build up really nice, although when shooting in continues mode the next images was getting on the screen before the one before was 100% done, in real life however this is no problem at all unless you have an AD looking over your shoulder, but when shooting in continues mode you will go to fast any way to make a real good decision on images coming in.
The back itself looks the same as my AptusII7 which gave me the idea to just switch serial numbers and other markings and hope that Leaf would not notice anything, but we agreed upon me being able to keep the back another week after the Professional Imaging to play with it.
The images
In this part I will show some of the images I shot during the Professional Imaging, all except one were shot with the AptusII 12.
During the show I used several lightsetups with which I showed the people how you can control your light and measure more difficult lightsetups with the use of a lightmeter.
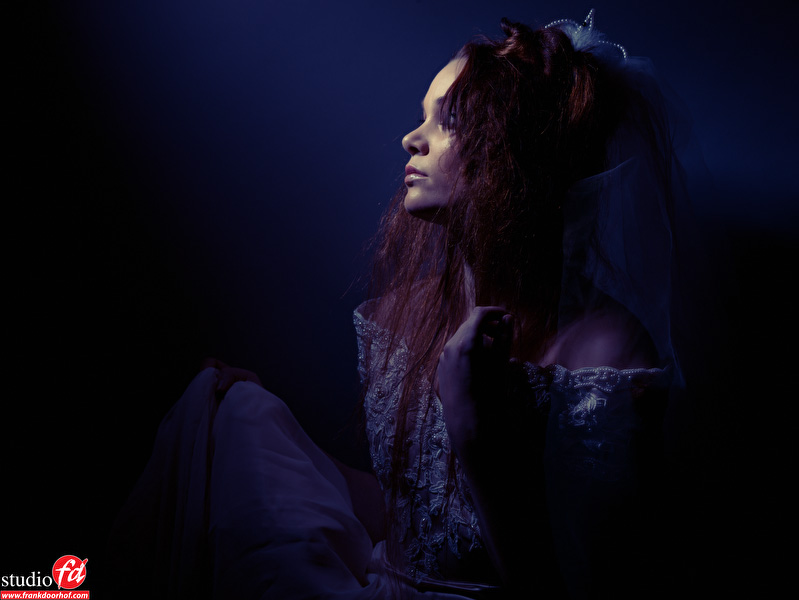
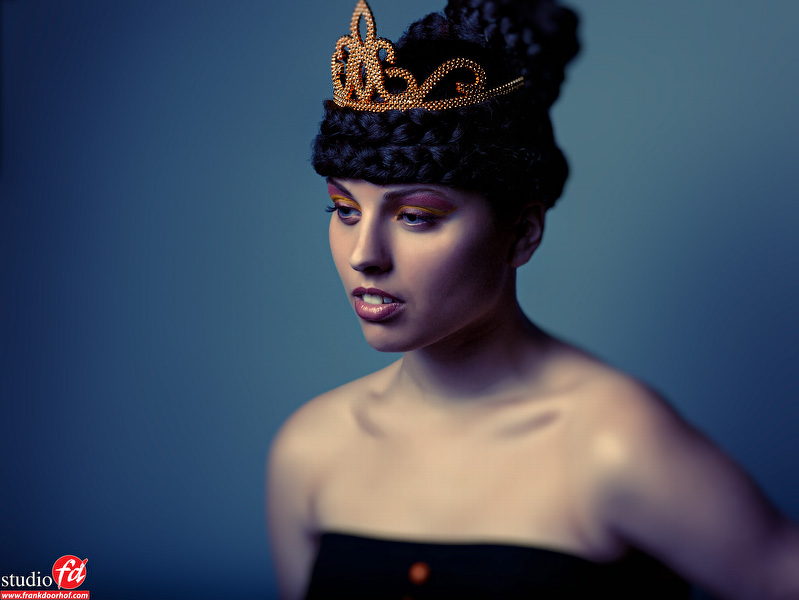
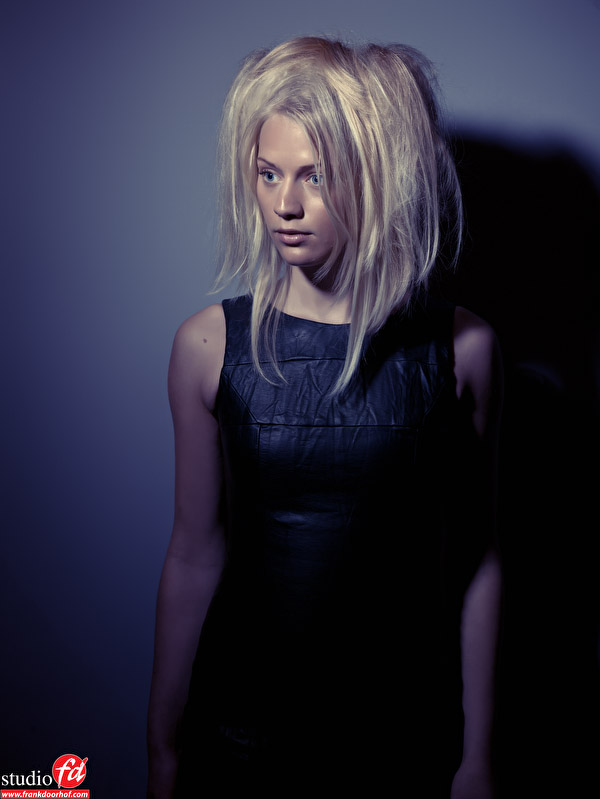
With this image from Nadine I used the Elinchrom Deep octa with lighttools grid.
The main thing with this setup was to show the people how you can very quickly (and easily) determine if a background will turn black, I do this by first measuring incident for the mainlight and after that reflective for the background with the Sekonic 758. I think a lot of people will buy a lightmeter after these demos, well I hope. I still find it somewhat shocking that a lot of “professional” photographers are not using a lightmeter and are just shooting and guessing. After making the background black I would turn the softbox slightly towards the background to make a nice gradient on the background.
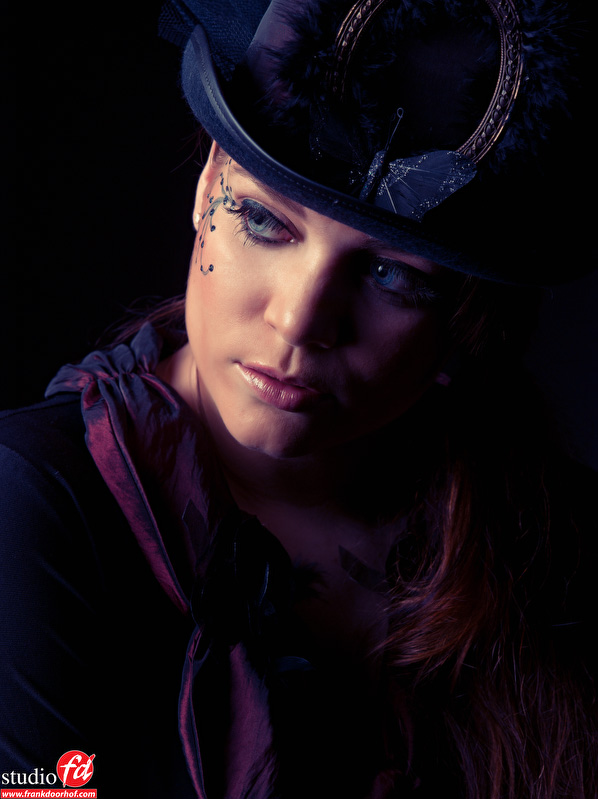
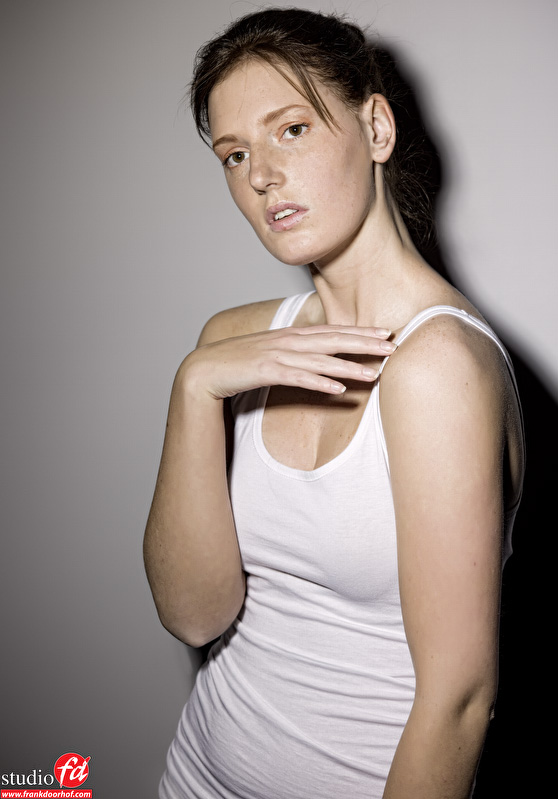
With this shot I showed what can be done with just a standard reflector and grid.
The strobe was placed very close to a standard gray paper background aimed from the top down, Nadine is standing close to the paper and is lit by only one strobe which also lights the background, so in short, there is one light used here which is lighting both the background and the model.
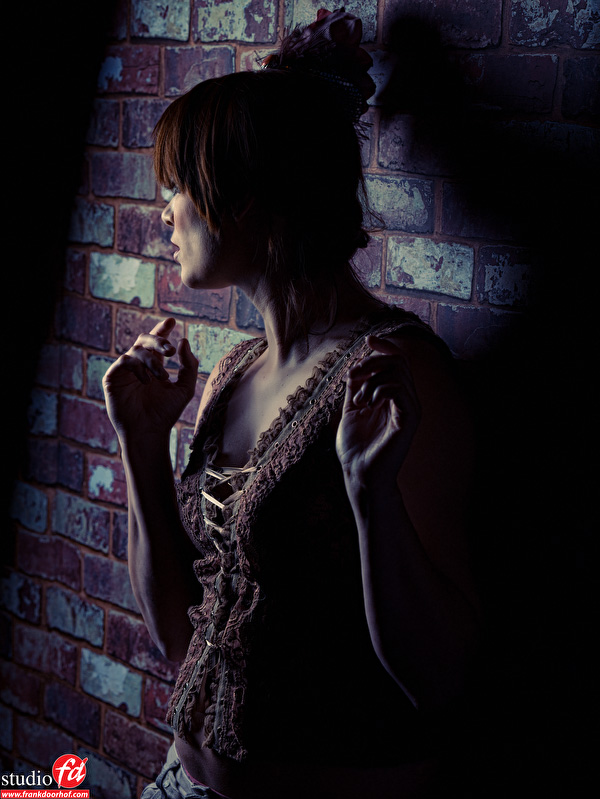
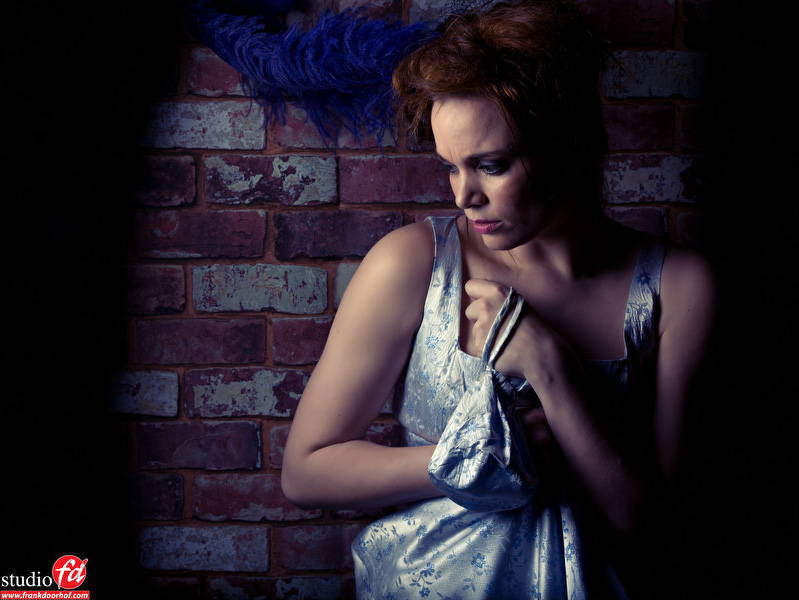
Because using gray paper all day long for three days can be boring we also added a fake wall to our setup.
This was just plain wallpaper that was mounted on some cardboard with tape.
By using different angles of light I showed the people how you can make something that looks very fake from one angle into something that looks totally believable from another angle. I also explained some techniques like adding lensflare to this setup.
Light was a small Elinchrom strip light. I would really advise you to buy something like this and play with it, you will be surprised what you can do with just a small strip, it will open up a lot of new possibilities.
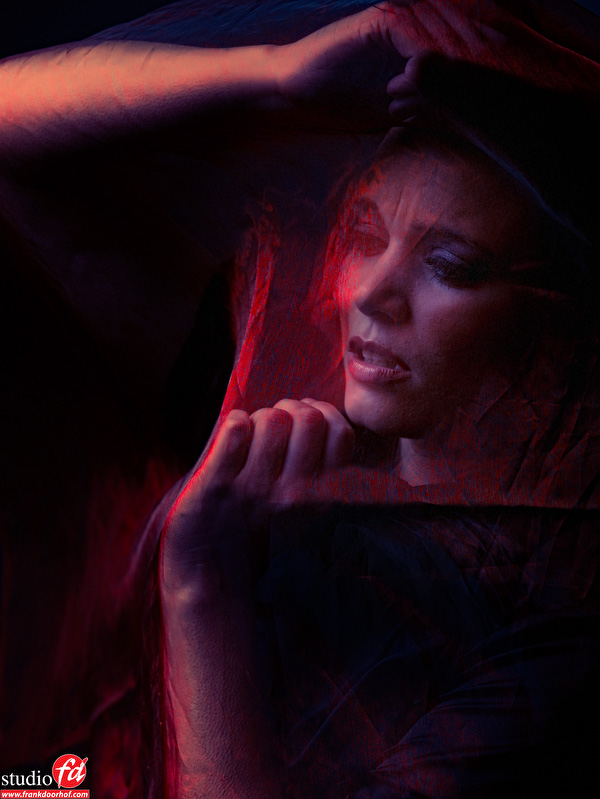
During some demos I would ask people if they would ever run out of inspiration, and indeed some of them did. For this group I gave the advise to buy for 3-4 euros some material we call “firecloth” and just play with this, add some wind and you’re done and get some very inspirational shots.
Light used here was the Elinchrom Deep octa and a windmachine for the added effect.
During the last day we also used the grid and reflector in some other setups like here, were we pointed the strobe under a slight angle towards the model. The funny thing is that people often invest a lot of money in softboxes and forget that light can be so simple and still beautiful.
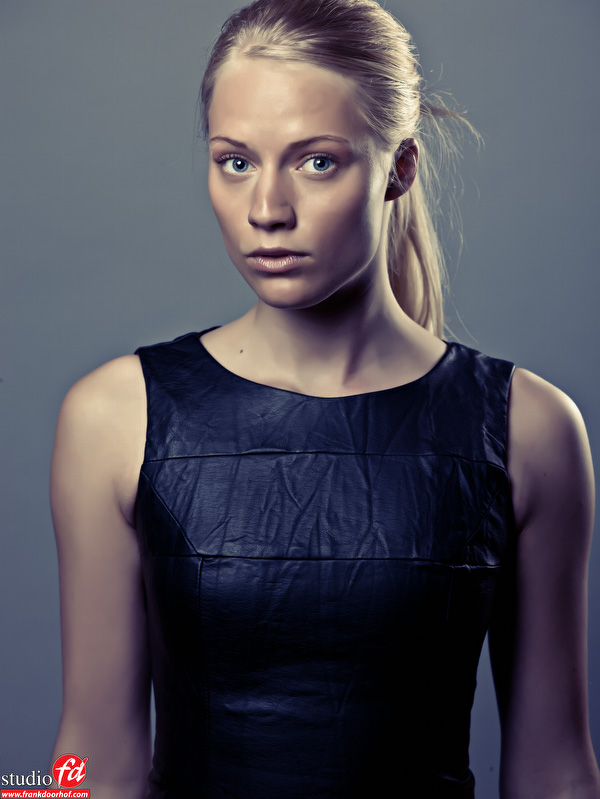
For this image I used the Elinchrom Deep octa almost straight at the model and the little strip as accent. By moving the model away from the background we removed the shadows and by adding the strip I created some more depth to the face and body of the model.
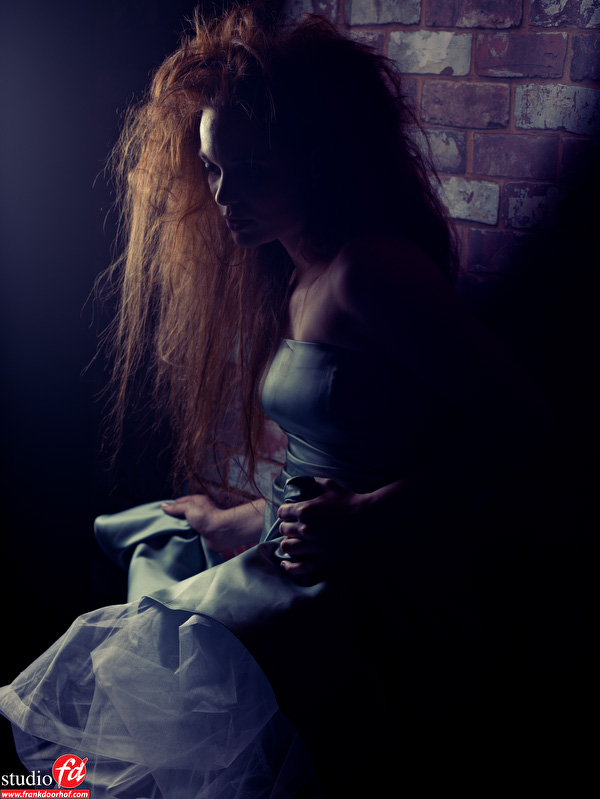 And two more images from our very fake stone wall. In the last one I included some lensflare to make a more “mysterious” look. I have to add that the lensflare is not fake but was really there when I shot it. By choosing the correct angle and the correct position you can catch some lensflare like this which sometimes really adds to an image.
A special guest
One of the speakers this year on the Professional Imaging main stage was Matt Kloskowski
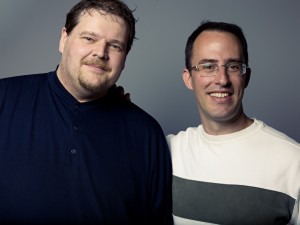
I already mentioned on the blog that he taught some very interesting keynotes about extractions/composites and portrait retouching, but Matt also visited our booth several times and during one of those visits I dragged him in front of the camera to shoot this very quick portrait of him.
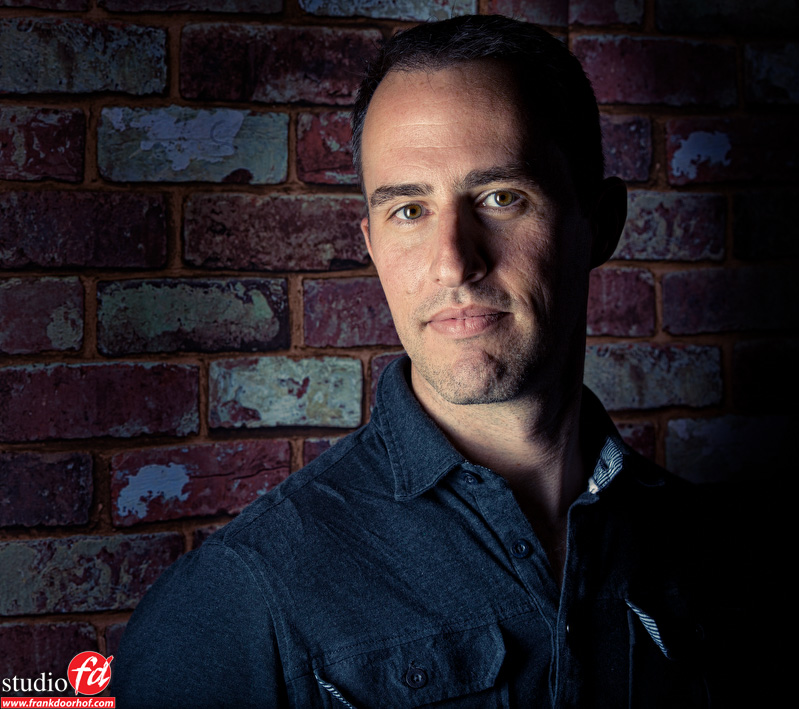
Concluding
As mentioned at the start of the blog post shooting on a trade show can be a real challenge, but somehow I love it and I often come home with some shots I really like, maybe it’s because I really try my utmost to get some killer shots in to prove that if you understand light you can shoot images in any situation, or it’s just because I always work with a great team of models, MUA and assistants…. I think it’s a combination of both 😀
The AptusII 12 experience was an exciting one and I can wholeheartedly say that if you’re in the market for something like this you really have to check it out, I always liked the quality of the skintones of the Leaf the best from the backs I’ve seen and tested and the service and support is just plain perfect, so if you’re in the market for a new digital back make sure you check out the AptusII 12 I think you will love it…… I do. *but please don’t tell my wife.
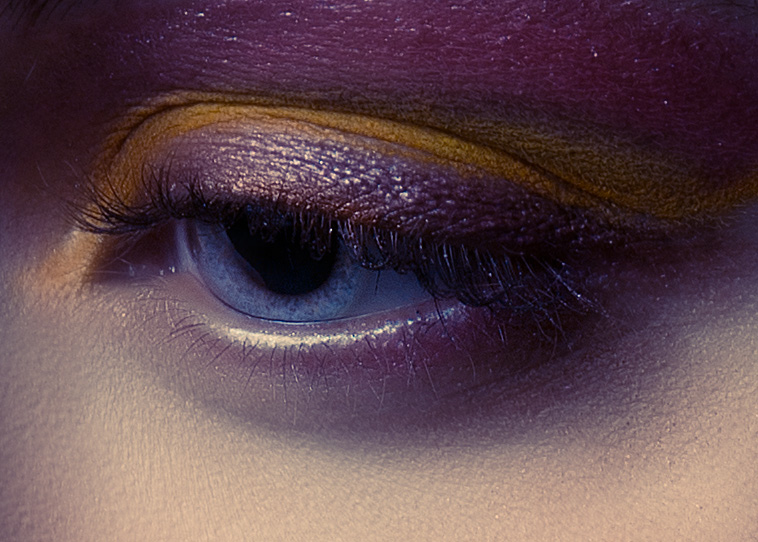
And because some people will ask anyway here is a 100% crop of the top image.
 Many thanks to:
Our models : Alise, Ilse, Marijke, Lisanne, Nadine, Cynthia, Myrthe and Stephanie
MUA : Linda and Carla
Assistants : Wendy and Dilani
My wife/Assistant/Everything : Annewiek
The teams from : Fotoflits, Leaf (Eyes on Media), Lowepro, NIK, OnOne
And Matt for taking the time to give me some kick-ass photoshop tips and not forcing me to kneel down for this shot 😀


Looks like you are not selling right now your current Leaf back……..
Even doing almost snap shots you are on a league of your own! Beautiful images!
Thank you so very much.
Well I will not trade in my back right away indeed. There is a price difference of course 😀
Anyway I love the back very much but 33MP for me is more than enough, although the bigger sensor does have it’s attractions 😀
Frank,
Nice images and thanks for your sharing your experiences with us. I’d like to know if you noticed any differences in DOF, or DR between the Aptus II 7 and the 12?
Thanks,
Eric
Hi,
I don’t notice any differences in DOF, and that shouldn’t, it’s just more resolution.
The sensor however is bigger so in theory there should be a small difference of course.
DR seems very good, the darker shots I do with the AptusII 7 look the same in the shadow and highlights so my uneducated guess (didn’t do any scientific measurements) is that they are app equal.
Great review, Frank. I’m sure Annewiek already knows you want one.
Frank,
Great images and text as always. Can you give us a bit more info on the ‘firecloth’. I can’t seem to locate it in the US – keep getting fire retardant cloth when I Google it.
Thanks
Hi,
I don’t know the correct term for it.
It’s a shiny material in different colors, I use green, red and gold.
Over here most shops that sell fabric have the material.
Ik zie Myrthe er nergens tussen?? ( Een nieuwsgierige mams haha)
Don’t worry.
Dit is een eerste selectie. Dilani en ik werken nog aan de rest. Komt helemaal goed.
Ze had er een paar echt top platen bij.
Say whats up to matt for me lol I think hes the best with photoshop
Always enjoy your work… but… the 1st image is STUNNING! Great work as always.
Hatch