Tip : using strobes and natural light
The difference between strobes and natural light.
I always tell my students during workshops that when they are shooting with strobes they should always also shoot some images with natural light, this way you can deliver many different looks from the same location to your client.
During the workshops in New York I shot this example which I like to share with you guys.
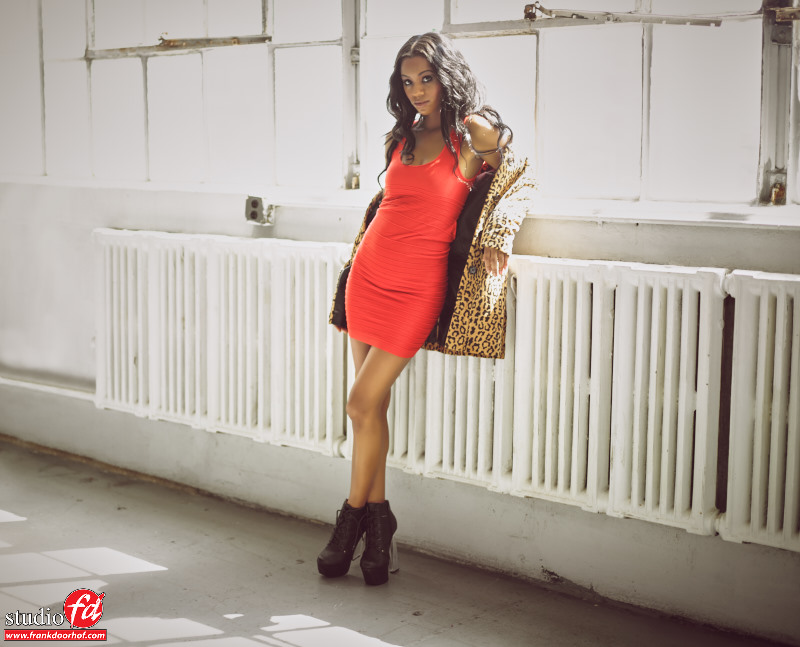
The first image is without strobes.
To meter this correctly I metered (incident) in front of the models face to get a proper exposure on the face, this meant that the windows would blow out to pure white, in the final tinting I toned down the highlights slightly for a more vintage look.
And one with a small strip light, editing in both images is exactly the same, including the same tinting.
Editing in Capture One.
In this case I metered the sky first (reflective) and put the strobes on exactly the same setting as the sky, meaning the sky would turn nice and dark (app 18% blue) and get a nice saturated look. One thing you always have to remember is that when you lower the luminosity of a color the color will get more saturated, so when you are using strobes outside, after you have set this up you can use the shutter speed to let in a bit more ambient light to actually raise the luminosity again to get different saturated looks from the same sky, the strobe you keep on the same setting so the aperture and ISO should not be changed. This is a very powerful technique which will let some customers look at you like you are a magician (always a good thing).
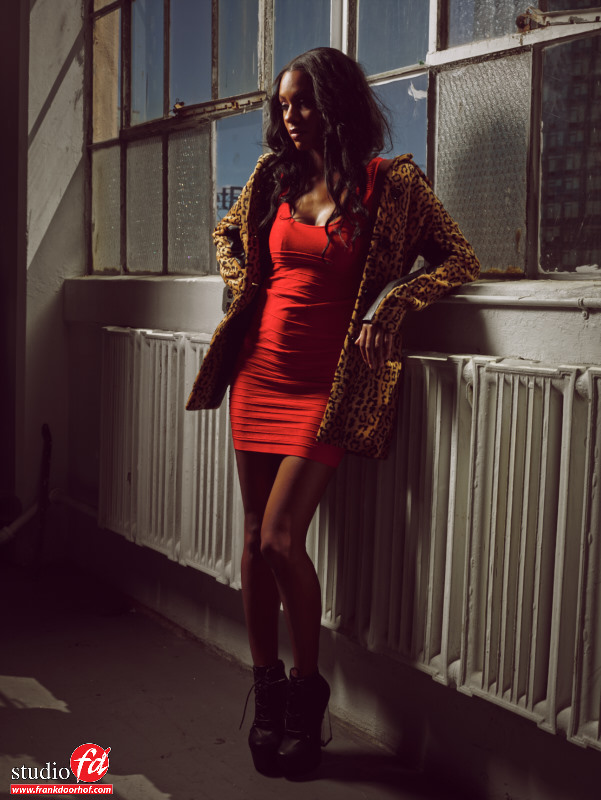
As you can see a totally different look, and it only takes a matter of seconds.
For many more tips:
Get my book “Mastering the modelshoot” via Amazon and other bookstores.
Want to see more images from the students that they shot during workshops or inspired by the book, join https://www.facebook.com/groups/masteringthemodelshoot/

 August 14 2015")
